How to Deposit a Check: ATM, Mobile, and In-Person at the Bank

Also in:Adulting

By ShowMeStepByStepPublished Updated

Based on a video by Salal Credit Union.

You can deposit a check three ways: at an ATM, through your bank's mobile app, or in person with a teller. All three work, and each has its place. Mobile is fastest for everyday paychecks. The ATM is the right call when you need cash back or want to use a machine outside bank hours. The teller is best for large amounts, foreign checks, or when something feels off about the check.

This guide walks through how to deposit a check at the ATM, the method most people find confusing the first time. The steps below come from a real ATM-deposit walkthrough by a credit union employee, so the screens and prompts will look familiar at most banks. If you want the mobile method instead, head over to how to deposit a check on mobile. If you are new to checks in general, see how to write a check first.

Before you head to the ATM, make sure you have your debit card and the check itself, endorsed on the back. Eight steps from start to finish. Most ATMs run the same flow with slightly different button labels.

Step-by-Step Guide

1

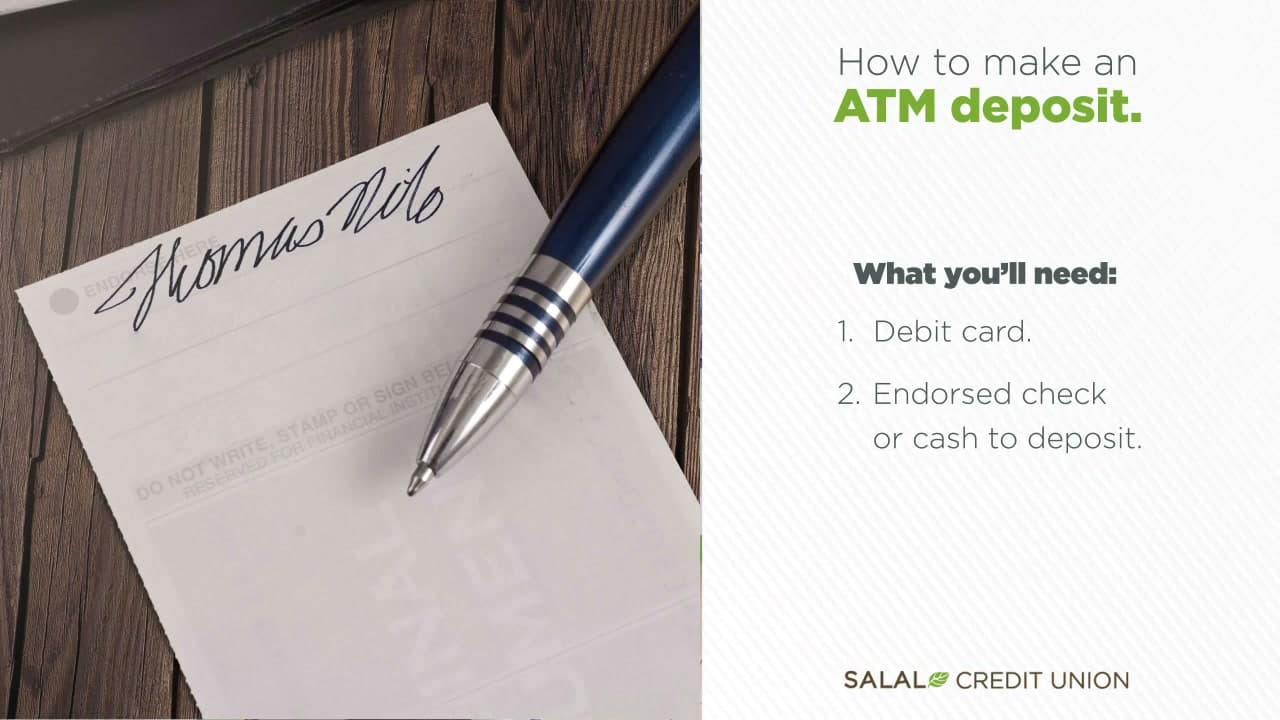
Step 1: Endorse the Back of the Check

0:33
Step 1: Step 1: Endorse the Back of the Check

Flip the check over and sign the back on the endorsement line. Match the signature to exactly how your name is printed on the front. If the check is made out to John Q. Smith, sign John Q. Smith, not Johnny Smith. For extra security, write 'For deposit only' and your account number under your signature so nobody else can cash it if the check gets lost on the way to the ATM.

Tip

Use a black or blue gel pen rather than a pencil. The ATM scanner reads dark ink better, and pencil endorsements can be erased or smudged.
2

Step 2: Insert Your Debit Card Into the ATM

0:47
Step 2: Step 2: Insert Your Debit Card Into the ATM

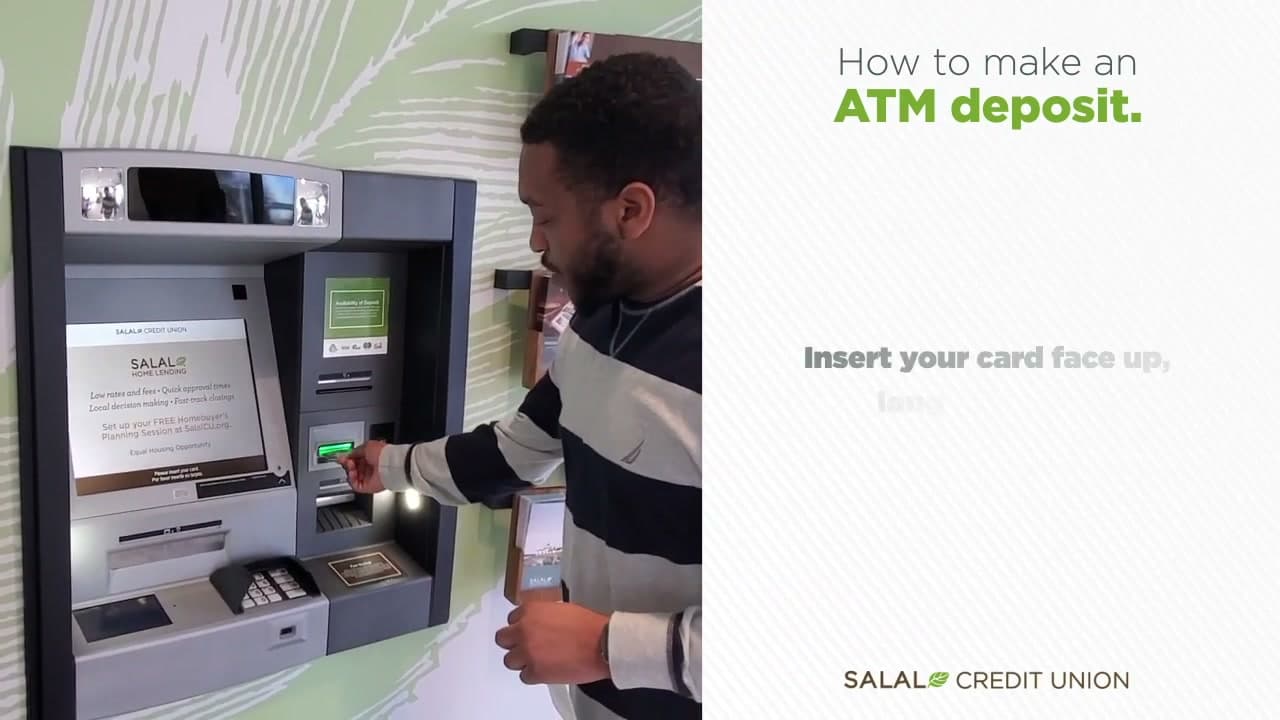
Slide your debit card into the card slot face up with the chip going in first. The card only fits one way. If you try the wrong orientation, the ATM will reject it and show an error message on the screen. Take the card back out, flip it, and reinsert it the correct way. Some newer ATMs use a tap-to-pay reader instead of a slot, so look for the contactless symbol if you do not see a slot at all.

Tip

Wipe the chip with a clean cloth if the ATM keeps rejecting your card. Pocket lint and grease are the most common reason a chip read fails.

3

Step 3: Enter Your PIN

1:15
Step 3: Step 3: Enter Your PIN

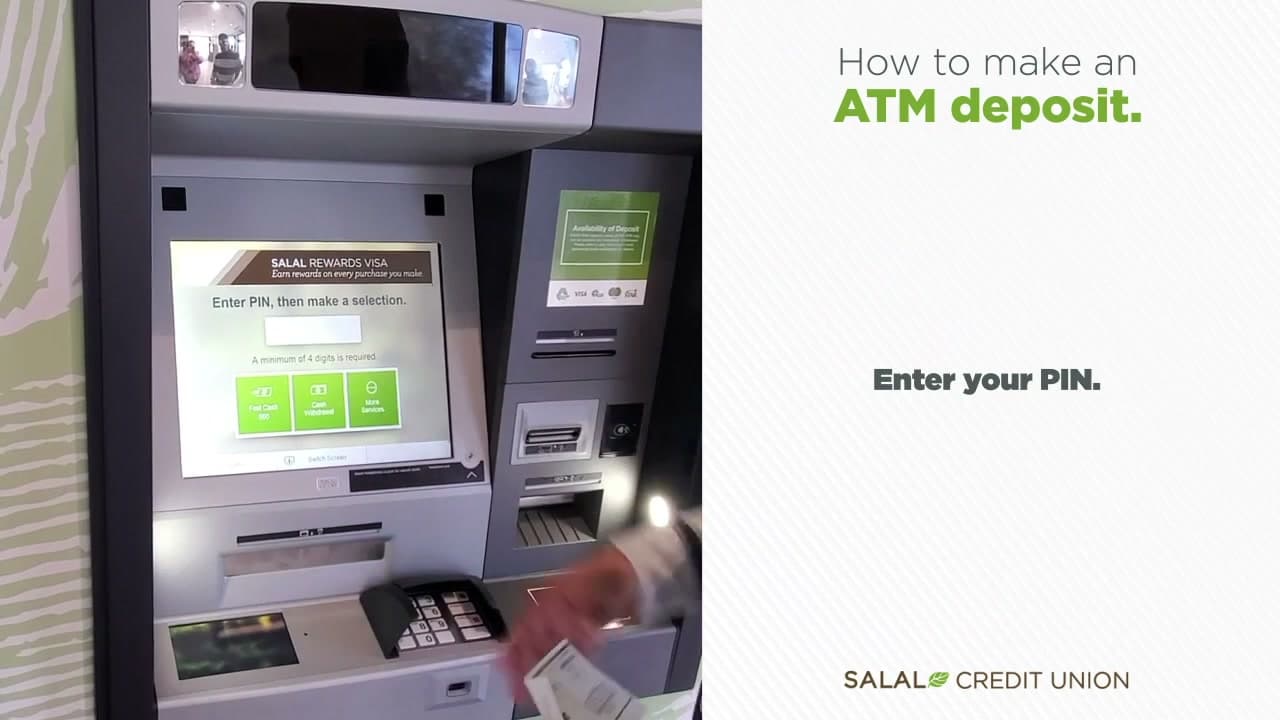
The ATM will prompt you to enter your four-digit PIN. Cover the keypad with your free hand while you type so nobody behind you can see it. Press Enter when you finish. If you make a mistake, hit the Cancel button and start over rather than guessing. Three wrong PIN attempts will lock your card, and you will have to call the bank to unlock it.

Tip

If you have not used the card in a while and forget the PIN, go to a branch in person rather than guessing. Bank tellers can reset it with photo ID.

4

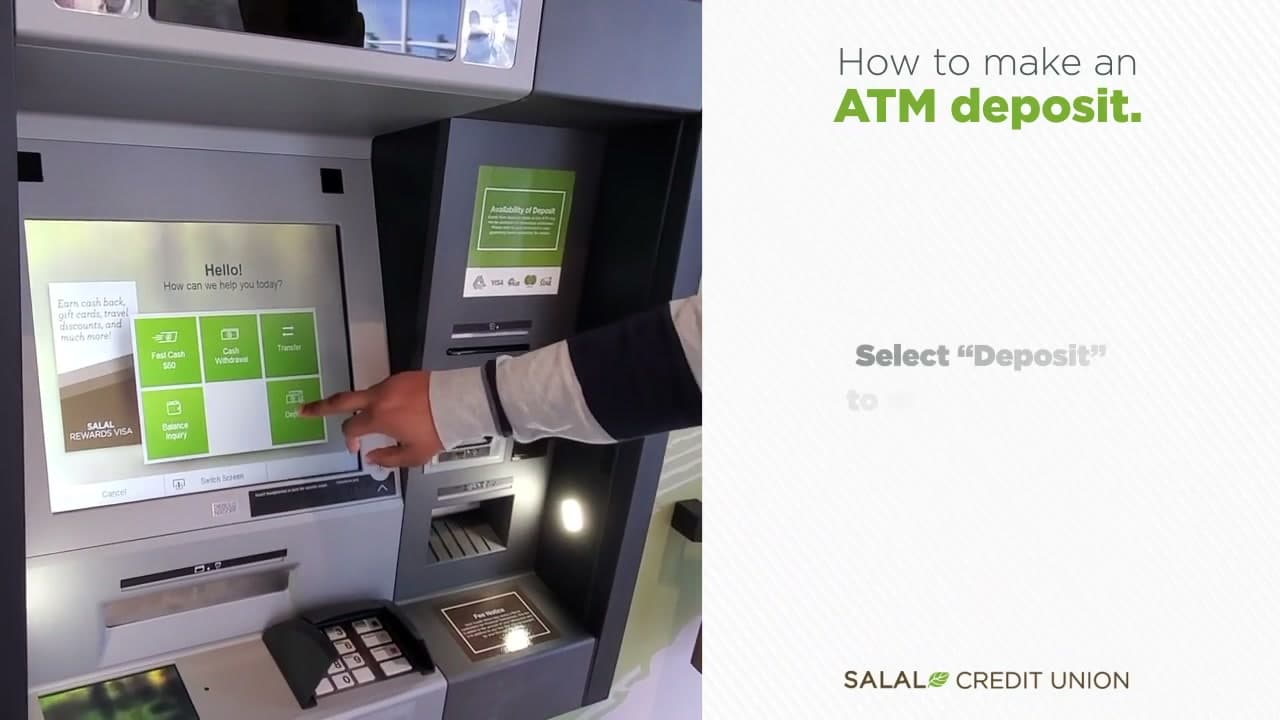
Step 4: Select Deposit From the Main Menu

1:50
Step 4: Step 4: Select Deposit From the Main Menu

The main menu shows several options: FastCash, cash withdrawal, transfer between accounts, balance inquiry, and deposit. Tap the Deposit button. Some ATMs show the deposit option on a second screen, so look for a Next or More Options button if you do not see it right away. The buttons next to the screen also work if the touchscreen feels unresponsive in cold weather.

Tip

Out-of-network ATMs usually do not accept deposits. If the Deposit button is greyed out or missing, you are at another bank's machine.

5

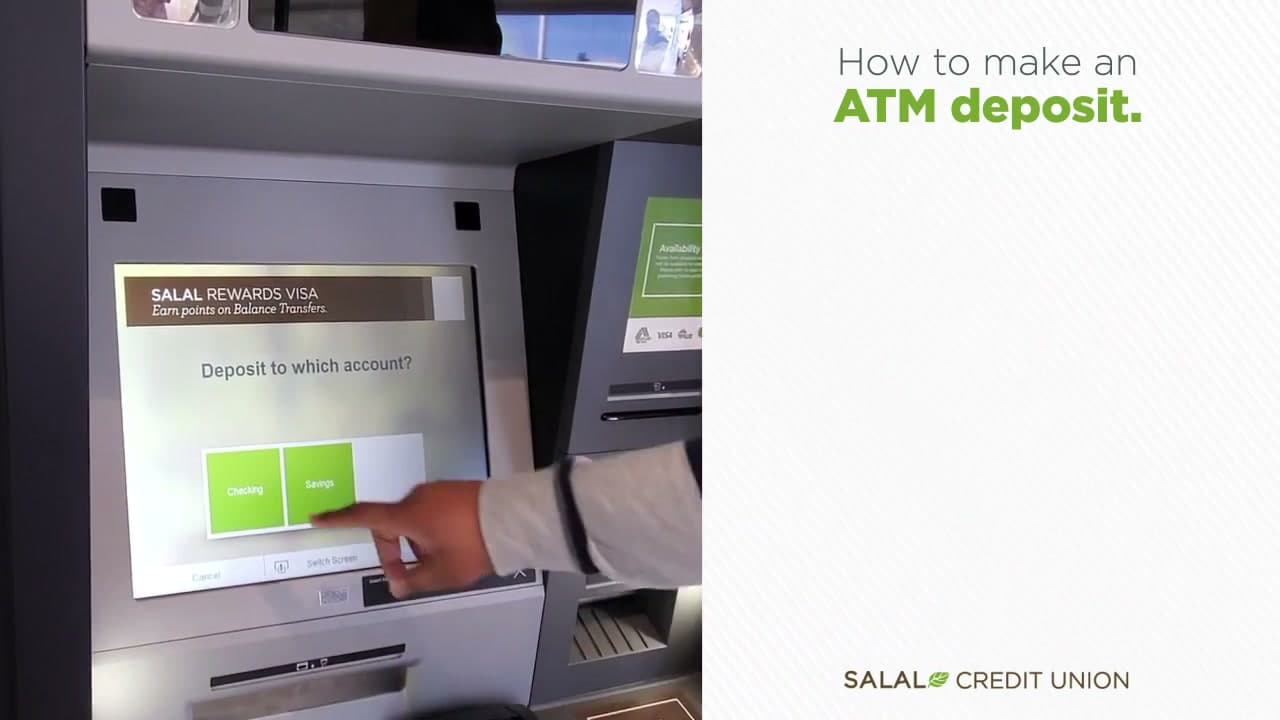
Step 5: Choose the Account and Pick Check

1:57
Step 5: Step 5: Choose the Account and Pick Check

Select which account you want to deposit into. Most people pick checking, but savings works too. On the next screen, choose Check rather than Cash. The ATM handles each type differently, so picking the right one matters. A wrong selection here can stall the transaction halfway through and you will have to cancel out and start over.

Tip

If you have more than one checking account, the ATM may list the last four digits next to each. Double-check before you tap so the money lands in the right place.

6

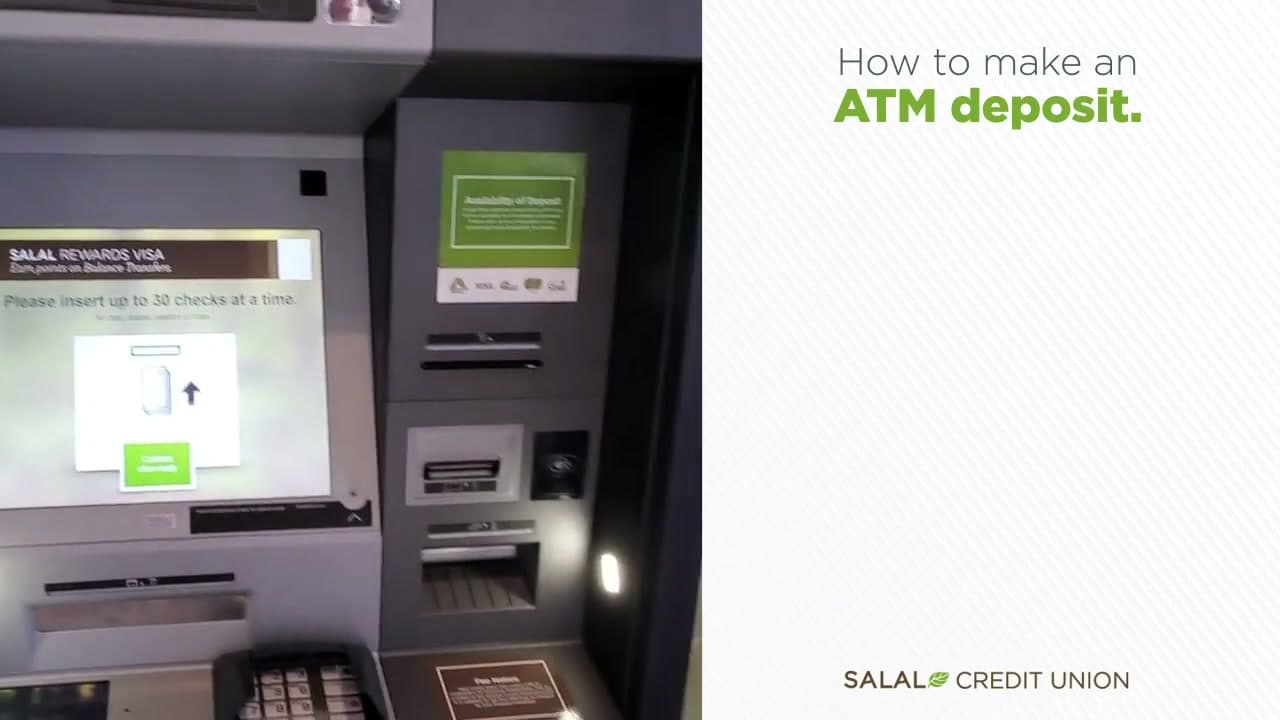
Step 6: Tap Continue When Ready to Open the Slot

2:36
Step 6: Step 6: Tap Continue When Ready to Open the Slot

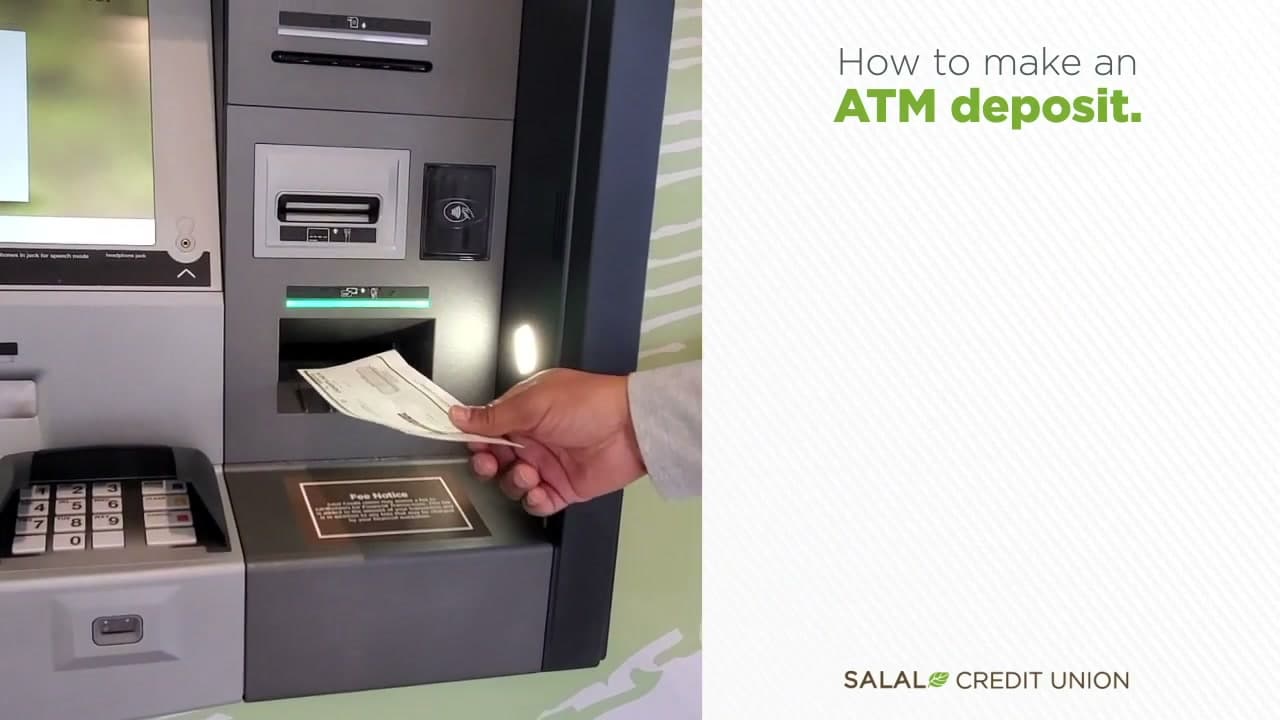
This trips up a lot of people. The check slot stays closed until you press the Continue When Ready button. If you are looking for somewhere to insert the check and the slot will not open, that button is why. Hit Continue When Ready and the slot will open up below the screen with a green light around it so you can see where to feed the check.

Tip

Some ATMs let you deposit up to 30 checks at once. Stack them face up in the same direction before you feed them in, or the scanner will reject the batch.

7

Step 7: Insert the Check Face Up Into the Slot

3:00
Step 7: Step 7: Insert the Check Face Up Into the Slot

Drop the check into the open slot with the front side facing upward. The ATM needs to scan the printed amount, the routing number, and your endorsement, so orientation matters. The machine pulls it in automatically. Wait a few seconds while it reads the check and detects the amount. Do not try to push the check in or pull it out once the machine grabs it.

Tip

Smooth out wrinkles and folds before you insert the check. A creased check can jam the scanner, and you may have to wait for a technician to retrieve it.

8

Step 8: Confirm the Amount and Finish the Deposit

3:15
Step 8: Step 8: Confirm the Amount and Finish the Deposit

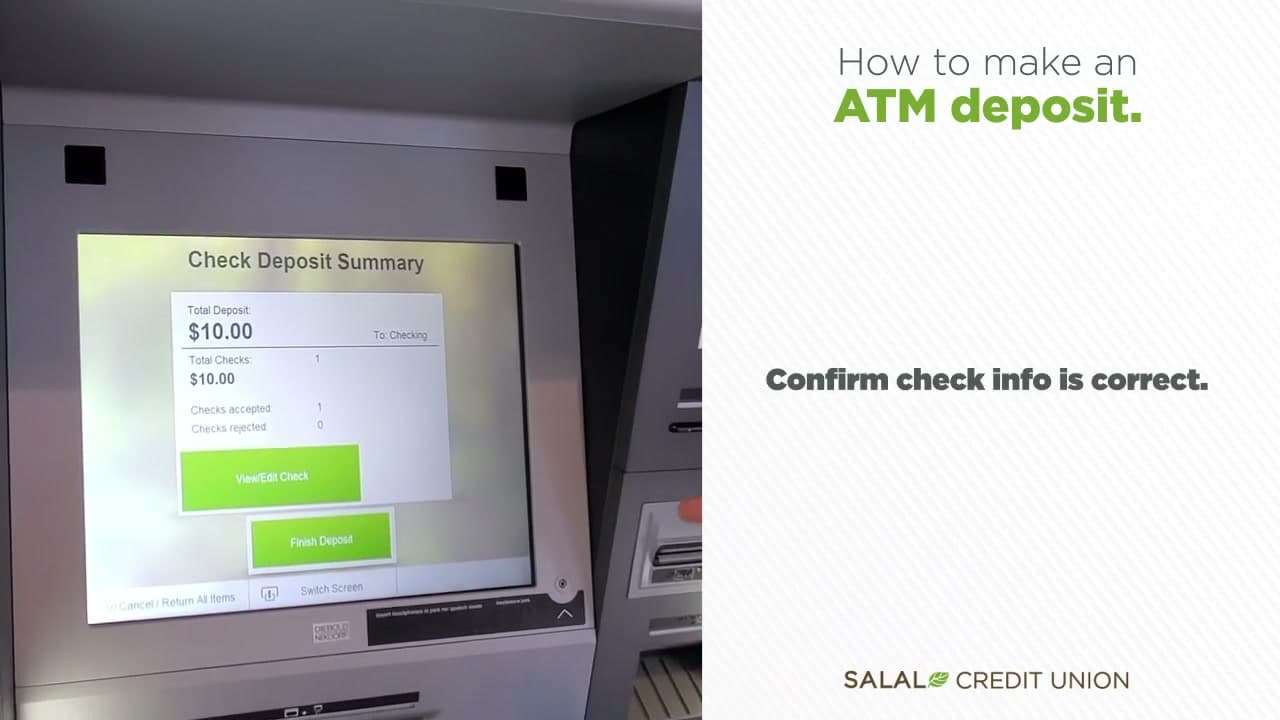
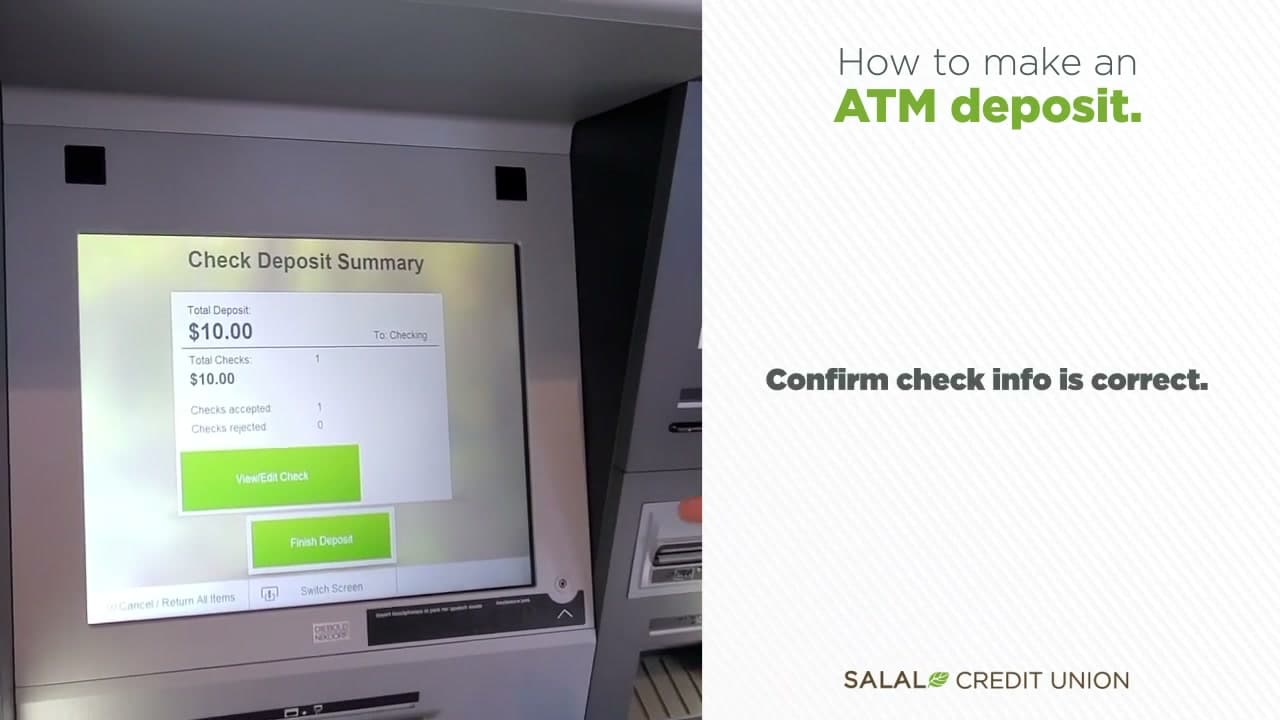
The screen shows the amount the ATM read off the check. If it matches, tap Finish or Confirm. If the number is wrong, hit Edit and type the correct amount manually. Once you confirm, the deposit posts and you can choose receipt options: print one, get an emailed copy, or skip it. Take your card, the receipt, and walk away. Hold onto that receipt until the deposit clears, usually one to two business days for a personal check.

Other deposit methods. If you would rather skip the trip, every major bank has a mobile-deposit option in their app. You snap a photo of the front and back of the check, type the amount, and submit. See how to deposit a check on mobile for the full walkthrough. For in-person teller deposits, fill out a deposit slip with your account number and the check amount, hand both to the teller along with your ID, and they will hand back a printed receipt. Tellers are the right call for checks over $5,000, foreign checks, or anything that needs special handling.

Tip

Snap a photo of the front and back of the check before you feed it in. If the deposit gets disputed or rejected, the photo is the record you will need to resolve it.

Products Used

Your Guide

Salal Credit Union

As an Amazon Associate we earn from qualifying purchases. Links on this page may be affiliate links - clicking them and buying doesn't change your price, but helps support ShowMeStepByStep.

Tags

Test your knowledge

Did the lesson stick? Find out in 2 minutes.

5 quick questions covering what you just read. No signup, no score saved — just a gut check.

Quick reference

Key takeaways from How to Deposit a Check: ATM, Mobile, and In-Person at the Bank

5 questions, answers, and one-line explanations. Tap to expand.

  1. 1.Anti-theft endorsement to add under your signature?

    Answer: 'For deposit only' + acct#

    Write 'For deposit only' + your account number. Nobody else can cash it if the check gets lost on the way.

  2. 2.Match endorsement signature to...

    Answer: Front-of-check name

    Match exactly how your name is printed on the front. 'John Q. Smith' not 'Johnny Smith'.

  3. 3.Why does the ATM slot stay CLOSED at first?

    Answer: Press Continue first

    Slot opens only after Continue When Ready button. Green light around the slot shows where to feed the check.

  4. 4.How should the check go INTO the slot?

    Answer: Face up, frontward

    Front side up. Machine scans the amount, routing, and endorsement so orientation matters. It pulls in automatically.

  5. 5.How long to keep the receipt?

    Answer: Until deposit clears

    Hold receipt until deposit clears - usually 1-2 business days for a personal check.

What's next

Related collections

Curated theme pages that include this tutorial.

Weekly Digest

Liked this banking tutorial?

Pick the categories you want to hear about. Weekly digest of new step-by-step tutorials. No spam, easy unsubscribe.

Send me tutorials about

We only email about new tutorials. Easy unsubscribe anytime.