A carved wooden spoon starts as a plain stick and ends as something you can stir soup with. You do not need a shop full of tools. This tutorial follows Dave from David's Passage, who carves a simple spoon with one fixed blade knife and a folding saw, then smooths it with a rock. It is a rough, rustic spoon, the kind you could make at a campsite, and it teaches every basic move you need for finer spoons later.
How to carve a wooden spoon: the short version
- Cut a green stick a little longer than the spoon you want.
- Split it so the center of the wood sits above the bowl.
- Taper the blank and take the corners off.
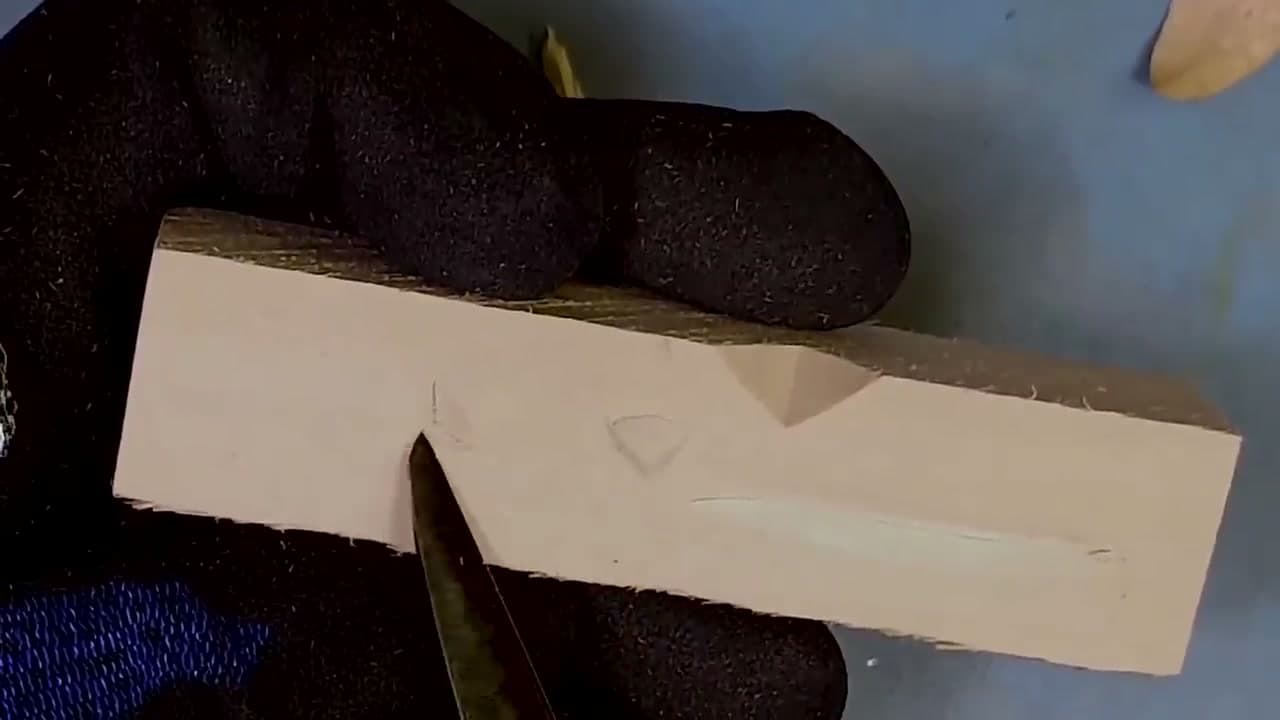
- Score the bowl outline and hollow it with the knife tip.
- Carve the handle down to shape.
- Smooth with light cuts, then sand or rub with a stone.
Choosing the wood
Fresh, green wood carves far more easily than dry wood. Look for a straight branch about as thick as your wrist with no knots where the bowl will go. Birch, cherry, maple, alder and basswood are all good choices. Avoid anything toxic, such as yew, and anything very resinous like pine for a spoon you will eat from. Carve the spoon within a few days of cutting the branch, or keep it in a plastic bag so it does not dry out.
Carving safely
A sharp knife is safer than a dull one, because it goes where you aim instead of skidding. Carve away from your body whenever you can. Keep the hand holding the wood behind the blade, never in front of it. A cut resistant glove on the holding hand is cheap insurance for a beginner. Sit down, brace your elbows on your knees and take small cuts. If the knife starts to bind, stop and cut from a different direction instead of forcing it.
Knife only or a hook knife
Dave hollows the bowl with the tip of a straight knife, which works but is slow. A hook knife, a curved blade made for spoon bowls, scoops out the hollow much faster and leaves a smoother surface. Try your first spoon with what you have. If you enjoy it, a hook knife is the one tool worth adding.
Finishing your spoon
Let the spoon dry slowly for a few days away from heat, so it does not crack. Then sand it smooth, wet it to raise the grain, let it dry and sand once more. Rub in food grade mineral oil or a beeswax and oil blend. Wash by hand, never in the dishwasher, and re-oil it when it looks dry.
Common problems
- The wood tears instead of cutting. You are cutting against the grain. Turn the spoon and cut from the other direction.
- The spoon cracked while drying. It dried too fast. Dry the next one in a paper bag.
- The handle snapped. Leave the handle thick until the bowl is done.
More woodworking to try
Practice the basic knife cuts in how to whittle, then try carving a gnome. Decorate a finished spoon handle with wood burning, or pair it with a homemade cutting board for a gift.