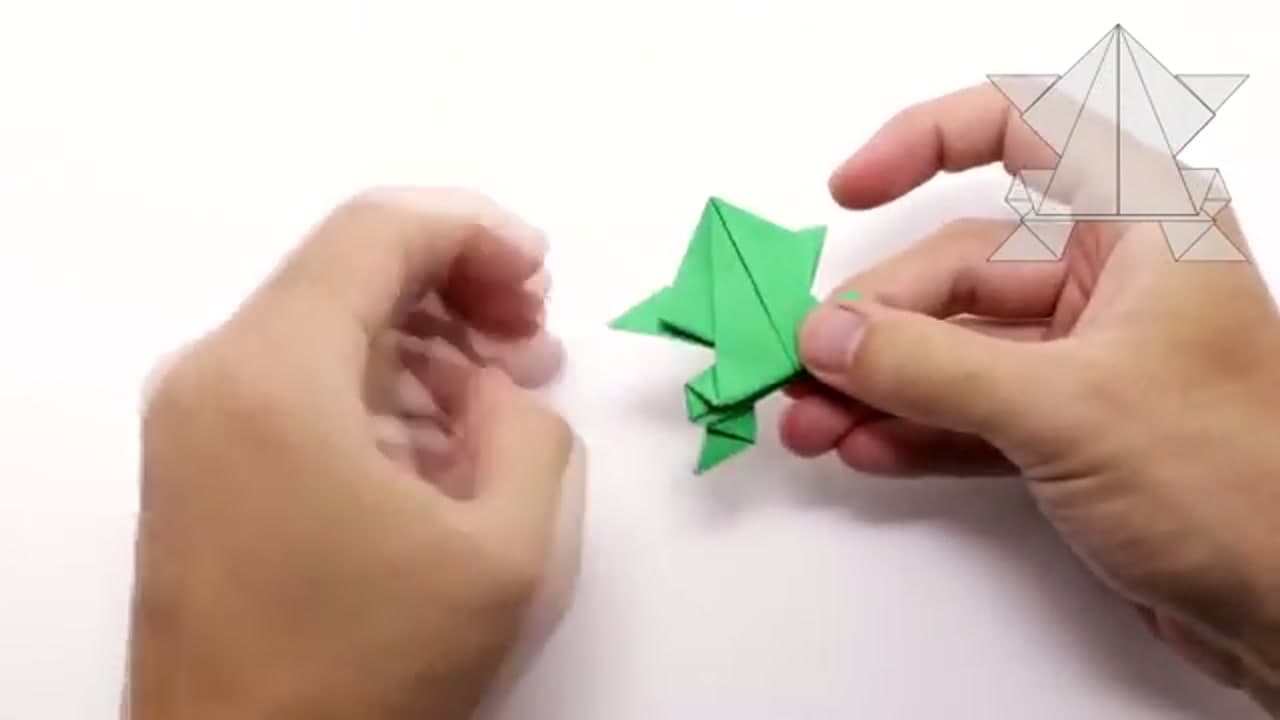
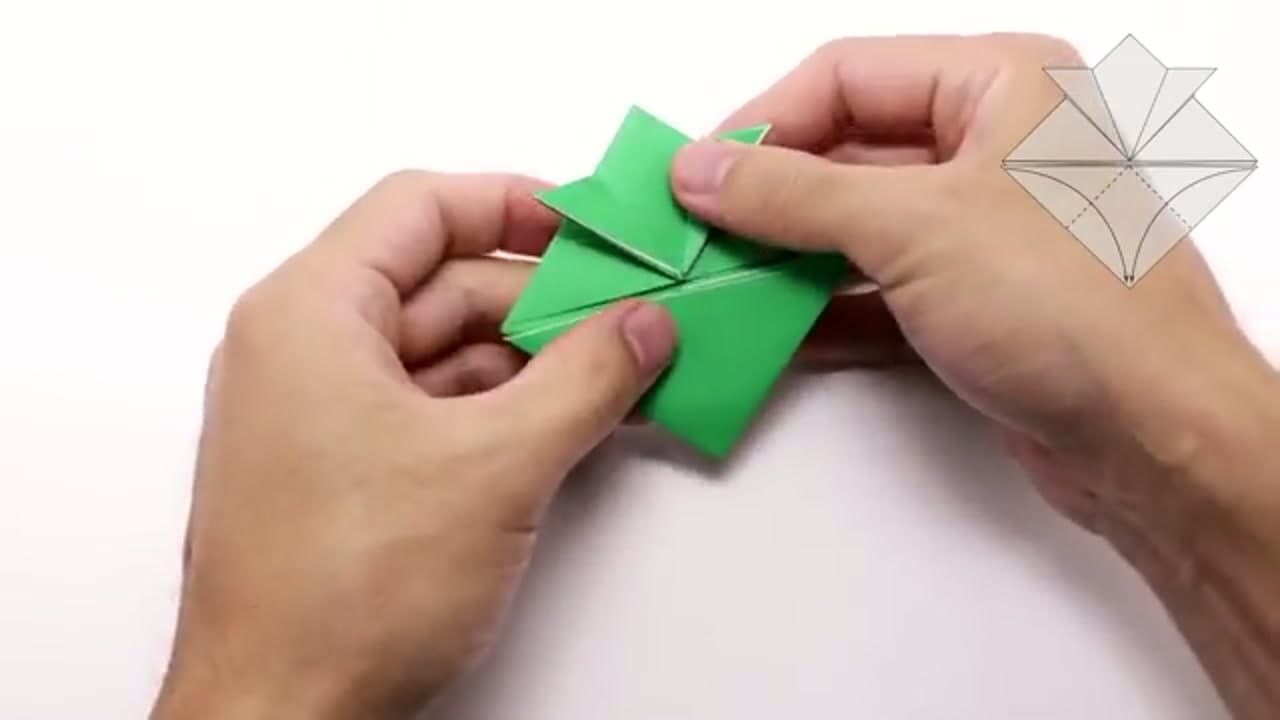
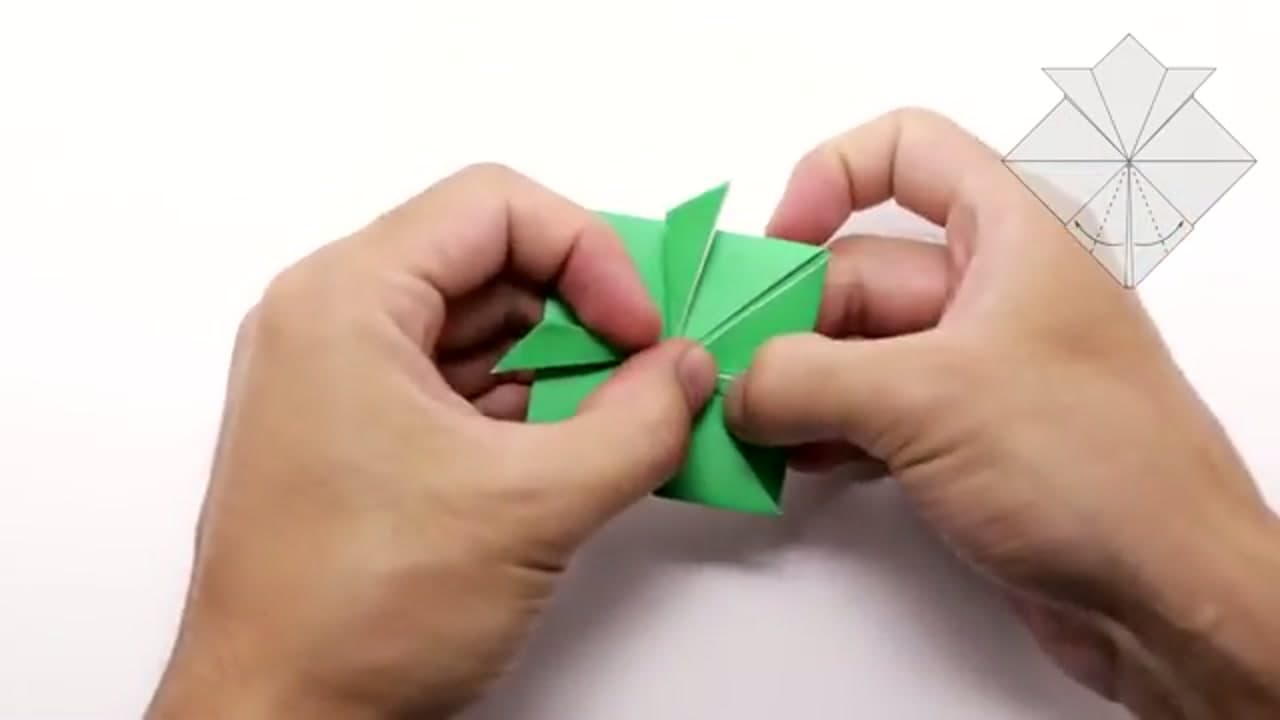
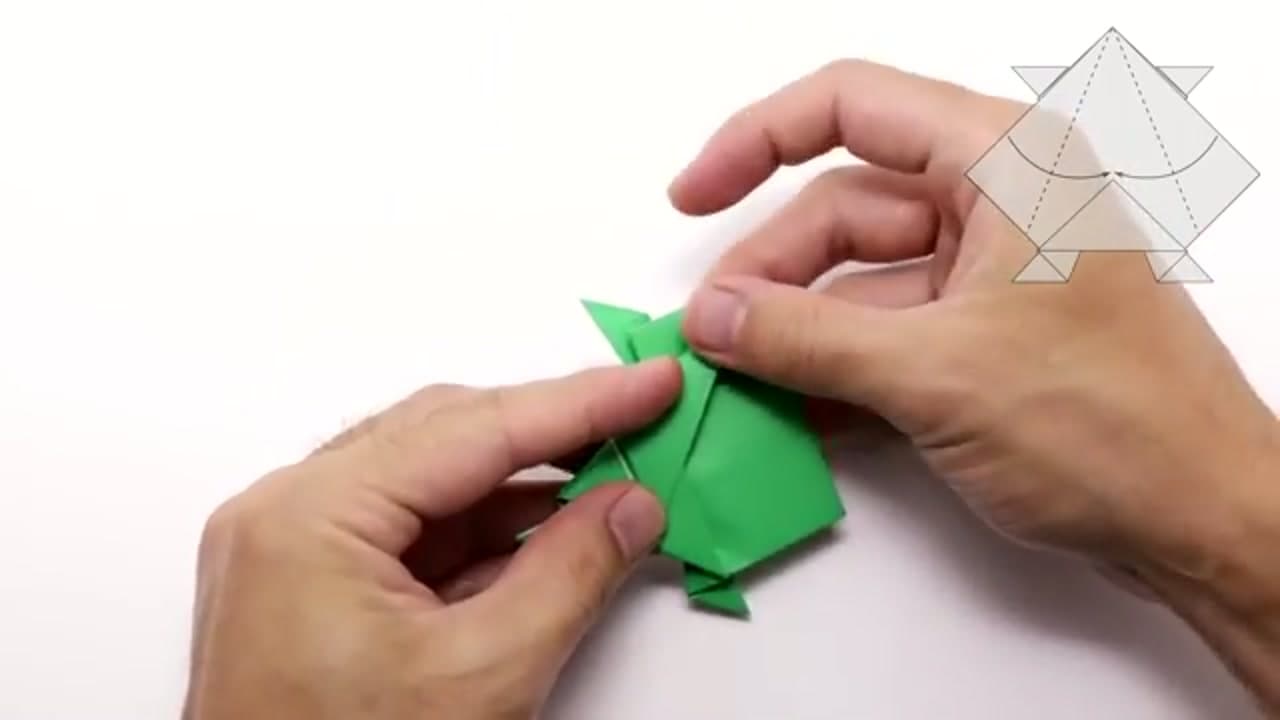
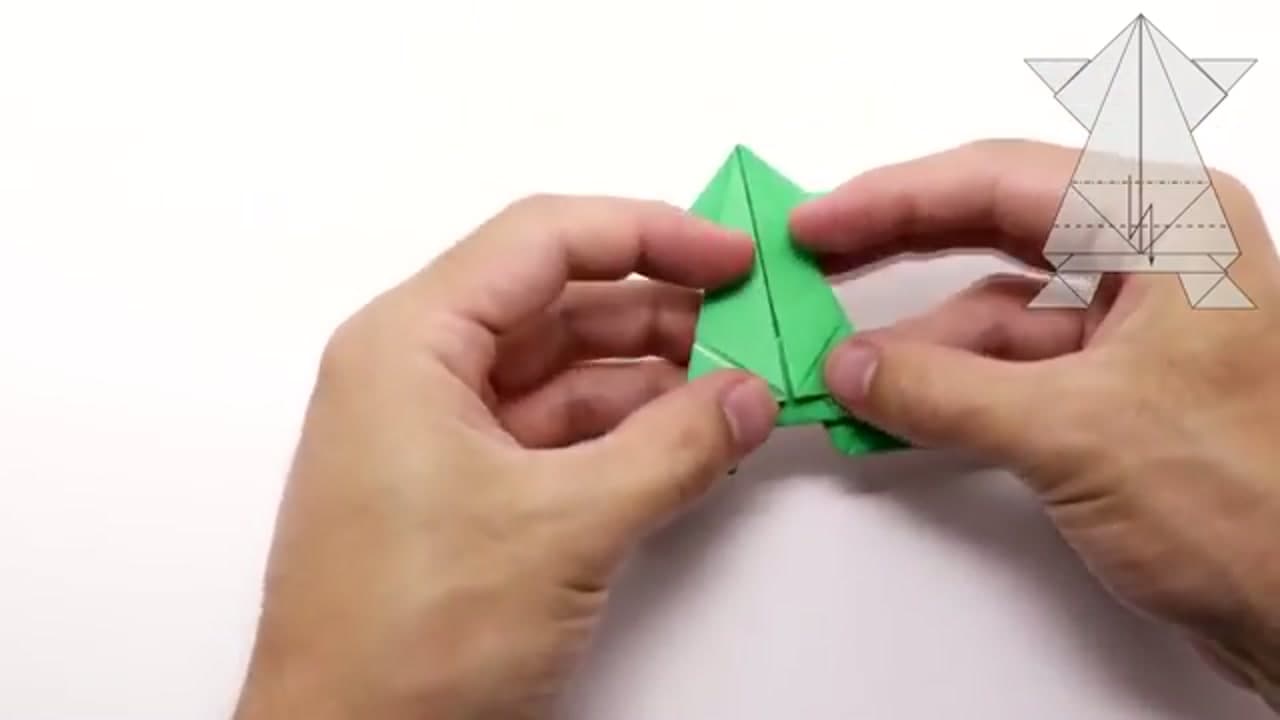
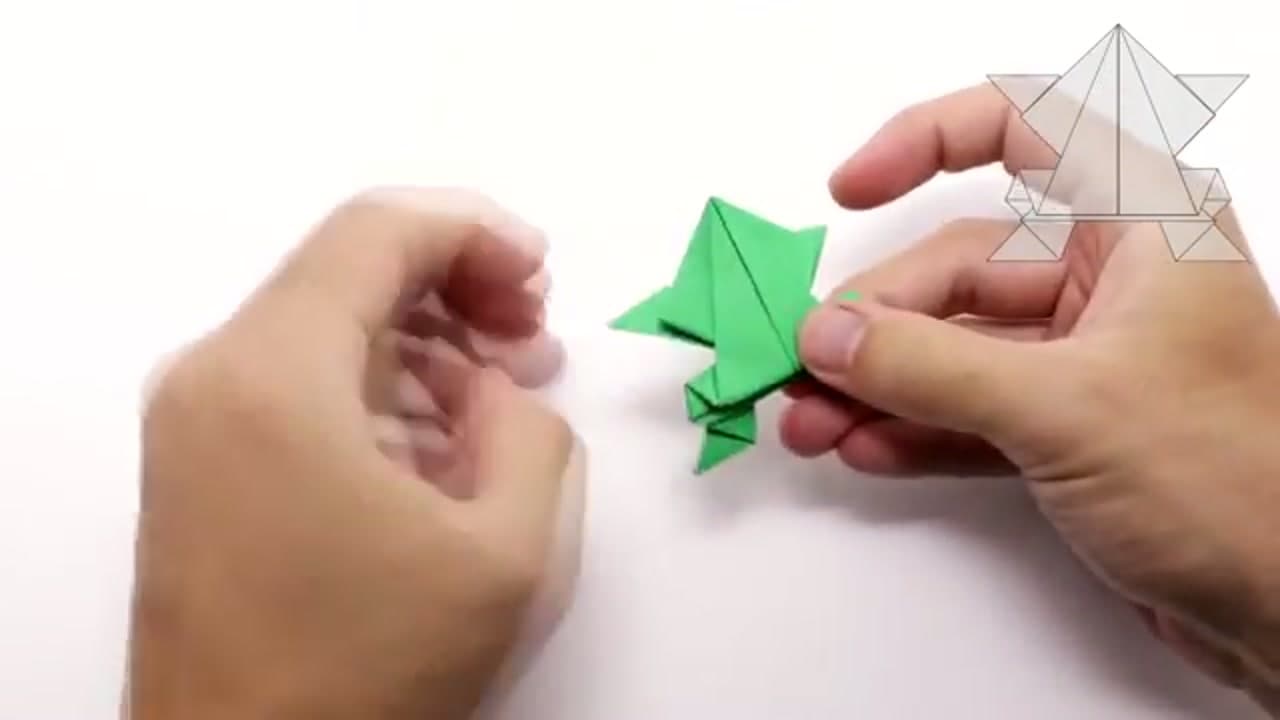
This little green frog is a classic. Press a finger on its back, let go, and it leaps across the table. Kids love it, and it takes about five minutes once you know the folds.
The steps come from Jo Nakashima, whose origami channel is a great place to start if you have never folded before. This is the traditional jumping frog model, and it is friendly for beginners.
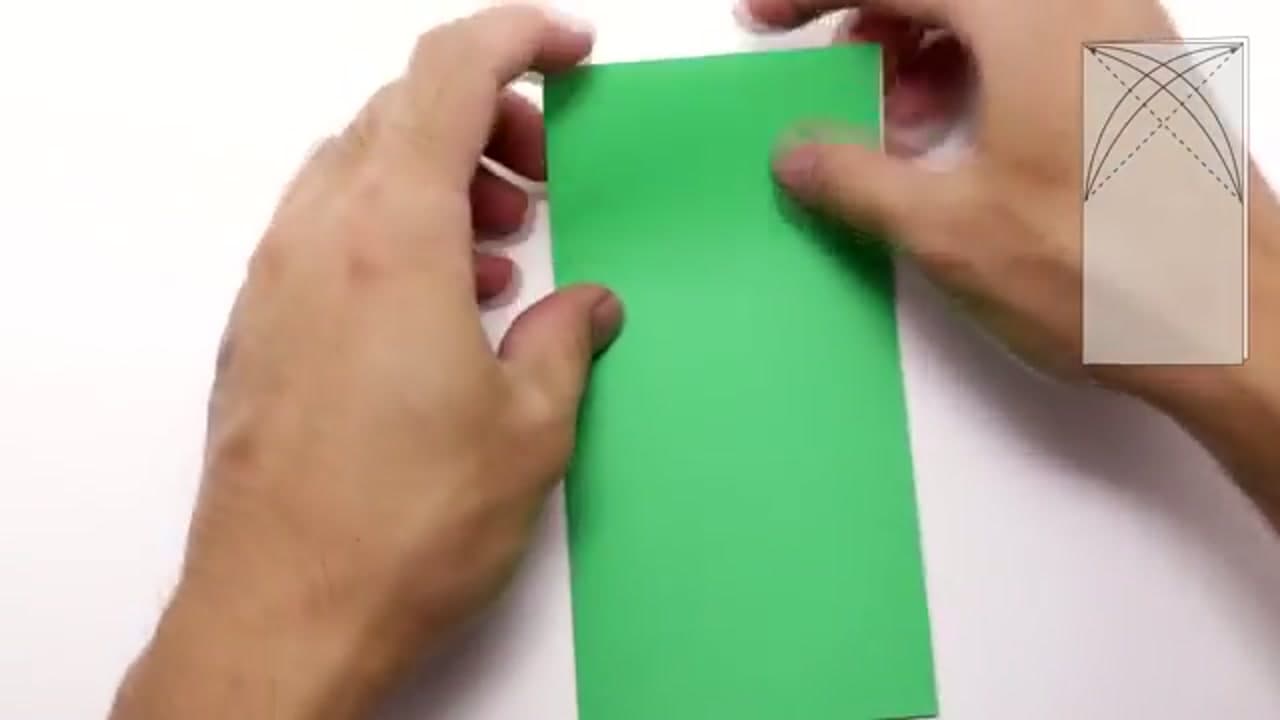
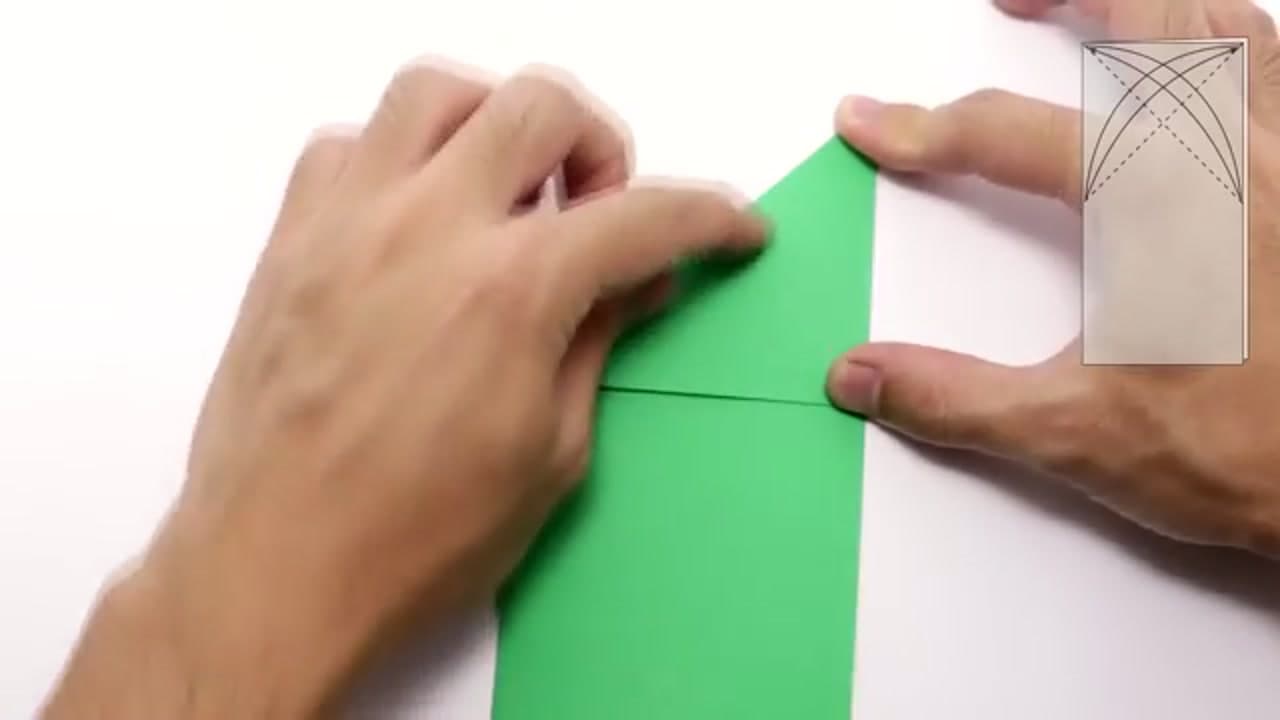
Grab a square sheet of paper. Green looks the part, but any color works. Sharp creases are the whole game here, so take your time on each fold.
Paper size and thickness
A 6-inch origami square folds easily and gives you a frog about 2 inches long. It hops, but not far. Thin paper bends when you press it instead of springing back.
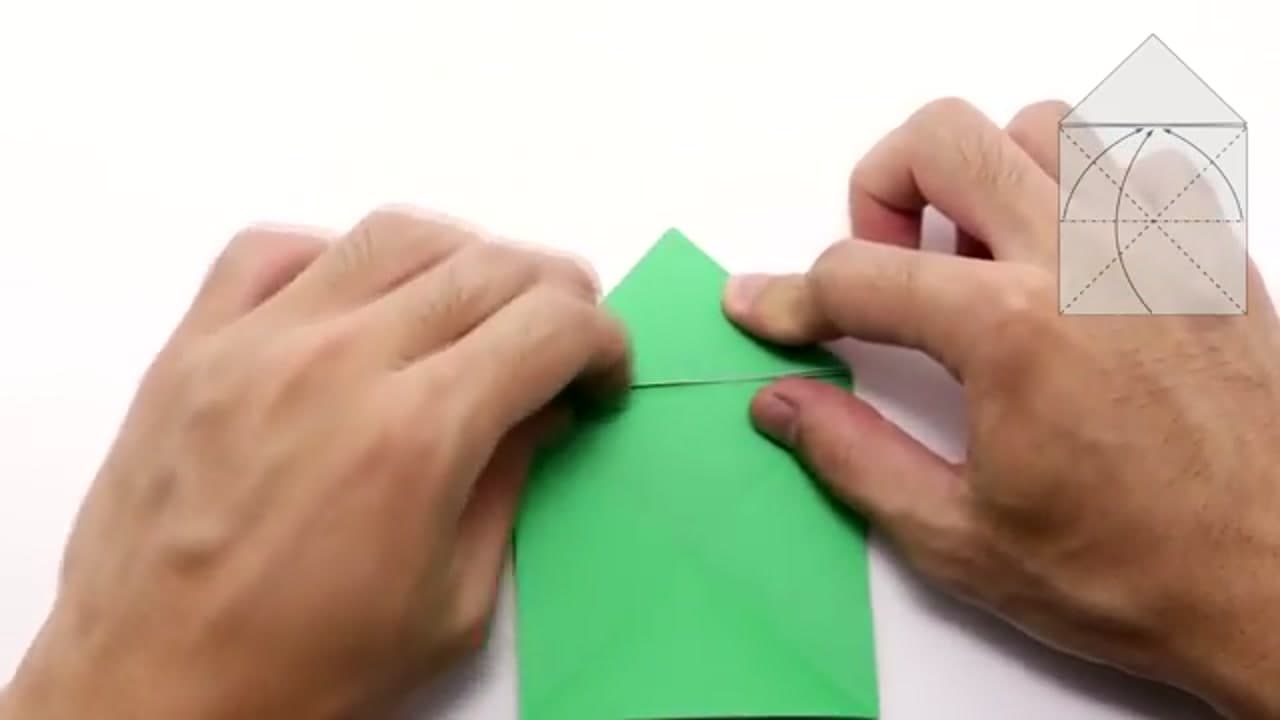
For a frog that jumps, go stiffer. A 3x5 index card is the old classroom trick - trim it to a 3-inch square and fold it the same way. Cardstock and thick scrapbook paper work too. The trade-off is that stiff paper is harder to collapse into the waterbomb base, so crease each fold twice and press with a bone folder.
Start with regular origami paper to learn the sequence. Once it makes sense, fold the next one from an index card and compare the jumps.
How to make it jump farther
The jump comes from the spring pleat in Step 7. Everything else is a body for it.
- Keep the two spring folds close together and parallel. A tight Z shape stores more push than a wide one.
- Crease the spring hard, then open it back up a little so it sits at an angle instead of lying flat.
- Press on the very back edge, not the middle of the back. Slide your finger off backwards so it snaps.
- Launch from a smooth, hard surface. A tablecloth or carpet soaks up the jump.
A good frog will clear 6 to 12 inches. Some flip over in the air. That is normal and half the fun.
Jumping frog games for kids
- Long jump: tape a start line and mark each landing with a sticky note.
- Target hop: set out a bowl or a paper plate and score a point for every landing inside.
- Lily pad race: cut green paper circles and hop the frog from pad to pad to a finish line.
- Frog design: let each kid draw eyes and spots on their frog before the race.
For a whole party table, pair the frogs with a paper fortune teller, another fold kids pick up in minutes.
Common paper frog mistakes
Spring too flat. If the pleat is pressed dead flat, there is nothing to release. Lift it so the back end tilts up a little.
Paper too soft. A frog made from thin or damp paper folds under your finger and goes nowhere. Swap to an index card.
Lopsided legs. When one back leg is longer, the frog spins sideways or flips. Check both sides of Step 5 against each other before moving on.
Loose collapse. A sloppy waterbomb base means a fat, soft body. Go back and sharpen the diagonal creases.
Once the frog is hopping, try the origami butterfly, which starts from the same base, or the origami swan. For more things that fly across a room, fold a paper airplane.