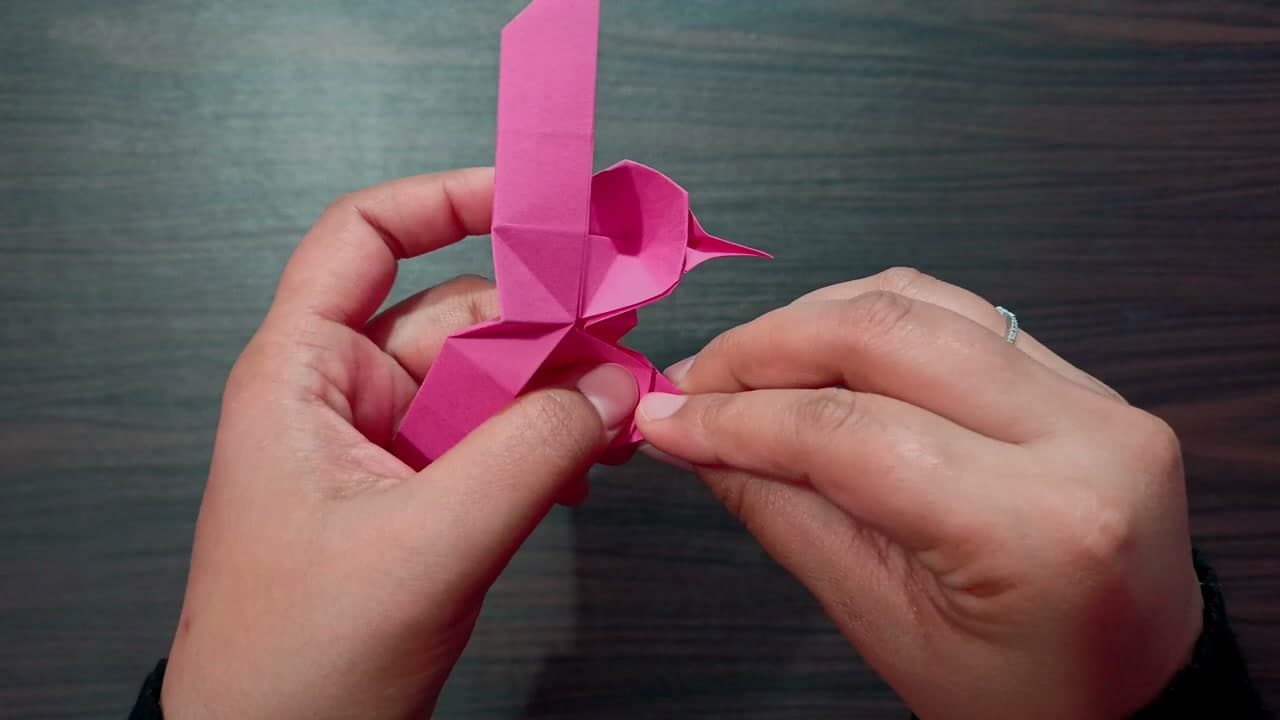
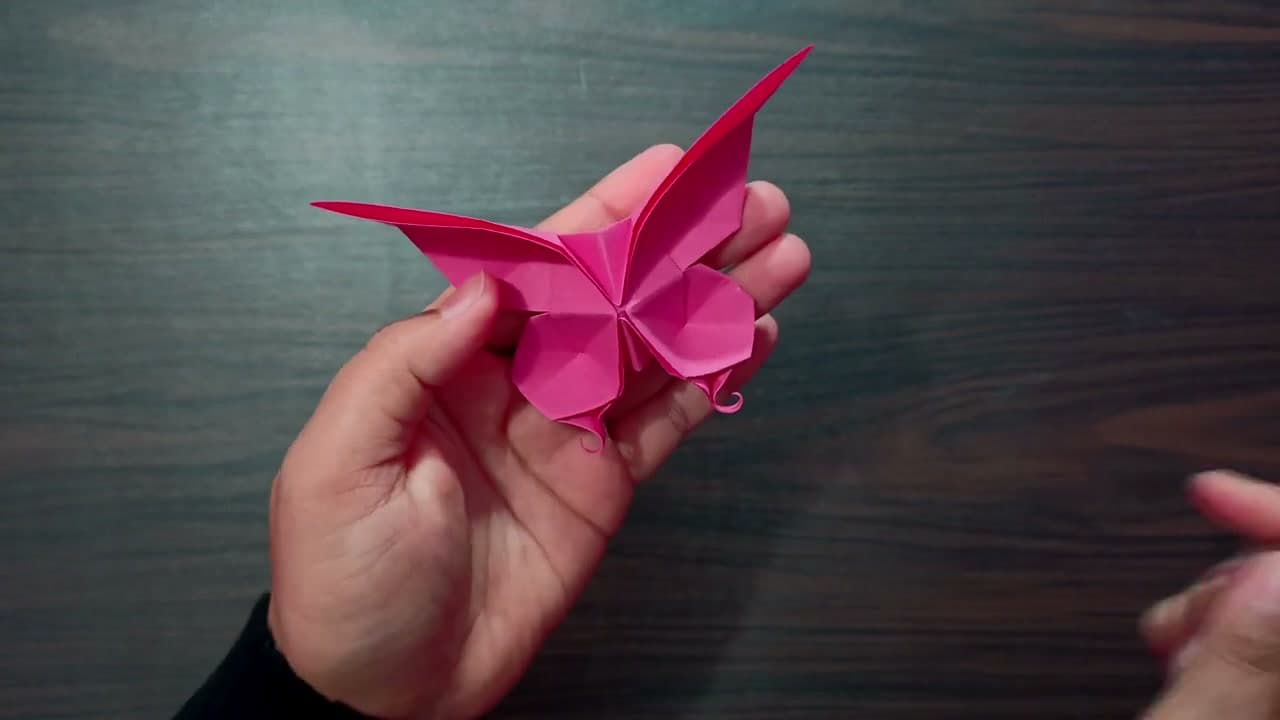
How to Fold an Origami Butterfly

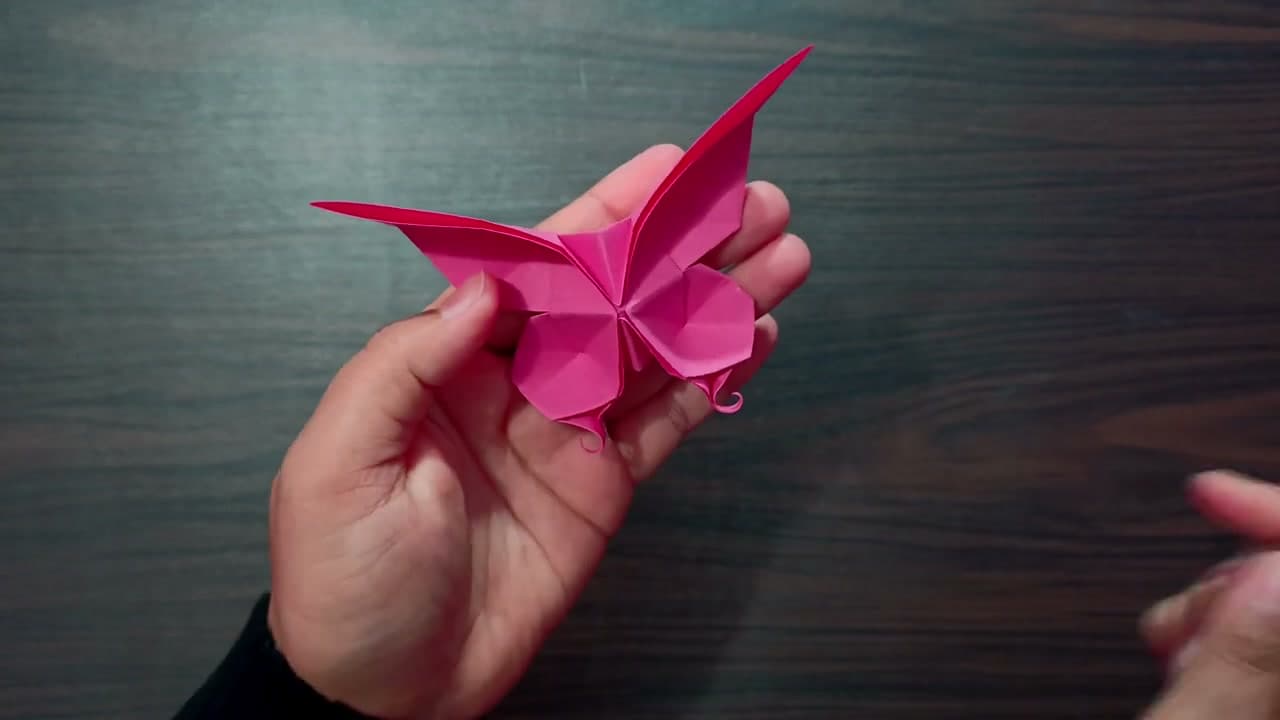
The finished result: How to Fold an Origami Butterfly
Also in:Crafts

By ShowMeStepByStepPublished Updated

Based on a video by Nishiegami.

There is something satisfying about starting with a flat square and ending with a butterfly that stands up on its own. This model looks fancy, but it comes down to a handful of folds you repeat and shape.

The video from Nishiegami has no narration, so you learn by watching the hands. We have broken it into clear steps with a screenshot of each fold. Grab one square sheet and work slowly - sharp creases are what make the wings pop.

Pink shows the folds off nicely, but any origami paper works. Once you have the sequence down, a second butterfly takes only a few minutes.

Picking the paper

Start with a 6-inch (15 cm) square. It is big enough to handle comfortably and small enough that the finished butterfly looks delicate. Go down to 3 inches once you know the folds and want a swarm of little ones.

Origami paper, or kami, is thin and holds a crease well. That matters here, because the wings are shaped by pinching and a thick sheet fights back. Printer paper works for a practice run. Cut it square and expect the body to look a bit chunky.

Patterned paper is where this model shines. Only one side shows on most of the wings, so fold with the pattern face down at the start and it ends up on the outside.

The base it comes from

This butterfly starts from the waterbomb base - the triangle you collapse in Step 3. The same base is behind the origami jumping frog and plenty of other traditional models, so the time you spend getting it clean pays off later. If the collapse feels awkward, it is almost always a crease pointing the wrong way. Fold each line both directions and try again.

Making it look 3D

A flat butterfly looks like a paper shape. A shaped one looks like it landed there. Three small moves make the difference:

  • Pinch the center ridge hard and hold it for a second. That ridge lifts the wings.
  • Tilt the upper wings up at a slight angle instead of pressing them flat.
  • Curl the antennae around a toothpick so they arch forward.

Stand it on a table and look at it from the side. If the wings sit flat on the surface, pinch the body again.

Ways to use your butterflies

  • Cards: glue one butterfly by the body only, so the wings stay free and lift off the card.
  • Garland: thread a needle through each body and space them along a string.
  • Wall art: fold 15 or 20 in shades of one color and fix them to the wall with small dots of putty.
  • Gift toppers: tape one to a wrapped box in place of a bow.

Want a different look? The paper butterflies tutorial uses cut paper instead of folding, and it is quicker for a big batch.

Common mistakes

Uneven wings. This starts in Step 1. If the first diagonal is off by a millimeter, every fold after it drifts. Line up the corners before you press.

Soft creases. Run a bone folder or your thumbnail over every fold. The collapse and the pinch both rely on the paper remembering its lines.

Paper that is not square. A sheet cut by eye makes one wing longer than the other. Fold one corner to the opposite edge and trim the extra strip to get a true square.

Tearing at the body. Thin paper can split where the layers bunch. Ease off the pinch a little, or switch to a slightly larger sheet.

Ready for another model? Try the origami swan for something easy, or the origami dragon when you want a challenge.
What you'll need

Step-by-Step Guide

7 steps · about 8 minutes.Check off each step as you go and your progress saves automatically.

1

Fold the Square Into a Triangle

0:08
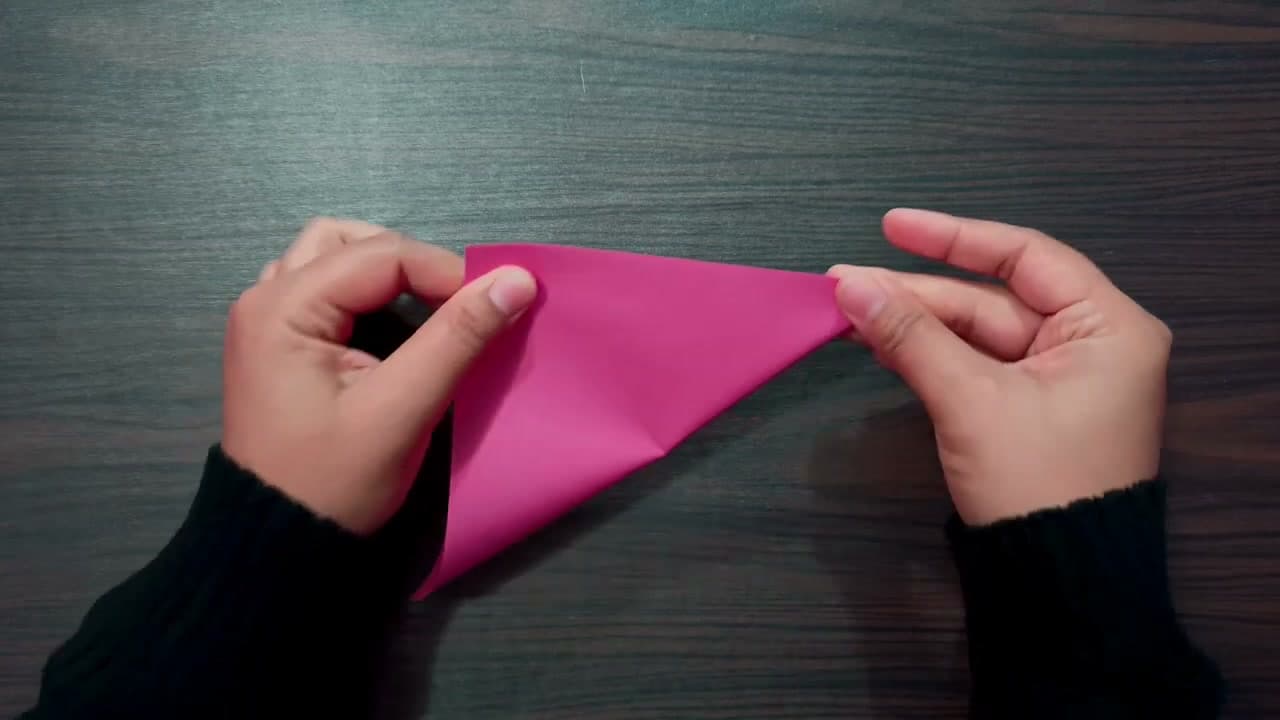
Step 1: Fold the Square Into a Triangle - How to Fold an Origami Butterfly

Start with a square sheet, colored side down. Fold it corner to corner so you get a triangle, then press the crease flat with your finger or a bone folder. Open it and fold the other diagonal the same way. You want two clean creases crossing at the center. Sharp creases now save you trouble later, so take your time on these first two folds.

Tip

Line the corners up exactly before you press. A tiny gap here throws the wings off later.

2

Add the Cross Creases

0:40
Step 2: Add the Cross Creases - How to Fold an Origami Butterfly

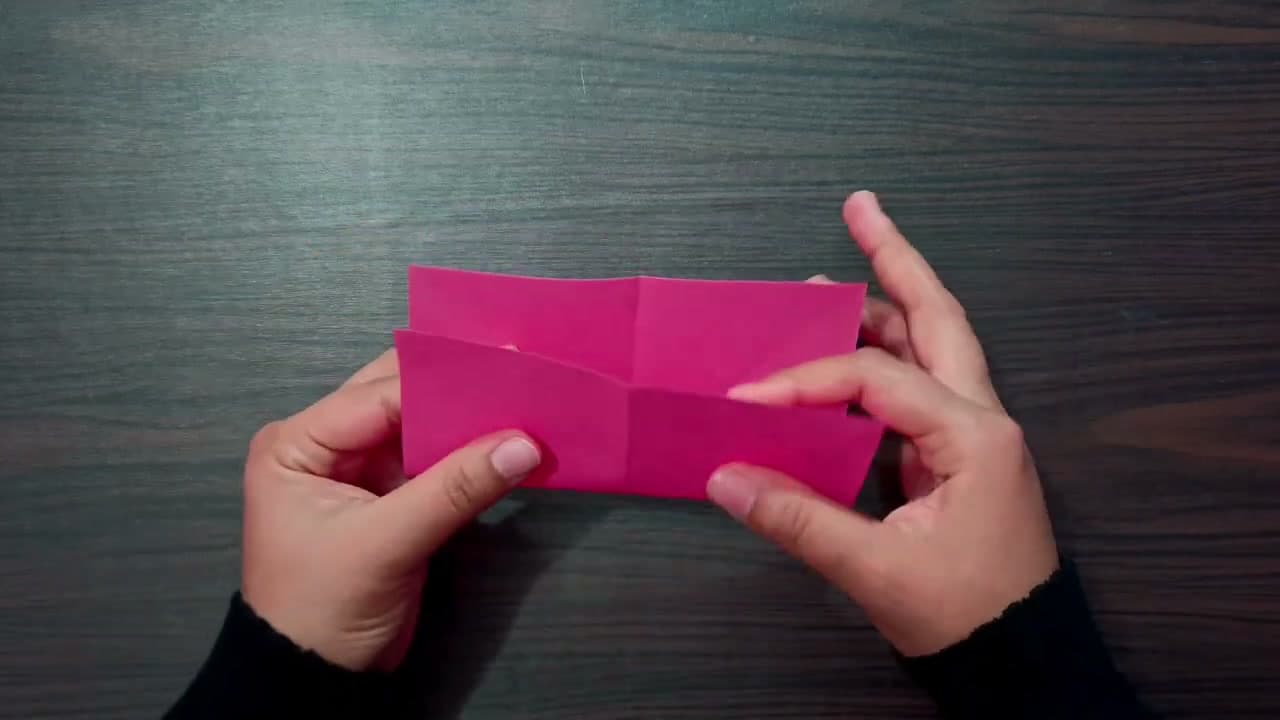
Open the paper back to a flat square. Now fold it in half side to side, then top to bottom, so you build a second set of creases running straight across. When you are done you should see an X from the diagonals plus a plus sign from these folds. All of those crease lines guide the collapse in the next step, so make each one firm.

Tip

Run a bone folder or your thumbnail along every crease. The paper needs to remember where to bend.

3

Collapse Into a Triangle Base

2:00
Step 3: Collapse Into a Triangle Base - How to Fold an Origami Butterfly

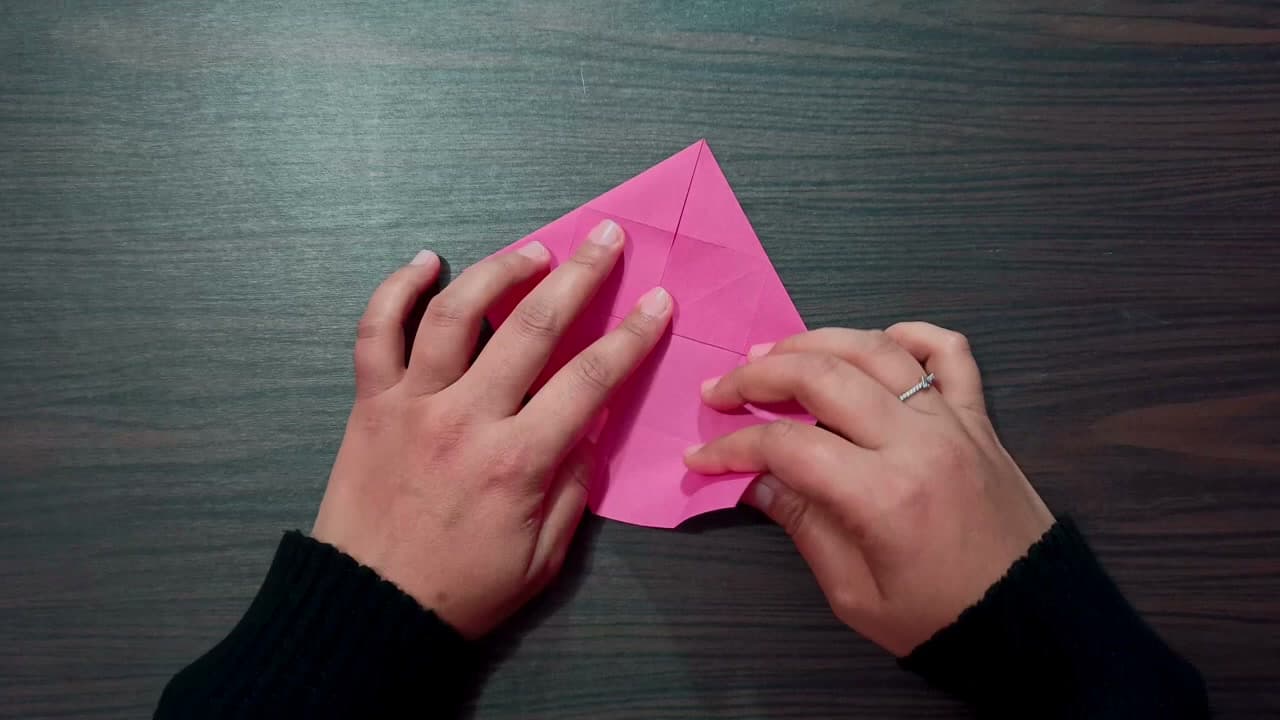
Here is the fun part. Push the two side creases inward and let the top and bottom drop together. The paper folds down on the lines you already made and flattens into a smaller triangle with loose flaps tucked on each side. This is the classic waterbomb base. Press it flat once the corners meet so it holds its shape.

Tip

If it fights you, reinforce the creases first by folding each one both directions.

4

Fold the Bottom Flaps Up

2:48
Step 4: Fold the Bottom Flaps Up - How to Fold an Origami Butterfly

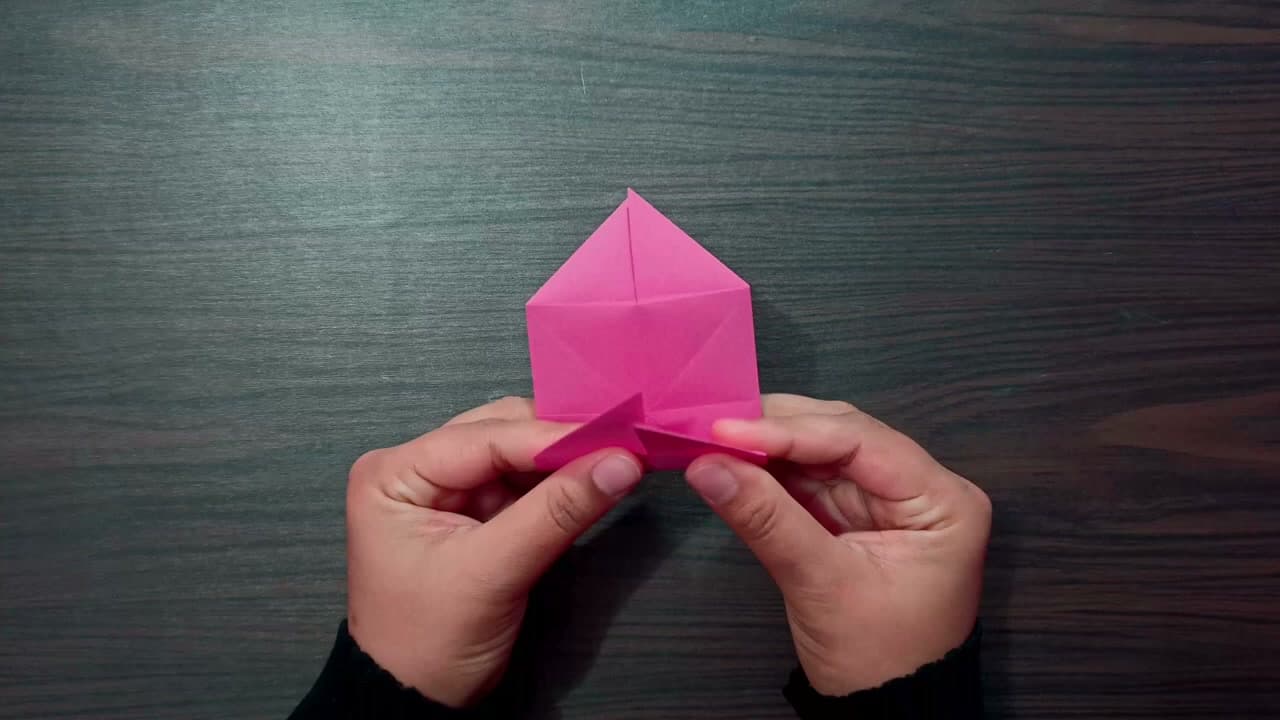
Point the triangle up so the open corners sit at the bottom. Take the two lower corner flaps and fold them up toward the top point. They should stand out a little, like small tabs. These become the shaping for the lower wings, so keep both sides even. Line them against each other and crease firmly.

Tip

Fold one flap, then match the second to it by eye. Symmetry reads more than precision here.

5

Shape the Upper Wings

4:24
Step 5: Shape the Upper Wings - How to Fold an Origami Butterfly

Fold the top point down over the flaps you just made, then flip the model over. Now open and spread the two upper wings so they fan out from the center. This is where the butterfly starts to look like one. Gently coax each wing open with your fingers and set the crease at the base so the wings stay lifted.

Tip

Do not force the wings flat. A slight upward angle gives the butterfly life.

6

Form the Body and Lower Wings

6:24
Step 6: Form the Body and Lower Wings - How to Fold an Origami Butterfly

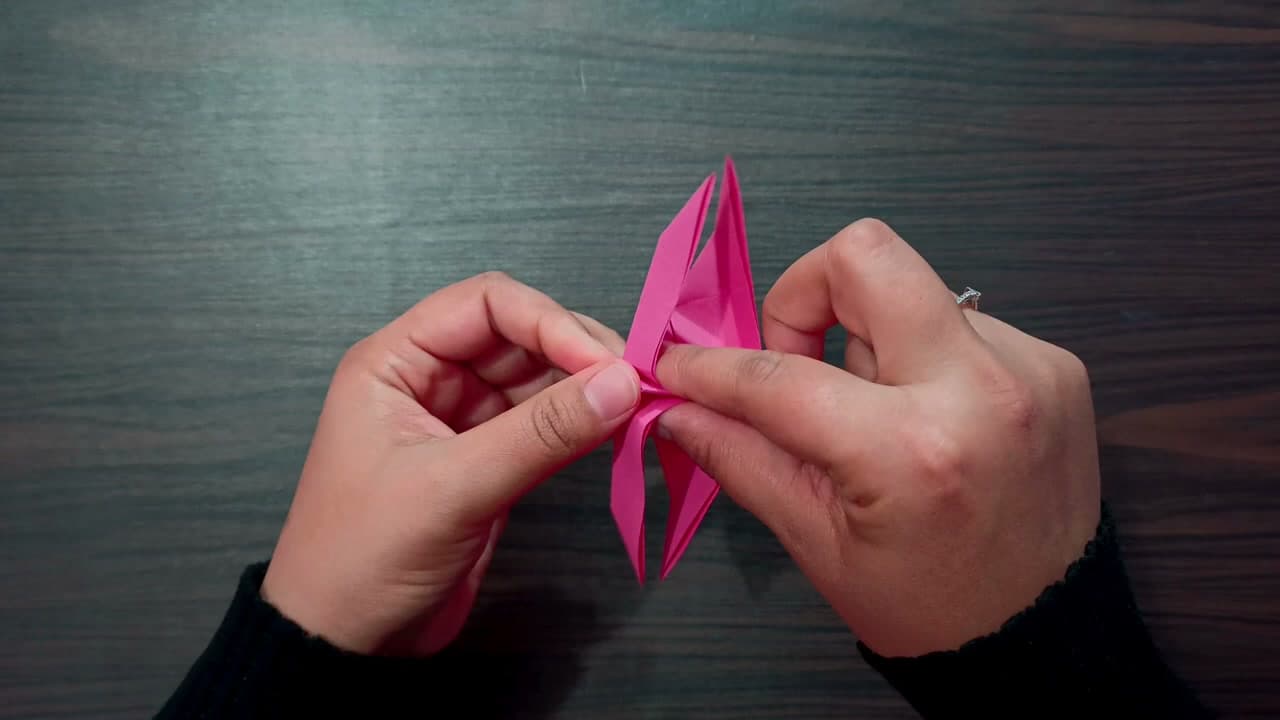
Pinch along the center line to raise a ridge down the middle. That ridge is the body, and it holds the two sides of the butterfly together. As you pinch, the lower wings drop into place under the upper pair. Run your fingers down the crease to set it. You should now have four distinct wings around a raised body.

Tip

A firm center pinch is what keeps the wings from flopping. Squeeze and hold for a second.

7

Curl the Antennae and Finish

7:44
Step 7: Curl the Antennae and Finish - How to Fold an Origami Butterfly

Two thin points stick out from the front of the body. Roll each one around a toothpick or your fingernail to curl them into antennae. That small touch turns a folded shape into a real butterfly. Give the wings one last spread and you are done. Set it on a shelf, tape it to a card, or fold a few in different colors.

Tip

String a thread through the body and hang a cluster of them for a quick mobile.

Keep going

How to Make a Paper Pumpkin

Products Used

The Checklist

How to Fold an Origami Butterfly

Tools
2
Materials
2
Steps
7
Video
8 min

Tools we recommend

Your Guide

Nishiegami

As an Amazon Associate we earn from qualifying purchases. Links on this page may be affiliate links - clicking them and buying doesn't change your price, but helps support ShowMeStepByStep.

Tags

Sunday How-To

New paper crafts tutorials, every Sunday

One short email with the week's best step-by-step guides. Free, no spam, unsubscribe anytime.

Test your knowledge

Did the lesson stick? Start with this one.

5 questions covering what you just read. No signup, no score saved, and you can stop after this one.

Question 1 of 5

After creasing the square, what base do you collapse it into?

Quick reference

Key takeaways from How to Fold an Origami Butterfly

5 questions, answers, and one-line explanations. Tap to expand.

  1. 1.After creasing the square, what base do you collapse it into?

    Answer: A triangle base

    The diagonal and straight creases let the paper collapse into a triangle base.

  2. 2.What is the purpose of the diagonal and straight creases?

    Answer: Lines the paper folds along

    Those creases are the fold lines the paper collapses along in the next step.

  3. 3.How do you form the body that holds the wings together?

    Answer: Pinch a center ridge

    Pinching a ridge down the center forms the body and joins the two wings.

  4. 4.What final touch makes the model read as a butterfly?

    Answer: Curling the antennae

    Curling the two front points into antennae is the detail that finishes the butterfly.

  5. 5.Why spread the upper wings slowly and gently?

    Answer: The layers can tear

    Several folded layers are under tension, so easing them open avoids tearing.

Did this work for you?

What's next

Related collections

Curated theme pages that include this tutorial.

Weekly Digest

Liked this paper crafts tutorial?

Pick the categories you want to hear about. Weekly digest of new step-by-step tutorials. No spam, easy unsubscribe.

Send me tutorials about

We only email about new tutorials. Easy unsubscribe anytime.