How to Make Paper Butterflies (Wall Decor)

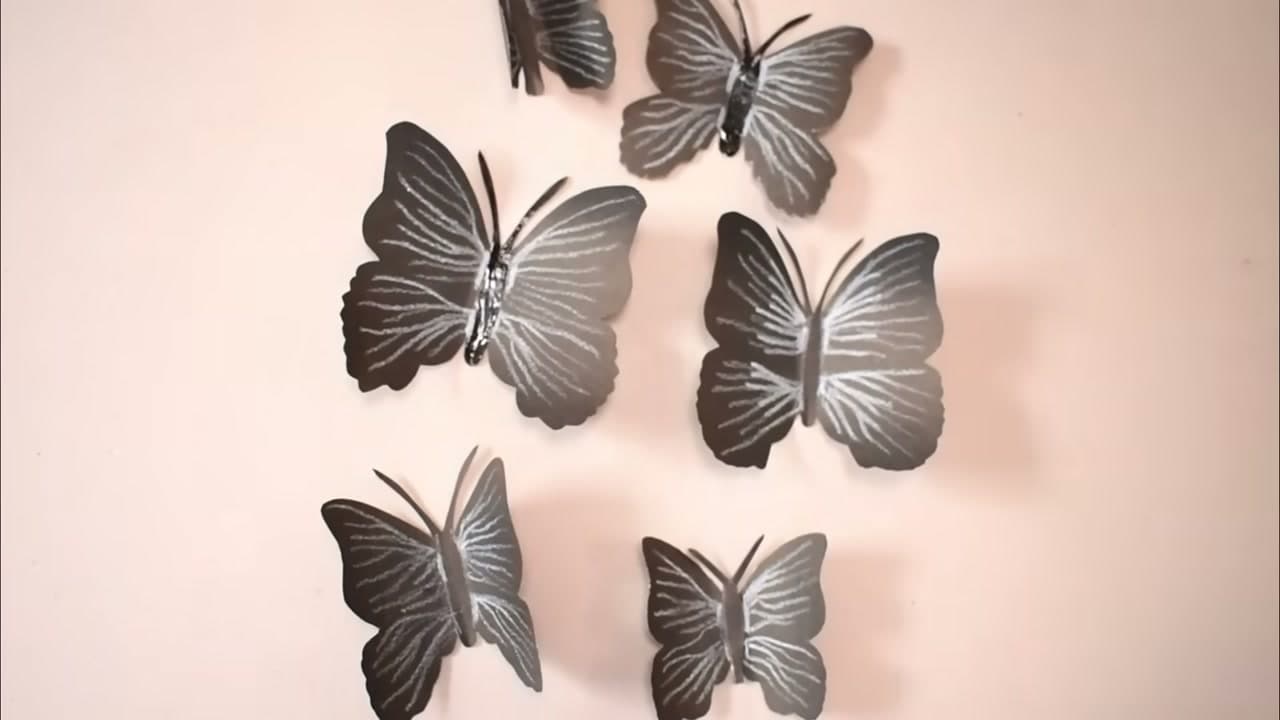
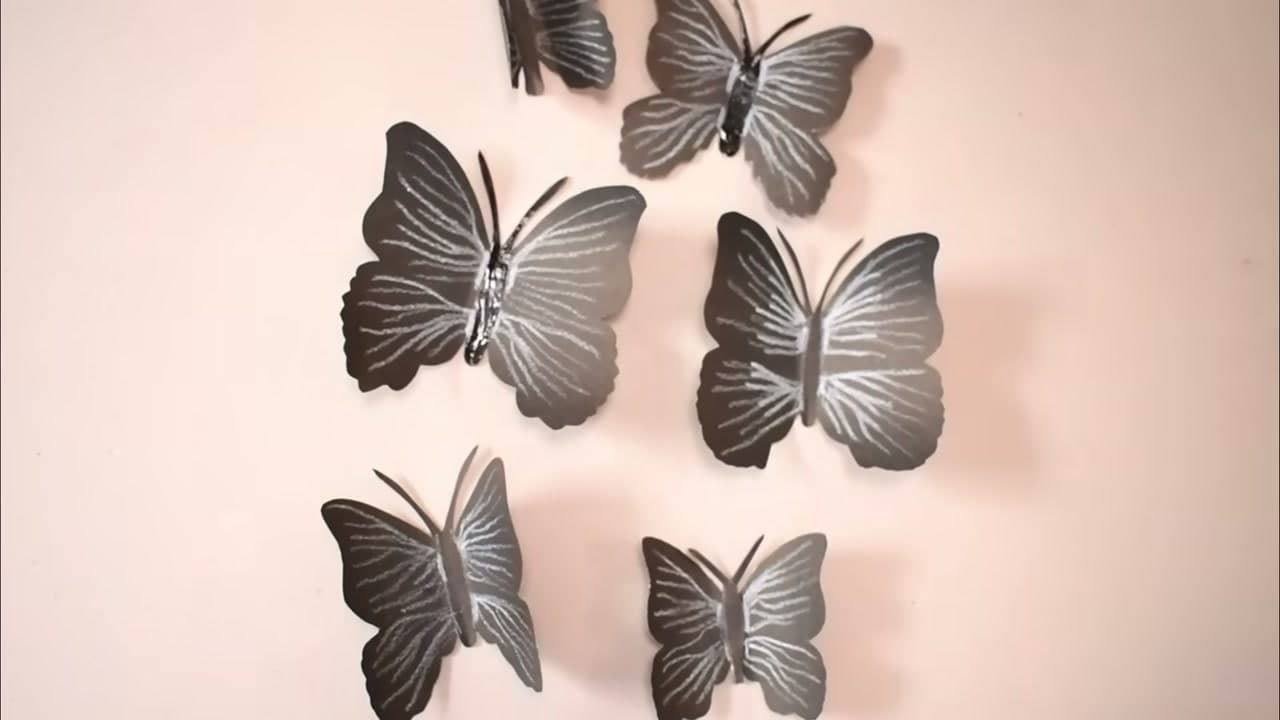
The finished result: How to Make Paper Butterflies (Wall Decor)

By ShowMeStepByStepPublished Updated

Based on a video by Art My Passion.

A wall of paper butterflies costs about four dollars and gets asked about by everyone who walks past it. Art My Passion cuts these from colored cardstock, folds the wings up the middle and sticks them on with tape. The method takes ten minutes to learn. Getting the wall right takes more thought, and that is what this page is for.

The photos that send people looking for this all show the same thing: butterflies that look like they are lifting off the paint rather than lying flat on it. Two decisions produce that. The paper you cut them from, and how far you bend the wings.

Cut on the fold and stop worrying about symmetry

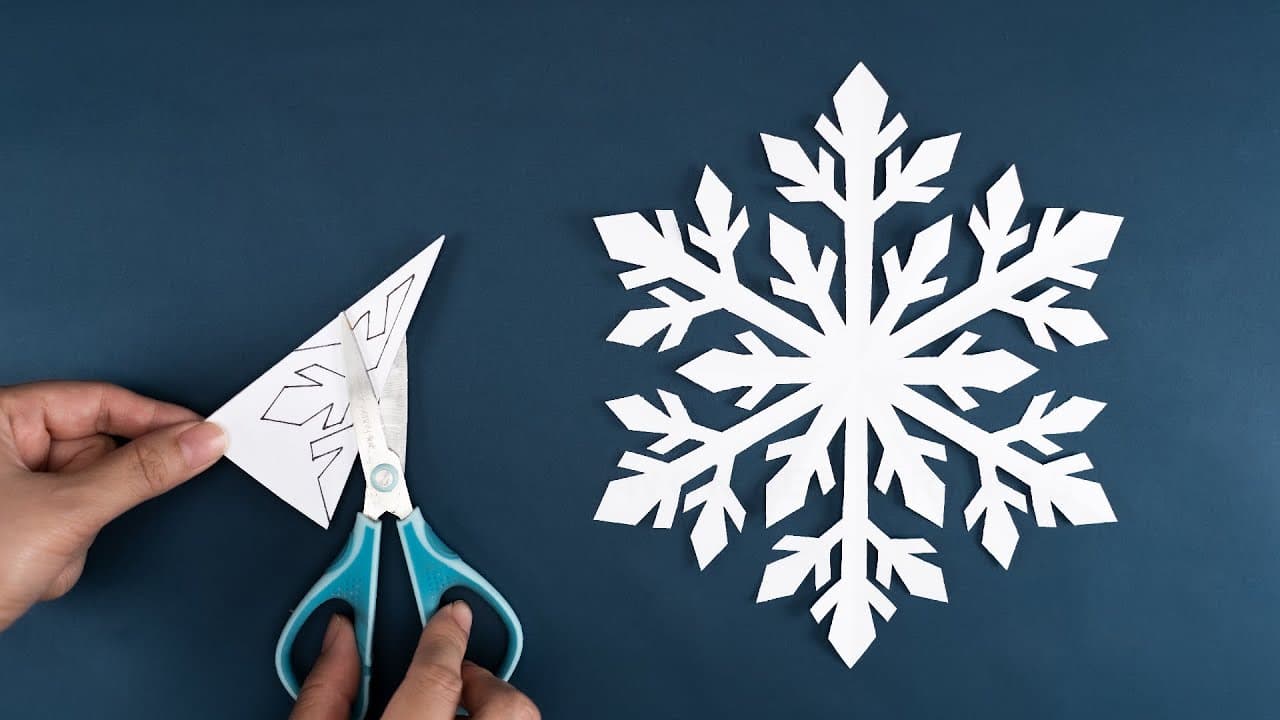
Draw a butterfly freehand and one wing always comes out bigger. Fold the sheet in half instead. Draw half a butterfly against the fold line - one top wing, one bottom wing, half a body - and cut through both layers at once. Open it and the sides match exactly. Same trick as a paper snowflake.

A template earns its keep once you want a dozen. Draw the half-shape on scrap card, cut it out, then trace around it against the fold every time. Three sizes covers a whole wall.

Which paper to cut them from

Cardstock is the answer for anything going on a wall. The 65 to 110 lb range holds the wing bend for years and shrugs off humidity. Printer paper goes limp within a week, the wings settle flat, and the shadow disappears with them.

  • Cardstock - the default. Holds a curve, cuts clean, comes in every color.
  • Vellum - translucent, so it glows where light crosses it. Softer, so keep these small.
  • Scrapbook paper - patterned on one side. Good for a handful of accents; a whole wall of pattern turns noisy fast.
  • Glitter foam - thicker, takes a crease if you press and hold, throws light across the room. Two or three per cluster is plenty.

Bend the wings. This is the whole difference

A flat cutout taped to a wall is a sticker. Raised wings throw a small shadow underneath, and that shadow is what your eye reads as something alive. Skip the bend and you have made a craft. Do it and you have made a decoration.

Pinch along the body line and bring both wings up toward each other, roughly 30 to 45 degrees off flat. Set the crease with a fingernail or a bone folder. Then curl each top wing tip outward over the open blade of your scissors, the same motion you would use on curling ribbon. That curl at the tip is the thing people cannot name when they say a wall looks good.

Mounting without wrecking the paint

Tape goes on the body only. Tape a wing down and you have undone the fold. One dot in the middle is enough, since these weigh almost nothing.

Removable glue dots lift off flat paint clean. Mounting putty is the kindest on a rental wall, though a dark blob shadows through pale cardstock, so use white. A loop of washi tape is cheapest. Foam tape grips textured paint and pushes the butterfly further off the wall, which deepens the shadow. Test one, leave it overnight, then pull it off and check the paint before you commit forty more.

Laying out a swarm so it reads as flight

A grid reads as a grid. What you want is a diagonal river: a tight cluster at one end that thins and spreads as it climbs. Large butterflies at the dense end, small ones trailing out. Your eye reads shrinking size as distance, so the trail looks like it is flying away.

Grade the color too. Three shades of one color plus a neutral beats eight fighting each other, and an odd number looks more natural than an evenly spaced row. Stand back every four or five to check the flow before you press anything down hard.

That corner takes more paper without looking crowded. Paper rosettes and tissue paper flowers sit well under a butterfly trail, and a few folded origami butterflies add texture up close.
What you'll need

Step-by-Step Guide

8 steps · about 13 minutes.Check off each step as you go and your progress saves automatically.

1

Fold the Cardstock in Half and Trace One Butterfly Wing

0:45
Step 1: Fold the Cardstock in Half and Trace One Butterfly Wing - How to Make Paper Butterflies (Wall Decor)

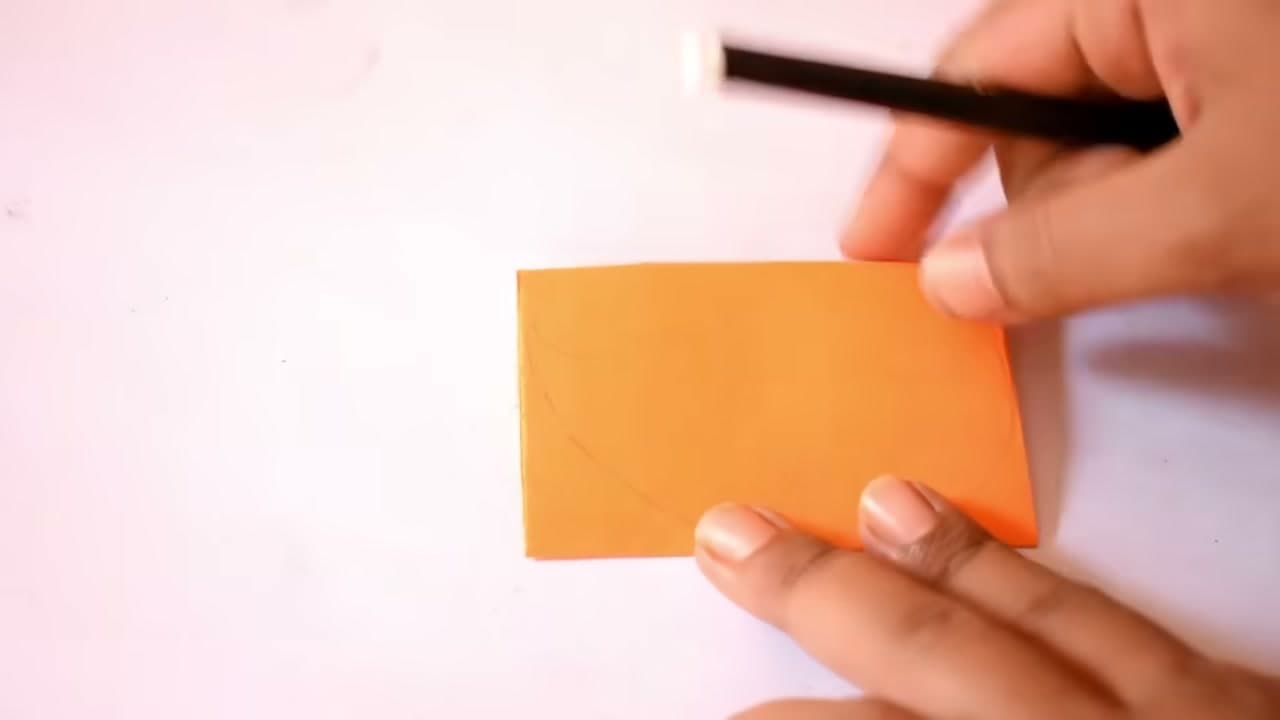
Grab a sheet of colored cardstock and fold it in half. Draw one wing and the body right along the fold with a pencil. When you open it back up, both wings match. That symmetry is what makes a butterfly read as a butterfly instead of a blob.

Keep the shape simple for your first few: two rounded top wings, two pointed bottom wings, a slim body down the middle. Make butterflies in a few different colors so the finished wall has some variety.

Tip

Watch this step Trace around a template or cut one from a magazine if freehand feels shaky. A stiffer cardstock holds the 3D fold far better than thin printer paper.

2

Cut Out the Paper Butterfly with Craft Scissors

4:00
Step 2: Cut Out the Paper Butterfly with Craft Scissors - How to Make Paper Butterflies (Wall Decor)

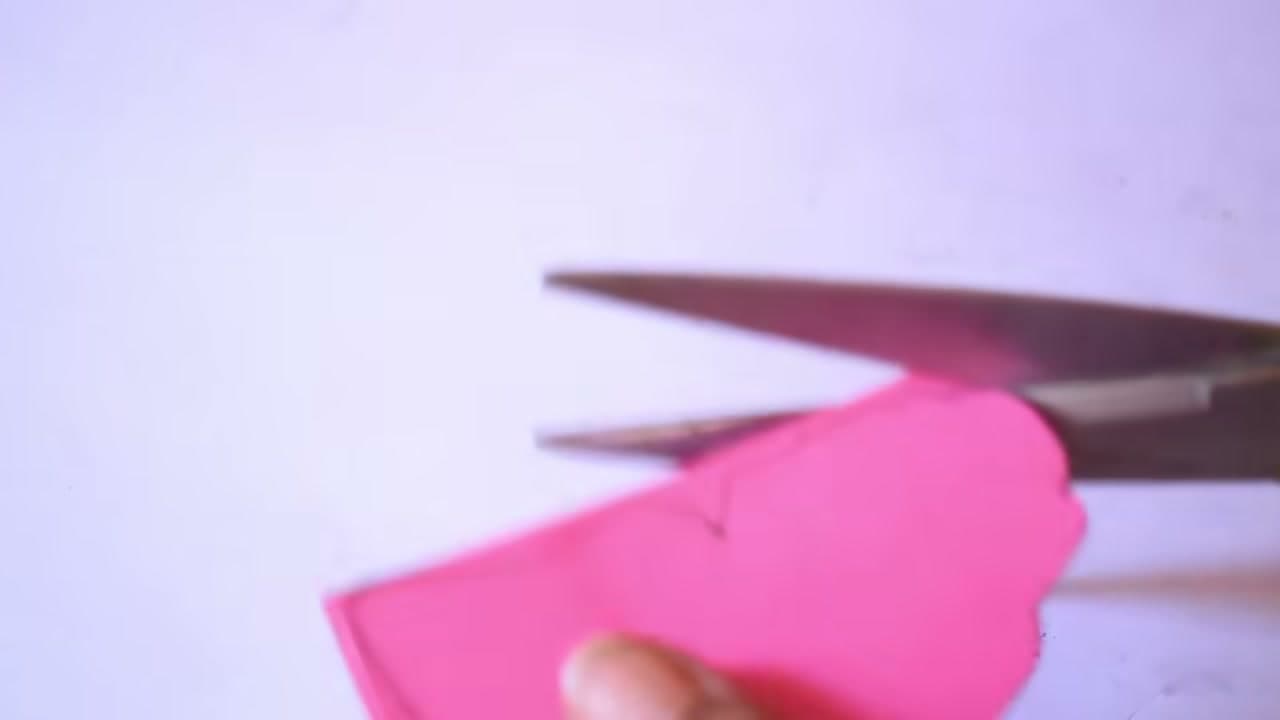
Cut along your pencil line with a sharp pair of scissors. Turn the paper as you go rather than turning the scissors, and take the curves slow so the wing edges stay smooth. Rough, jagged edges show up once the butterfly is on the wall, so clean cuts are worth the extra few seconds.

For the tight inner curves between the wings, a craft knife or small detail scissors help. Cut a stack of butterflies while you are at it.

Tip

Watch this step Snip small notches into the outer wing edges for a lacy, detailed look. It reads as much fancier than the effort it takes.

Used in this stepcraft scissorscraft knife
3

Fold the Cardstock Wings Up Along the Center Crease

3:20
Step 3: Fold the Cardstock Wings Up Along the Center Crease - How to Make Paper Butterflies (Wall Decor)

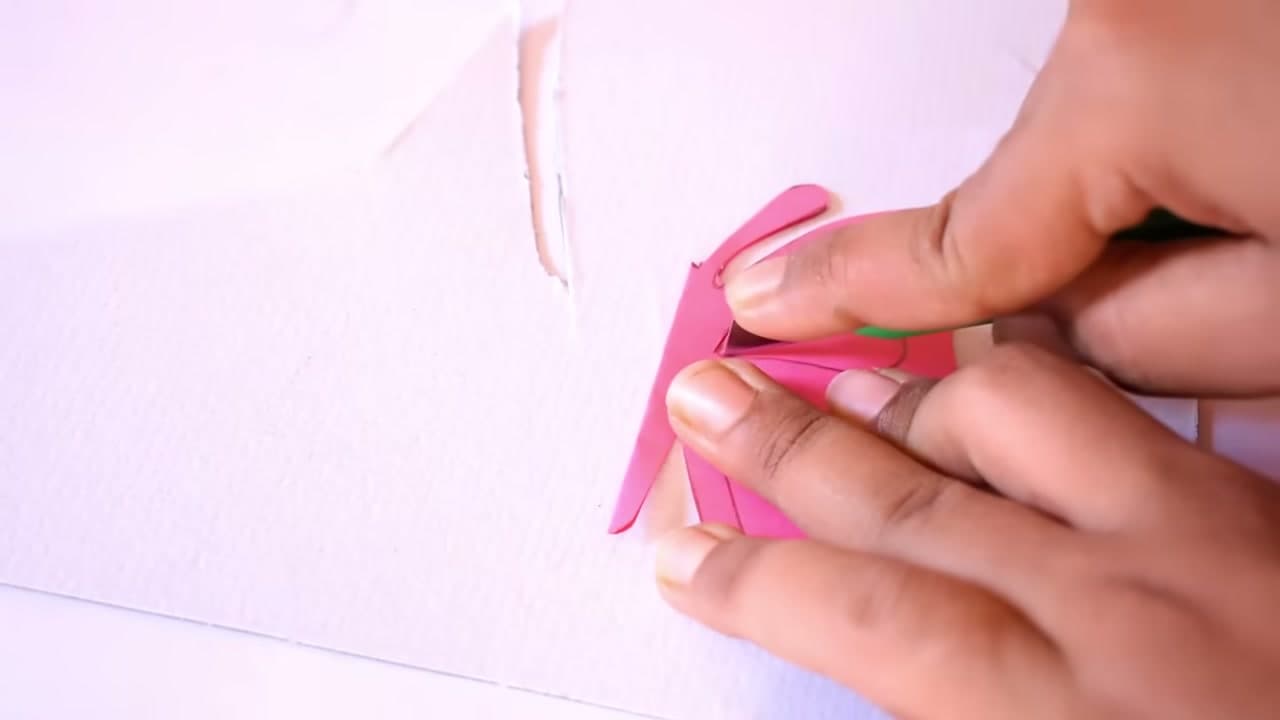
This is the step that turns a flat cutout into 3D wall decor. Pinch the butterfly down its center line and fold both wings up toward each other. You are not flattening it back down. You want the wings to hold a raised V so they lift away from the wall and catch the light.

Run your fingernail along the body crease to set it. A crisp center fold is the whole difference between a paper butterfly that looks stuck-on and one that looks like it landed.

Tip

Watch this step Curl the top wing tips slightly with the edge of your scissors for extra dimension, the same trick you would use to curl ribbon.

Used in this stepcraft scissorsbone folder
4

Draw Vein Lines and Edge Detail on the Wings

4:50
Step 4: Draw Vein Lines and Edge Detail on the Wings - How to Make Paper Butterflies (Wall Decor)

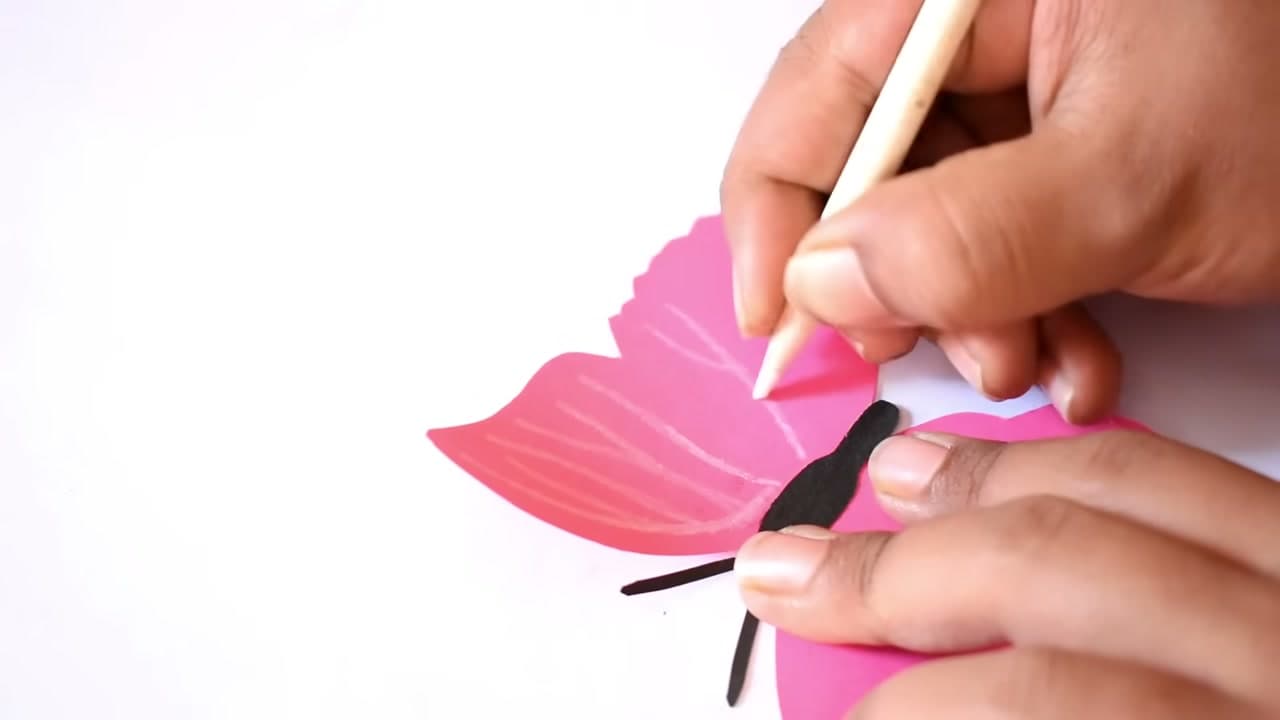
Give the wings some texture with a marker, a metallic pen, or a 3D outliner. Draw vein lines fanning out from the body, add a border around the wing edge, or dot on a few small circles. Even a couple of lines make the butterfly look intentional instead of plain.

A 3D outliner (the puffy paint kind) dries raised and gives real dimension you can feel. Let any wet detail dry flat before you fold, or the lines can smear.

Tip

Watch this step Stick with one accent color per butterfly so the wall looks pulled together rather than busy. Gold or white pops on dark paper.

5

Trace and Cut a Glitter Foam Butterfly

6:40
Step 5: Trace and Cut a Glitter Foam Butterfly - How to Make Paper Butterflies (Wall Decor)

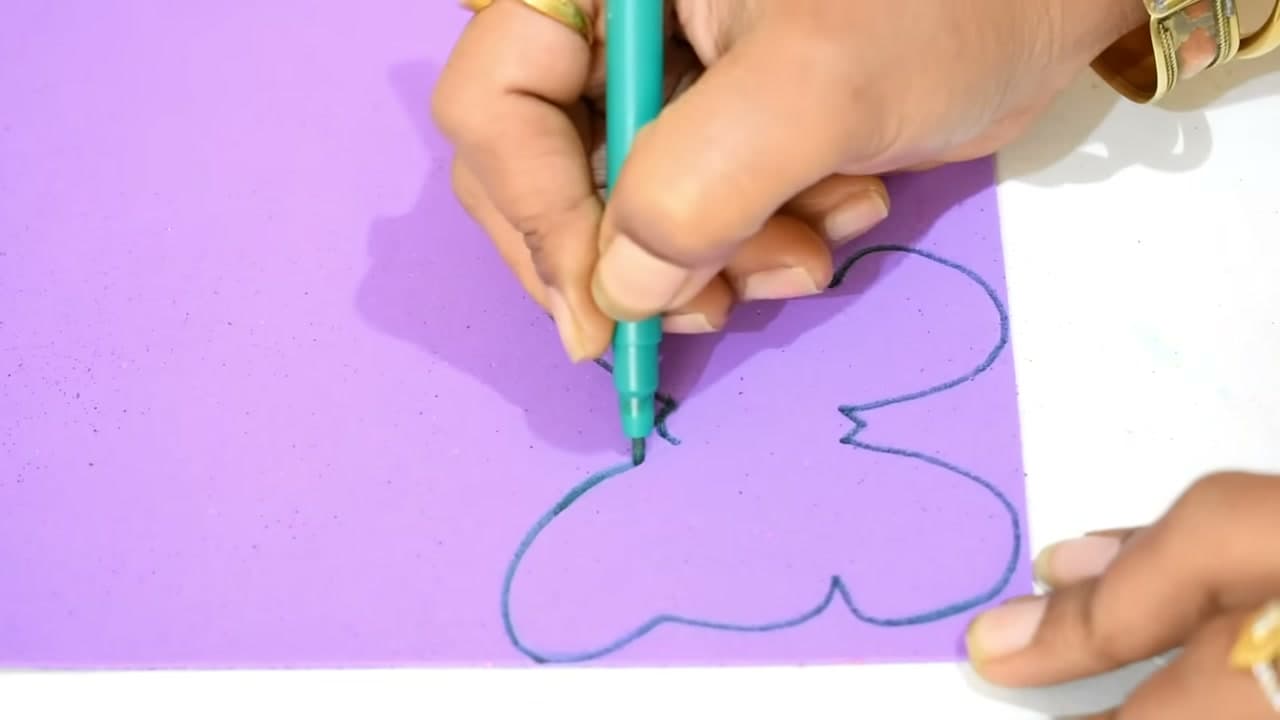
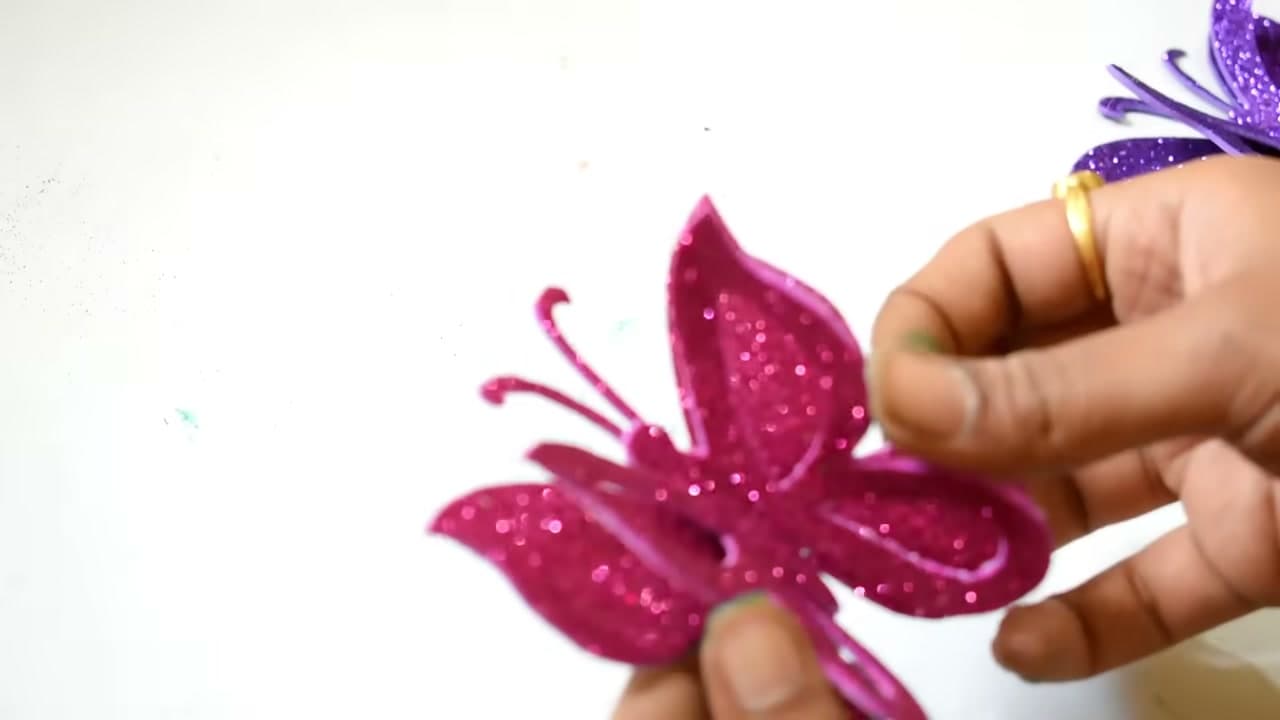
For a butterfly with more sparkle, swap cardstock for a glitter foam sheet. Trace the same shape onto the back of the foam, then cut it out. Foam is thicker than paper, so go slow and let the scissors do the work through the material.

Glitter foam holds a fold well and adds shine without loose glitter shedding everywhere. Mixing a few foam butterflies in with your paper ones gives the finished wall some texture and catches the light differently.

Tip

Watch this step Foam does not crease as sharply as paper, so press the center fold firmly and hold it for a few seconds to help it set.

6

Check the Folded Wings on the Finished Butterfly

9:20
Step 6: Check the Folded Wings on the Finished Butterfly - How to Make Paper Butterflies (Wall Decor)

Here is a finished glitter foam butterfly with its wings folded up and ready to mount. Lay all your butterflies out together and look at the mix. You want a range of sizes and colors so the arrangement feels natural, like a real flutter of them rather than a matched set.

Make a few more if the group looks thin. An odd number of butterflies tends to look better on a wall than an even, evenly spaced row.

Tip

Watch this step Vary the sizes on purpose. A few large butterflies with several small ones around them gives the arrangement a sense of depth and movement.

7

Add a Glue Dot or Double-Sided Tape to the Back

11:50
Step 7: Add a Glue Dot or Double-Sided Tape to the Back - How to Make Paper Butterflies (Wall Decor)

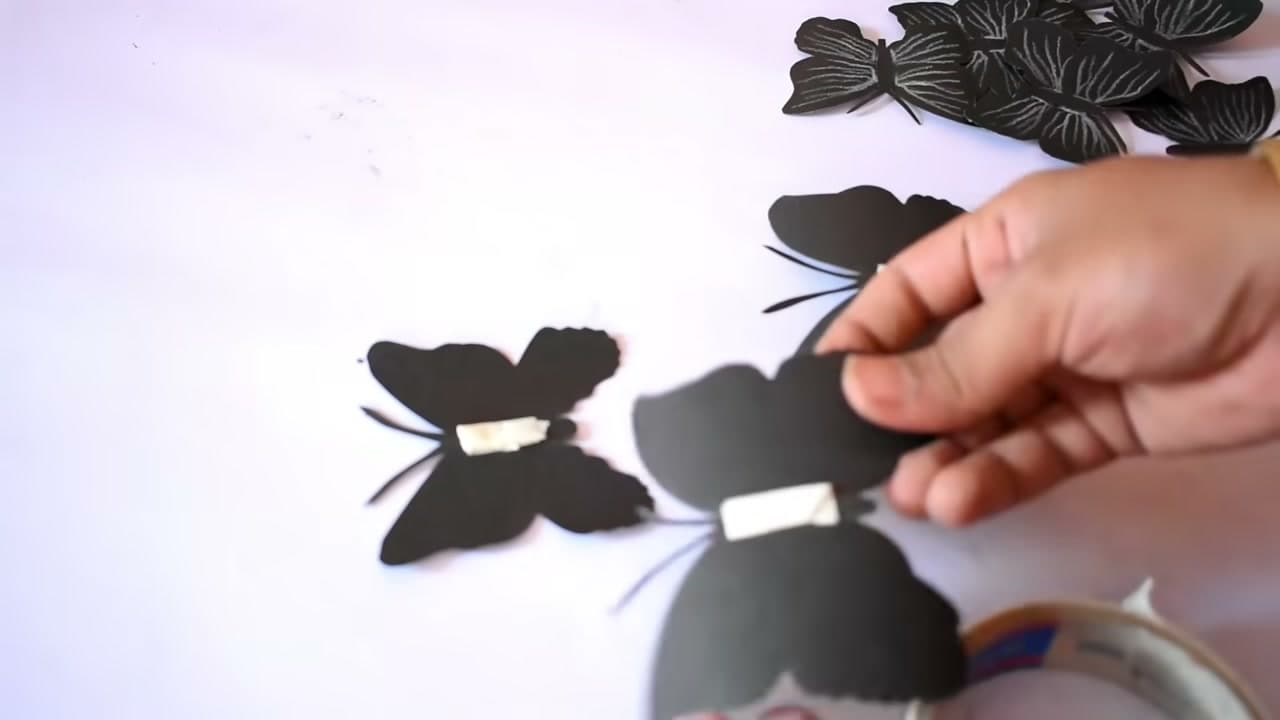
Flip each butterfly over and press a small strip of double-sided tape or a glue dot onto the body, right at the center fold. Keep the tape on the body only, not the wings, so the wings stay free to lift off the wall and keep their 3D shape.

Double-sided foam tape adds a little extra pop off the wall and holds better on textured paint. Glue dots are the cleanest option if you want to remove the butterflies later without peeling paint.

Tip

Watch this step Test one butterfly on the wall first and leave it a few minutes. If it holds, tape the rest. Removable tape saves your paint when you redecorate.

8

Arrange the Paper Butterflies on the Wall in a Flowing Path

12:05
Step 8: Arrange the Paper Butterflies on the Wall in a Flowing Path - How to Make Paper Butterflies (Wall Decor)

Now the fun part. Press the butterflies onto the wall in a flowing, diagonal path so they look like they are drifting upward or across. Cluster a few close together at one end, then let them spread out and thin toward the other. That trailing pattern is what makes it feel alive.

Step back often to check the flow before you commit each one. When the arrangement looks right, press each body firmly for a few seconds. Your paper butterflies are up and the room has a whole new focal point.

Tip

Watch this step Photograph a wall you like for reference before you start. A loose S-curve or a corner cluster fanning out both read well and are hard to mess up.

Keep going

How to Make Paper Mache

Products Used

The Checklist

How to Make Paper Butterflies (Wall Decor)

Tools
4
Materials
6
Steps
8
Video
13 min

Tools we recommend

Your Guide

Art My Passion

As an Amazon Associate we earn from qualifying purchases. Links on this page may be affiliate links - clicking them and buying doesn't change your price, but helps support ShowMeStepByStep.

Tags

Sunday How-To

New paper crafts tutorials, every Sunday

One short email with the week's best step-by-step guides. Free, no spam, unsubscribe anytime.

Test your knowledge

Did the lesson stick? Start with this one.

5 questions covering what you just read. No signup, no score saved, and you can stop after this one.

Question 1 of 5

What are the butterflies cut from?

Quick reference

Key takeaways from How to Make Paper Butterflies (Wall Decor)

5 questions, answers, and one-line explanations. Tap to expand.

  1. 1.What are the butterflies cut from?

    Answer: Colored cardstock

    Cardstock holds the wing fold, which is what makes them stand out.

  2. 2.What gives each butterfly its 3D look?

    Answer: Folding the wings up the center

    The center fold lifts the wings so they sit off the wall.

  3. 3.Why do the folded wings look better than a flat cutout?

    Answer: They catch light and cast a shadow

    Raised wings catch the light and throw a small shadow onto the wall.

  4. 4.What material adds sparkle to the arrangement?

    Answer: Glitter foam

    A glitter foam version mixes in with the paper ones for extra shine.

  5. 5.How are the butterflies mounted on the wall?

    Answer: Taped on the backs

    Tape on the back keeps the wings free to stand up.

Did this work for you?

What's next

Related collections

Curated theme pages that include this tutorial.

Weekly Digest

Liked this paper crafts tutorial?

Pick the categories you want to hear about. Weekly digest of new step-by-step tutorials. No spam, easy unsubscribe.

Send me tutorials about

We only email about new tutorials. Easy unsubscribe anytime.