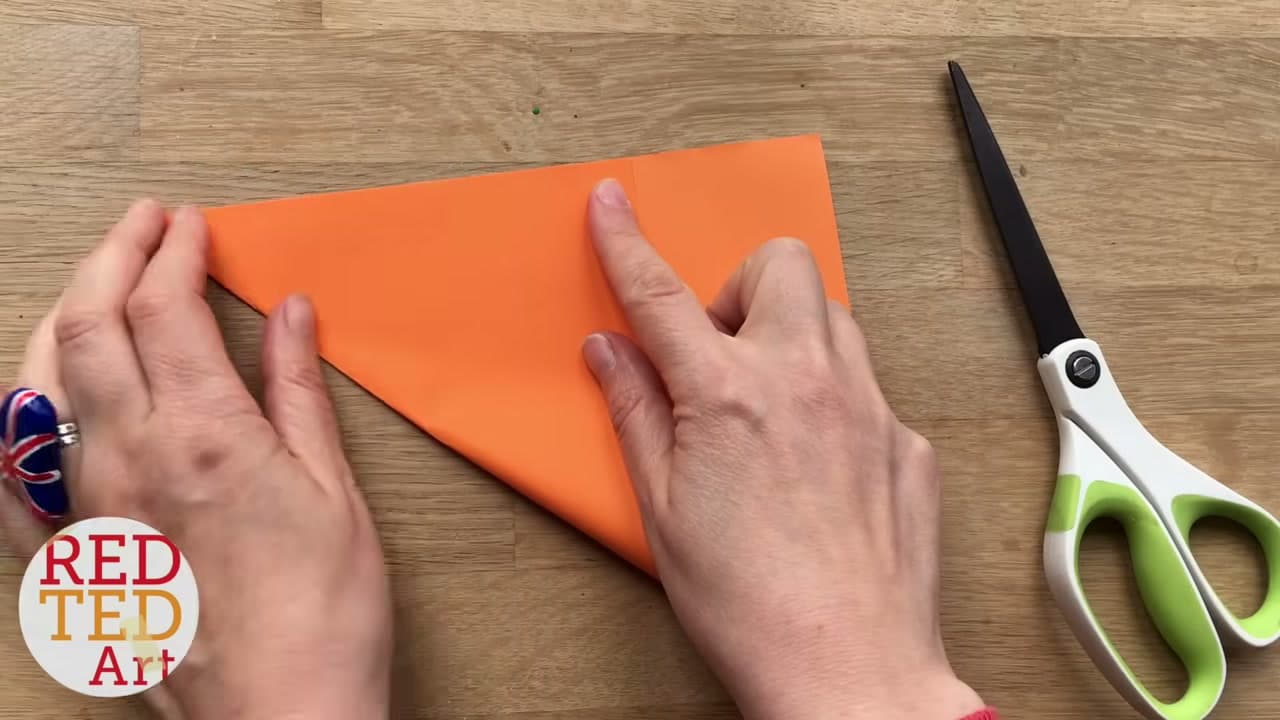
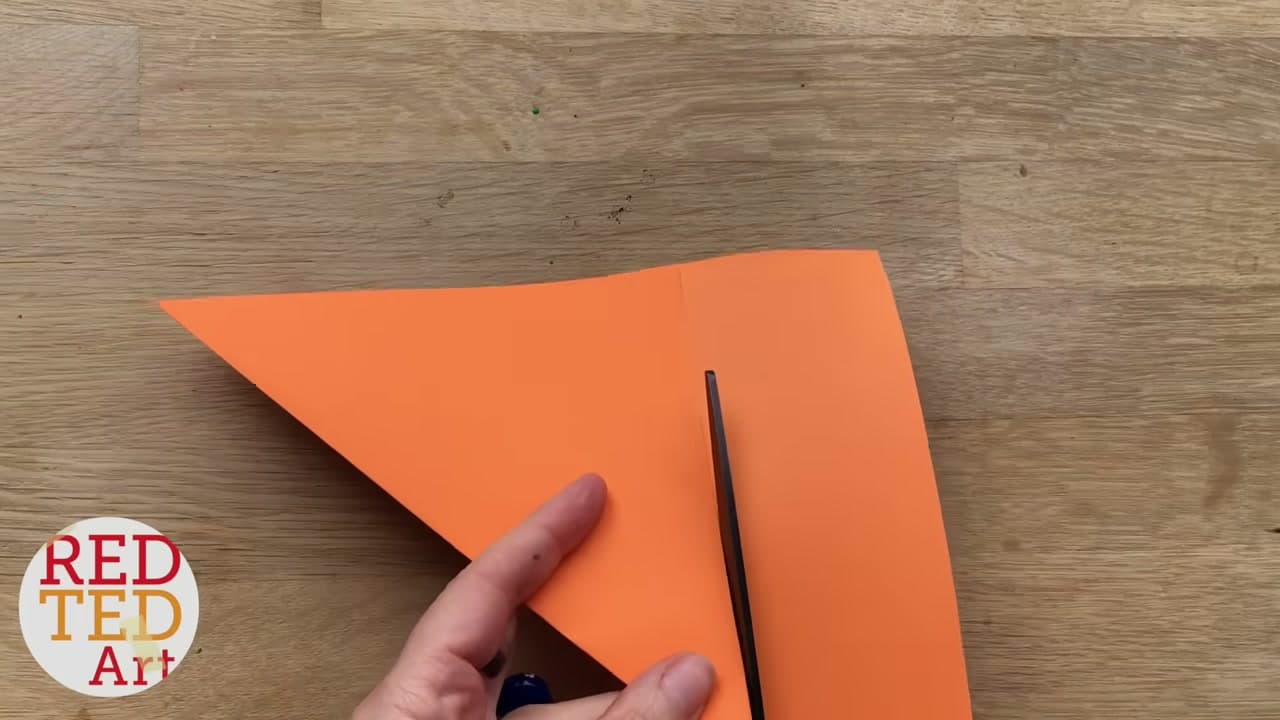
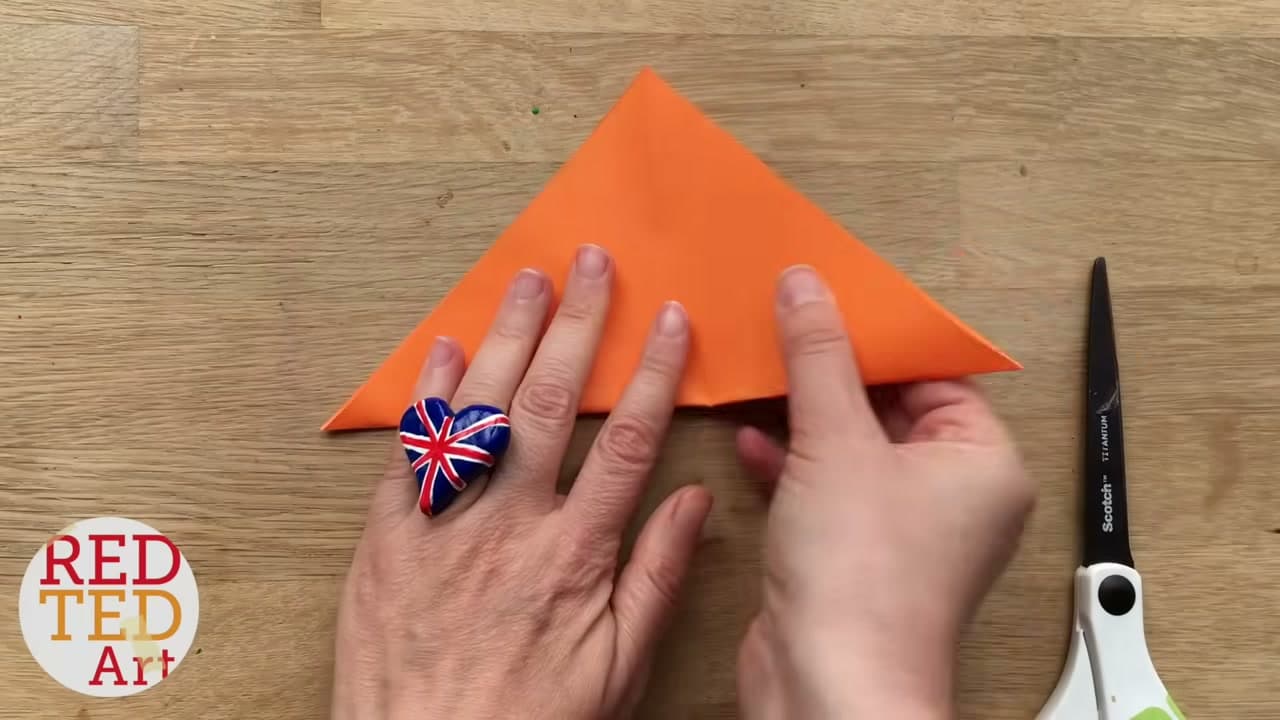
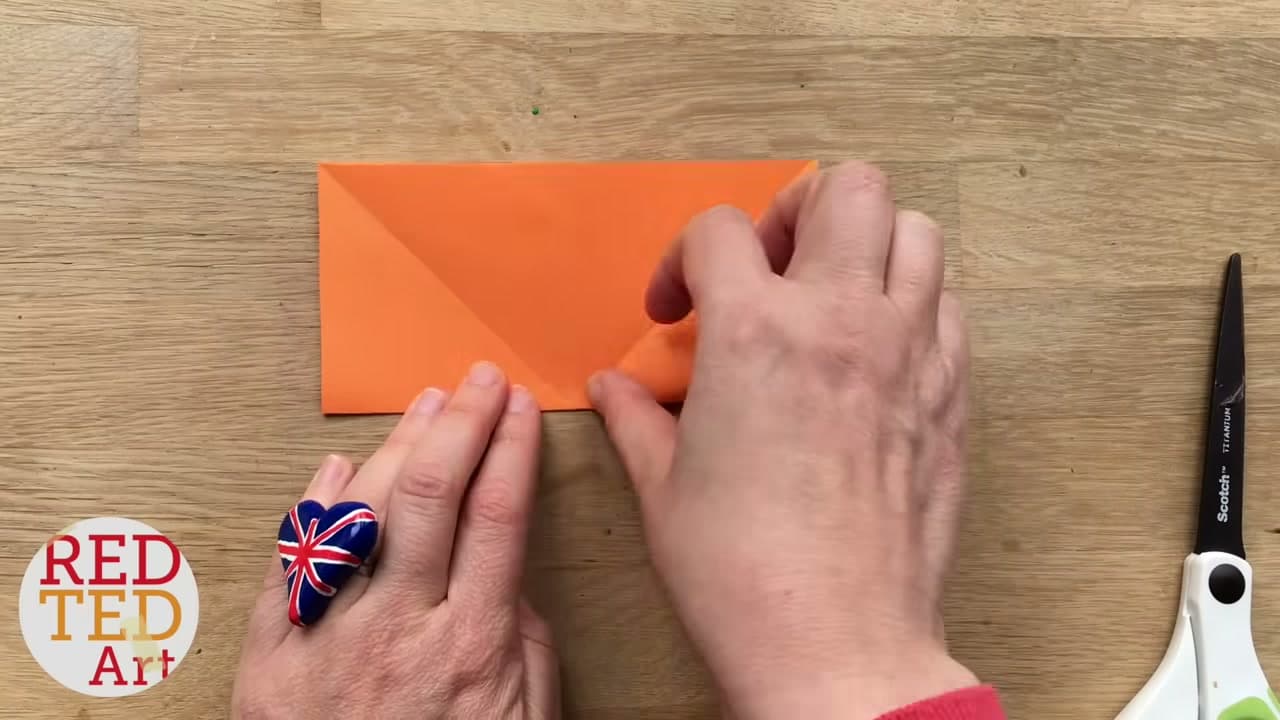
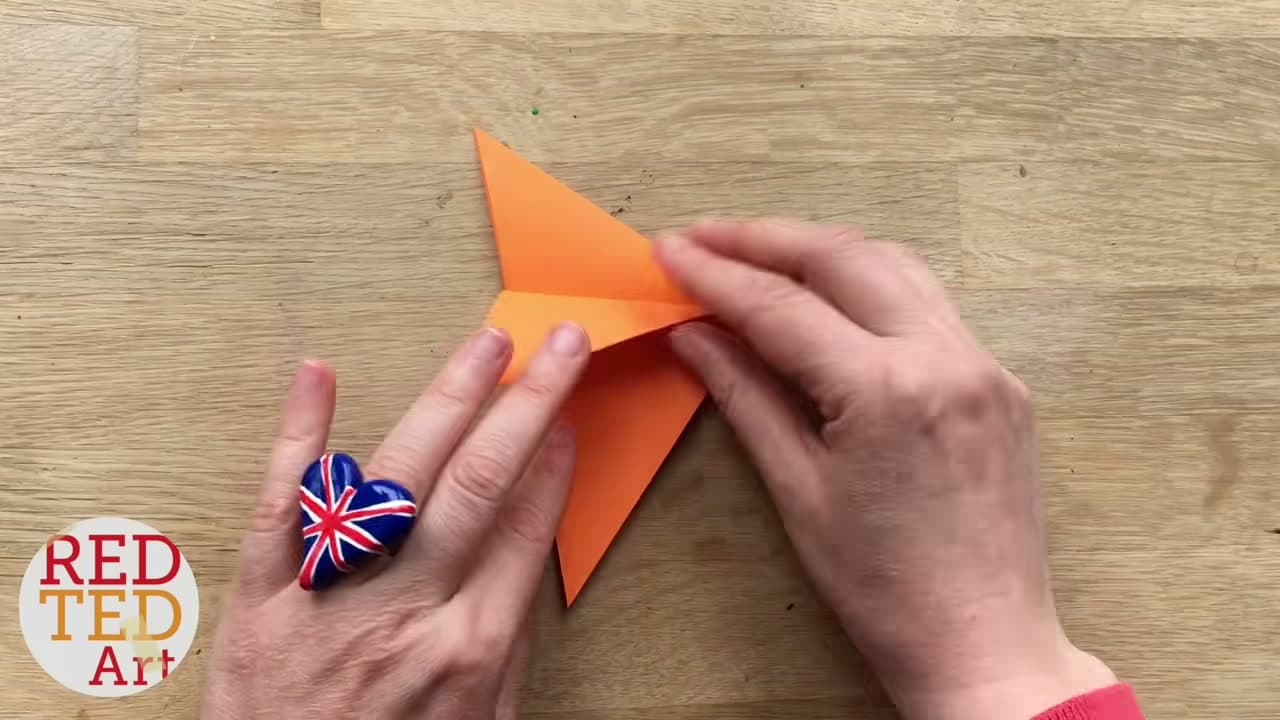
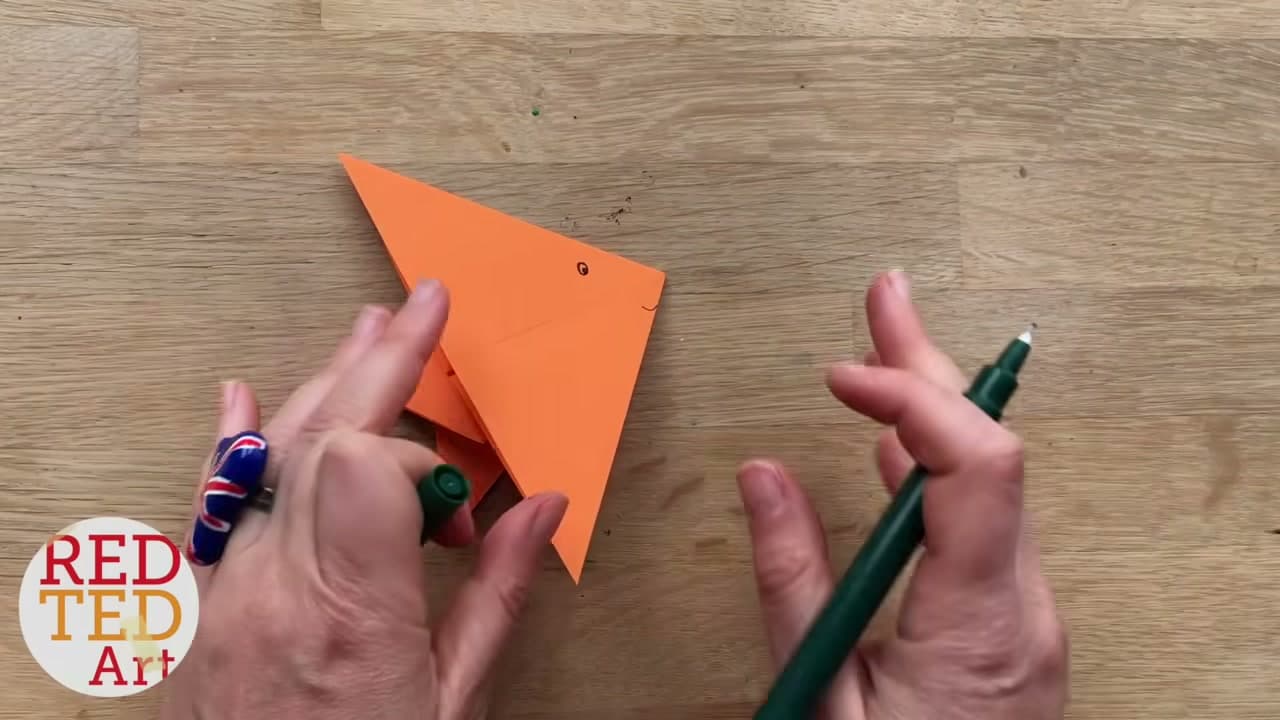
An origami fish is a good first model because it survives a wobbly fold. Four folds, one snip and a marker eye, and even a crooked one still reads as a fish. This version comes from Maggy Woodley of Red Ted Art, who folds it from a sheet of plain orange craft paper in about five minutes flat.
The steps below run the folds in order. What follows is what decides whether yours comes out crisp or floppy: the paper, the two folds the model is built from, and where kids go wrong the first time.
Which Paper Works, and Why Printer Paper Cracks
Kami is the standard origami paper. Thin, colored on one side, white on the back, and it holds a crease after one pass of a thumbnail. A 6-inch square is the usual size, but for a first fish go bigger - an 8-inch square gives small hands more to grip and a cleaner tail fin.
Printer paper is the substitute most people reach for, and it is why a lot of first attempts look rough. It is thicker and stiffer than kami, so the last fold, where several layers stack up at the tail, fights back and leaves a pale line where the fibers split. Construction paper is worse: it tears along the crease and the split edge never goes away. Scrapbook paper and thin wrapping paper both fold fine.
One thing about kami: the back is white, so the fish flashes white wherever the paper turns over. For one solid color from every angle, use paper dyed through on both sides.
The Two Folds Behind Every Model Like This
Origami has two folds and everything else is a combination of them. A valley fold brings the paper up toward you and leaves a dip down the crease. A mountain fold goes the other way and leaves a ridge. Diagrams draw a valley as a dashed line and a mountain as a dash-and-dot line, so a kid who knows both words can read most diagrams alone.
This fish squares the paper with a diagonal crease, valley folds the top and bottom edges in to the center line, then opens the loose flaps out into a tail. That sequence shows up everywhere. The origami crane starts from the same squared sheet and the same crossed diagonals, and the jumping frog pairs valley folds with one mountain fold to build the spring in its legs.
Where This Goes Wrong for Beginners
- Soft creases. Run a thumbnail down the full length of every fold, twice. A crease pressed hard in the middle and vague at the ends springs open, and the tail droops by the next day.
- Folding on something soft. A bed, a cushion, a lap. The paper gives under your hand and the crease wanders off line. A hard table fixes more beginner origami than any tool does.
- A crooked first diagonal. If the corners are not stacked before you press, the square is not square and nothing after it lines up. You find out at the tail, too late to fix.
- Forgetting to flip the paper over. Miss a flip and the shape still folds, it just ends up inside out with the white side showing.
Turn One Fish Into a School
One fish on the table is not much of a craft. Ten in graded sizes is an afternoon. Cut squares at 8, 6, 5 and 4 inches, fold two or three at each, then tape them across a window on a diagonal so it reads as a school swimming past.
- Thread cotton through the top fold of four fish for a mobile, or glue one flat to a card front and draw bubbles off its mouth.
- Line a few up on blue paper with torn green strips for weed. The strip cut off in step 2 is the right shape for that.
What to Fold Next
Stay on the water theme with a paper boat that floats, another single-square model that kids ask for twice. An origami butterfly is about the same difficulty and glues nicely to a card front. For the ground rules instead, the origami basics walkthrough covers base folds, paper sizes and diagram symbols.