How to Make Origami: 5 Paper Animals for Beginners

Paper CraftsEasy5:147 steps
Also in:Crafts

By ShowMeStepByStepPublished Updated

Based on a video by TheDadLab.

Origami looks complicated from the outside, but most beginner animals come down to two folds: a valley fold (paper bends toward you, forms a V) and a mountain fold (paper bends away, forms a peak). Once those two feel natural in your fingers, you can fold most of the small animals in this tutorial without thinking about it.

Use a square sheet of origami paper for each animal. Standard 6-inch squares are easiest for adult hands and small enough that kids can handle them too. A bone folder helps if you want crisp lines, but a fingernail does the job just as well.

Work on a hard, flat surface. Soft tables or carpets let the paper shift while you crease, and a soft crease is the difference between a sharp little fox and a floppy one. Take your time on the first one, then the rest go fast.

Step-by-Step Guide

1

Set Up Your Paper and Master the Two Foundation Folds

0:22
Step 1: Set Up Your Paper and Master the Two Foundation Folds

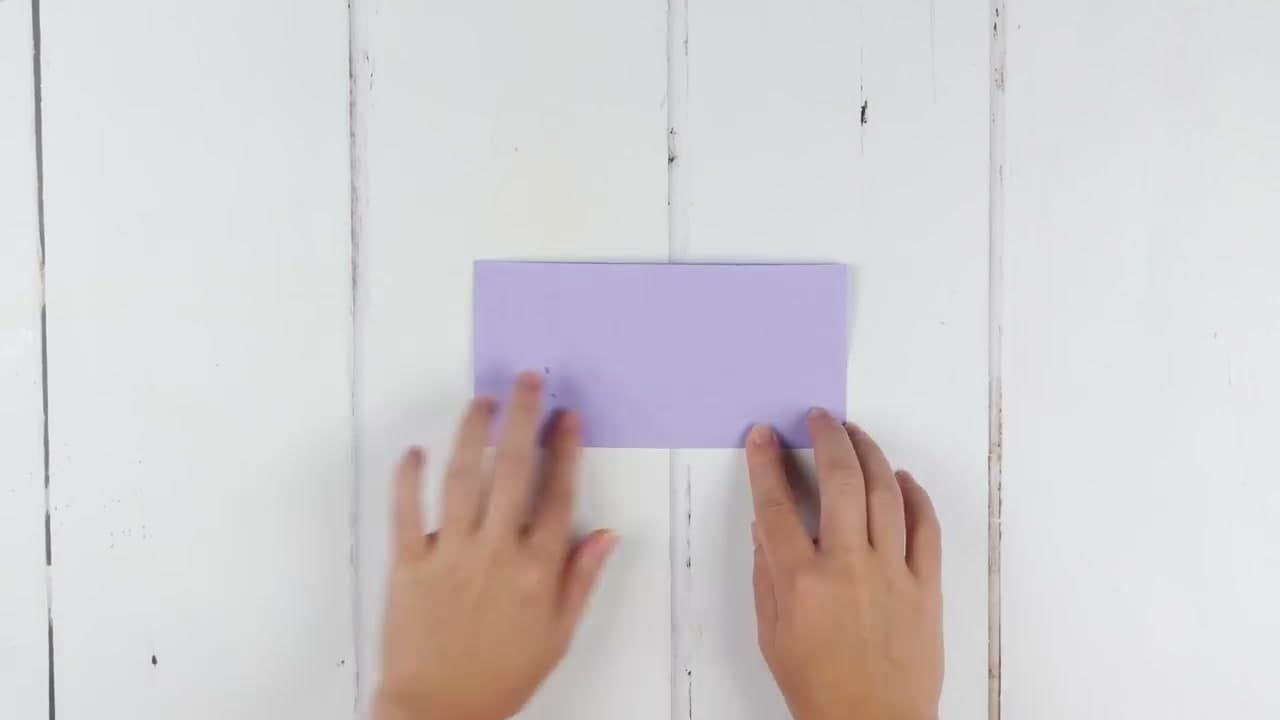
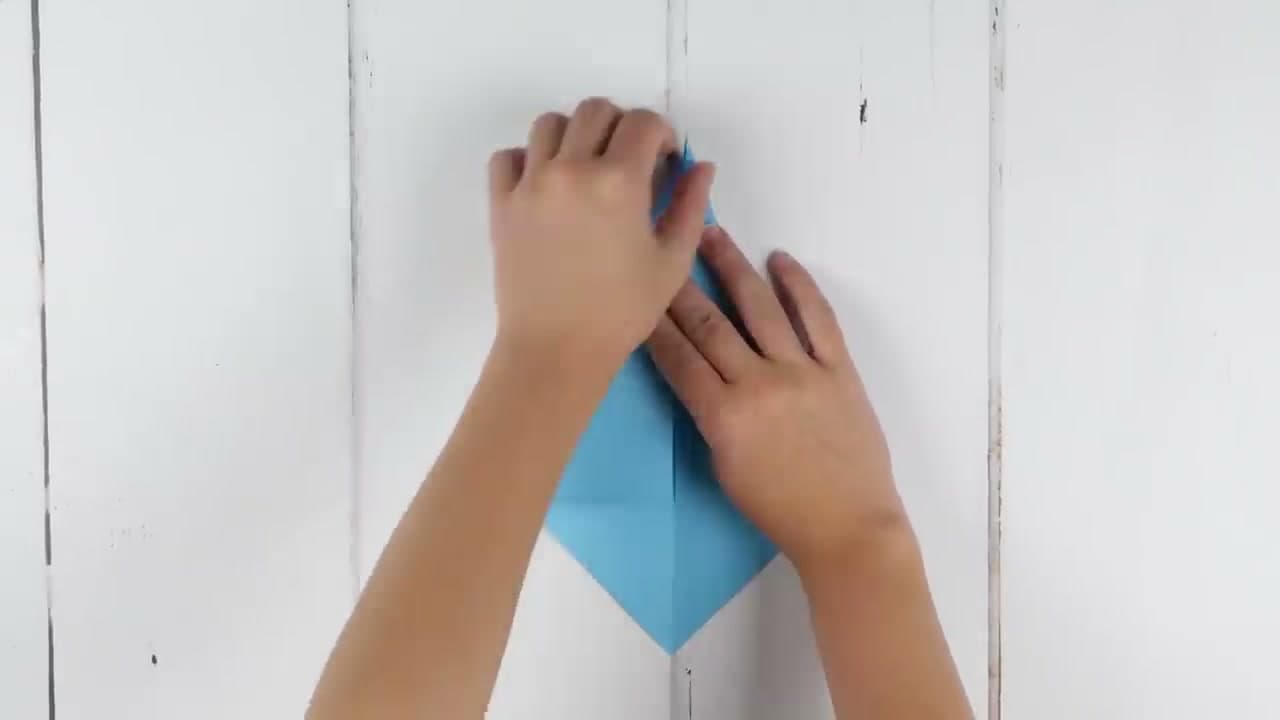
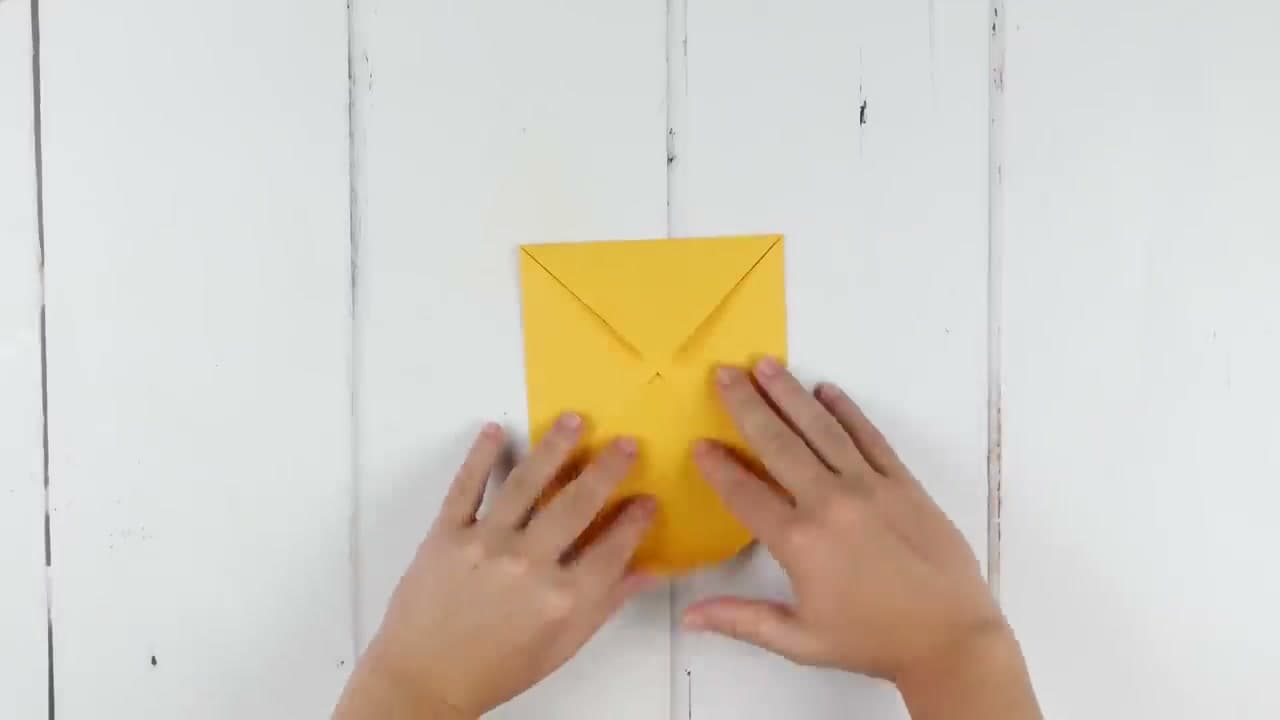
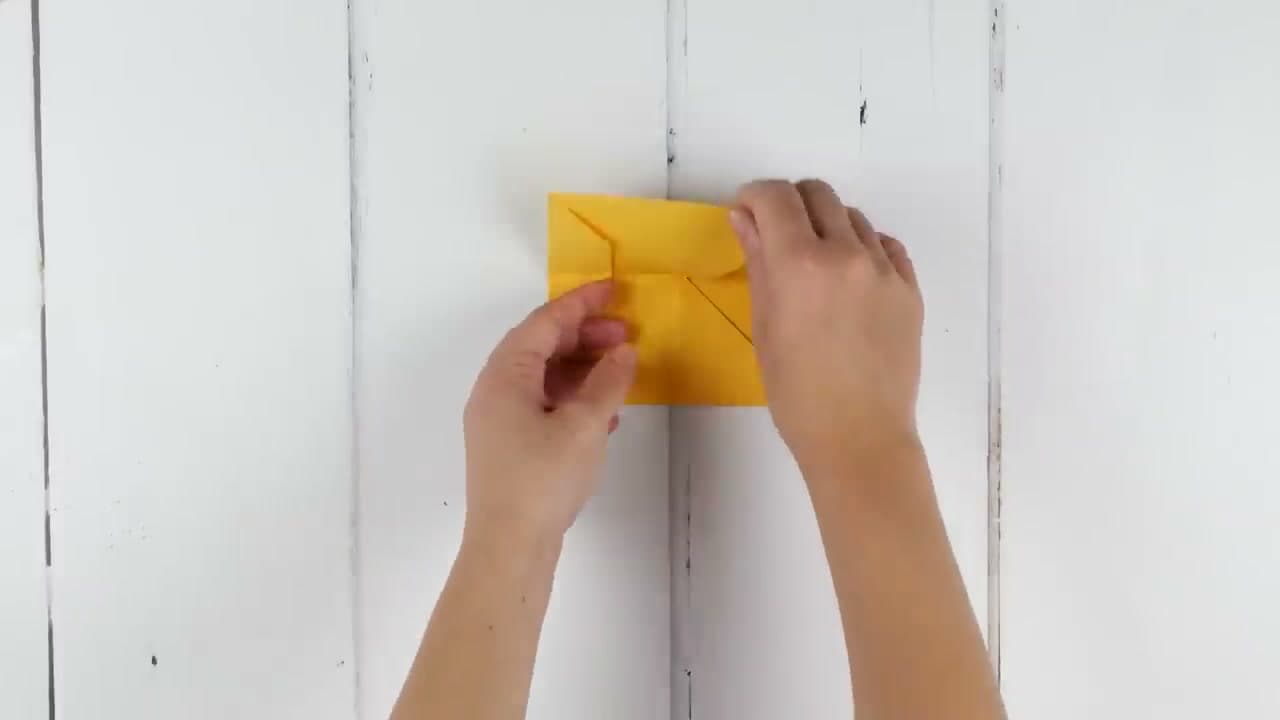
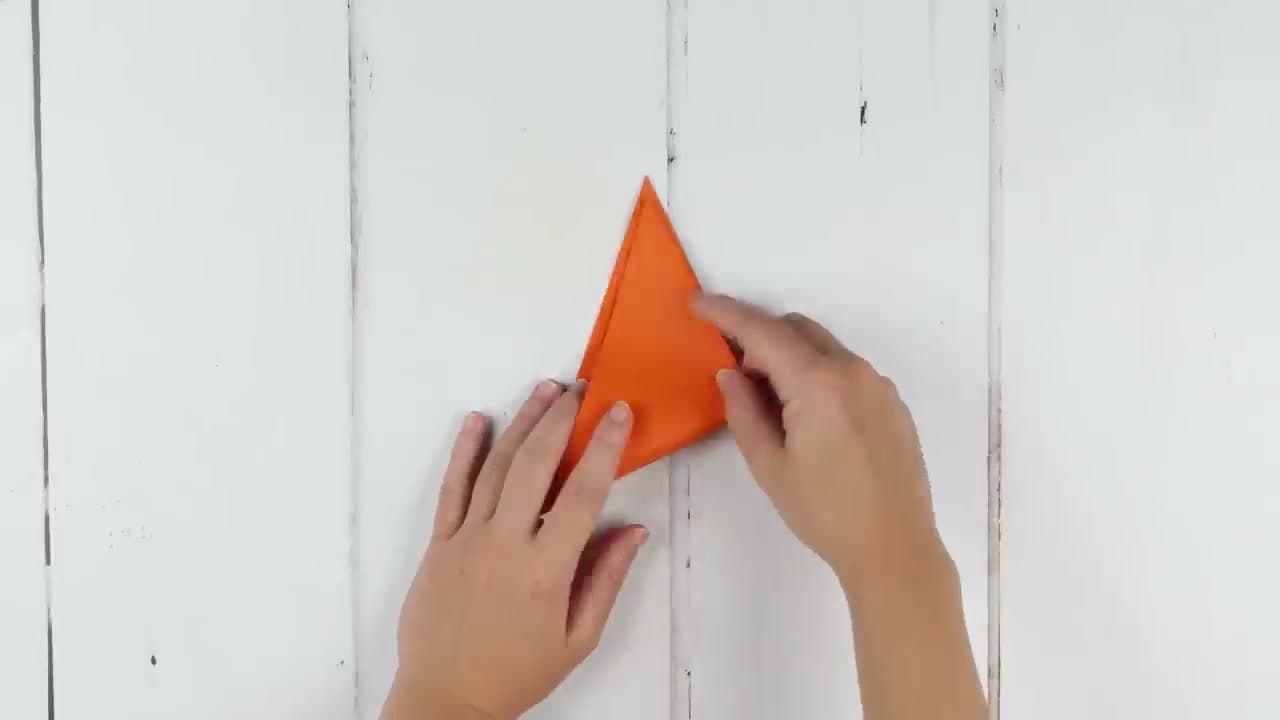
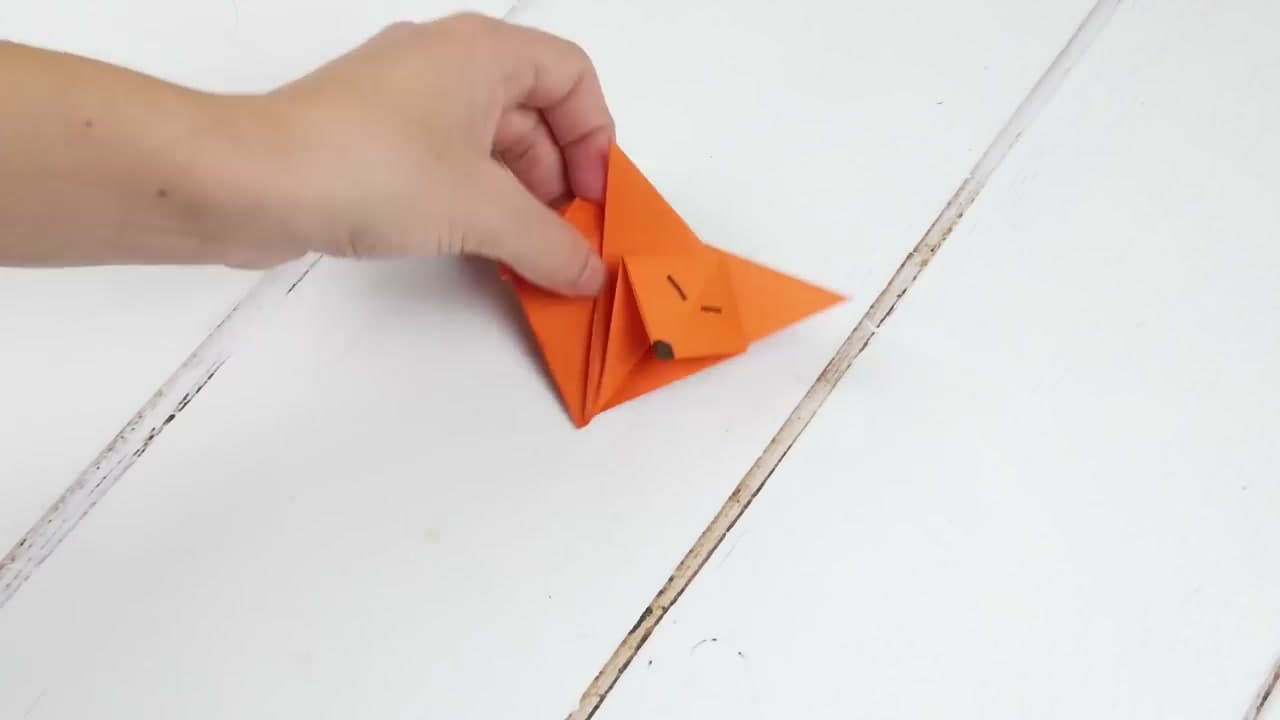
Grab a square sheet of origami paper, any color you like. Every animal in this tutorial uses the same two moves: a valley fold (paper bends toward you, forms a V) and a mountain fold (paper bends away, forms a peak). Practice both on a scrap square before you start so the creases feel natural.

Sharp, crisp folds are the difference between a clean animal and a sloppy one. Run a fingernail or bone folder along each crease so it lies flat.

Tip

If your paper is patterned on one side, decide upfront which side you want showing on the finished animal - the colored side usually ends up on the outside.

2

Fold the Whale

0:55
Step 2: Fold the Whale

Start with the paper as a diamond and fold it in half corner to corner, then unfold so you have a center crease. Bring the two side points in to meet at that crease line, then fold the whole shape in half along the crease.

Lift the back point up to form the tail fluke. The rounded end becomes the whale's head. Draw a small eye with a marker once it holds its shape.

Tip

Blue paper sells the whale, but kids will fold whales in pink and yellow too. Don't fight it.

3

Fold the Fox

1:48
Step 3: Fold the Fox

Take a square and fold it diagonally to make a triangle. Fold the triangle in half again, point to point, then open the last fold back up. Bring the two outer corners up to meet the top point, creating two ears.

Flip the shape over so the ears stand up, and the bottom triangle becomes the snout. Add eyes and a nose dot with a marker.

Tip

If the ears want to flop, run a hard mountain fold along their inside edge and they'll stand on their own.

4

Fold the Fish

2:42
Step 4: Fold the Fish

Fold the square in half diagonally to make a triangle, then fold it in half again side to side. Open it back to the triangle and use the crease as a guide to tuck one corner inward, forming a kite-like shape.

Pinch the back end together so a tail fin pops out. The wider front becomes the fish's body. A small eye and a curved smile finish the look.

Tip

Patterned paper looks great on the fish - the body is wide enough that the print actually shows.

5

Fold the Dog

3:35
Step 5: Fold the Dog

Begin with the paper as a diamond and fold it in half to make a triangle, with the long edge at the top. Fold the two top corners down on either side so they hang past the bottom edge, forming floppy ears.

Then fold the bottom point up just a little to shape the chin. Flip it over and add a face: two eyes, a nose, and a tongue if you want.

Tip

Brown or tan paper reads as dog the fastest. Black eyes on tan paper pop more than they will on red.

6

Fold the Butterfly

4:23
Step 6: Fold the Butterfly

Fold the square in half both directions, then diagonally both ways, so you have a star of creases on the paper. Push the side creases inward so the paper collapses into a smaller triangle shape, called a preliminary base.

Fold the top two flaps up and outward to spread the wings, then pinch the center to give the body shape. Crease the wings hard so they stand open.

Tip

The preliminary base is the only tricky move in the whole tutorial. If it fights you, unfold once and re-do the diagonal creases more sharply - the collapse needs those creases to be deep.

7

Line Up Your Paper Animals

4:45
Step 7: Line Up Your Paper Animals

Set all five animals side by side on a flat surface. The whale, fox, fish, dog, and butterfly each come from the same square of paper but use different fold patterns.

Try the project again with patterned or two-tone origami paper for a different look, or scale up with larger sheets so younger kids can handle the folds more easily.

Tip

A small flat tray makes a perfect display - and keeps the butterflies from blowing off the table.

Products Used

☐ The Checklist

How to Make Origami: 5 Paper Animals for Beginners

Tools
3
Materials
1
Steps
7
Video
5 min

Your Guide

TheDadLab

As an Amazon Associate we earn from qualifying purchases. Links on this page may be affiliate links - clicking them and buying doesn't change your price, but helps support ShowMeStepByStep.

Tags

Related Tutorials