How to Make a Paper Star in 6 Easy Folds

Paper CraftsEasy4:556 steps
Also in:Crafts

By ShowMeStepByStepPublished Updated

Based on a video by Paper Kawaii - Origami Tutorials.

This paper star comes together from a single square sheet using one of the classic origami starting shapes, the waterbomb base. Once that base is folded, the five points appear with just a few more moves. The finished star sits flat, looks clean from both sides, and works strung on thread, taped to a window, or glued to a card front.

You don't need scissors or glue. A 15 cm square of origami paper gives a star roughly 10 cm across, which is the size shown in the photos. Thinner paper holds the creases better than printer paper, but any thin square sheet will fold. Color side down at the start, please, or your points end up backward.

The trickiest moment is collapsing the waterbomb base in step two. If your paper resists, run a fingernail along every crease one more time and try again. Sharp creases do most of the work in origami, and rushing the first fold is the most common reason a model fights you later.

The video is silent and moves quickly, so use the still frames below to check your shape at each step before moving on. Original design and footage by Paper Kawaii.

Step-by-Step Guide

1

Crease the Square in Half and Diagonally

0:30
Step 1: Crease the Square in Half and Diagonally

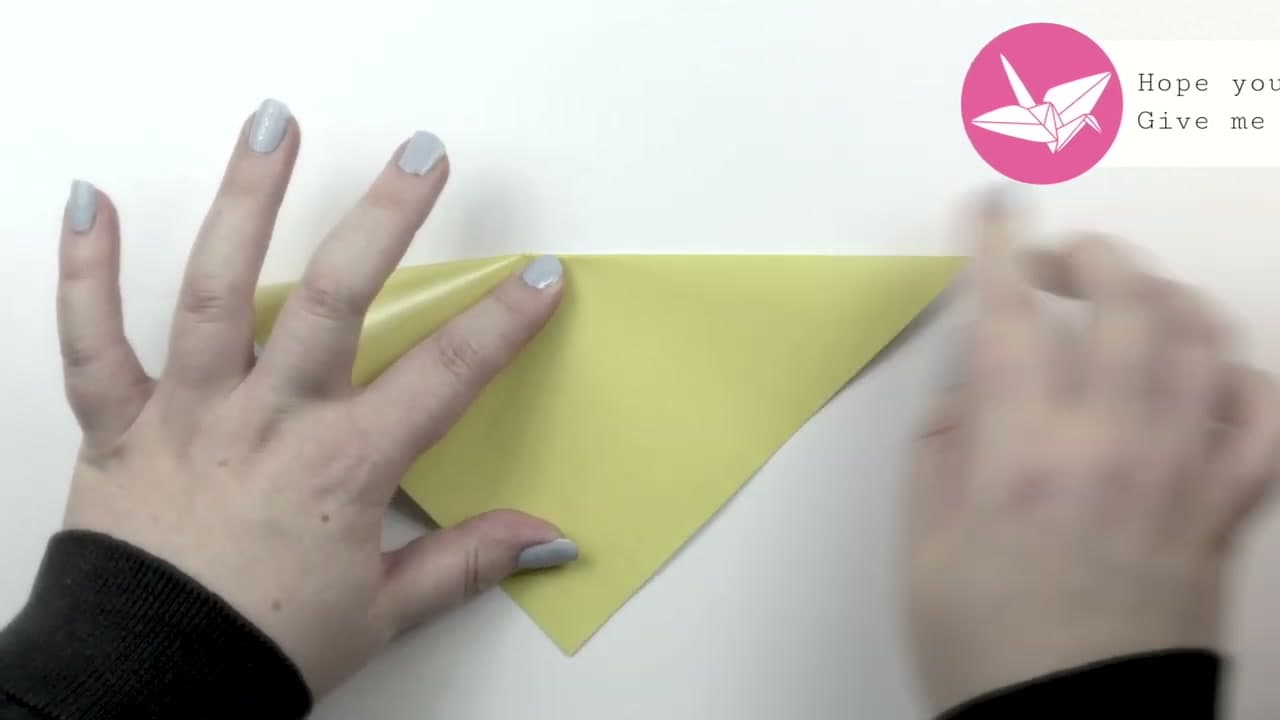
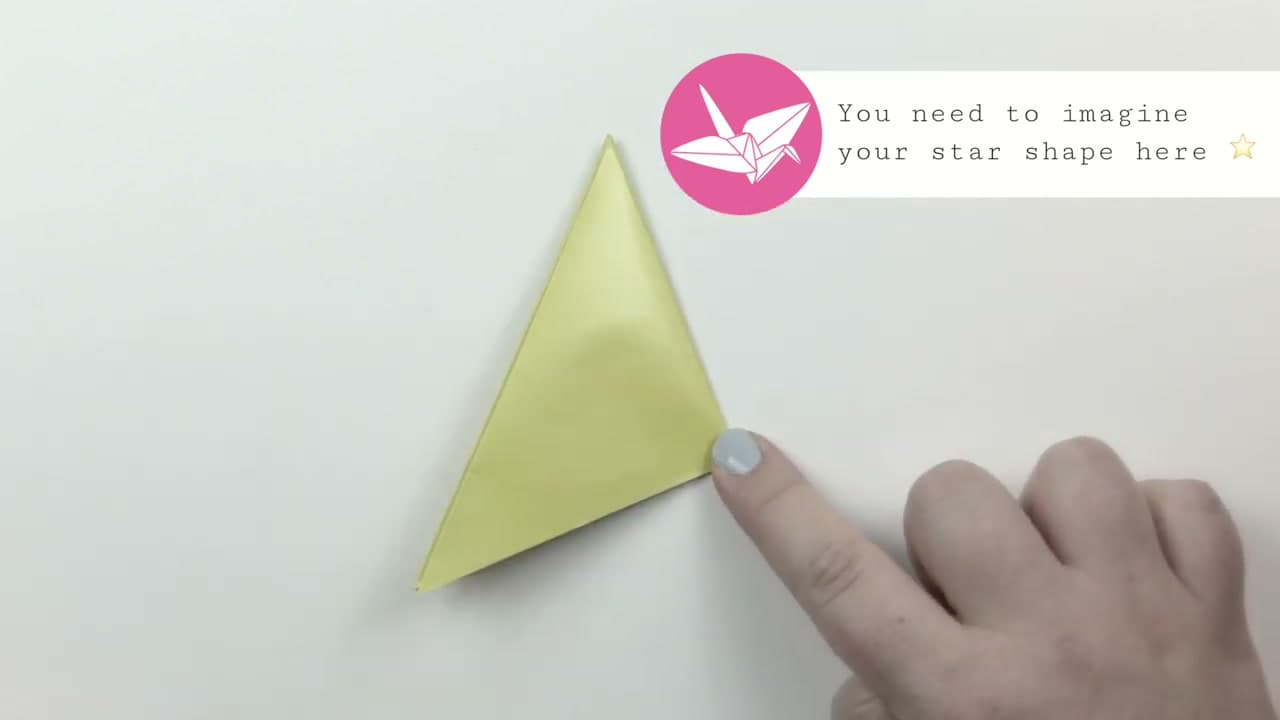
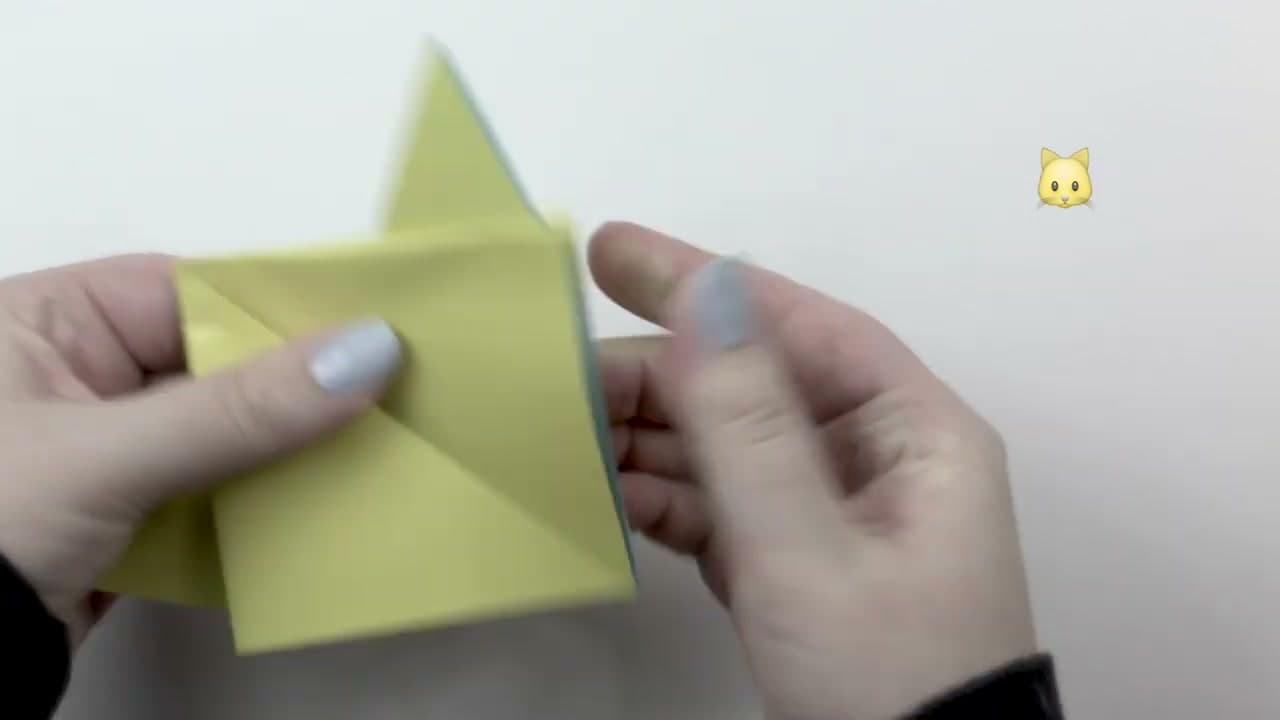
Start with a 15 cm square sheet, color side down. Fold it in half top to bottom, crease firmly, and open it back up. Flip the paper over to the color side, then fold corner to corner both ways to make an X of diagonal creases. You should end up with one valley crease across the middle and two mountain creases through the corners. Sharp creases here make the next collapse fall into place on its own.

Tip

Run a fingernail or bone folder along every crease. Loose creases at this stage are the number one reason the waterbomb collapse fights you in step two.

2

Collapse Into a Waterbomb Base

1:10
Step 2: Collapse Into a Waterbomb Base

Pick the paper up by the two side points where the creases meet. Push those sides in toward each other and let the top flatten down. The square folds itself into a triangle with two flaps front and two flaps back. This is the waterbomb base, and it's the foundation every point of the star comes from. Press the triangle flat on the table before moving on.

Tip

If the paper resists collapsing, re-crease the diagonals as mountain folds and the horizontal as a valley fold, then try again. The creases have to agree with the direction you're pushing.

3

Fold the First Two Points Up to the Top

2:00
Step 3: Fold the First Two Points Up to the Top

Position the triangle with the open edge at the bottom. Take the bottom-right corner of the front flap and fold it straight up to meet the top point. Repeat with the bottom-left front flap so both lower corners now sit at the apex. You're looking at a small square shape sitting on top of the triangle. These two folds become the first pair of star points.

Tip

Line the raw edge of the flap up with the center crease before pressing down. If the corner overshoots or falls short of the top point, the two halves of the star won't match later.

4

Form the Back Points and Shape the Diamond

2:45
Step 4: Form the Back Points and Shape the Diamond

Flip the model over. Repeat the same fold on the back flaps, bringing each lower corner up to the top point. You now have a diamond with four flaps that will become four of the five points. Fold each of those flaps outward at a slight angle so the tips fan out from the center. The shape starts to look like a star with one point still tucked underneath.

Tip

Match the angle of the four points by eye before you crease anything hard. Once the creases are set, the points are locked in and adjustments get fiddly.

5

Pull Out the Fifth Point and Crimp the Tips

3:30
Step 5: Pull Out the Fifth Point and Crimp the Tips

Find the hidden flap at the back and gently pull it down and out to form the fifth point. Adjust the spacing so all five points sit evenly around the center. Pinch each tip with your fingers to sharpen the creases, and crimp the base of every point where it meets the middle. The crimps lock the star flat and stop the points from popping back open.

Tip

The fifth point hides behind the other four. Slide a fingernail in and coax it out gently rather than yanking, or you'll tear the paper at the center.

6

Flatten and Display the Finished Star

4:20
Step 6: Flatten and Display the Finished Star

Press the whole star under a heavy book for a minute to set the creases. Flip it over to check that both sides look clean. The model finishes around 10 cm across and looks good from either side, so it works strung on thread, taped to a window, or glued onto a card. Try the same sequence with patterned paper or two-tone sheets for a different look.

Tip

To hang the star, push a needle threaded with invisible thread through one point near the tip. The paper is sturdy enough to hold the thread without tearing.

Products Used

☐ The Checklist

How to Make a Paper Star in 6 Easy Folds

Tools
2
Materials
1
Steps
6
Video
5 min

Your Guide

Paper Kawaii - Origami Tutorials

As an Amazon Associate we earn from qualifying purchases. Links on this page may be affiliate links - clicking them and buying doesn't change your price, but helps support ShowMeStepByStep.

Tags

Related Tutorials