How to Paint Clouds

PaintingEasy9:356 steps
Also in:Crafts

By ShowMeStepByStepPublished Updated

Based on a video by laurasbeatingart.

Clouds look impossible until you realize the trick is just contrast - a bright top, a darker shadowed bottom, and soft edges where the white fades into the sky. Once you see it that way, painting them takes about ten minutes per cloud.

This method from Laura at laurasbeatingart uses wet-on-wet acrylics, which means you keep the blue background still wet while you lay down the white cloud. The damp paint underneath does most of the blending for you, so you don't have to be precise.

You only need two paint colors - a sky blue and white - plus three brushes (one wide flat, one small mop, one filbert). The biggest pitfall isn't technique, it's overworking. Once the cloud reads as a cloud, put the brush down before you start fixing what isn't broken.

Step-by-Step Guide

1

Step 1: Gather your materials

0:25
Step 1: Step 1: Gather your materials

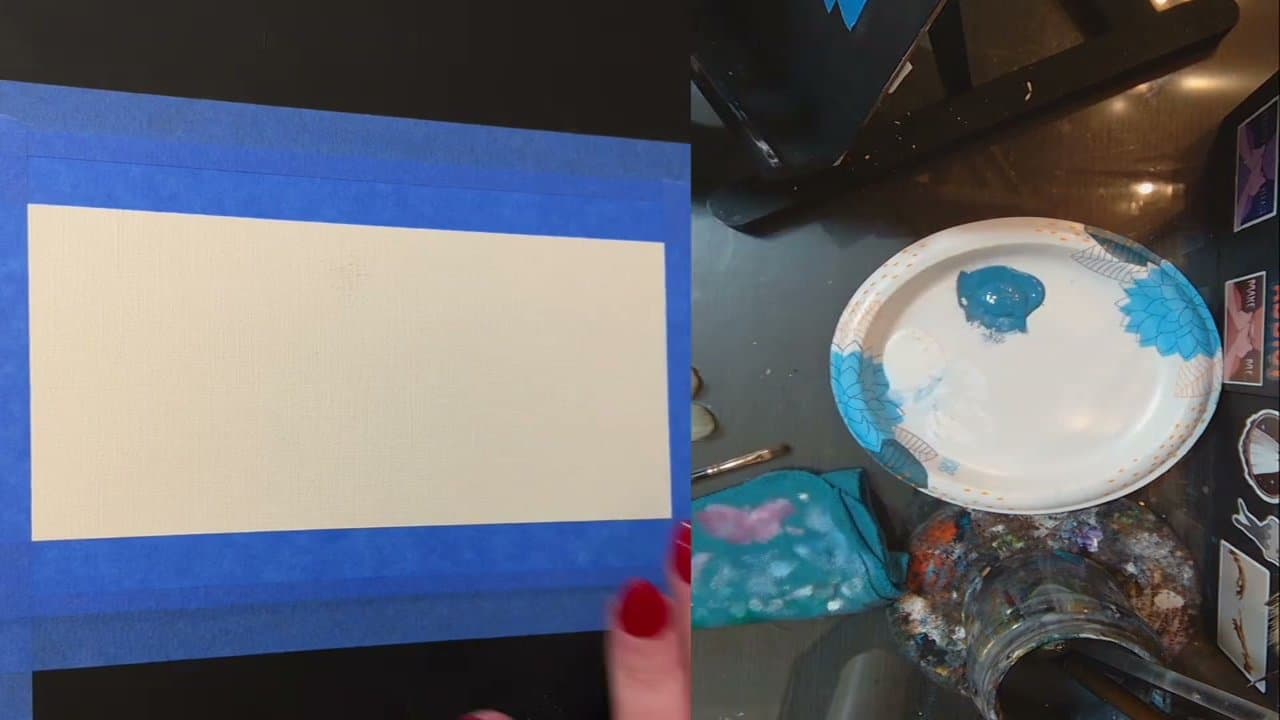
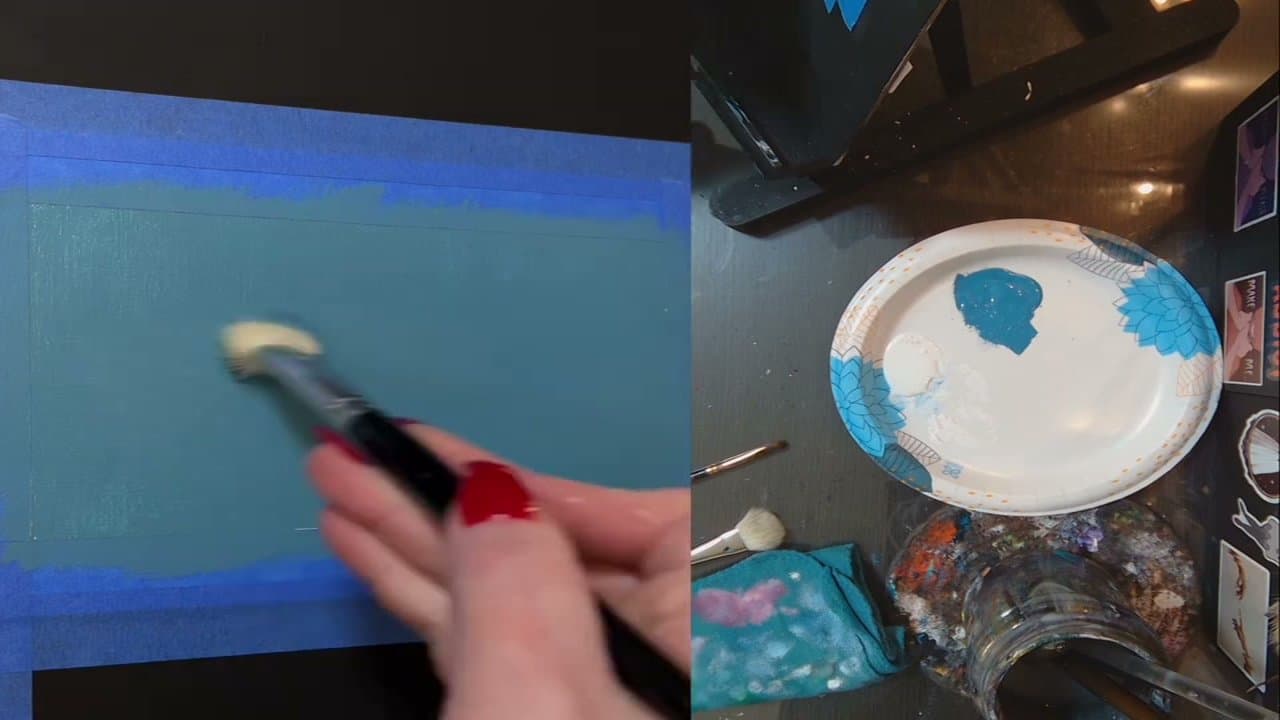
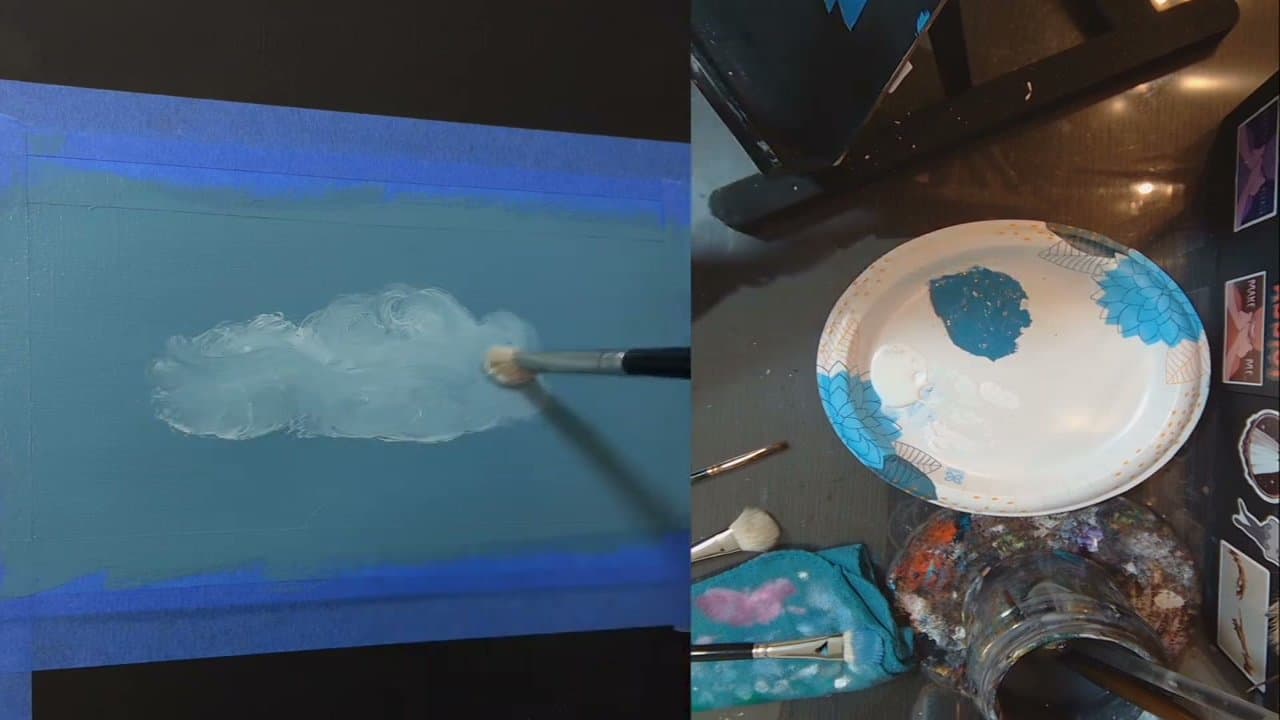
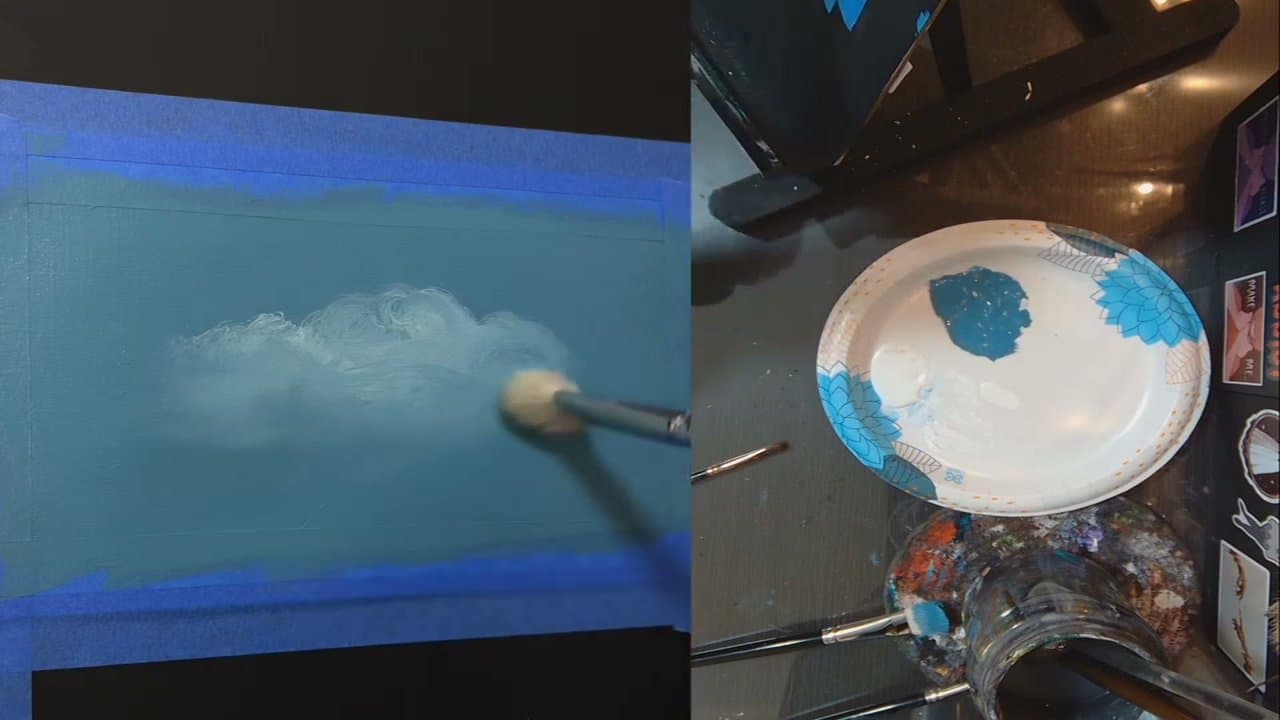
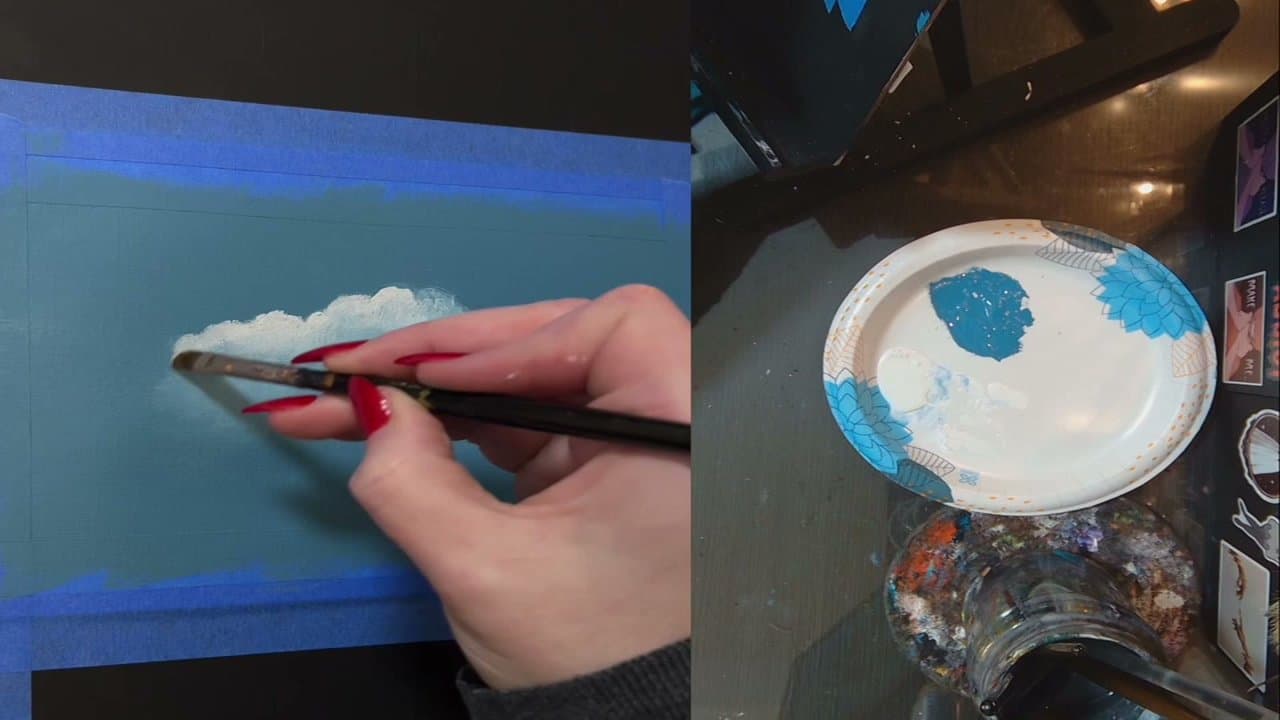
You'll need acrylic paint in a sky blue (Laura uses Apple Barrel Moody Blue), white craft paint, paper or canvas taped down to a hard board, and three brushes - a wide flat for the background, a small mop brush for shaping the cloud, and a small filbert brush for highlights.

Tape the edges of your paper down to a board so the paint doesn't curl or bleed past where you want it. Squeeze out a generous puddle of each paint color - acrylics dry fast, and running out mid-cloud forces you to mix more, which never matches the first batch.

Tip

Any wide flat brush will work for the background. You don't need an expensive set; the dollar-store flats are fine for the sky layer.

2

Step 2: Paint the blue sky background

1:10
Step 2: Step 2: Paint the blue sky background

Load the wide flat brush with sky blue and cover the entire paper with two coats. Work in long horizontal strokes so the brush marks read as sky rather than texture - vertical streaks look like rain.

Don't wait for the first coat to dry. Apply the second coat right on top while the first is still wet. The paint should look uniform with no gaps, and the surface should still be glossy and damp when you finish.

Tip

If the second coat starts to drag and lift the first coat, you're working too long. Lighten your touch and don't go back over the same spot more than twice.

3

Step 3: Lay the cloud shape with white paint

2:25
Step 3: Step 3: Lay the cloud shape with white paint

While the blue is still wet, dip a smaller mop brush into white paint and dab the rough cloud shape onto the paper. Don't try to outline a hard edge - just a fluffy blob slightly off-center.

The wet blue underneath blends with the white at the edges automatically, so you don't have to worry about hard borders right now. Get the general shape down with light pressure and short, swirling strokes.

Tip

Real clouds are wider than they are tall - aim for a flatter, sausage shape rather than a perfect circle.

4

Step 4: Soften the bottom edge

3:00
Step 4: Step 4: Soften the bottom edge

Wipe a clean mop brush on a cloth so it's almost dry. Sweep it lightly along the underside of the cloud using small swirling motions. The dry brush picks up just enough white to fade the bottom edge into the blue sky.

Keep some of the dark blue showing through at the bottom of the cloud. That darker zone is the cloud's shadow - leaving it visible is what makes the cloud look three-dimensional instead of flat.

Tip

Wipe the brush on a paper towel between sweeps. A loaded brush smears the cloud instead of softening it.

Products used in this step

5

Step 5: Add white highlights to the top

5:20
Step 5: Step 5: Add white highlights to the top

Once the first cloud layer has dried (a few minutes for acrylics), switch to a small filbert brush. Load it with pure white and dab brighter highlights along the top of the cloud where light would naturally hit.

Work in small swirls, not lines. Cover only the top third of the cloud - leave the middle and bottom alone. The bright top against the shadow at the bottom is the contrast that sells the illusion.

Tip

The most common beginner mistake is covering up the entire cloud with bright white. Stop highlighting before you think you should.

Products used in this step

6

Step 6: Blend and add wispy trails

7:30
Step 6: Step 6: Blend and add wispy trails

Wipe the filbert brush clean and run it lightly across the edges of the highlight to fade the bright spots into the rest of the cloud. The transition from bright top to shadowed bottom should feel gradual.

For the finishing touch, drag a few thin streaks of white off to one side to make wispy trails. Don't overdo this - one or two trails is enough. The biggest mistake at this stage is overworking, so put the brush down before you're tempted to touch it again.

Tip

If you absolutely cannot stop tweaking, walk away for ten minutes. When you come back, you'll see what's actually working and what isn't.

Products Used

Your Guide

laurasbeatingart

As an Amazon Associate we earn from qualifying purchases. Links on this page may be affiliate links - clicking them and buying doesn't change your price, but helps support ShowMeStepByStep.

Tags

Related Tutorials