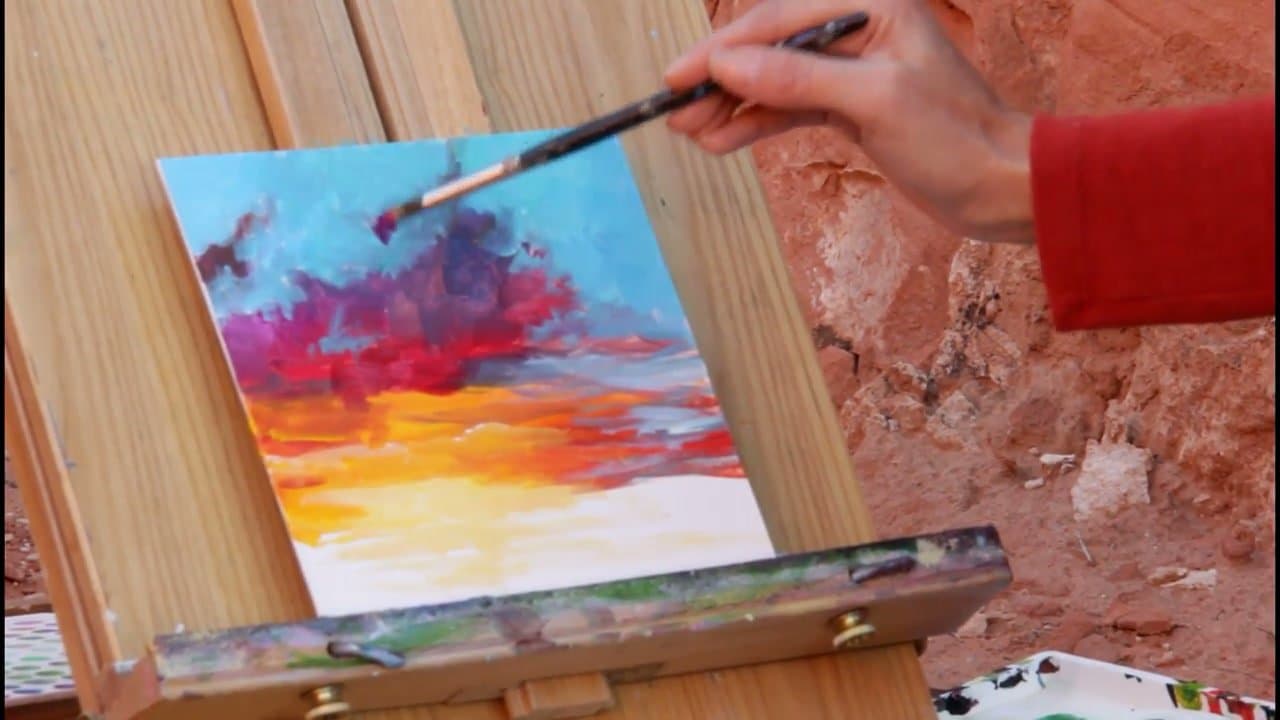
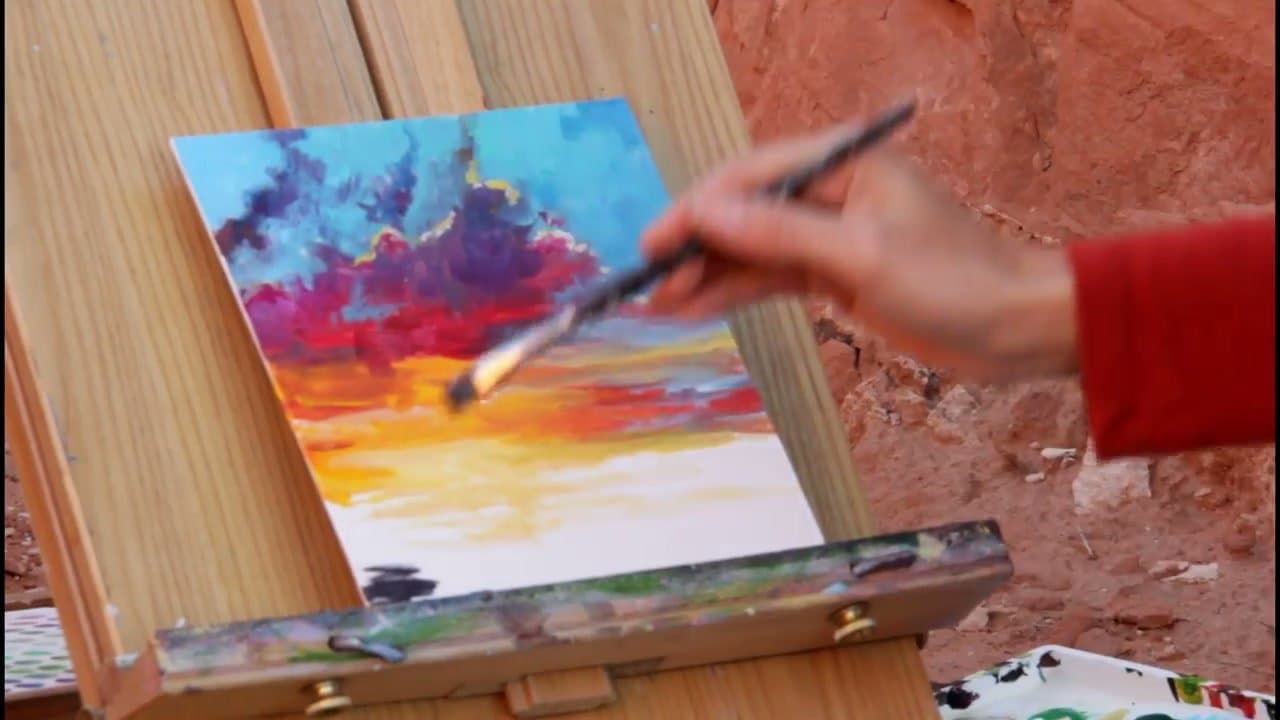
Acrylic sunsets are a great first landscape because they hide a lot of beginner mistakes. The colors are forgiving, the composition is simple (sky on top, foreground on the bottom), and the layering technique builds confidence without requiring you to draw anything. Once the sunset feels familiar, move on to a layered acrylic forest for your next landscape.
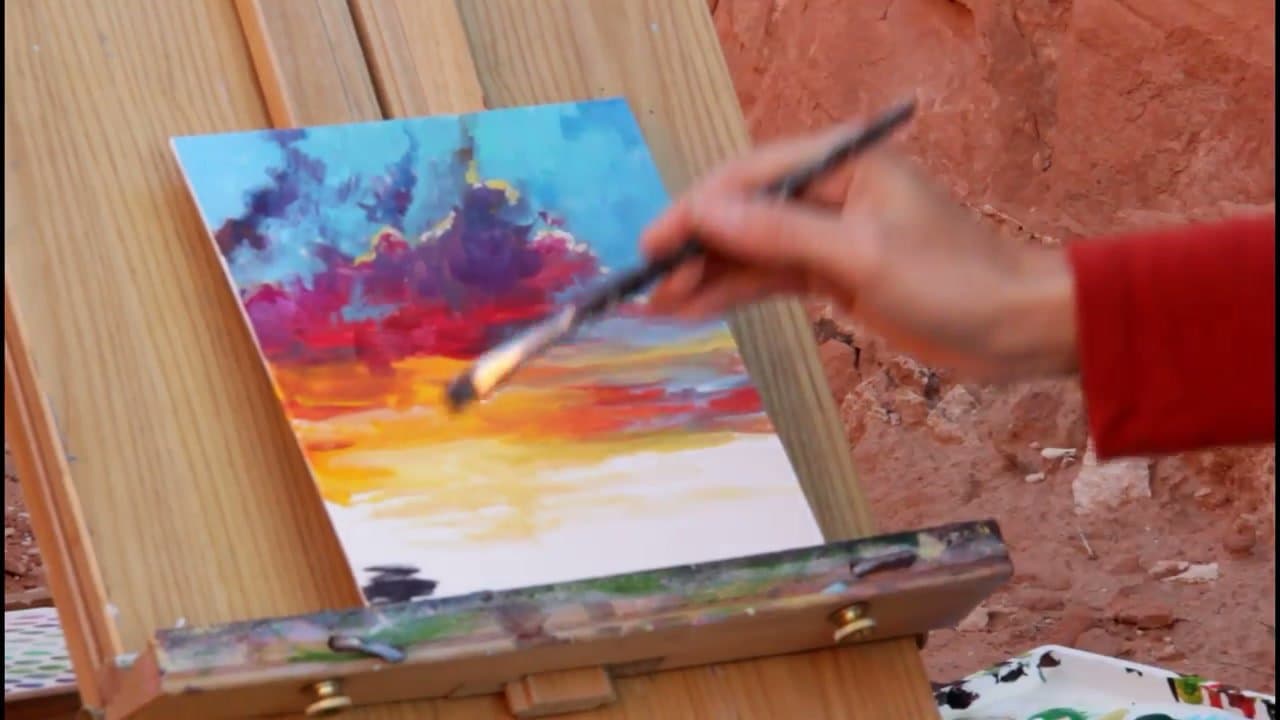
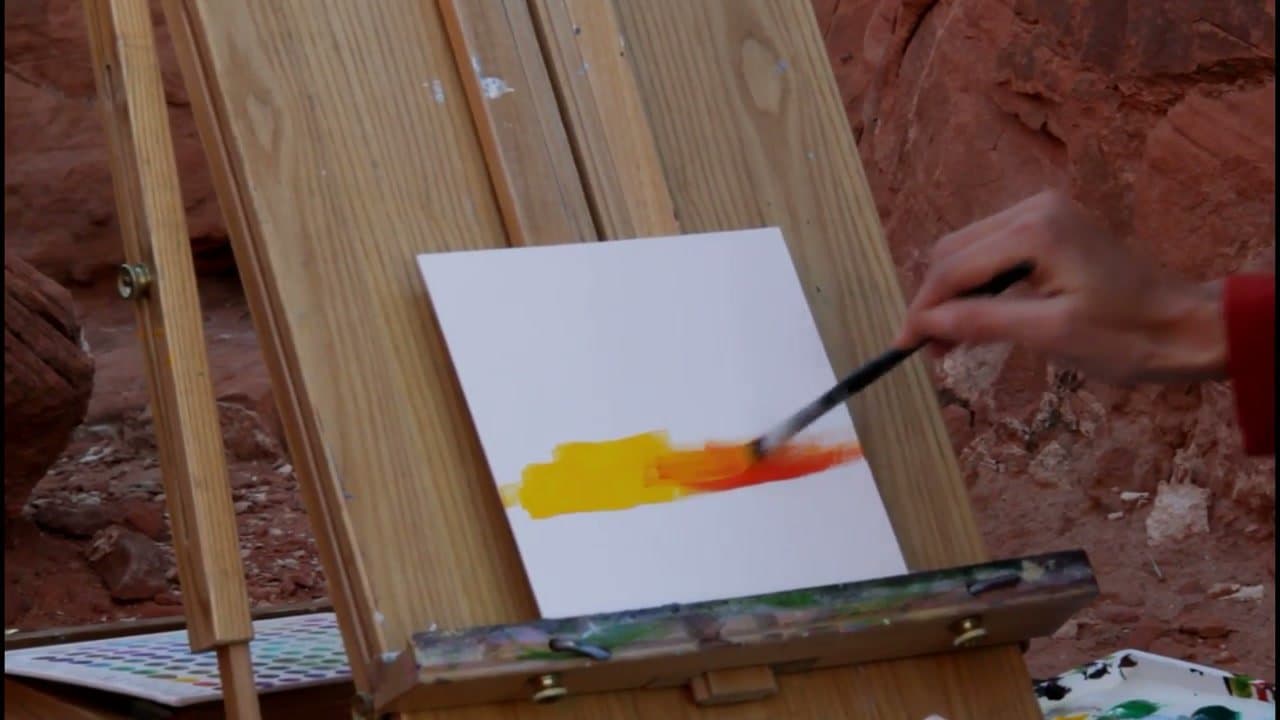
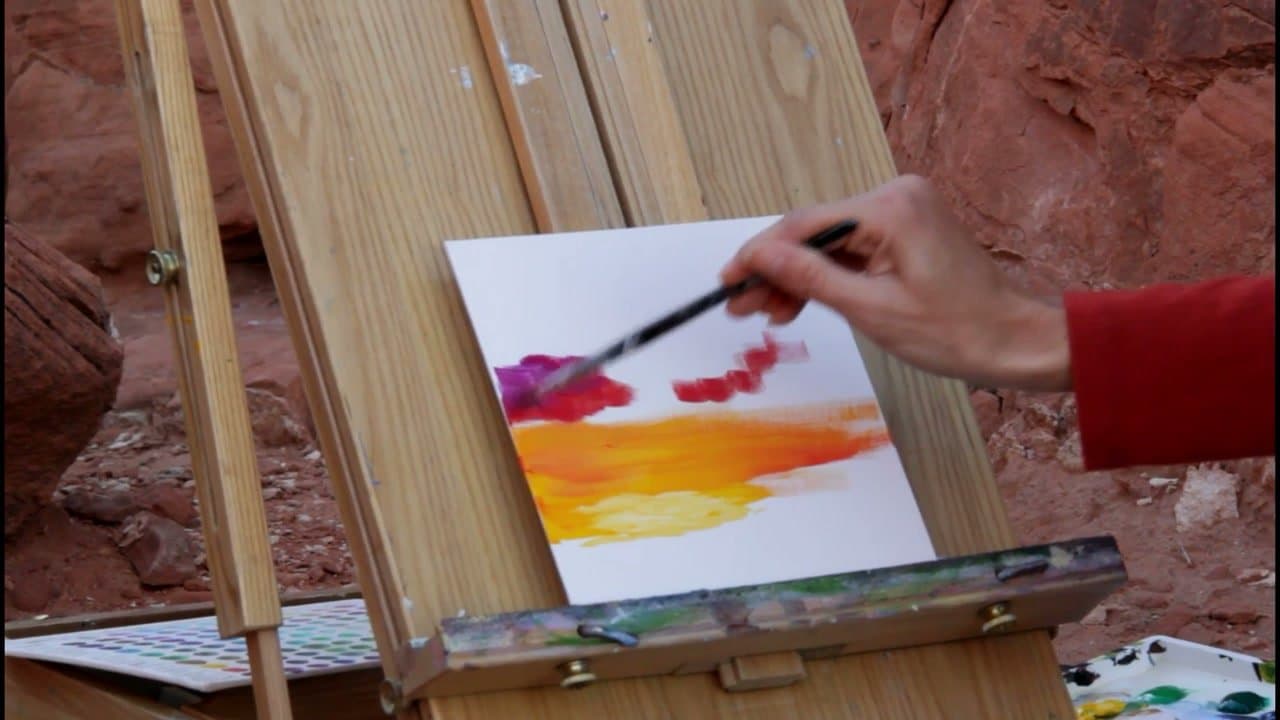
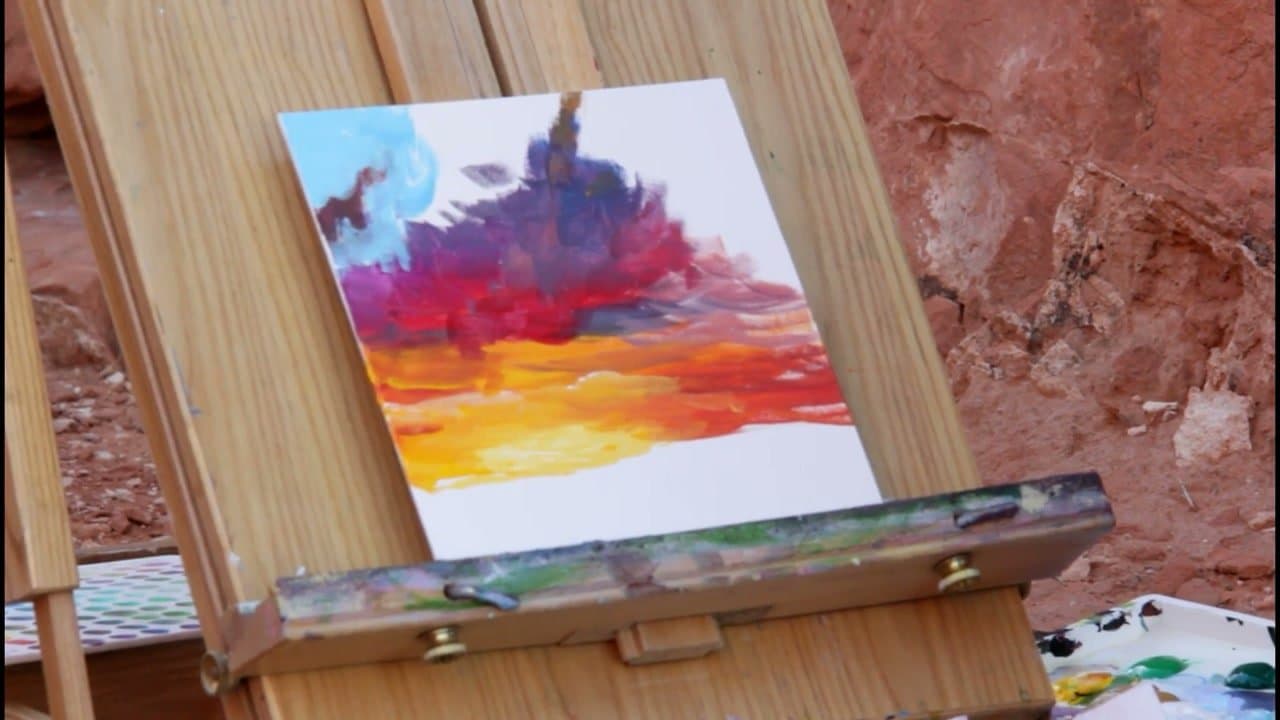
Ashley Krieger from Createful Art breaks the process into five steps and explains the order matters: warm bright colors first, then cool colors and grays, then the sky, then a drama layer over the brights, and finally the foreground silhouette. Skip the layering and the sunset goes muddy fast.
A sunset is one long gradient, so the blend is the whole painting. See how to blend acrylic paint for three ways to get a smooth transition without hard edges.
What you need
- A small canvas, around 8x8 inches. A small square is easier to blend across before the paint dries.
- A small flat brush for the bands and a small round for the drama strokes
- Yellow, orange, red, magenta, dioxazine purple, cerulean blue, a little phthalo green, titanium white and black
- A stay-wet palette or a damp paper towel under your paint, plus a spray bottle of water
Sunset color order, from the sun up
Work outward from the sun. Yellow at the hot spot, then orange, then pink and magenta, then purple, then blue at the top of the canvas. Each color sits beside its neighbor on the color wheel, so every edge blends into a clean in-between shade.
Trouble starts when opposites touch while wet. Purple dragged into yellow turns brown. Blue pulled through orange goes grey-brown. Keep a band of pink or magenta between the warm zone and the purple, and wipe your brush every time you cross from one family to the other.
Blending acrylic wet-into-wet
Acrylic gives you a few minutes before it skins over, less in a warm room. Paint one band at a time and blend each edge while both colors are still wet. Long horizontal strokes, light pressure, a damp brush that is not dripping.
If an edge dries hard, don't scrub it. Paint a thin layer of both colors back over the seam and blend again. A light mist from the spray bottle buys you another minute. Want clouds in the sky? Add them once the gradient is dry so they don't drag the background around with them.
Silhouettes and reflections
The foreground turns a gradient into a place. Palm trees, a row of pines, a dock running out into the water, a low line of hills. Paint them in black or in a dark purple mix (dioxazine purple with a touch of black). The purple version looks richer against the sky and still reads as dark.
Over water, repeat the sky colors in the bottom third. The brightest patch goes straight below the sun, broken into short horizontal dashes with thin dark gaps between them, so it reads as rippled water instead of a mirror. For moving water and foam, try painting ocean waves.
Common sunset mistakes
- A muddy brown middle. Purple met yellow while wet. Let it dry and repaint a magenta band between them.
- Hard stripes. Each band dried before the next went on. Work smaller sections, or rewet and blend the seam.
- A pale foreground. A mid-grey silhouette fights the sky. Take it darker than feels right.
- A horizon across the middle. Set it low for a big sky or high for a big reflection, and nudge the sun off-center.
- Blending the drama layer. Those stabs of pure color only glow if you leave them alone.