How to Caulk a Bathtub (Clean, Waterproof Seal)

Home ImprovementEasy8:489 stepsBrowse more →
Also in:Adulting

By ShowMeStepByStepPublished

Based on a video by This Old House.

A cracked, moldy caulk line around your tub is more than an eyesore. Once it fails, water sneaks behind the wall and can rot the framing or leak to the room below. The good news is that re-caulking a bathtub is a beginner-level job you can finish in an afternoon with a few cheap tools. This walkthrough follows Ask This Old House general contractor Tom Silva as he shows a homeowner the correct materials and technique.

The whole job comes down to three things: get the old caulk completely out, clean the joint so the new bead can bond, and lay a smooth line of 100% silicone. Silicone is the right choice for a tub because it sticks to non-porous surfaces, stays flexible when the walls shift with temperature, and resists mold and mildew. Painter's tape on both sides gives you crisp, straight edges even if it is your first time holding a caulk gun.

Working on other bathroom fixtures too? Once your seal is set, take a look at how to install a bathroom faucet to keep the whole space fresh. For now, grab a scraper and let's pull out that old caulk.

Step-by-Step Guide

1

Step 1: Scrape Out the Old Caulk

1:36
Step 1: Step 1: Scrape Out the Old Caulk

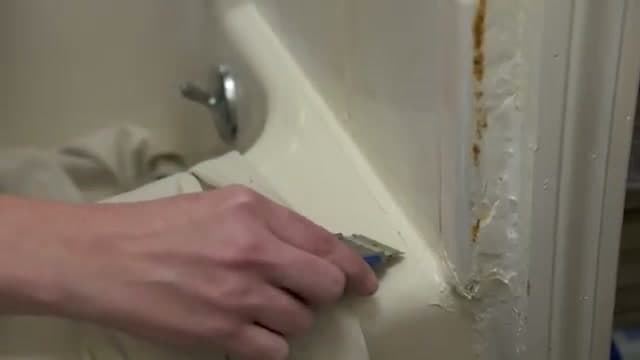
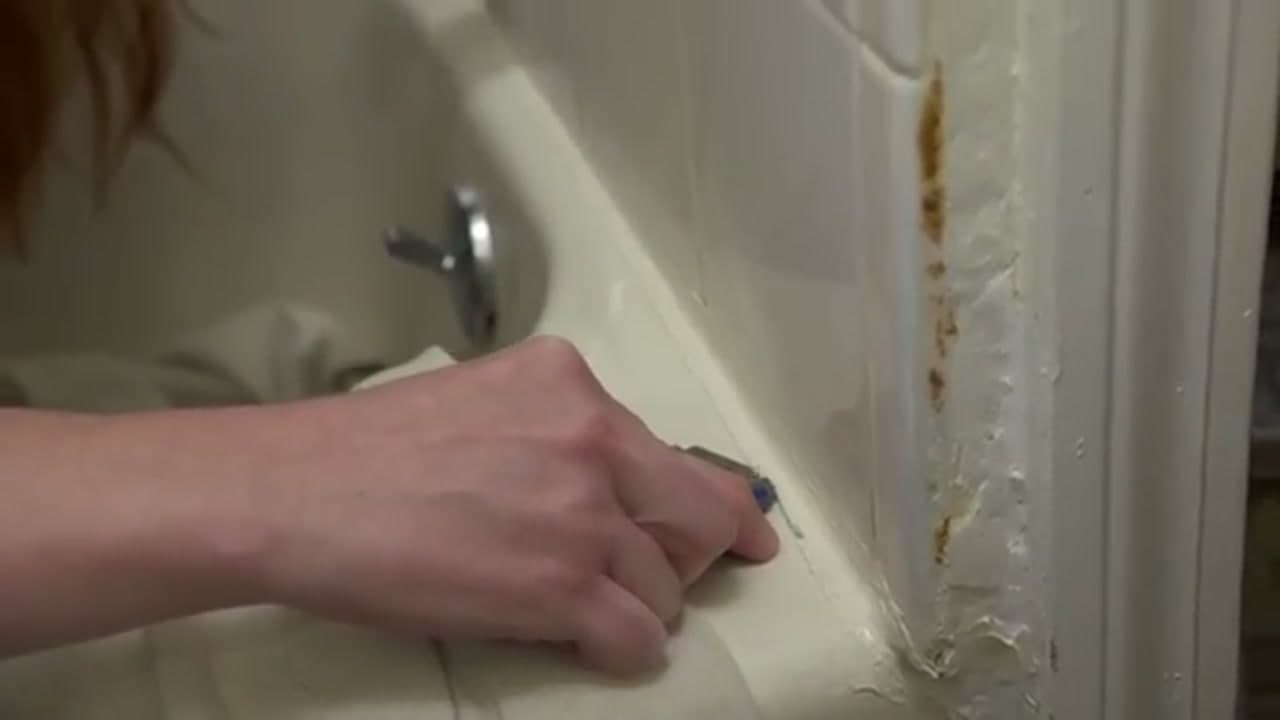
Cover the tub with a drop cloth first so the surface does not get scratched and old caulk does not fall down the drain. Then take a razor blade or a flat scraper and slide it along the old caulk line at the joint between the tub and the tile.

Keep the blade angle low and make several easy passes instead of digging in hard. You want to cut the caulk free without gouging the tub or the tile. Work the length of the joint until the old bead lifts away.

Tip

Watch this step Whatever tool feels most comfortable in your hand is the right one. The goal is a flat blade that gets behind the caulk without scratching the surface.
2

Step 2: Cut the Caulk on the Tub Side

1:42
Step 2: Step 2: Cut the Caulk on the Tub Side

Push the blade down into the caulk right where it meets the tub. Slide it sideways along the edge and watch to make sure it is actually cutting the bead, not just riding over the top.

If the caulk is thick or there is old caulk hiding underneath, go over the same spot a second time. Any leftover residue keeps the new caulk from sticking, so take your time here.

Tip

Watch this step A little water or soap on the blade helps it glide. Two hands on the scraper gives you more control on a long run.

Products used in this step

3

Step 3: Slice the Caulk Off the Wall

2:40
Step 3: Step 3: Slice the Caulk Off the Wall

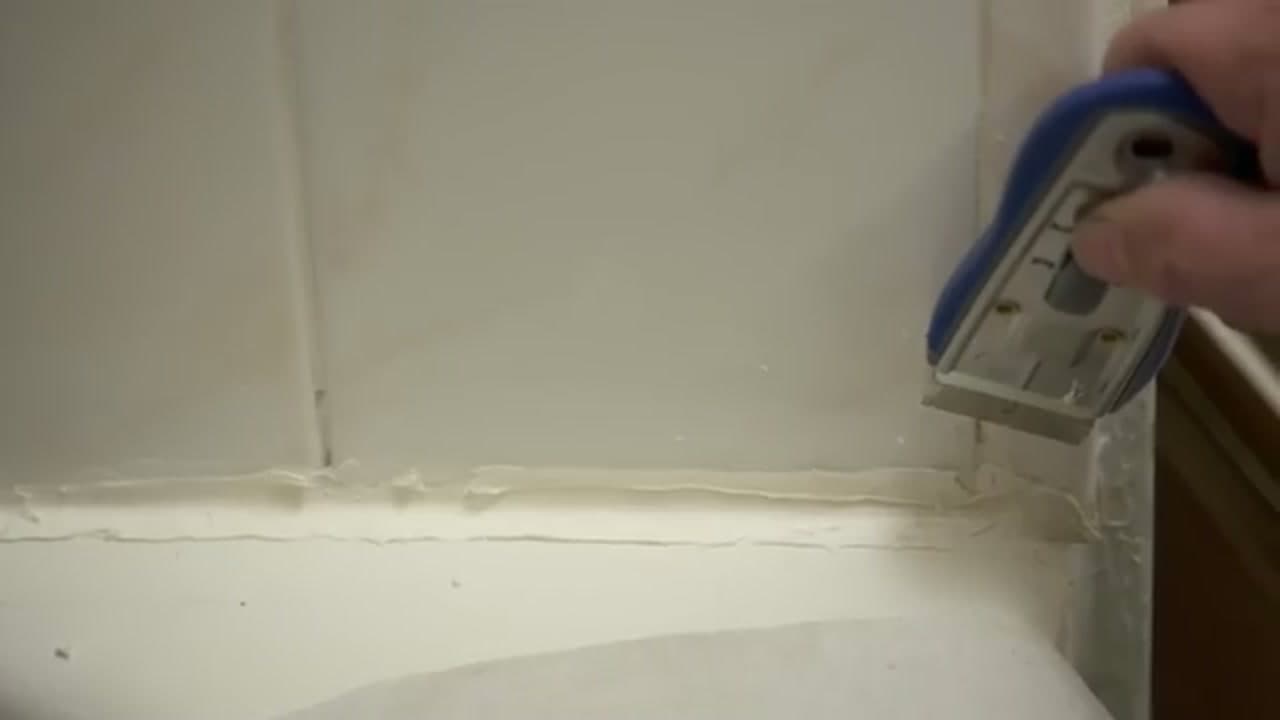
Now do the same thing where the caulk meets the tile wall. Lay the blade flat against the wall and pull it out just a little so the tip tilts into the caulk as you drag it across.

Keep that outside corner of the blade lifted so you slice the bead cleanly along the whole run. The tub side and the wall side both need to come clean for the new caulk to grab.

Tip

Watch this step Go slow in the corners. A corner grooving tool works better than a straight blade where two walls meet.

4

Step 4: Clean the Joint With Alcohol

3:08
Step 4: Step 4: Clean the Joint With Alcohol

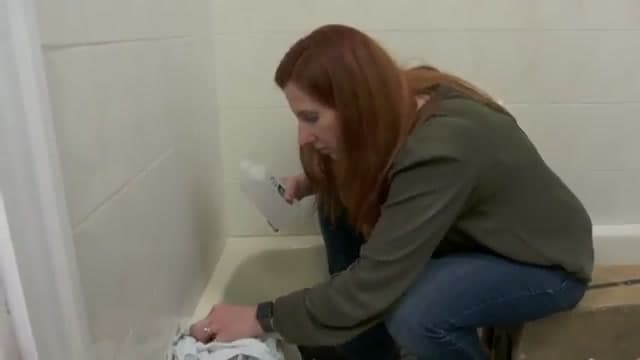
Put a little rubbing alcohol on a rag and wipe down every surface where the old caulk used to be. This pulls off any leftover residue and grease so the new bead bonds to a clean surface.

Run a fan or open a window while you do this. The joint needs to be dry before you move on, so give it a minute after the final wipe.

Tip

Watch this step A grimy joint is the number one reason fresh caulk peels. Do not skip the alcohol wipe, and let it flash off before you tape.

5

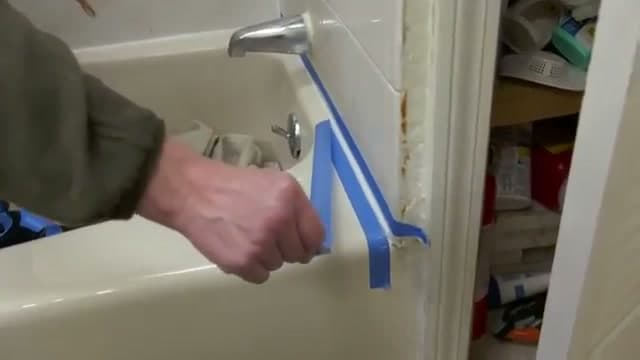
Step 5: Tape Off Both Sides

3:28
Step 5: Step 5: Tape Off Both Sides

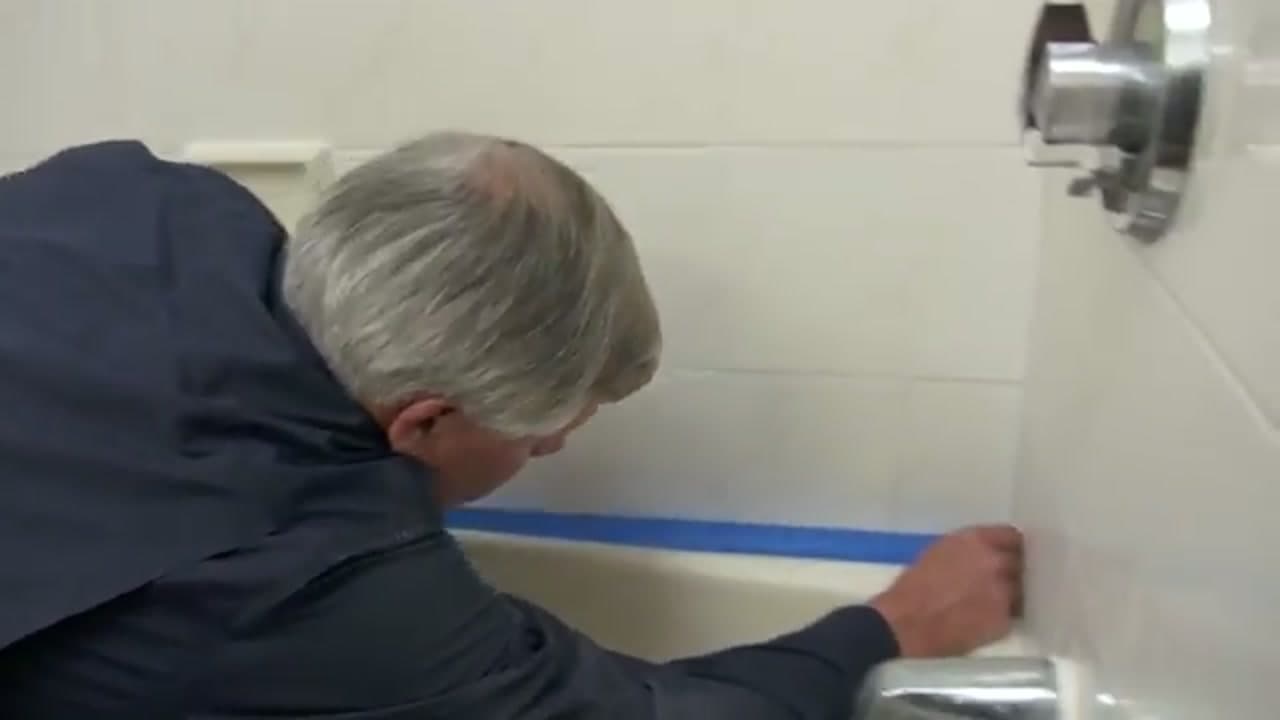
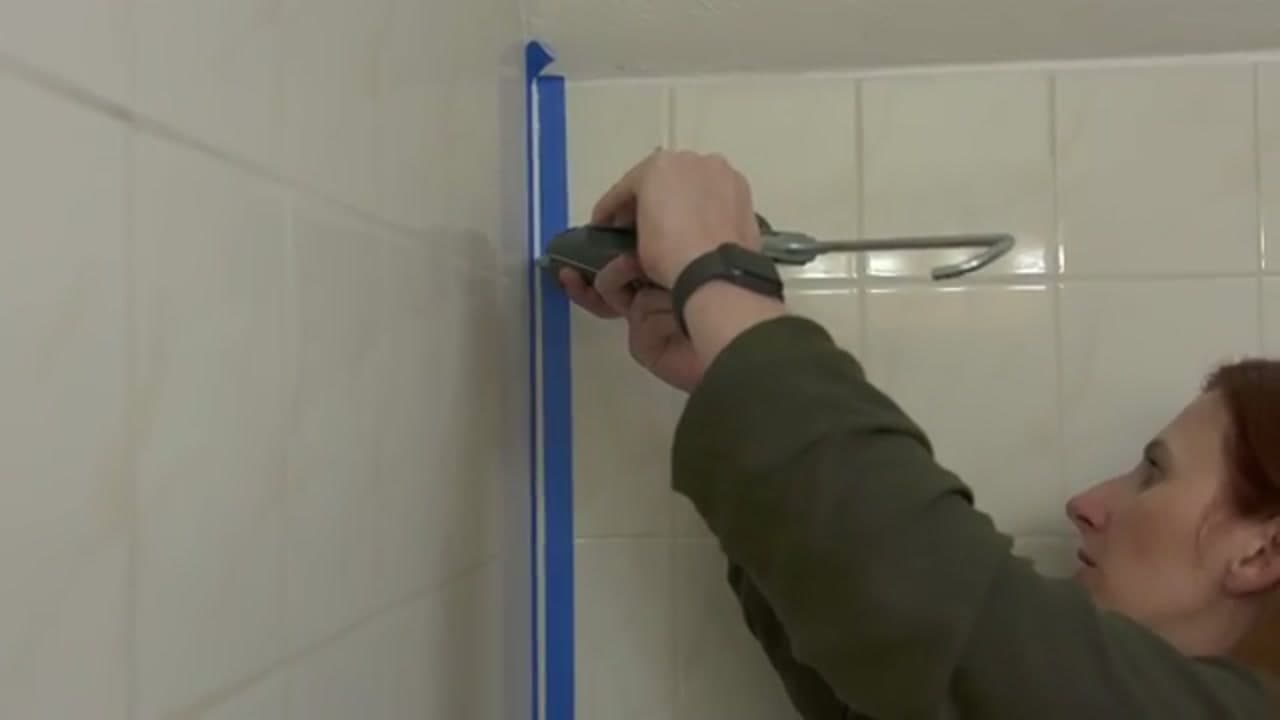
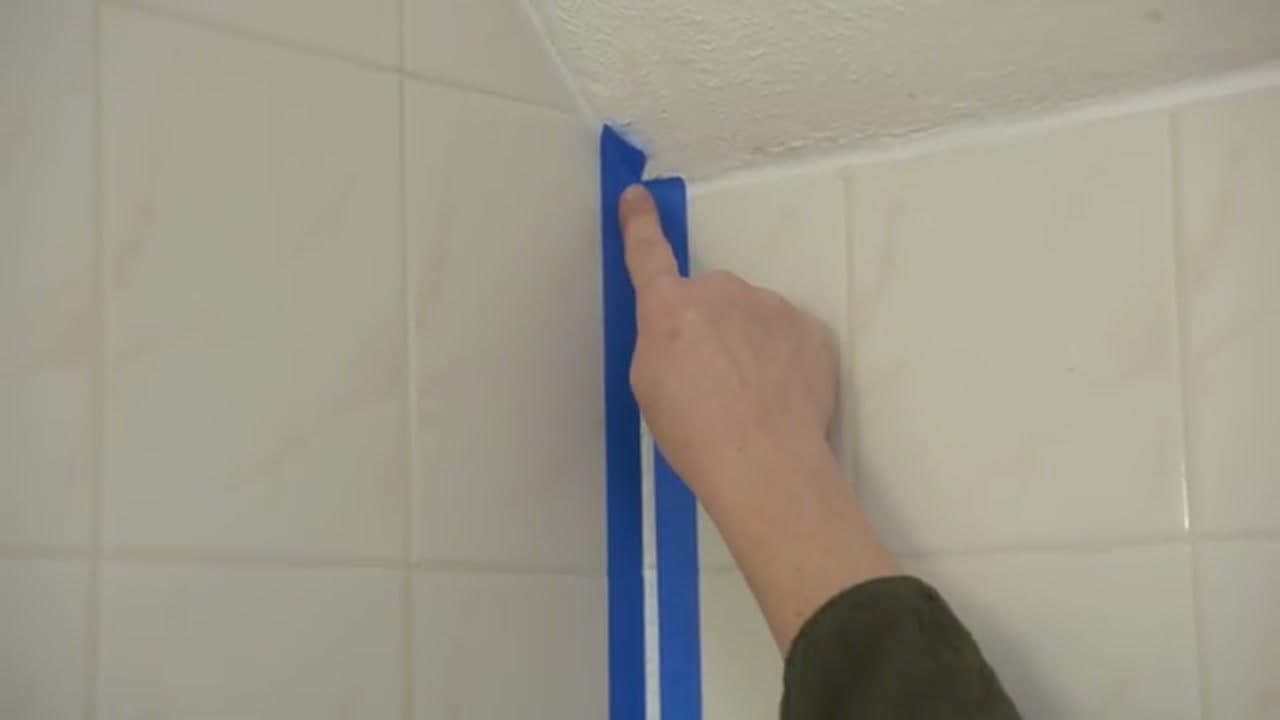
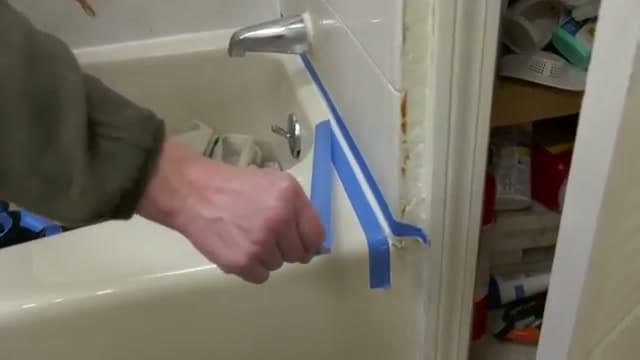
Run a strip of painter's tape along the tub and another along the wall, keeping each line about a quarter inch back from the corner. The gap between the two tape lines is where your caulk bead will sit.

Press the tape down firmly so caulk cannot seep underneath. Straight tape lines are what give you a crisp, professional-looking bead once you pull them off.

Tip

Watch this step Blue painter's tape releases clean and will not lift the finish. Keep the two lines parallel so the finished bead is an even width.

6

Step 6: Load and Cut the Caulk Tube

5:15
Step 6: Step 6: Load and Cut the Caulk Tube

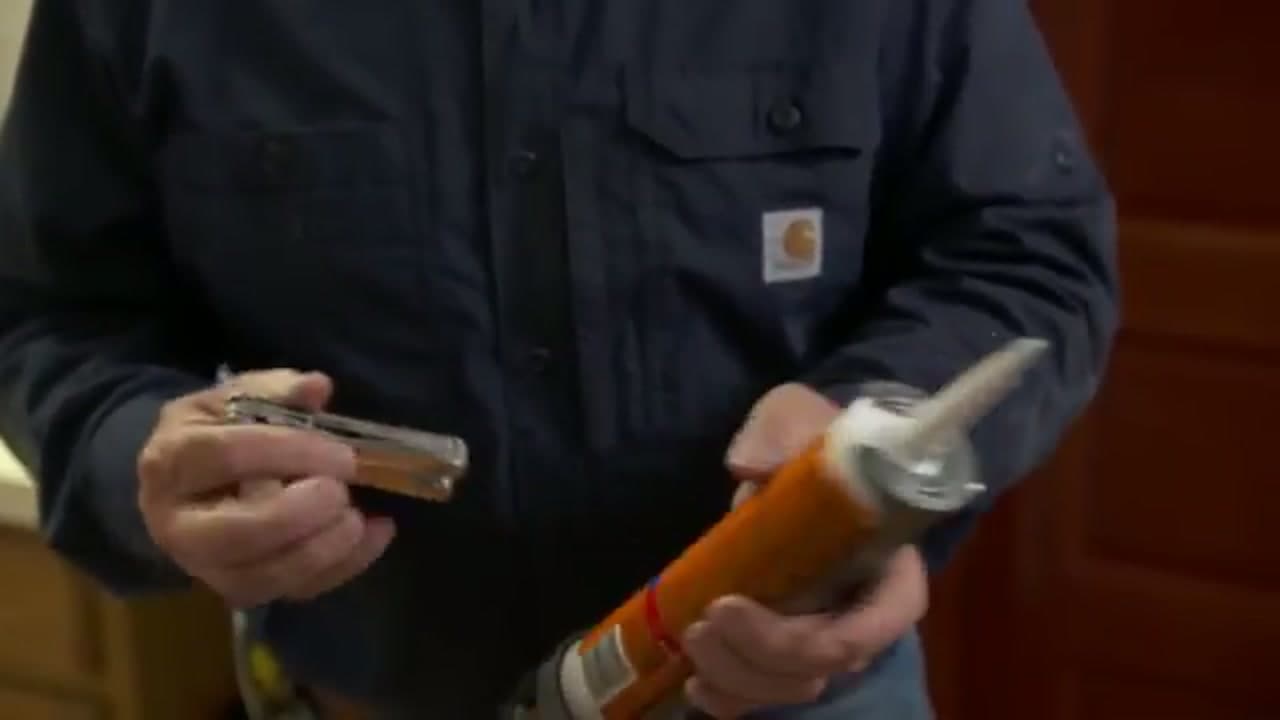
Drop the tube of 100% silicone into a standard caulk gun and put a little tension on the plunger. Cut the tip at an angle with a utility knife, starting with a small opening. You can always cut it bigger, but you cannot make it smaller.

Push the long wire on the gun down the nozzle to break the inner foil seal. When you see wet caulk at the tip, you know the seal is broken and it is ready to flow.

Tip

Watch this step Use 100% silicone for a tub, not latex. It sticks to non-porous surfaces, stays flexible, and resists mold and mildew.

7

Step 7: Run the Silicone Bead

6:23
Step 7: Step 7: Run the Silicone Bead

Start in a corner and hold the gun level, not tipped one way or the other. Squeeze the trigger with steady pressure and keep the tip moving the whole time so the bead comes out even.

Do not push too hard against the wall and do not race it. Move your free hand closer to the tip for better control. You can release the trigger and re-squeeze any time you need to reset.

Tip

Watch this step A slow, steady speed beats a fast one. If the bead gets fat or thin, adjust how quickly you move rather than how hard you squeeze.

8

Step 8: Tool the Bead Smooth

7:05
Step 8: Step 8: Tool the Bead Smooth

Wet the tip of your finger and drag it down the bead in one smooth motion. Start in the corner, keep light and even pressure, and try not to stop halfway. This presses the caulk into the joint and gives it that clean concave shape.

If caulk starts oozing out past the tape, lighten your touch. You will see the void fill in and the surface turn smooth as you go.

Tip

Watch this step A caulk finishing tool gives an even more uniform line than a finger. Keep a paper towel handy to wipe excess off your finger between passes.

9

Step 9: Pull the Tape and Cure

8:10
Step 9: Step 9: Pull the Tape and Cure

While the caulk is still wet, peel off all the painter's tape. Start at the top and pull it up and away quickly. This leaves behind a crisp, clean caulk line with sharp edges.

Keep the caulk dry for the first 30 minutes, then give it a full 24 hours to cure before you touch it or run water on it. After that your tub has a fresh, waterproof seal.

Tip

Watch this step Pull the tape while the caulk is wet, never after it skins over, or you will tear the bead. Twenty-four hours of cure time is what makes the seal actually hold.

Products Used

☐ The Checklist

How to Caulk a Bathtub (Clean, Waterproof Seal)

Tools
7
Materials
5
Steps
9
Video
9 min

Your Guide

This Old House

As an Amazon Associate we earn from qualifying purchases. Links on this page may be affiliate links - clicking them and buying doesn't change your price, but helps support ShowMeStepByStep.

Tags

Sunday How-To

New home improvement tutorials, every Sunday

One short email with the week's best step-by-step guides. Free, no spam, unsubscribe anytime.

Did this work for you?

What's next

Related collections

Curated theme pages that include this tutorial.

Weekly Digest

Liked this home improvement tutorial?

Pick the categories you want to hear about. Weekly digest of new step-by-step tutorials. No spam, easy unsubscribe.

Send me tutorials about

We only email about new tutorials. Easy unsubscribe anytime.