How to Build a Garage Workbench

Home ImprovementMedium10:458 stepsBrowse more →
Also in:Adulting

By ShowMeStepByStepPublished

Based on a video by April Wilkerson.

A garage without a real work surface fills up fast. This build from April Wilkerson fixes that with a sturdy 2x4 and plywood bench you can knock out in an afternoon, mostly from lumber you probably already have lying around.

The frame goes together with a nail gun and screws, the plywood top and lower shelf drop right on, and a tall pegboard section on the back keeps your everyday tools within arm's reach. It is a great first big shop project because every cut is straight and there is no fancy joinery.

Two of the tools April leans on here are worth their own walk-through if you are newer to woodworking. See our guides on how to use a circular saw and how to use a drill before you start.

Step-by-Step Guide

1

Step 1: Cut the 2x4s to Length

0:45
Step 1: Step 1: Cut the 2x4s to Length

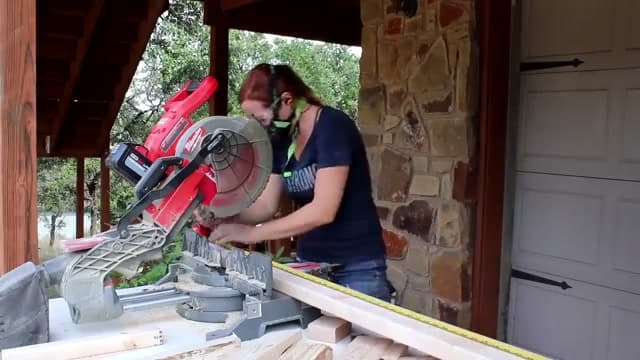
Start by cutting all your framing lumber. April runs each 2x4 through a miter saw, measuring off the plans so every leg, rail, and cross piece is done before anything gets fastened. Cutting all your parts first keeps the build moving and your dimensions consistent. Stack the pieces in groups by length so you are not hunting for parts later. Safety glasses and hearing protection on for this part.

Tip

Label each pile with a pencil - legs, long rails, short rails - so assembly goes quick.
2

Step 2: Build the Side Frames

1:30
Step 2: Step 2: Build the Side Frames

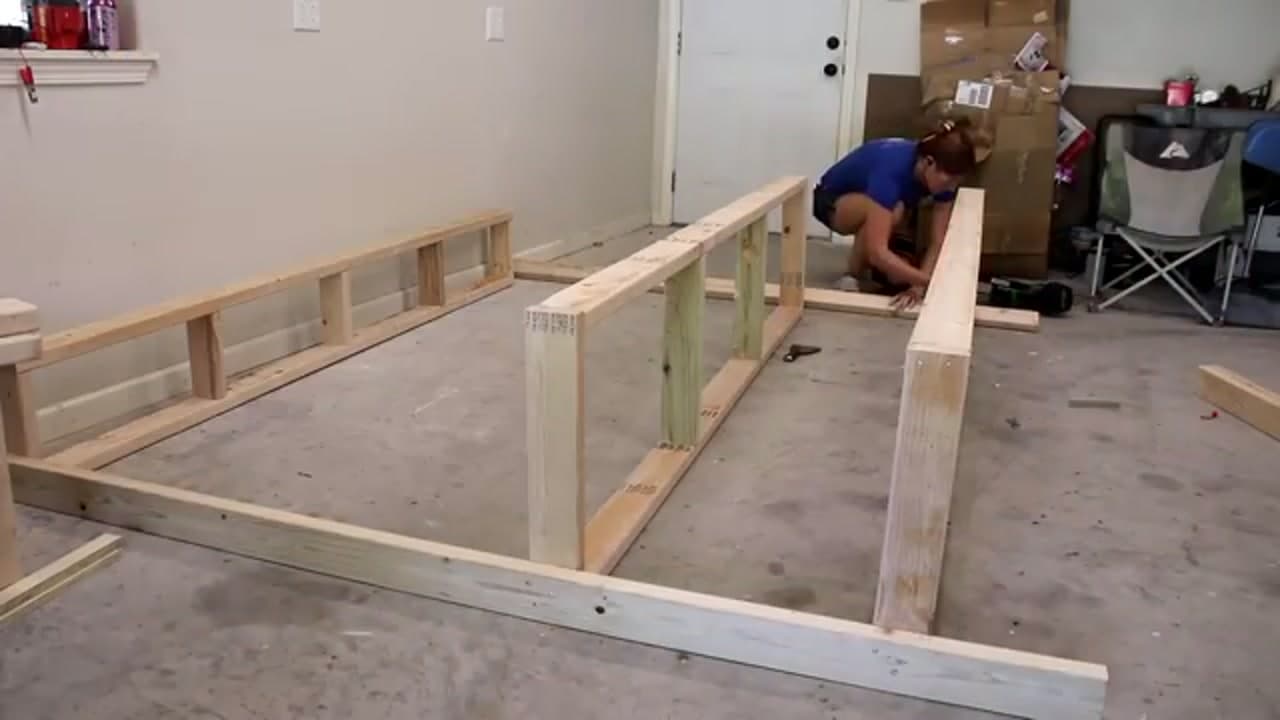
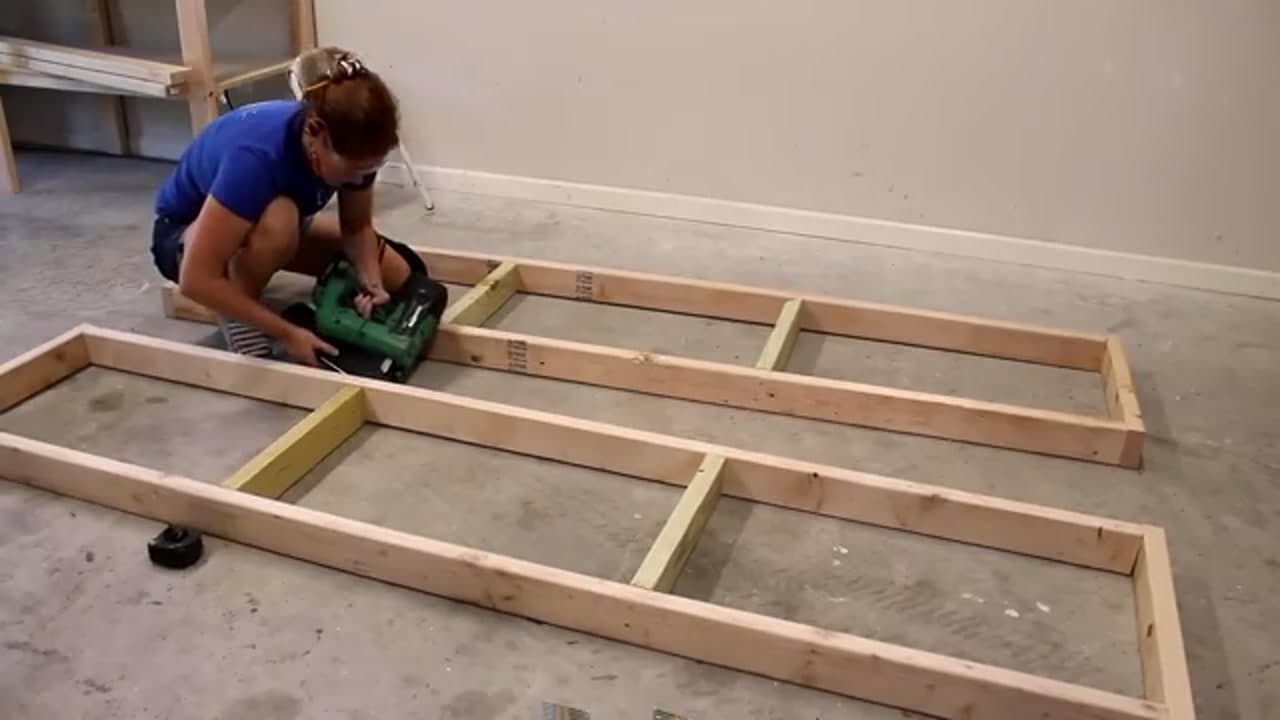
Lay out the two long sides flat on the floor. Each one is a top rail, a bottom rail, and short vertical studs in between, like a little ladder lying down. April tacks them together with a nail gun to hold everything square, then comes back with screws for real strength. Working flat on the floor makes it easy to keep the frame from racking.

3

Step 3: Stand and Connect the Frame

2:10
Step 3: Step 3: Stand and Connect the Frame

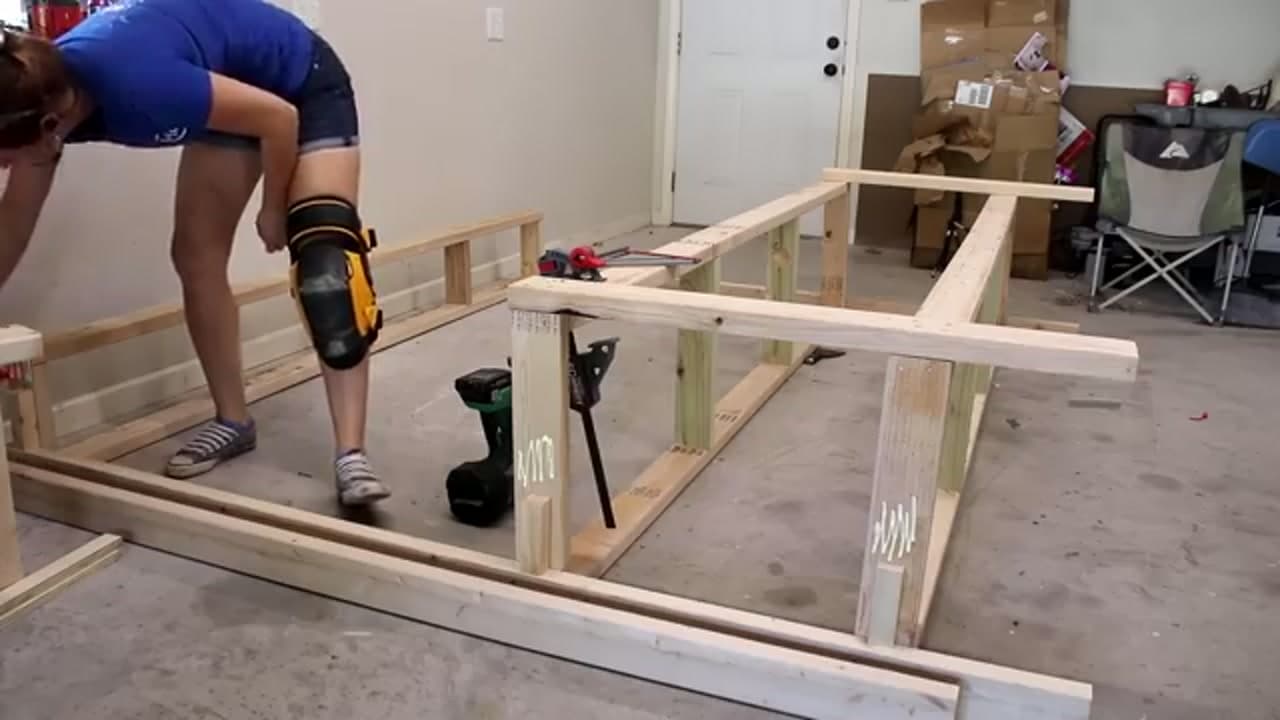
Stand the two side ladders up and join them with rails across the front and back. This is where the flat pile of lumber turns into a bench that stands on its own legs. Hold the corners square as you go and check that the whole thing sits level on the floor. A helper or a clamp keeps the pieces from tipping while you drive the first fasteners.

Tip

Clamp the corner joints before you screw them - it keeps everything at a true 90 degrees.

4

Step 4: Screw and Glue the Joints

2:45
Step 4: Step 4: Screw and Glue the Joints

Now lock it all in. April runs a bead of wood glue at the connections and drives screws through each joint with a cordless drill. The glue and screws together make a bench that will not wobble or rack, even under heavy work. Sink the screw heads flush so nothing catches later. Take a minute to push and shake the frame - if it moves, add another screw at that joint.

5

Step 5: Attach the Plywood Top

4:45
Step 5: Step 5: Attach the Plywood Top

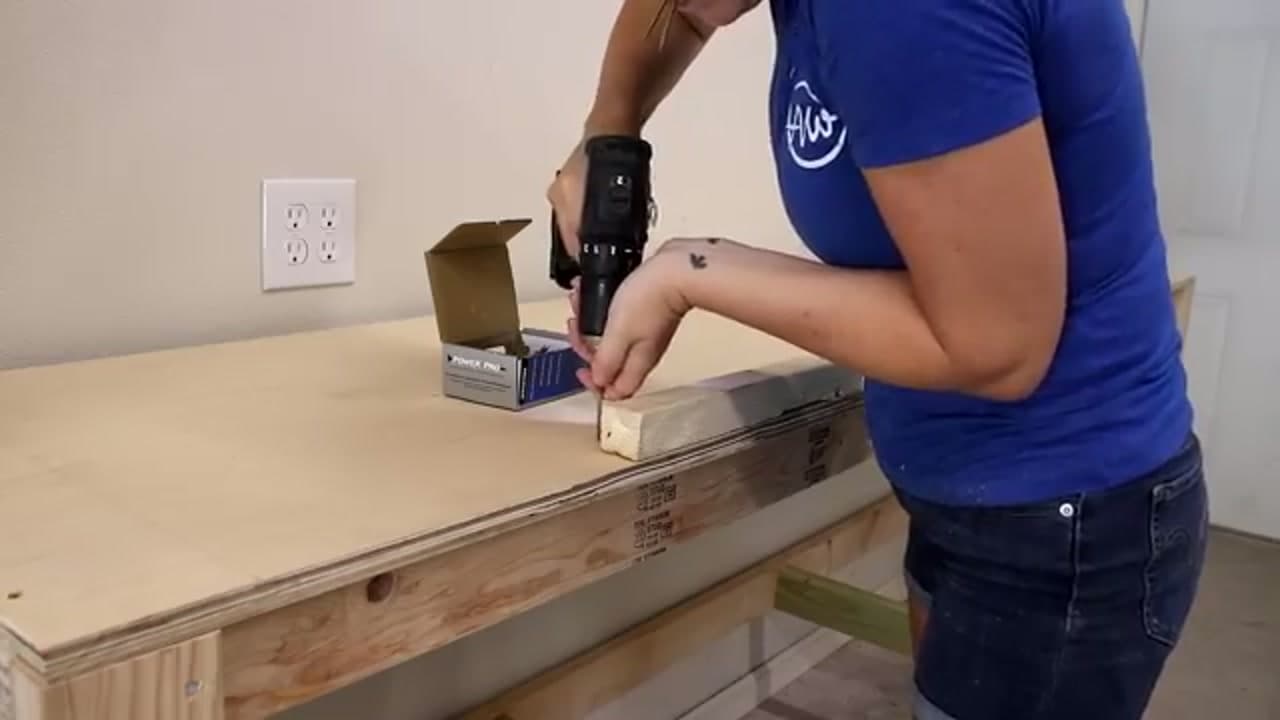
Set your plywood sheet on the frame and screw it down. April sinks a row of screws along each rail so the top pulls flat and tight to the frame with no flex. Line the plywood up so the edges are even before you fasten the first corner. A solid plywood top gives you a flat surface for clamping, cutting, and any project you throw at it.

Tip

Pre-drill and countersink the screw holes so the heads sit below the surface and don't scratch your work.

6

Step 6: Add the Lower Storage Shelf

5:20
Step 6: Step 6: Add the Lower Storage Shelf

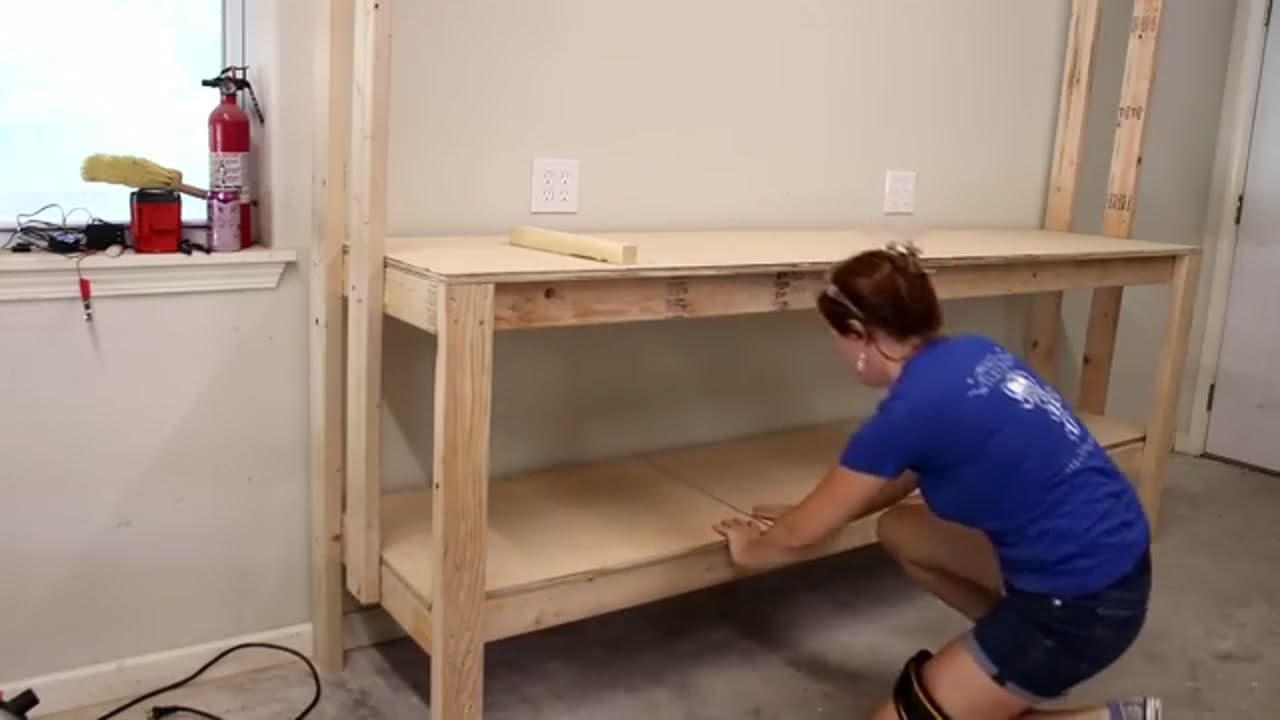
Drop a second piece of plywood onto the bottom rails and fasten it down. That empty space under the bench becomes a shelf for bins, power tools, and anything you want off the floor. April tucks her drills, saws, and blower down here later. The shelf also ties the legs together, which makes the whole bench even more rigid.

7

Step 7: Build the Overhead Shelf Unit

6:30
Step 7: Step 7: Build the Overhead Shelf Unit

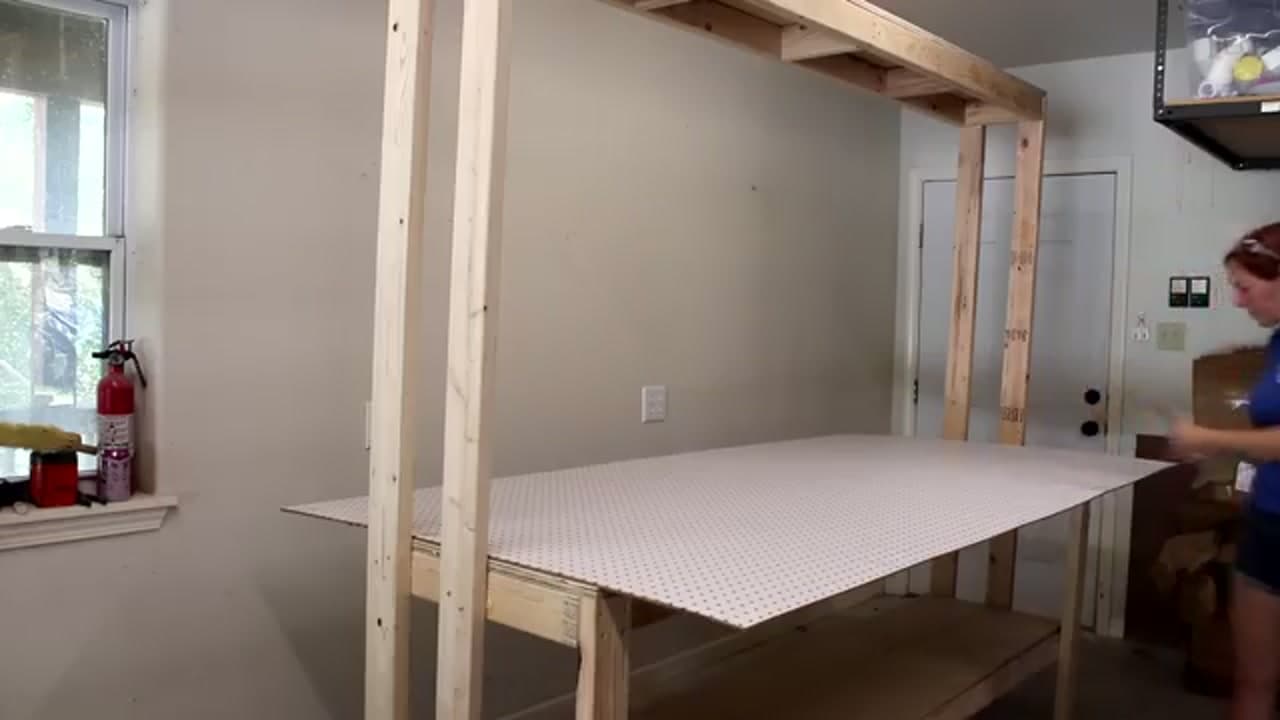
For extra storage, April builds a tall unit that rises off the back of the bench. She checks each upright with a level before screwing it to the wall studs so the top shelves hang plumb and square. Fastening into studs is what carries the weight, so find them first. This overhead section keeps bulky items up and out of your work zone.

Tip

Mark your wall studs with a stud finder before you lift anything into place.

8

Step 8: Add the Pegboard and Load Up

9:05
Step 8: Step 8: Add the Pegboard and Load Up

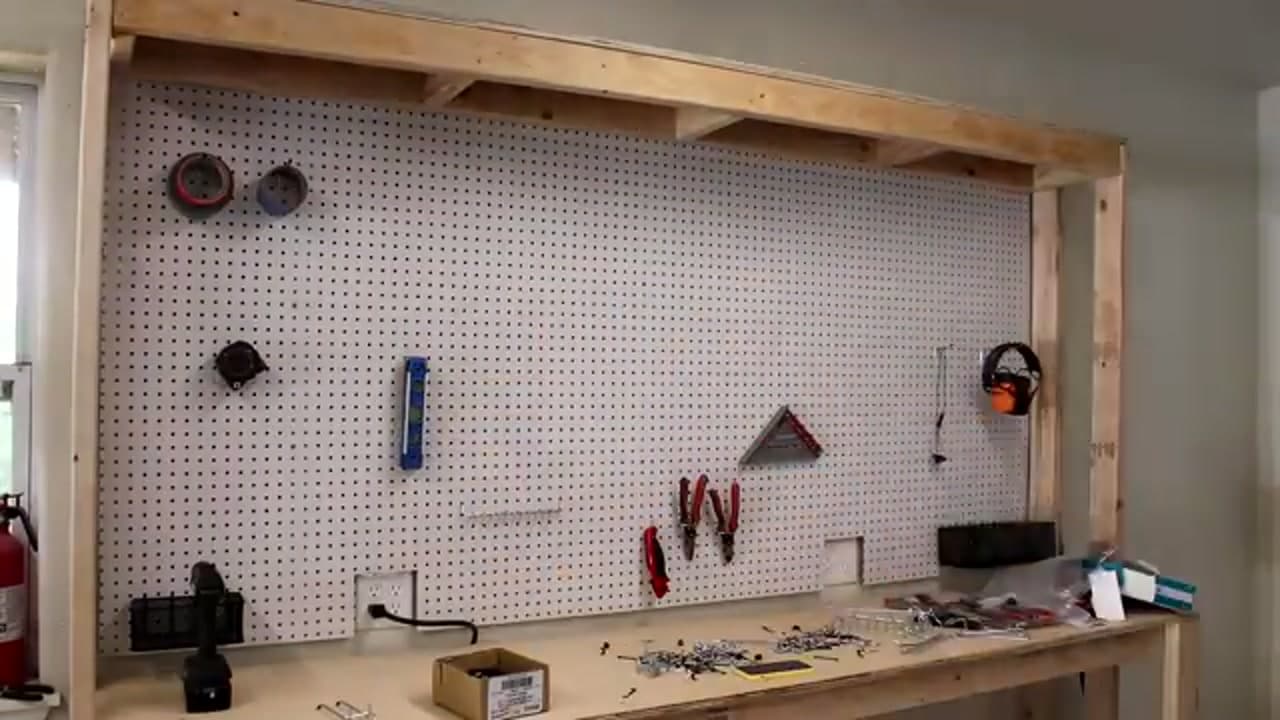
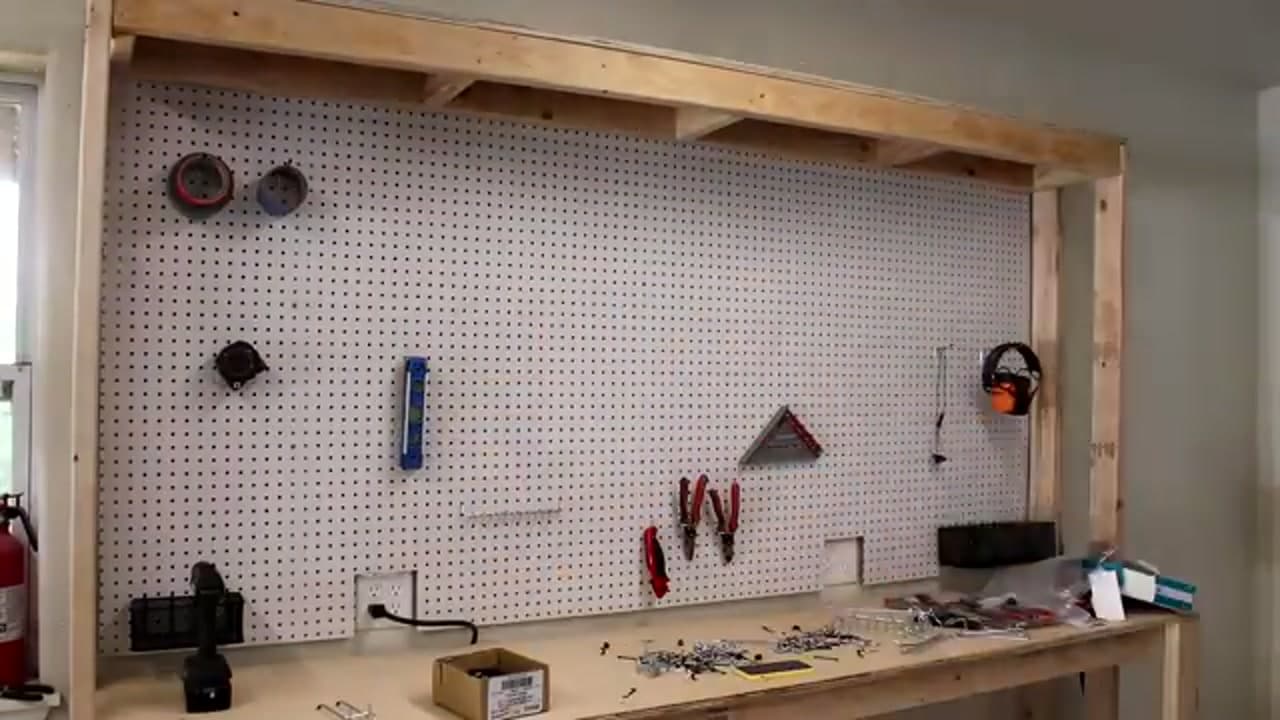
Finish it off with a pegboard panel across the back. Hang your most-used tools where you can grab them without digging through a drawer. April lays out her square, level, pliers, and hearing protection on hooks. That is the whole build - a solid garage workbench with a plywood top, a storage shelf underneath, and a tool wall ready to go. Load it up and start your next project.

Products used in this step

Products Used

☐ The Checklist

How to Build a Garage Workbench

Tools
8
Materials
5
Steps
8
Video
11 min

Your Guide

April Wilkerson

As an Amazon Associate we earn from qualifying purchases. Links on this page may be affiliate links - clicking them and buying doesn't change your price, but helps support ShowMeStepByStep.

Tags

Sunday How-To

New home improvement tutorials, every Sunday

One short email with the week's best step-by-step guides. Free, no spam, unsubscribe anytime.

Did this work for you?

What's next

Related collections

Curated theme pages that include this tutorial.

Weekly Digest

Liked this home improvement tutorial?

Pick the categories you want to hear about. Weekly digest of new step-by-step tutorials. No spam, easy unsubscribe.

Send me tutorials about

We only email about new tutorials. Easy unsubscribe anytime.