1
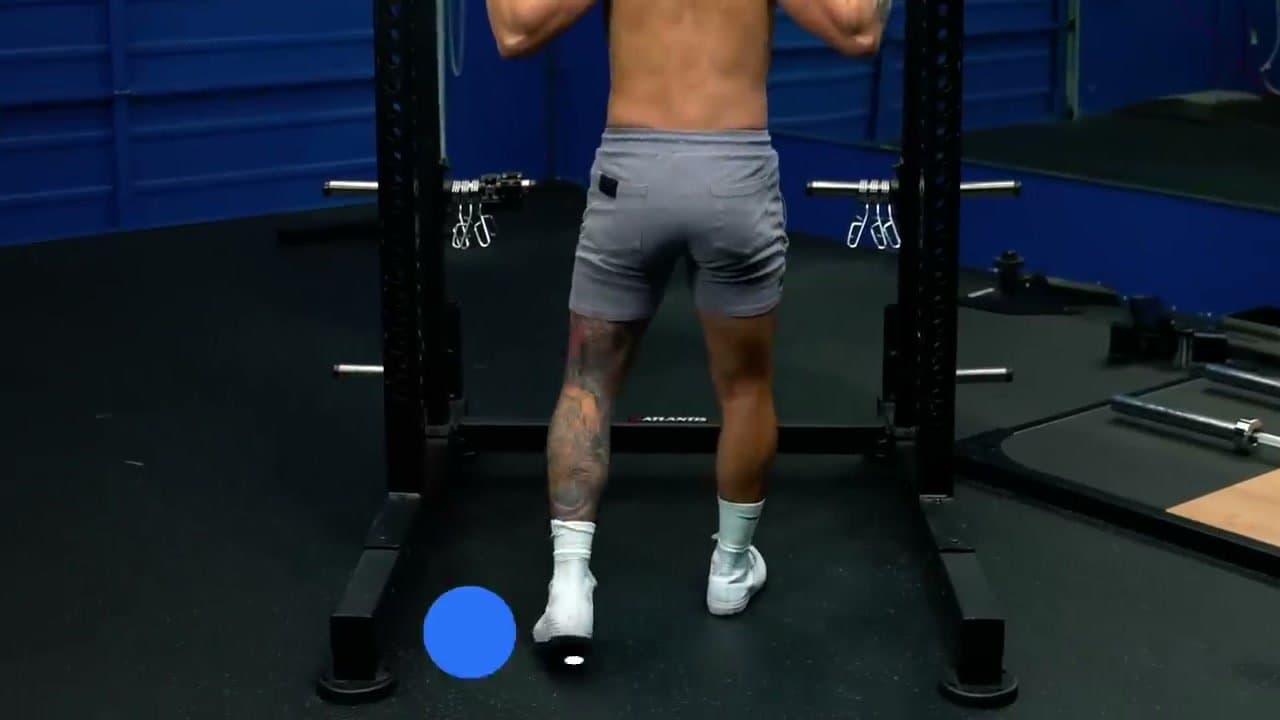
Step 1: Find Your Foot Stance
0:30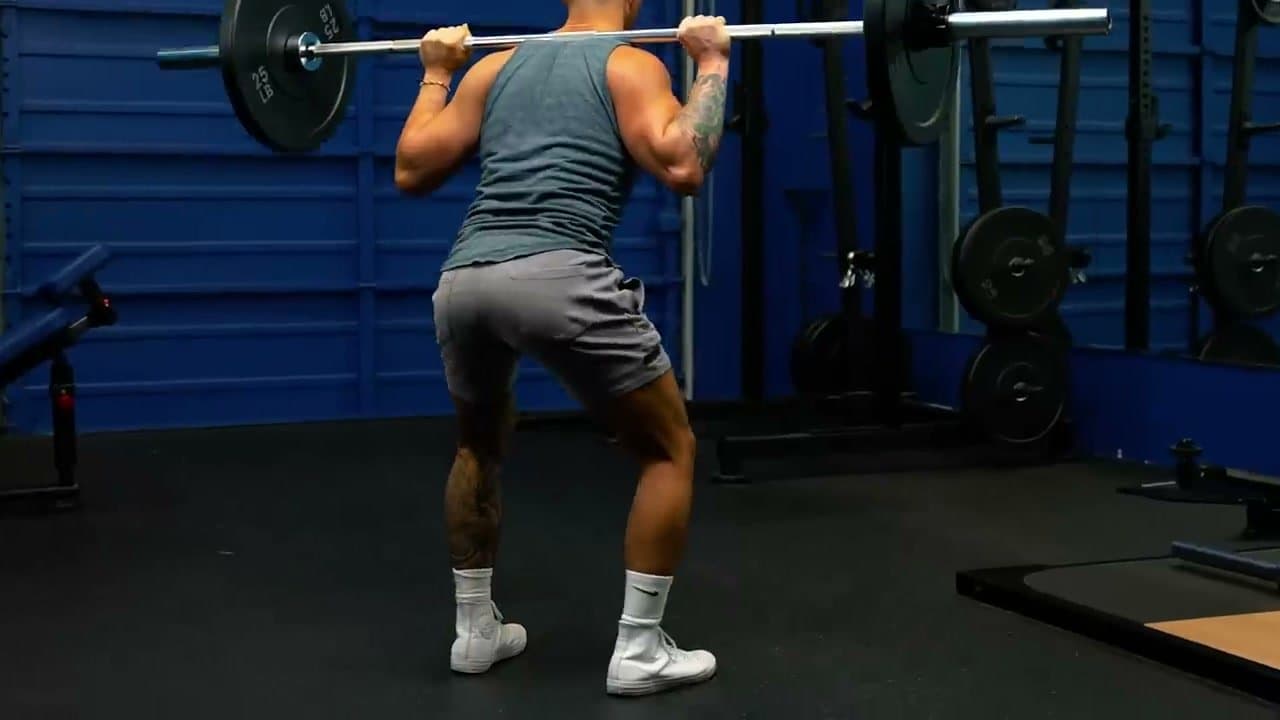
Hold a light weight at your chest and squat down with feet hip-width apart. Note how low you can go comfortably. Then widen your stance an inch or two and try again.
Keep adjusting until you find the width that lets you squat the deepest with no knee or hip pain. Most people need their toes pointed slightly outward - the wider the stance, the more they should turn out.