How to Use a Blackstone Griddle

CookingEasy13:468 stepsBrowse more →

By ShowMeStepByStepPublished

Based on a video by Johnny Brunet.

Getting a flat top griddle is exciting, and it can also feel like a lot. Where do you start, how hot should it be, and what happens when the cook is done? Johnny Brunet from the Johnny Brunet channel put together a beginner rundown of the things he wishes someone had told him five years ago, and this tutorial follows his approach step by step.

The griddle is one of the friendliest outdoor cooking tools once you understand the basics. Season it, learn your heat zones, and keep it clean, and it will turn out breakfast, burgers, and fried rice for years. If you also run a charcoal or pellet rig, our guide on how to use a smoker pairs well with this one for weekend cooks.

Work through the steps below in order the first few times. After that it becomes muscle memory and you will be cooking without thinking about it.

Step-by-Step Guide

1

Step 1: Season the Steel

0:45
Step 1: Step 1: Season the Steel

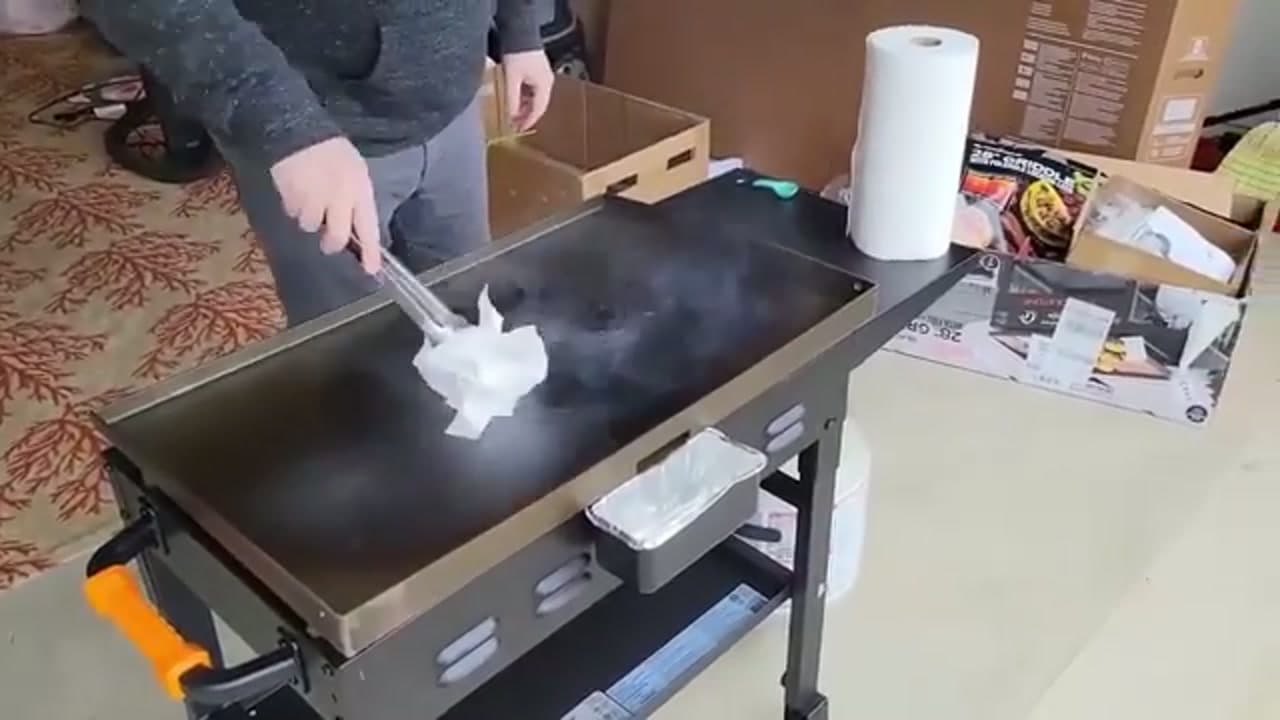
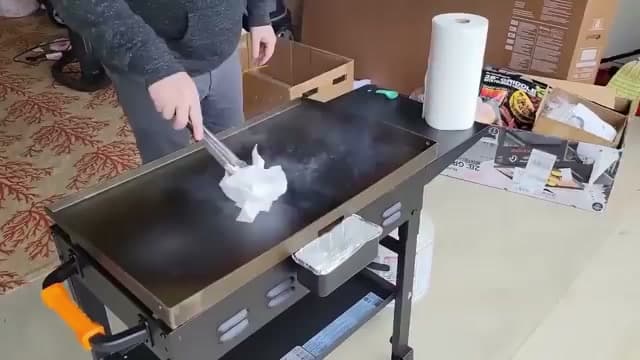
A brand new top is bare metal, so it needs a few rounds of seasoning before it cooks well. Heat the griddle up, then spread the thinnest possible layer of oil over the whole surface with a folded paper towel held in tongs. Let it smoke off until the shine dulls, then repeat. Each pass builds a darker, slicker coating. Three or four rounds gets you a good base, and every cook after that keeps building it.

Tip

Less oil is better here. A puddle turns gummy and sticky instead of curing into a smooth layer.
2

Step 2: Set Up Your Heat Zones

7:15
Step 2: Step 2: Set Up Your Heat Zones

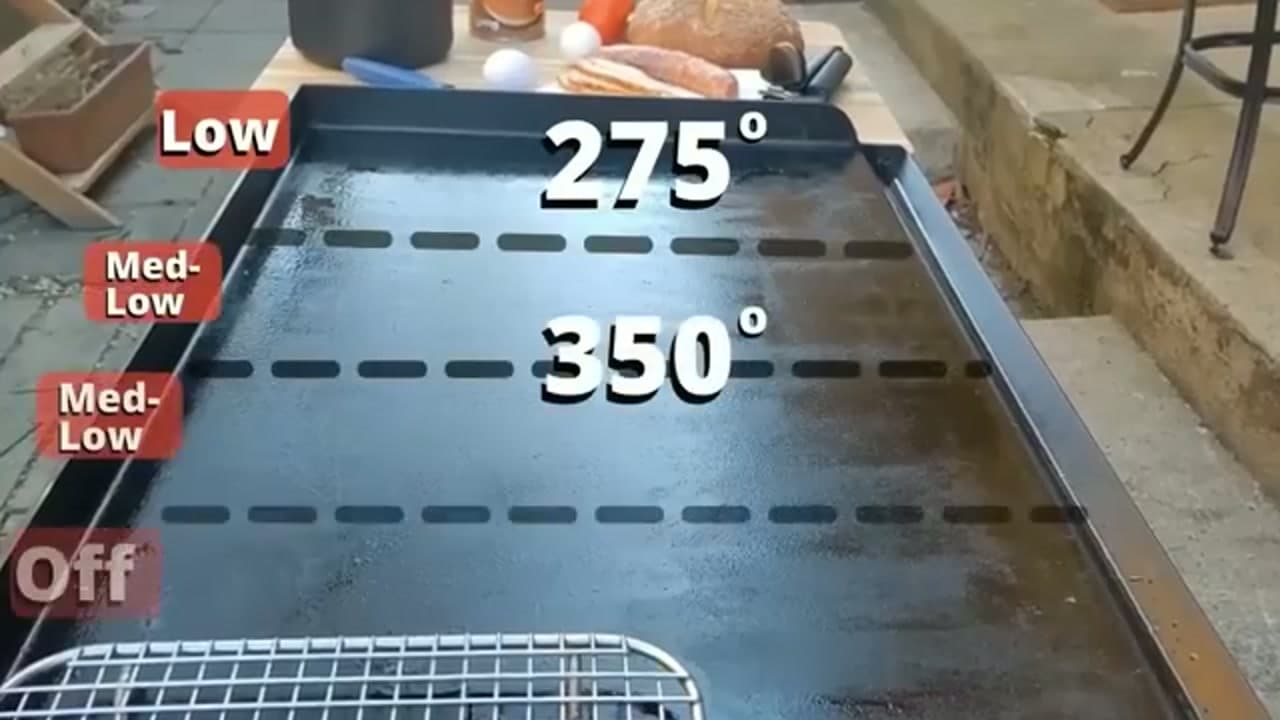
The griddle has separate burners, so you get a range of temperatures across one surface. Run the back or one end lower, around 275F, for gentle jobs like holding cooked food or melting cheese. Keep the middle hotter, around 350F, for eggs and pancakes. Leave a cooler landing spot with the burner off. Now you can slide food around instead of fighting one temperature for everything.

Tip

Give the griddle a full ten minutes to settle after you set the knobs. The steel reads its real temperature slower than the flame changes.

Products used in this step

3

Step 3: Preheat and Oil the Surface

1:40
Step 3: Step 3: Preheat and Oil the Surface

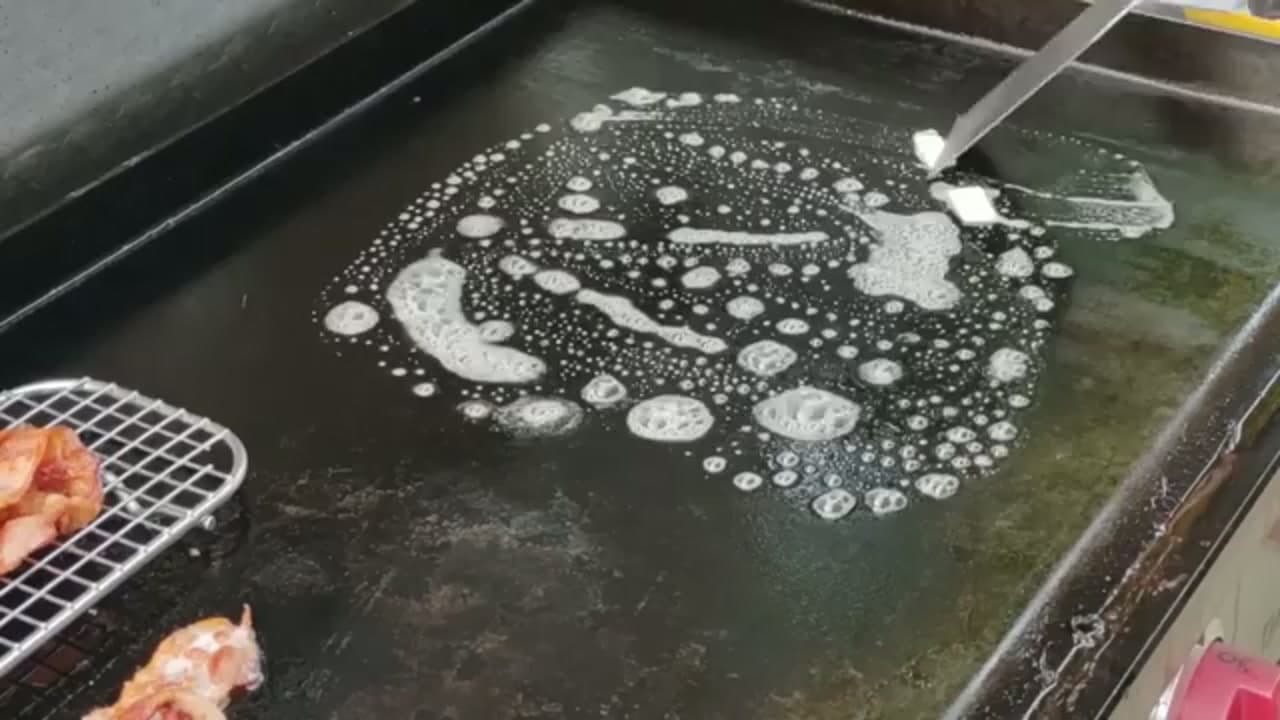
Before any food goes down, let the top come up to temperature until it gives off a light haze of smoke. Then add a small pool of high smoke point oil and spread it thin with your spatula so the whole cooking area looks glossy. This wet layer is what keeps eggs and burgers from grabbing the steel. A dry griddle sticks, so re-oil between batches too.

Tip

Avocado, canola, and grapeseed oils handle griddle heat well. Skip butter and olive oil for the base layer since they burn fast.

4

Step 4: Smash Some Burgers

10:52
Step 4: Step 4: Smash Some Burgers

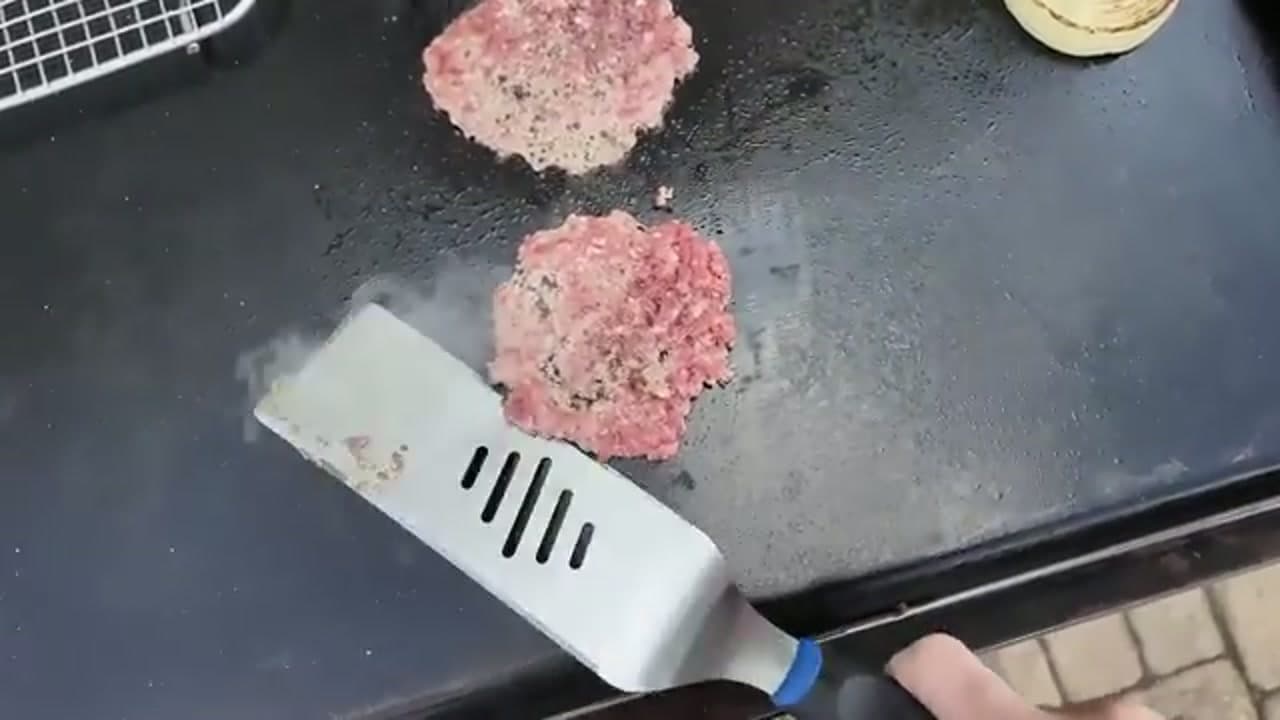
Smash burgers are where the griddle shines. Roll the beef into loose balls and drop them onto a screaming hot section. Press each one flat and thin right away with the back of a stiff spatula or a grill press, then hold for a few seconds. That contact with the steel builds the crispy, lacy edge you cannot get on a grill. Salt, flip once, add cheese, and pull them.

Tip

Only smash once, in the first ten seconds. Pressing later just squeezes out the juice.

5

Step 5: Fry Eggs and Breakfast

5:15
Step 5: Step 5: Fry Eggs and Breakfast

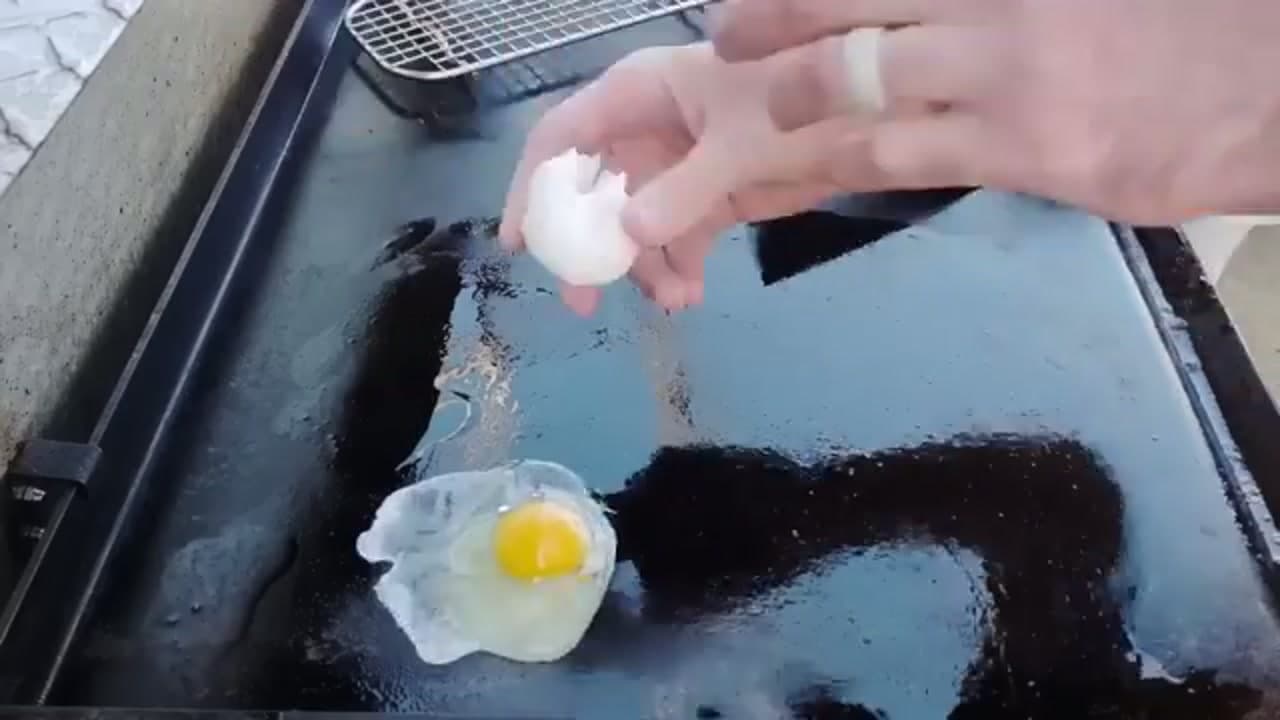
The flat top is made for breakfast. Crack eggs straight onto an oiled medium zone and the whites spread and set fast, giving you crisp lace edges and a soft yolk in a couple of minutes. Run bacon, potatoes, and toast on the same surface at the same time, each in its own heat zone. Cook in order from slowest to fastest so everything finishes together.

Tip

Keep a squeeze bottle of water nearby. A quick splash and a lid steams eggs and melts cheese in seconds.

6

Step 6: Cook Griddle Fried Rice

10:45
Step 6: Step 6: Cook Griddle Fried Rice

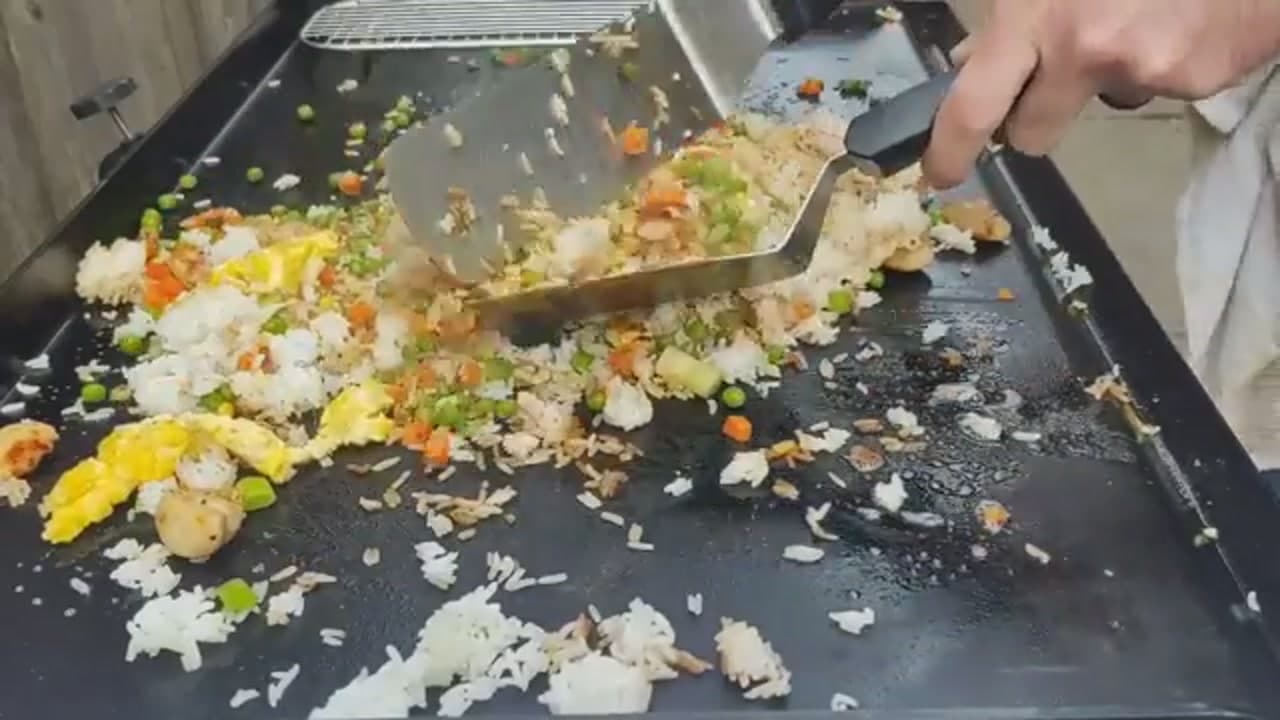
Once you are comfortable, fried rice shows off what a big hot surface can do. Spread day-old cold rice, chopped veggies, and cooked protein across the heat and keep everything moving with two spatulas. The wide surface dries the rice and gives it a light char instead of steaming it into mush. Push it around, add your sauce at the end, and serve it hot.

Tip

Cold, dry rice is the secret. Fresh warm rice clumps and turns gummy on the steel.

Products used in this step

7

Step 7: Scrape and Wash the Top

9:15
Step 7: Step 7: Scrape and Wash the Top

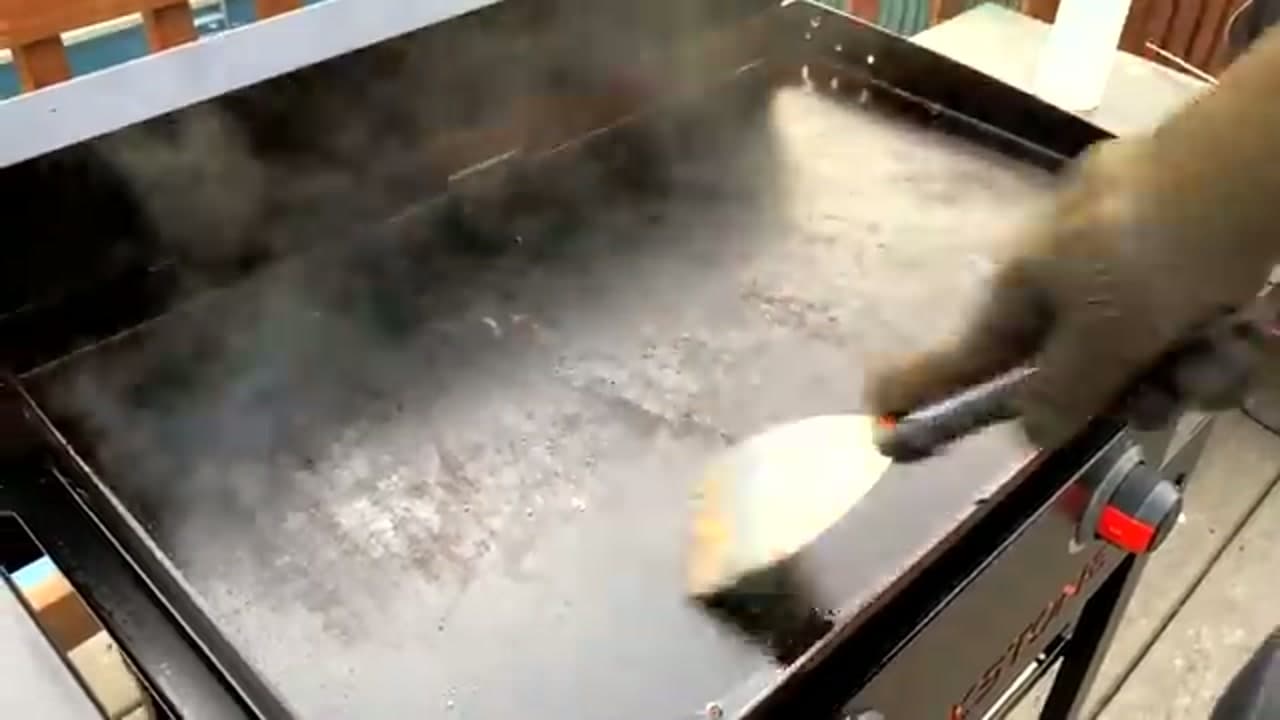
Clean while the griddle is still warm, not cold. Scrape the loose bits into the grease trap with the flat edge of your scraper, then pour a little water onto the surface. It bubbles and lifts the stuck-on scum right away. Work the scraper through the slurry, then push all of it off the front edge into the trap. Skip harsh soap so you do not strip the seasoning.

Tip

A splash of water on a warm top does most of the work. Let the heat and steam loosen the mess before you scrub hard.

Products used in this step

8

Step 8: Dry and Re-Oil to Protect It

12:20
Step 8: Step 8: Dry and Re-Oil to Protect It

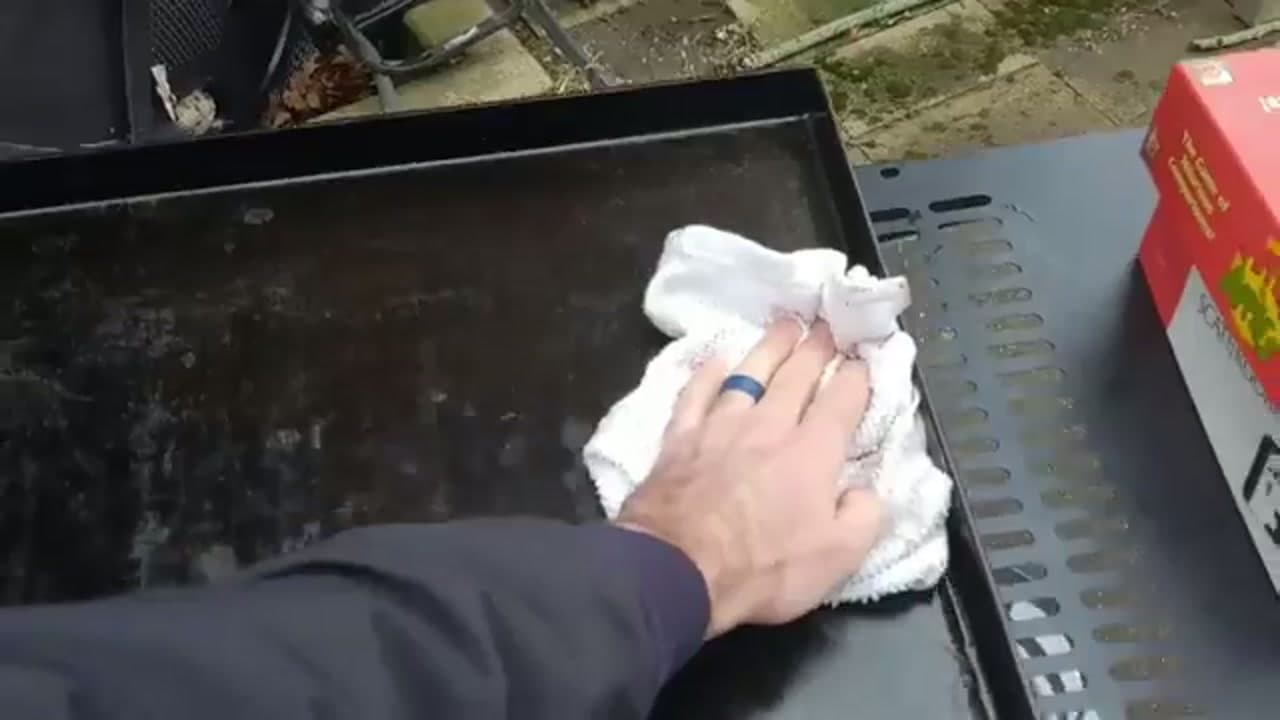
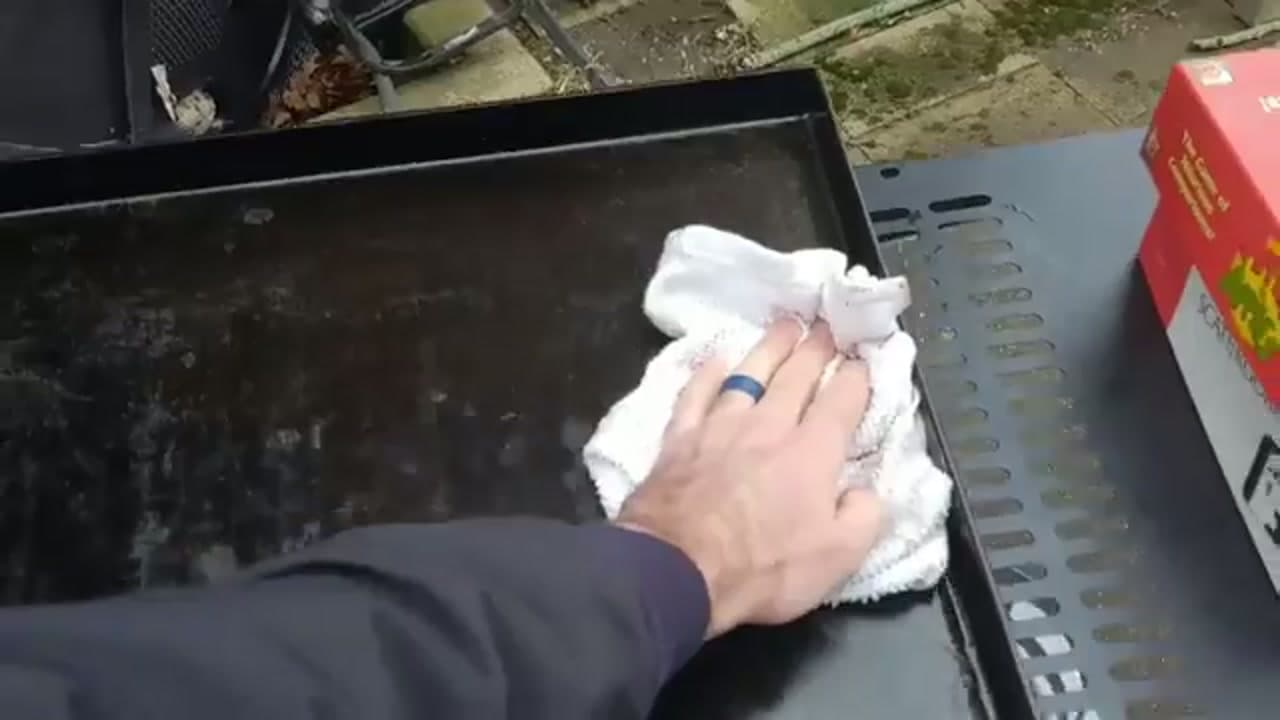
This last step is what stops rust and keeps the top ready. Wipe the clean surface fully dry with a folded towel so no water sits in the corners. Then rub in a very thin coat of oil over the whole top. That barrier protects the seasoning between cooks. A finished griddle should look dark, smooth, and slick. Close the cover and it is ready for next time.

Tip

Store the griddle covered and off the ground. Trapped moisture is the number one cause of rusty spots.

Products Used

❖ The Recipe

How to Use a Blackstone Griddle

American
Serves
Makes 4 smash burgers
Prep
10 min
Cook
15 min
Total
25 min

Ingredients

8 items
  • 1 lbground beef80/20 for the best crust
  • 4hamburger buns
  • 4 slicesAmerican cheese
  • 1 largeyellow onionthinly sliced
  • 8 stripsbacon
  • 2 tbspcooking oilhigh smoke point like avocado or canola
  • to tastesalt
  • to tasteblack pepper

Nutrition

estimated · per servingEstimated from the ingredient list, not measured. Actual values vary by brand, preparation, and serving size. Not a substitute for measured nutrition data.
Calories
600kcal
Protein
32g
Fat
38g
Carbs
26g
Sugar
4g
Sodium
950mg

Method

  1. 1
    Step 1: Season the Steel. A brand new top is bare metal, so it needs a few rounds of seasoning before it cooks well.
  2. 2
    Step 2: Set Up Your Heat Zones. The griddle has separate burners, so you get a range of temperatures across one surface.
  3. 3
    Step 3: Preheat and Oil the Surface. Before any food goes down, let the top come up to temperature until it gives off a light haze of smoke.
  4. 4
    Step 4: Smash Some Burgers. Smash burgers are where the griddle shines.
  5. 5
    Step 5: Fry Eggs and Breakfast. The flat top is made for breakfast .
  6. 6
    Step 6: Cook Griddle Fried Rice. Once you are comfortable, fried rice shows off what a big hot surface can do.
  7. 7
    Step 7: Scrape and Wash the Top. Clean while the griddle is still warm, not cold.
  8. 8
    Step 8: Dry and Re-Oil to Protect It. This last step is what stops rust and keeps the top ready.
☐ The Checklist

How to Use a Blackstone Griddle

Tools
7
Materials
6
Steps
8
Video
14 min

Your Guide

Johnny Brunet

As an Amazon Associate we earn from qualifying purchases. Links on this page may be affiliate links - clicking them and buying doesn't change your price, but helps support ShowMeStepByStep.

Tags

Sunday How-To

New cooking tutorials, every Sunday

One short email with the week's best step-by-step guides. Free, no spam, unsubscribe anytime.

Did this work for you?

What's next

Related collections

Curated theme pages that include this tutorial.

Weekly Digest

Liked this cooking tutorial?

Pick the categories you want to hear about. Weekly digest of new step-by-step tutorials. No spam, easy unsubscribe.

Send me tutorials about

We only email about new tutorials. Easy unsubscribe anytime.