How to Use a Smoker

CookingEasy5:177 stepsBrowse more →

By ShowMeStepByStepPublished

Based on a video by Mad Backyard.

An electric smoker takes most of the guesswork out of low-and-slow cooking. You set the temperature, load some wood chips, and let it run. No fire to babysit, no charcoal to fuss with.

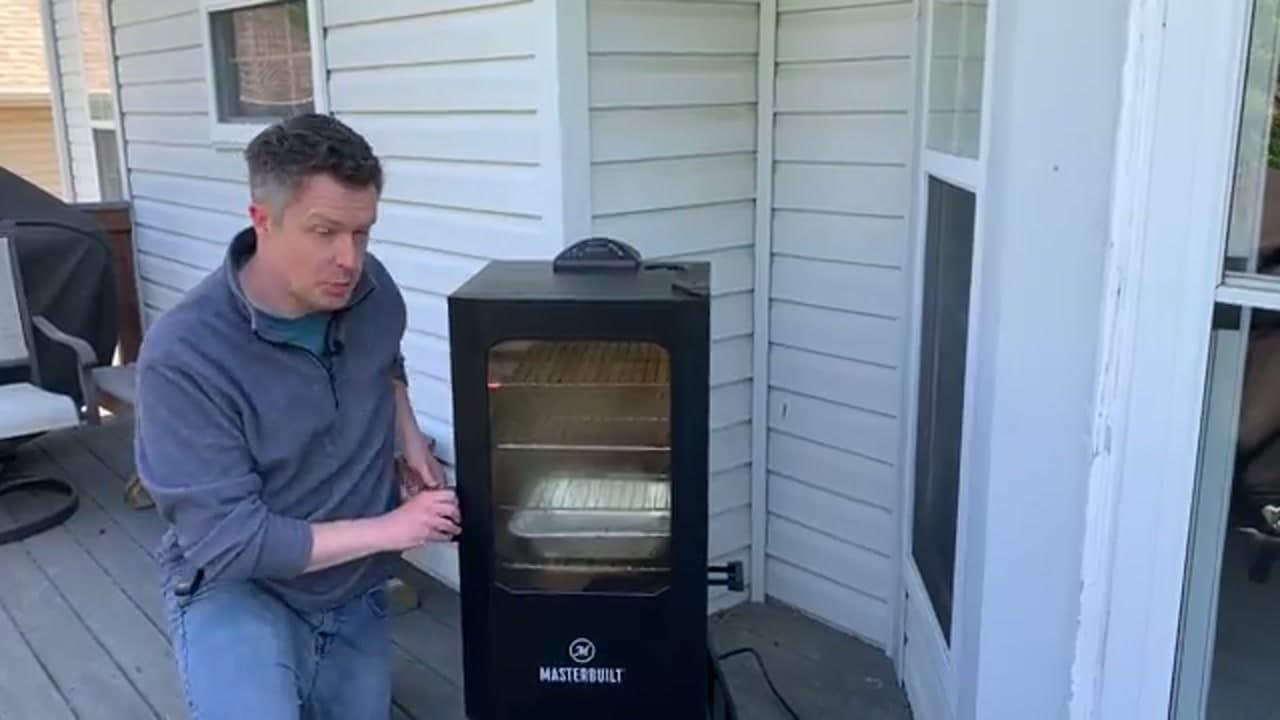
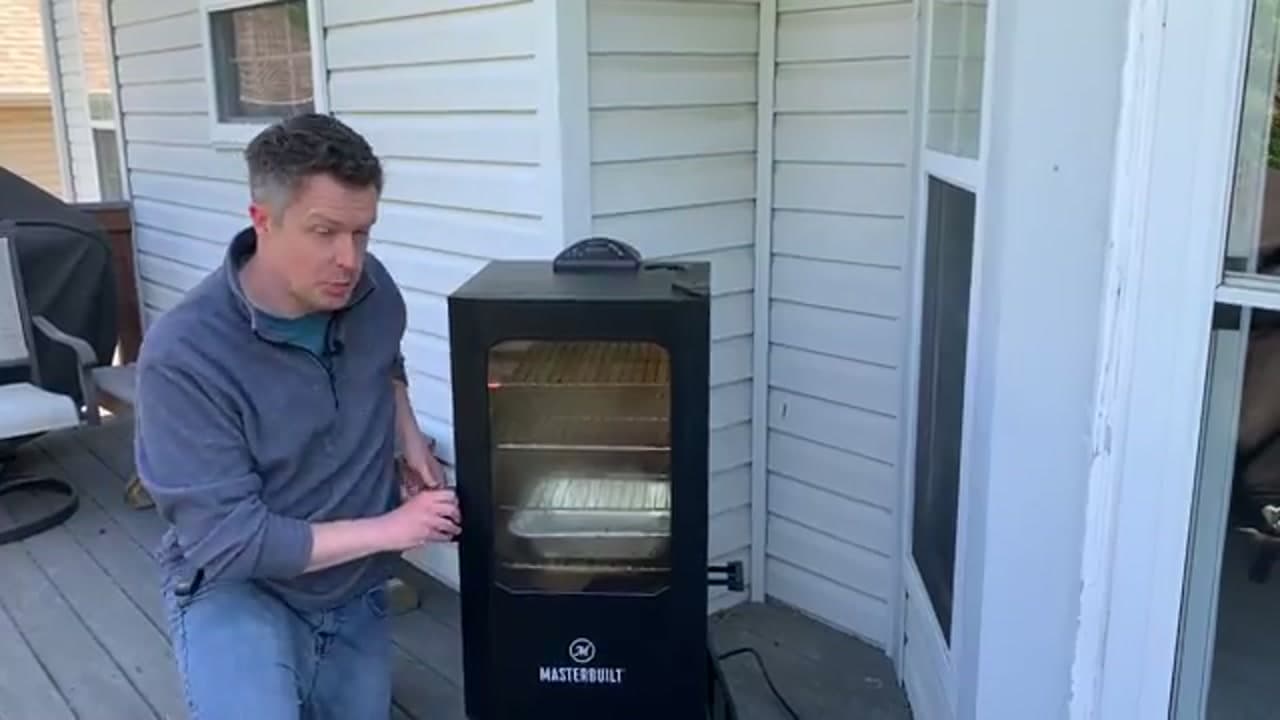
In this walkthrough, Mad Backyard shows you how to get a Masterbuilt electric smoker up and running from a cold start. You will set up the cooking chamber, fill the water pan, program the digital panel, load the wood chip tray, and get your food on the racks.

The example here is smoked pork chops, but the same routine works for chicken, ribs, or a pork butt. Learn the steps once and every cook after that is easy.

Step-by-Step Guide

1

Step 1: Set Up the Chamber and Water Pan

1:43
Step 1: Step 1: Set Up the Chamber and Water Pan

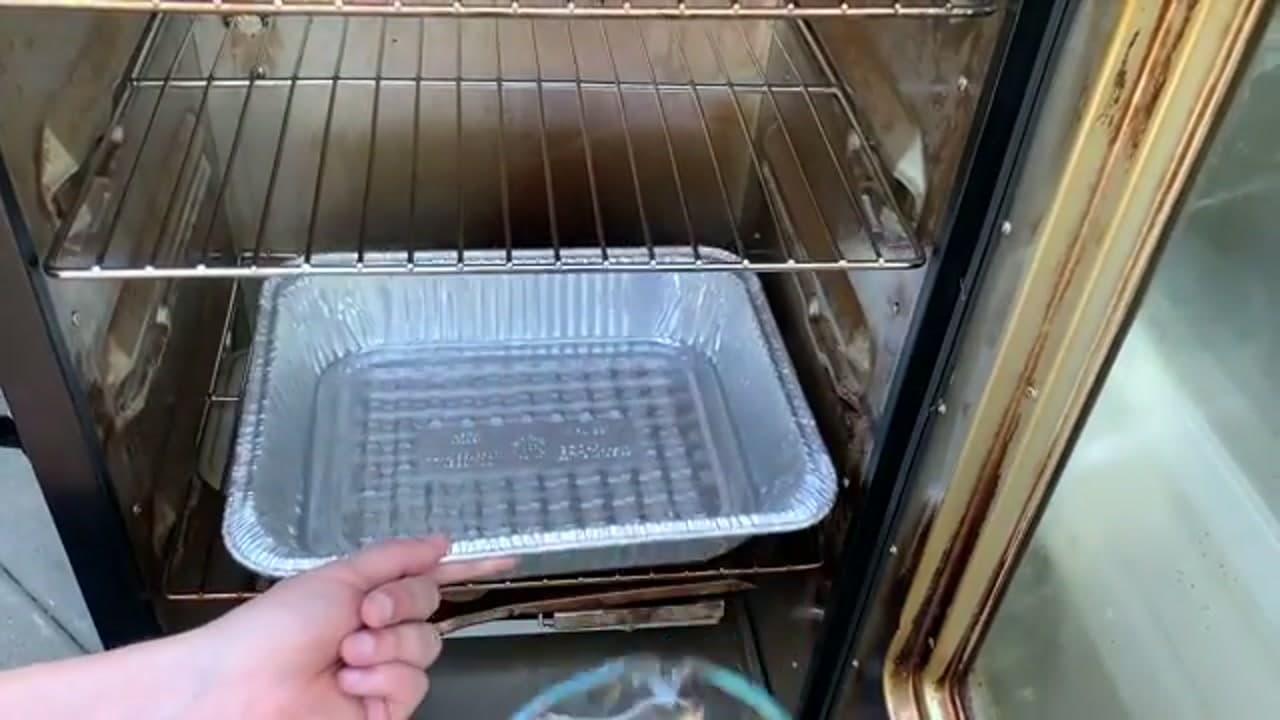
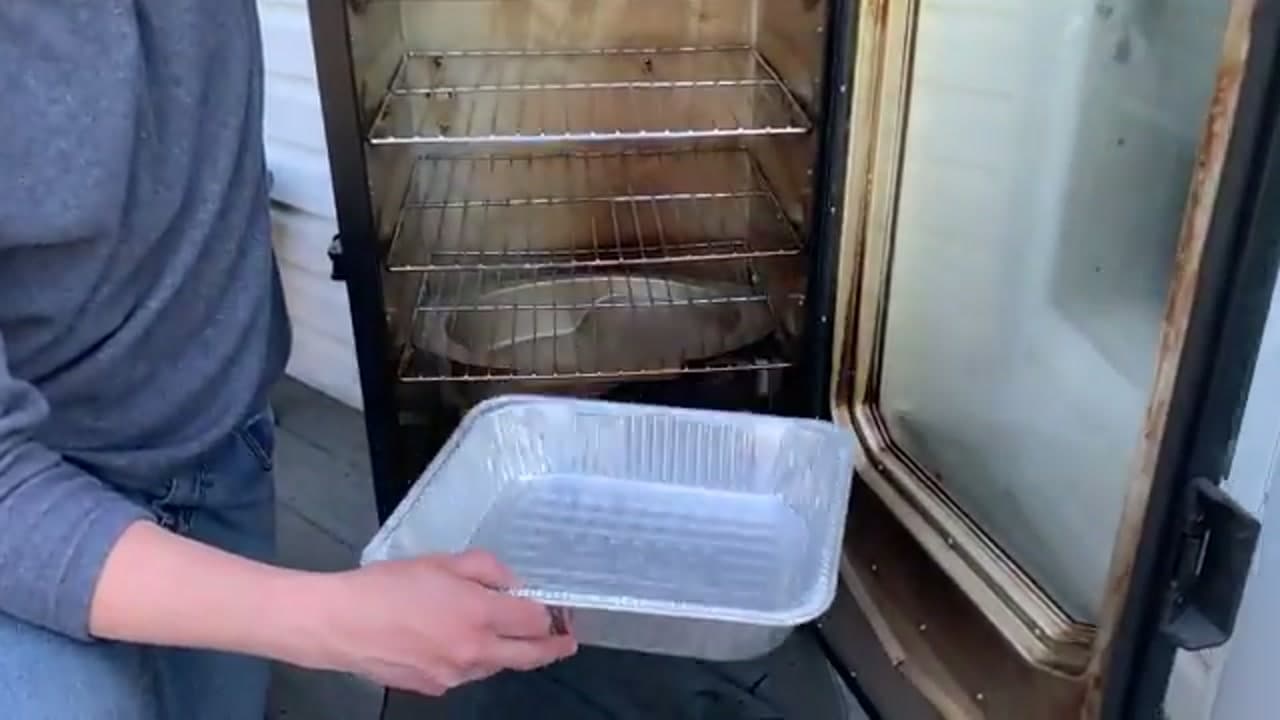
Start with the cooking chamber. Slide a foil water pan onto the bottom rack and pour in a couple cups of water. That water keeps the air inside humid, so your meat stays juicy instead of drying out over a long cook. It also catches drips and makes cleanup a lot easier. Get this in before you turn anything on.

Tip

A disposable aluminum pan works great here and saves you a scrubbing job later.

2

Step 2: Set the Temperature

2:10
Step 2: Step 2: Set the Temperature

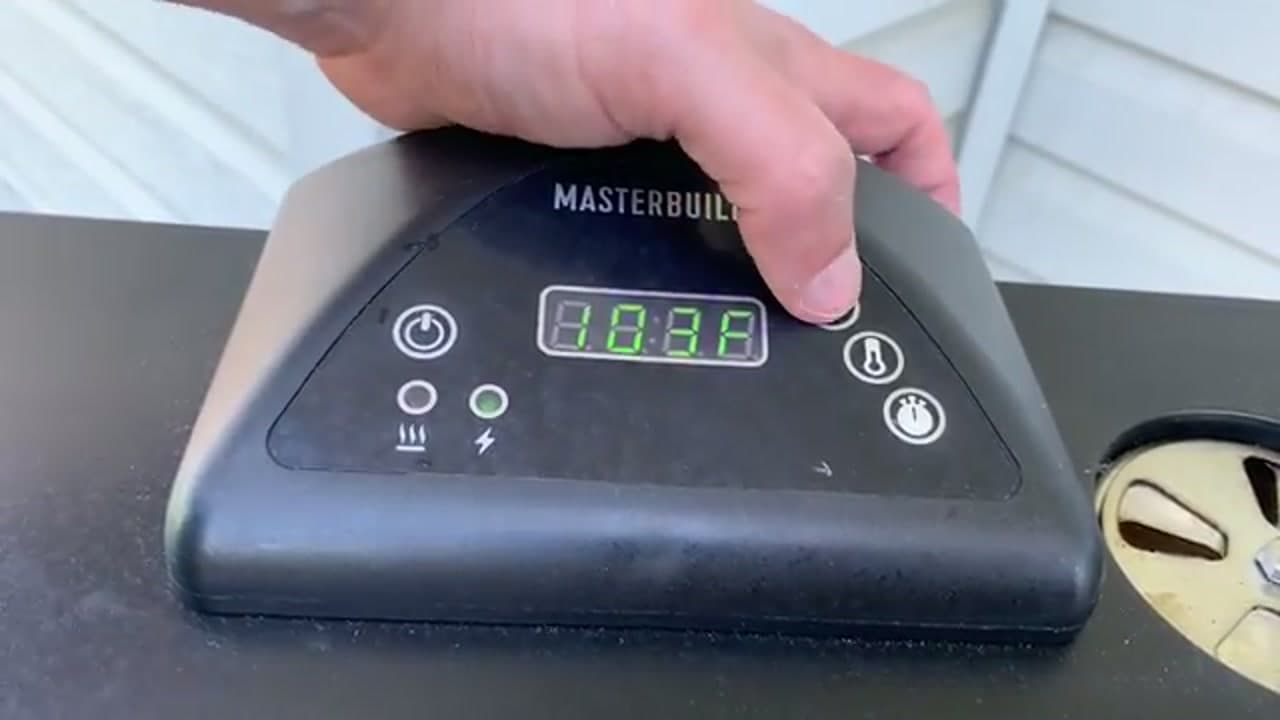
Power on the Masterbuilt and set your cooking temperature on the digital panel. Press the temp button, then use the up and down arrows to dial in your number. For pork chops, 225F is a solid target. Low and slow is the whole point of smoking, so resist the urge to crank it higher to save time.

Products used in this step

3

Step 3: Set the Cook Time

2:30
Step 3: Step 3: Set the Cook Time

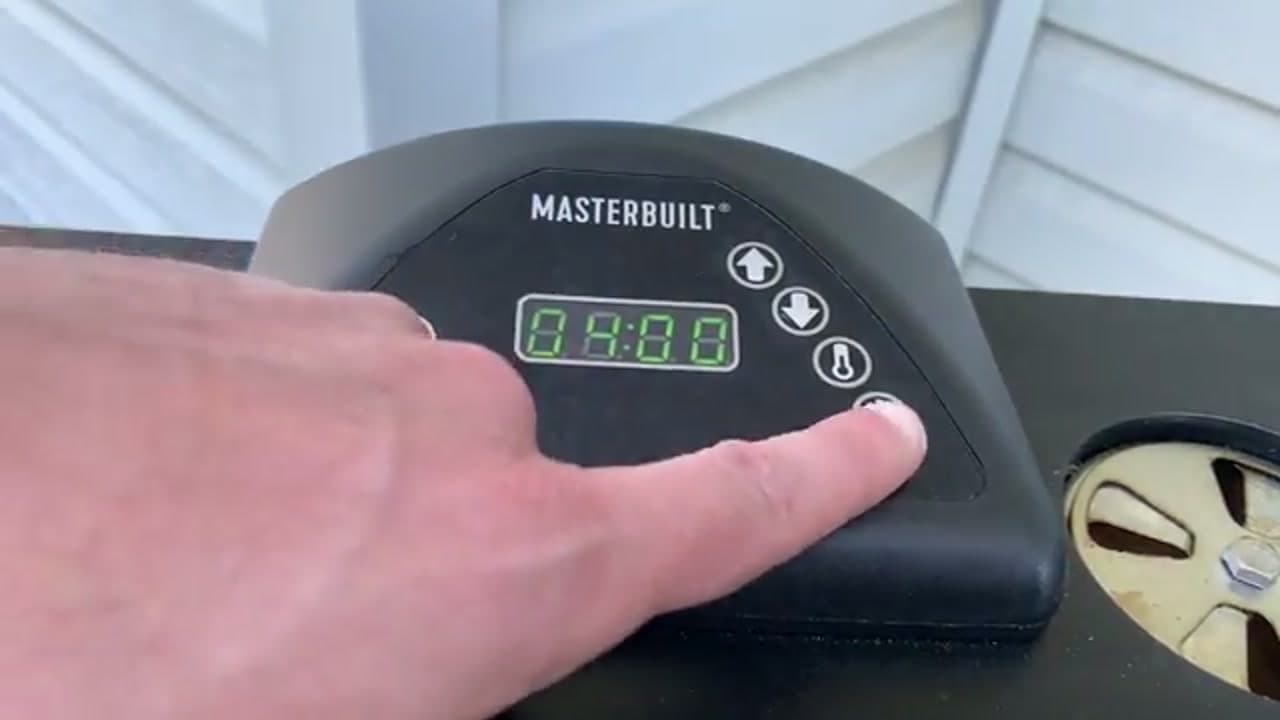
Now set the cook time on the same panel. Press the time button and use the arrows to enter how long you want to smoke. The nice thing about an electric smoker is that it runs on its own and shuts off when the timer hits zero. You are not stuck standing over it the whole afternoon.

Tip

Set the timer a little long. You can always pull the food early once it hits temp.

4

Step 4: Preheat and Burn Off

2:55
Step 4: Step 4: Preheat and Burn Off

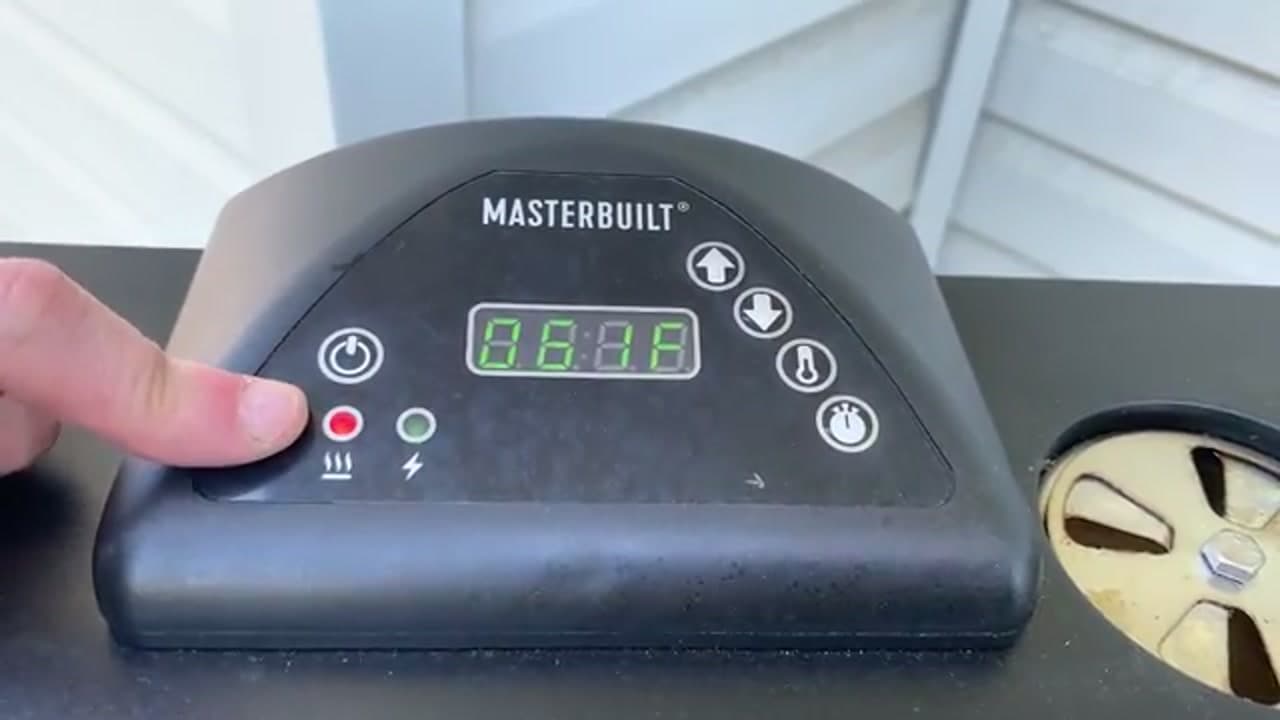
Let the smoker preheat before any food goes in. If yours is brand new, run an empty burn-off first to cook off the factory oils and coatings. Just fire it up with nothing inside and let it run about an hour. The red light means the heating element is on. Give it 30 to 45 minutes to reach your set temperature.

5

Step 5: Load the Wood Chips

3:45
Step 5: Step 5: Load the Wood Chips

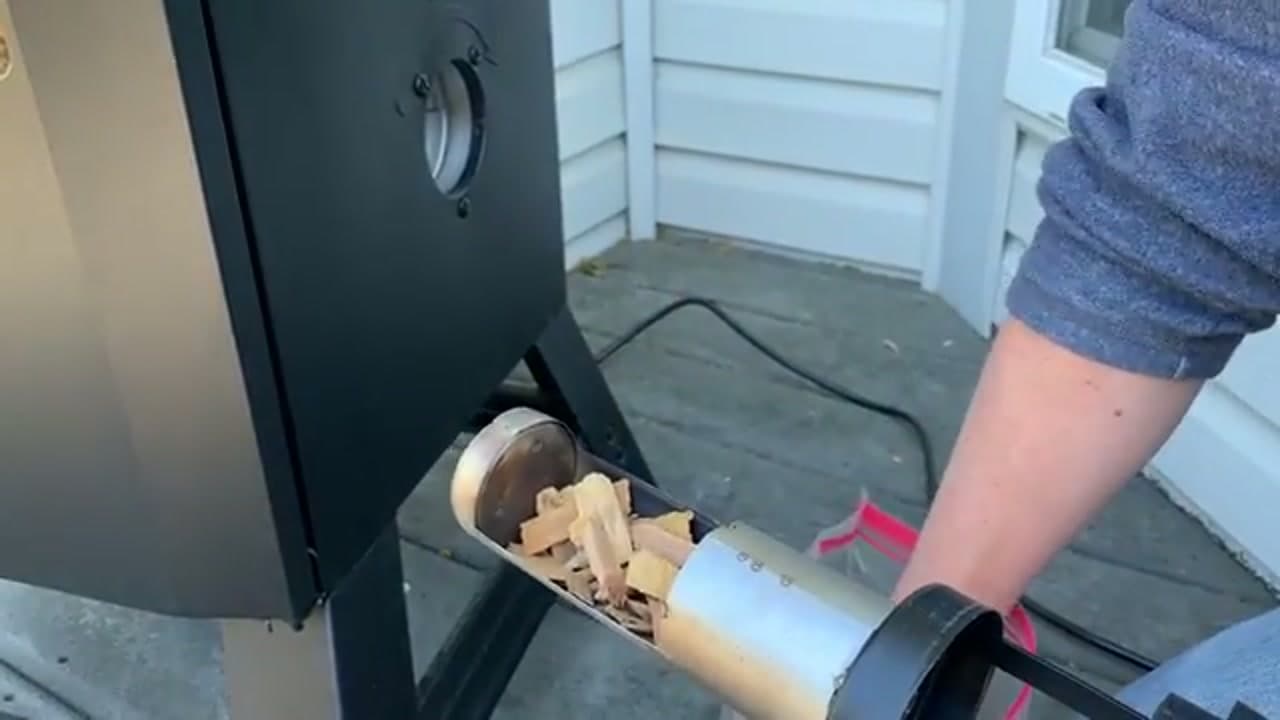
The smoke comes from wood chips. Pull out the loader tube on the side, drop in a handful of chips, and push it back in so they fall onto the hot element. Cherry, apple, and hickory all work well with pork. One tip from Mad Backyard: do not soak your chips first. Dry chips start smoking faster and give you cleaner smoke.

Tip

Check the chips every hour or so and add more. They burn down over a long cook.

Products used in this step

6

Step 6: Season and Add Your Food

0:45
Step 6: Step 6: Season and Add Your Food

Once the smoker is up to temp, get your food in. Coat the pork chops with a BBQ dry rub first, then open the door and lay them out on the racks with a little space between each one. That gap lets the smoke wrap around every piece. Shut the door quick to hold the heat.

Tip

Every time you open the door you lose heat and add cook time. Peek less, trust the smoker more.

Products used in this step

7

Step 7: Smoke, Check Temp, and Serve

0:30
Step 7: Step 7: Smoke, Check Temp, and Serve

Close it up and let it cook. Top off the wood chips every hour and otherwise leave it alone. The only number that matters at the end is the internal temp, so check it with a meat thermometer rather than watching the clock. Pull the pork chops when they hit your target, then let them rest a few minutes before you serve.

Products used in this step

Products Used

❖ The Recipe

How to Use a Smoker

American
Serves
Serves 4
Prep
15 min
Cook
2 hr
Total
2 hr 15 min

Ingredients

4 items
  • 4 thick-cutpork chopsbone-in or boneless
  • 3 tbspBBQ dry rub
  • 2 cupswood chipsapple, cherry, or hickory
  • 2 cupswaterfor the water pan

Method

  1. 1
    Step 1: Set Up the Chamber and Water Pan. Start with the cooking chamber.
  2. 2
    Step 2: Set the Temperature. Power on the Masterbuilt and set your cooking temperature on the digital panel.
  3. 3
    Step 3: Set the Cook Time. Now set the cook time on the same panel.
  4. 4
    Step 4: Preheat and Burn Off. Let the smoker preheat before any food goes in.
  5. 5
    Step 5: Load the Wood Chips. The smoke comes from wood chips.
  6. 6
    Step 6: Season and Add Your Food. Once the smoker is up to temp, get your food in.
  7. 7
    Step 7: Smoke, Check Temp, and Serve. Close it up and let it cook.
☐ The Checklist

How to Use a Smoker

Tools
3
Materials
3
Steps
7
Video
5 min

Your Guide

Mad Backyard

As an Amazon Associate we earn from qualifying purchases. Links on this page may be affiliate links - clicking them and buying doesn't change your price, but helps support ShowMeStepByStep.

Tags

Sunday How-To

New cooking tutorials, every Sunday

One short email with the week's best step-by-step guides. Free, no spam, unsubscribe anytime.

Did this work for you?

What's next

Related collections

Curated theme pages that include this tutorial.

Weekly Digest

Liked this cooking tutorial?

Pick the categories you want to hear about. Weekly digest of new step-by-step tutorials. No spam, easy unsubscribe.

Send me tutorials about

We only email about new tutorials. Easy unsubscribe anytime.