How to Make Salsa Verde (Roasted Tomatillo Salsa)

By ShowMeStepByStepPublished Updated

Based on a video by Rachel's Step by Step.

This is Rachel's go-to salsa verde, and it's the kind of thing you'll start making on repeat. It's the Mexican tomatillo version, not the Italian herb sauce. You roast tomatillos, serrano peppers, onion, and garlic in a hot cast iron skillet, toast a few dried chiles de arbol for a smoky kick, then blend everything with cilantro, salt, and a little water. That's it.

Roasting is what sets this salsa apart. Charring the tomatillos and onion in the skillet gives the sauce a deep, slightly sweet, taqueria-style flavor you can't get from raw ingredients. The chiles de arbol add smoke and heat, and because you control how many go in, you can make this as mild or as fiery as you like.

Once it's blended, this salsa goes on everything. Spoon it over tacos, eggs, and grilled meat, or set it out with tortilla chips as a dip. It keeps in the fridge for several days and actually tastes better the next day as the flavors settle. Rachel likes hers on a warm flour tortilla with avocado and a pinch of salt.

Step-by-Step Guide

1

Step 1: Gather Your Ingredients

0:24
Step 1: Step 1: Gather Your Ingredients

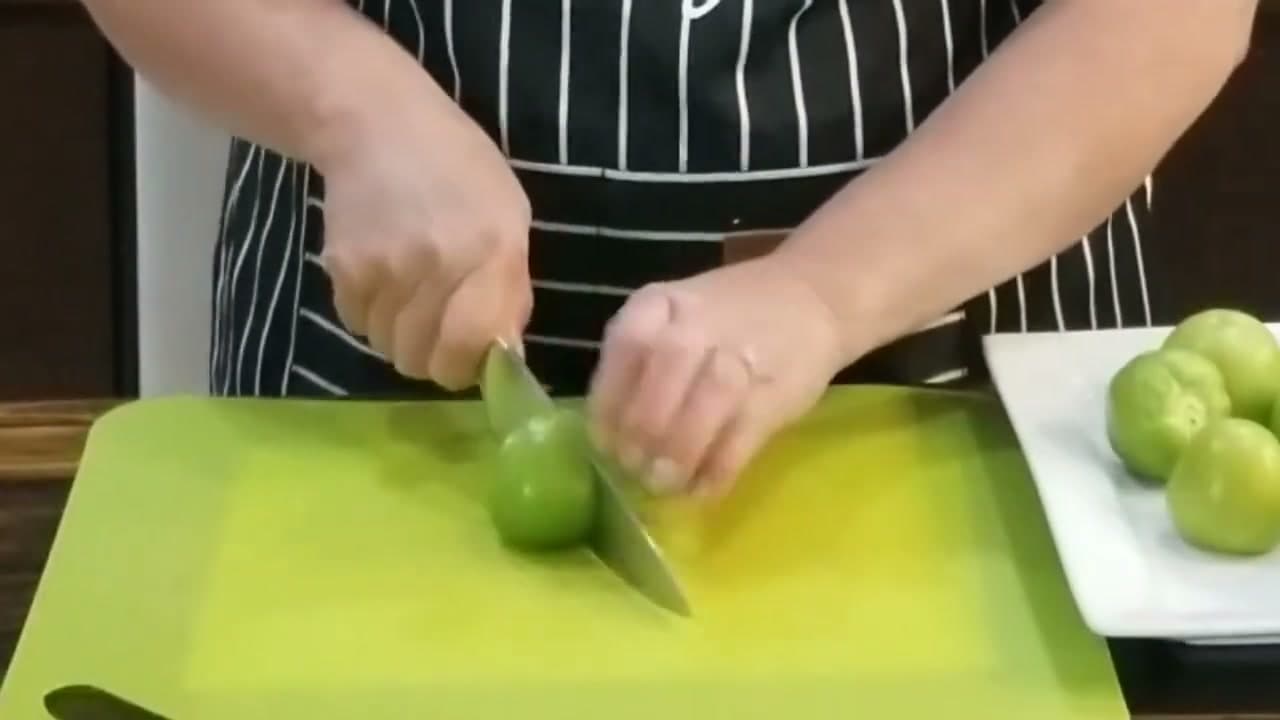
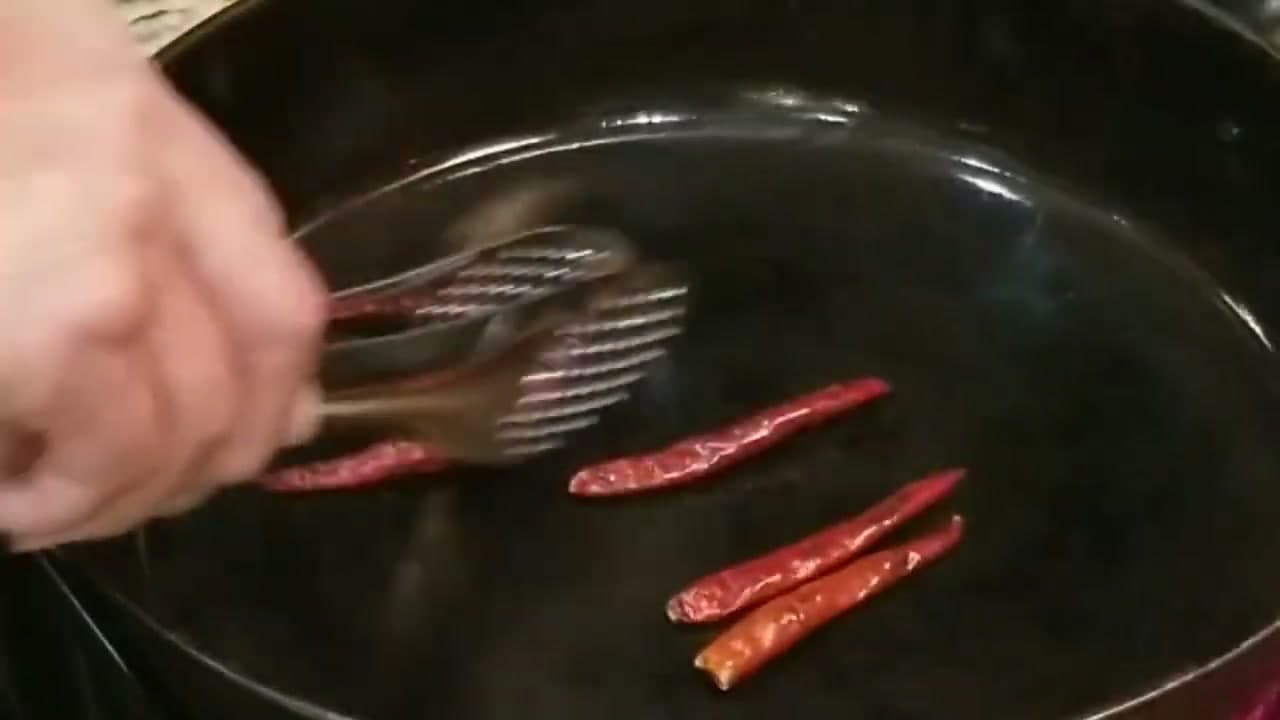
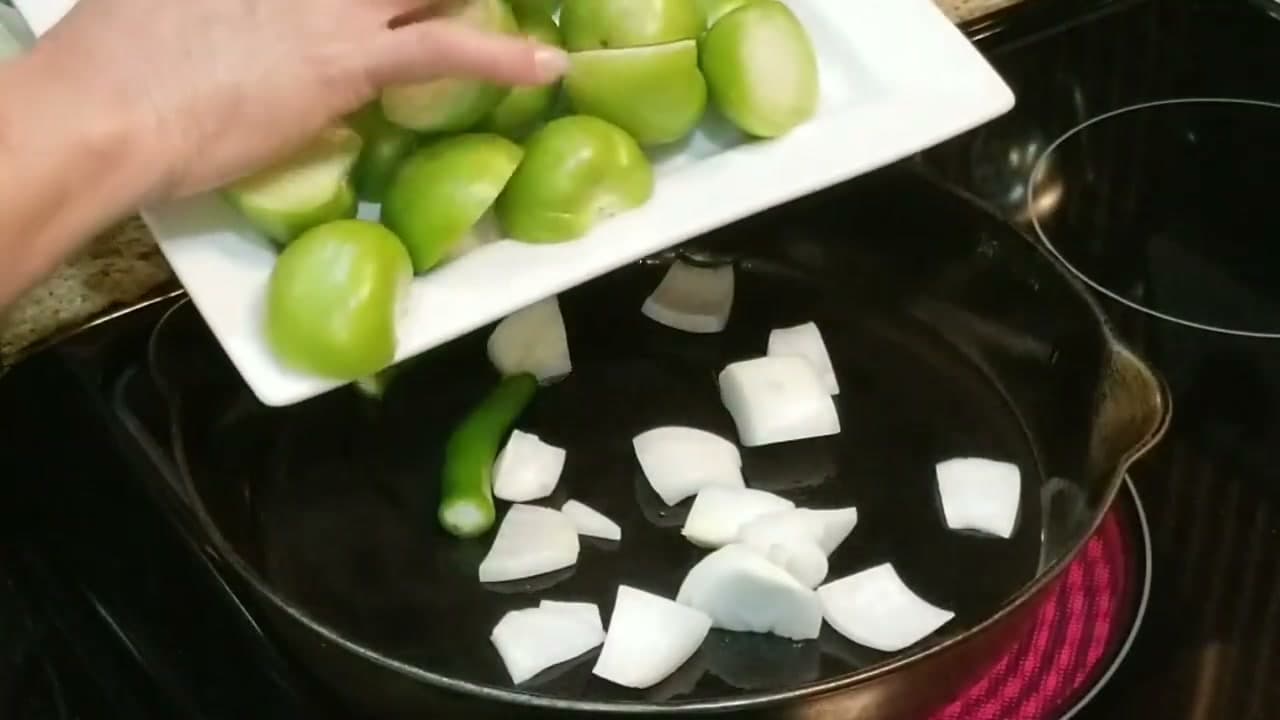
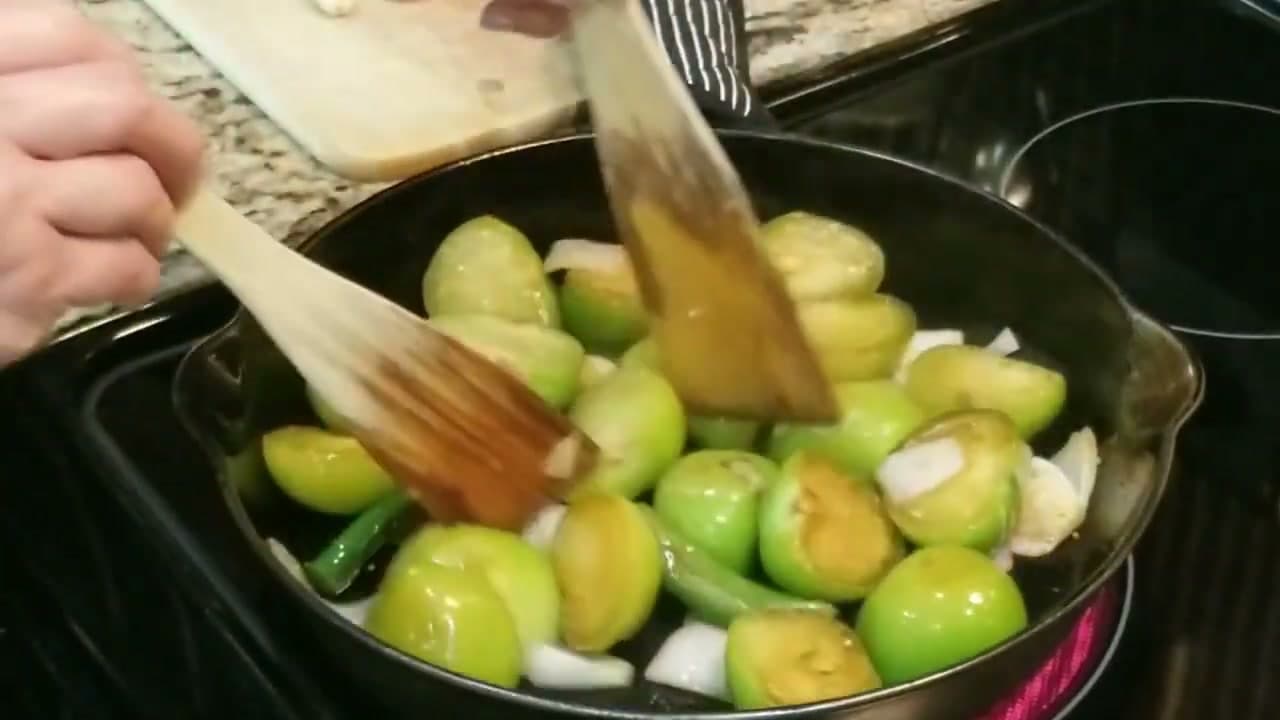
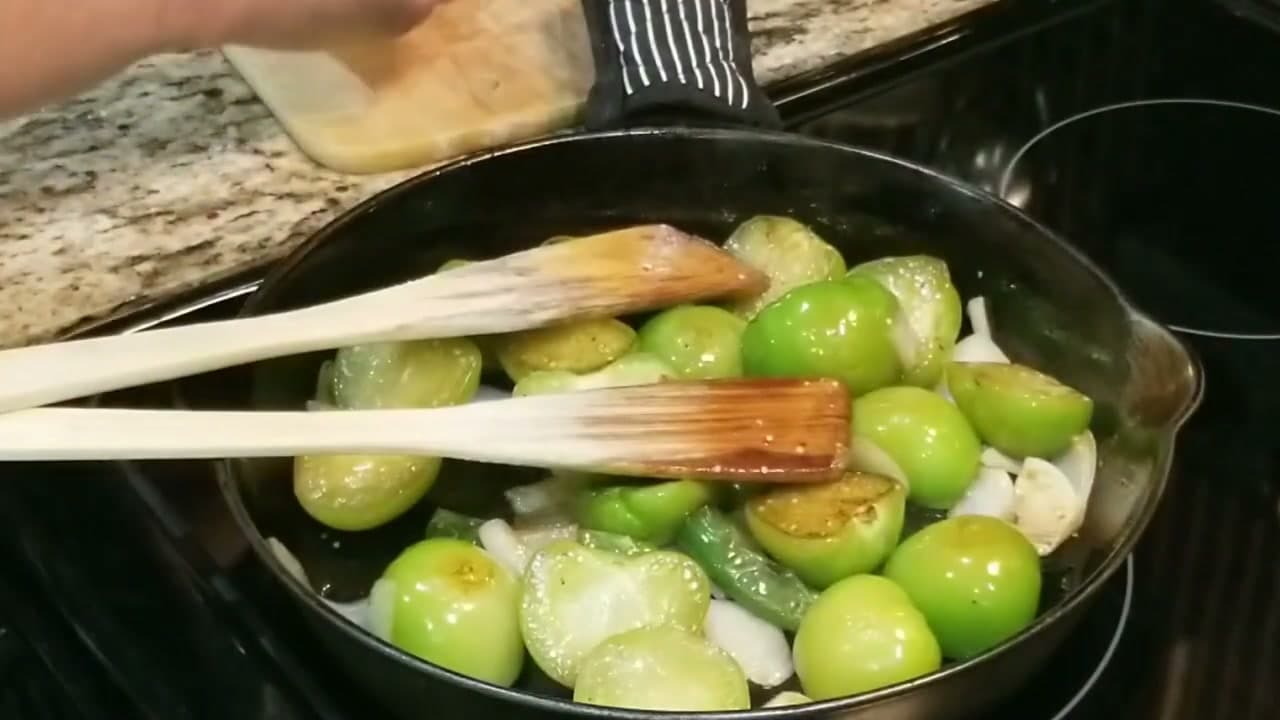
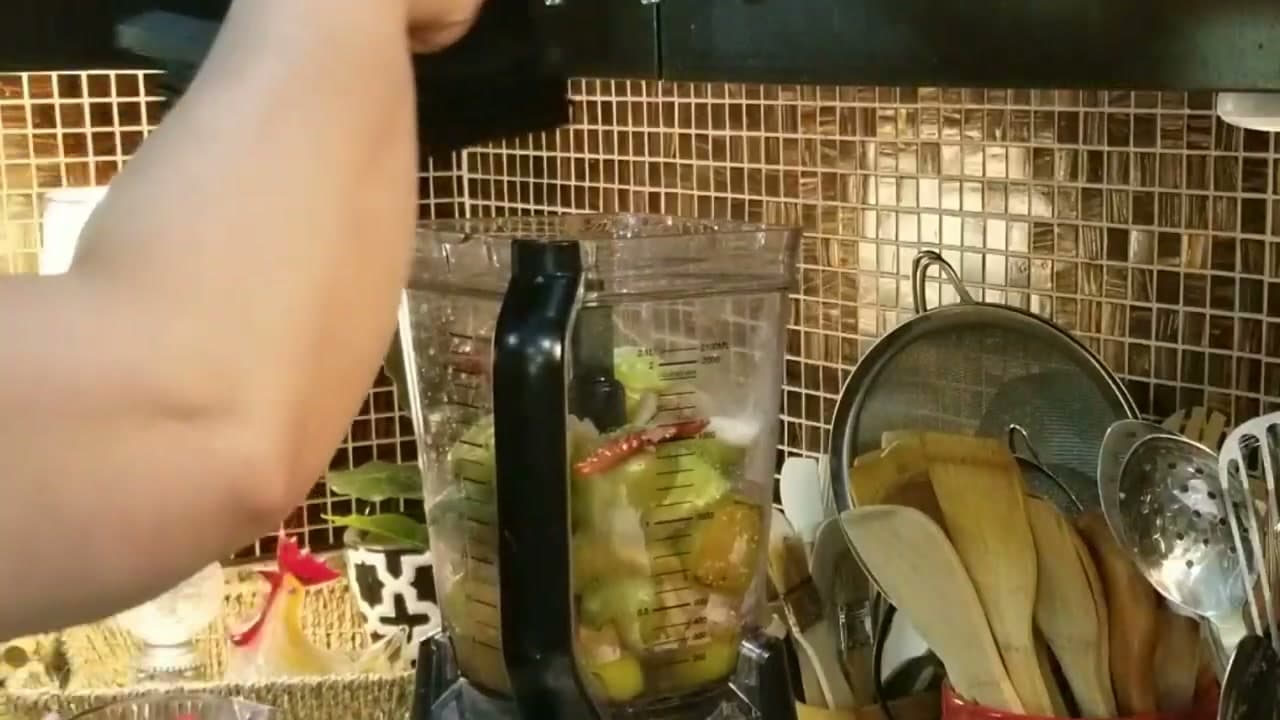
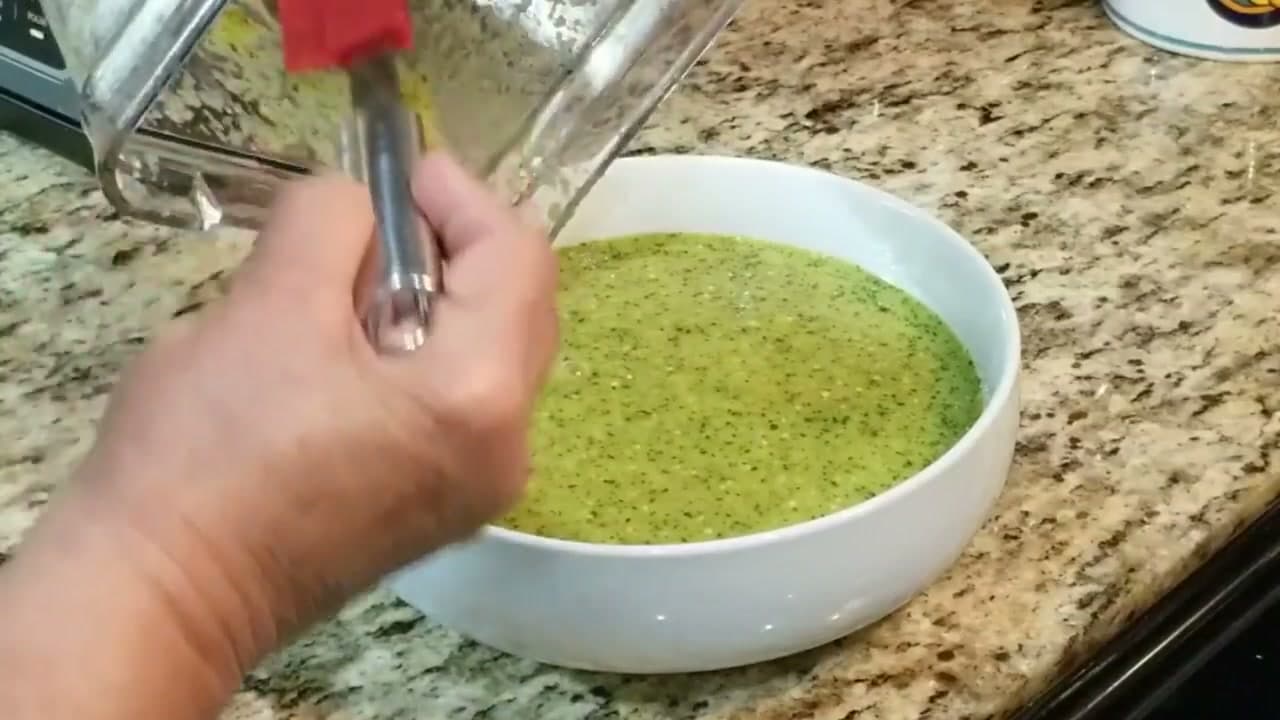
Before you turn on the stove, pull everything together so you're not scrambling later. You'll need 10 small-to-medium tomatillos, four chile de arbol, two serrano peppers, two garlic cloves, a quarter of a white onion, a small bunch of cilantro, salt, and about half a cup of water.

This salsa is fully adjustable. Want it hotter? Add a couple more serranos or chiles de arbol. Want it mild? Pull a few out. The base stays the same either way, so taste as you go and make it yours.

Tip

Watch this step Pick tomatillos that feel firm and fill out their husks. A papery, loose husk usually means the fruit inside is past its prime.

2

Step 2: Husk, Wash, and Halve the Tomatillos

0:58
Step 2: Step 2: Husk, Wash, and Halve the Tomatillos

Tomatillos come wrapped in a papery husk with a sticky film underneath. Peel the husk off, then wash each one really well under running water until that stickiness is gone. Pat them dry so they roast instead of steam.

Cut every tomatillo in half. Halving them means the heat reaches more surface area at once, so they char faster and more evenly than whole tomatillos would. Set them aside while you heat the skillet.

Tip

Watch this step A serrated knife grips the slick skin of a tomatillo better than a smooth blade, so you're less likely to have it roll out from under you.

3

Step 3: Toast the Chile de Arbol

0:32
Step 3: Step 3: Toast the Chile de Arbol

Get a cast iron skillet nice and hot, then start with the chiles de arbol. They go in first because they're the most delicate and burn in seconds. Keep them moving with tongs, flipping constantly until they deepen into a rich, dark red.

The moment they smell toasty and look a shade darker, pull them out and set them aside. Toasting wakes up their flavor and adds a smoky backbone to the salsa, but a burnt chile turns the whole batch bitter, so don't walk away.

Tip

Watch this step No cast iron? A regular heavy skillet or a comal works fine. The key is dry heat and constant flipping, not the pan itself.

4

Step 4: Roast the Tomatillos, Onion, and Serranos

2:08
Step 4: Step 4: Roast the Tomatillos, Onion, and Serranos

Add a small splash of vegetable oil to the same hot skillet. Toss in the serrano peppers and the onion chunks to start, then add the halved tomatillos cut-side down. You'll hear them sizzle and pop, which is exactly what you want.

Lay the tomatillos so the cut sides hit the metal. That's where you get the best caramelized color and that roasted, slightly sweet flavor that makes this salsa taste like it came from a taqueria.

Tip

Watch this step Don't crowd the pan. If your skillet is small, roast in two batches so everything browns instead of steaming in its own juices.

5

Step 5: Char Everything on All Sides

2:38
Step 5: Step 5: Char Everything on All Sides

Stir and turn the vegetables with a wooden spoon so they roast evenly. You're looking for blistered, golden-brown spots on the tomatillos and softened, lightly charred onion and serrano. This takes a few minutes, so be patient.

The smell will tell you it's working. Once the onions go fragrant and the tomatillos collapse a little and pick up color all over, they're ready. You want them roasted and tender, not burnt to a crisp.

Tip

Watch this step A wooden spoon is gentle on the tomatillo skins, so they stay intact and don't turn to mush before they've had a chance to char.

6

Step 6: Add the Garlic Last

3:02
Step 6: Step 6: Add the Garlic Last

Smash the two garlic cloves with the flat of your knife and add them to the skillet last. Garlic cooks fast and scorches even faster, so it only needs about a minute in the pan with everything else.

Once the garlic is fragrant and the rest of the vegetables look well roasted, turn off the heat and scrape everything out of the skillet. Now comes the most important tip before you blend.

Tip

Watch this step Smashing the garlic instead of mincing it lets it perfume the salsa without leaving raw, sharp bits behind once it's blended smooth.

7

Step 7: Cool, Then Blend with Salt and Water

4:30
Step 7: Step 7: Cool, Then Blend with Salt and Water

Let the roasted vegetables cool for a few minutes first. Blending them piping hot can make the salsa taste bitter and it's hard on your blender, so give it a short rest. Then add everything to the blender along with the cilantro, a good pinch of salt, and about half a cup of water.

Blend until smooth. Tomatillos are high in pectin, so the salsa thickens as it sits and gets even thicker the next day. That's why the water goes in now, and you can add more later to loosen it up to the texture you like.

Tip

Watch this step Add the cilantro and salt to taste, then blend in short bursts. You can always add more salt or a little extra water, but you can't take it back out.

8

Step 8: Check the Texture

5:00
Step 8: Step 8: Check the Texture

Pour the finished salsa into a bowl and take a look. You're after a pourable, slightly thick green sauce with tiny flecks of cilantro and chile throughout. If it's thicker than you'd like, stir in a splash more water until it loosens up.

Give it a taste and adjust the salt. This is also the moment to dial in the heat. If you want more kick, you can blend in an extra toasted chile de arbol or serrano.

Tip

Watch this step The salsa firms up in the fridge, so make it a touch looser than you think you want. A spoonful of water the next day brings it right back.

9

Step 9: Serve It Your Way

5:50
Step 9: Step 9: Serve It Your Way

This salsa verde goes with just about everything. Spoon it over tacos, eggs, grilled meat, or anything that needs a bright, roasted kick. It also doubles as a dip, so set out a bowl with tortilla chips and watch it disappear.

Rachel's favorite way to eat it: warm a flour tortilla, lay on a few avocado slices, add a pinch of salt, and spoon the salsa right on top. Simple, fresh, and the best kind of snack.

Tip

Watch this step Store leftovers in a sealed jar in the fridge for up to five days. The flavor deepens overnight, so day-two salsa is honestly even better.

Products Used

❖ The Recipe

How to Make Salsa Verde (Roasted Tomatillo Salsa)

Mexican
Serves
Makes about 2 cups
Prep
10 min
Cook
10 min
Total
20 min

Ingredients

9 items
  • 10tomatillossmall to medium, husked and washed
  • 2serrano peppersadd more for extra heat
  • 4chile de arboldried; add more for extra heat
  • 2garlic clovessmashed
  • 1/4white onioncut into chunks
  • 1 small bunchfresh cilantro
  • to tastesalt
  • 1/2 cupwateror more, to reach desired consistency
  • 1 tspvegetable oilfor the skillet

Nutrition

estimated · per servingEstimated from the ingredient list, not measured. Actual values vary by brand, preparation, and serving size. Not a substitute for measured nutrition data.
Calories
30kcal
Protein
1g
Fat
2g
Carbs
4g
Sugar
2g

Method

  1. 1
    Step 1: Gather Your Ingredients. Before you turn on the stove, pull everything together so you're not scrambling later.
  2. 2
    Step 2: Husk, Wash, and Halve the Tomatillos. Tomatillos come wrapped in a papery husk with a sticky film underneath.
  3. 3
    Step 3: Toast the Chile de Arbol. Get a cast iron skillet nice and hot, then start with the chiles de arbol.
  4. 4
    Step 4: Roast the Tomatillos, Onion, and Serranos. Add a small splash of vegetable oil to the same hot skillet.
  5. 5
    Step 5: Char Everything on All Sides. Stir and turn the vegetables with a wooden spoon so they roast evenly.
  6. 6
    Step 6: Add the Garlic Last. Smash the two garlic cloves with the flat of your knife and add them to the skillet last.
  7. 7
    Step 7: Cool, Then Blend with Salt and Water. Let the roasted vegetables cool for a few minutes first.
  8. 8
    Step 8: Check the Texture. Pour the finished salsa into a bowl and take a look.
  9. 9
    Step 9: Serve It Your Way. This salsa verde goes with just about everything.
☐ The Checklist

How to Make Salsa Verde (Roasted Tomatillo Salsa)

Tools
7
Materials
9
Steps
9
Video
7 min

Your Guide

Rachel's Step by Step

As an Amazon Associate we earn from qualifying purchases. Links on this page may be affiliate links - clicking them and buying doesn't change your price, but helps support ShowMeStepByStep.

Tags

Test your knowledge

Did the lesson stick? Find out in 2 minutes.

5 quick questions covering what you just read. No signup, no score saved — just a gut check.

Quick reference

Key takeaways from How to Make Salsa Verde (Roasted Tomatillo Salsa)

5 questions, answers, and one-line explanations. Tap to expand.

  1. 1.After husking tomatillos, why wash them well?

    Answer: To rinse off the sticky film underneath

    The husk leaves a sticky residue; wash it off or the salsa tastes off.

  2. 2.Why halve the tomatillos before roasting?

    Answer: More surface chars faster and more evenly

    Cut sides on the hot metal char faster than whole tomatillos would.

  3. 3.Which goes into the hot skillet first, and why?

    Answer: Chiles de arbol, because they burn in seconds

    The delicate chiles toast fast and turn bitter if left too long, so do them first.

  4. 4.When should the garlic go in?

    Answer: Last, since it scorches quickly

    Garlic cooks fast and burns faster, so it only needs a minute at the end.

  5. 5.Why let the roasted vegetables cool before blending?

    Answer: Hot blending tastes bitter and stresses the blender

    A short rest before blending avoids a bitter edge and is easier on the blender.

What's next

Weekly Digest

Liked this cooking tutorial?

Pick the categories you want to hear about. Weekly digest of new step-by-step tutorials. No spam, easy unsubscribe.

Send me tutorials about

We only email about new tutorials. Easy unsubscribe anytime.