How to Season a Cast Iron Skillet (and Keep It That Way)

CookingEasy6:377 steps

By ShowMeStepByStepPublished Updated

Based on a video by Epicurious.

A well-seasoned cast iron pan is one of the few kitchen tools that gets better the longer you use it. The black, slick surface most people associate with cast iron is not the iron itself - it is layers of oil that have polymerized into a natural non-stick coating. You build that coating, and you can rebuild it any time it breaks down.

This walkthrough is from chef Frank Proto on Epicurious. It covers the full lifecycle: stripping rust off a neglected pan, seasoning it from scratch, cleaning it after every cook, and storing it so the seasoning never breaks down. The same method works whether you are reviving a thrift-store find or just keeping a new pan in shape.

The key idea: cast iron is iron. Water plus iron equals rust. Heat plus oil equals a permanent non-stick coating. Once you internalize that, the rest is just a few minutes of upkeep at the end of every cook.

Step-by-Step Guide

1

Scrub Off Rust With Kosher Salt

1:50
Step 1: Scrub Off Rust With Kosher Salt

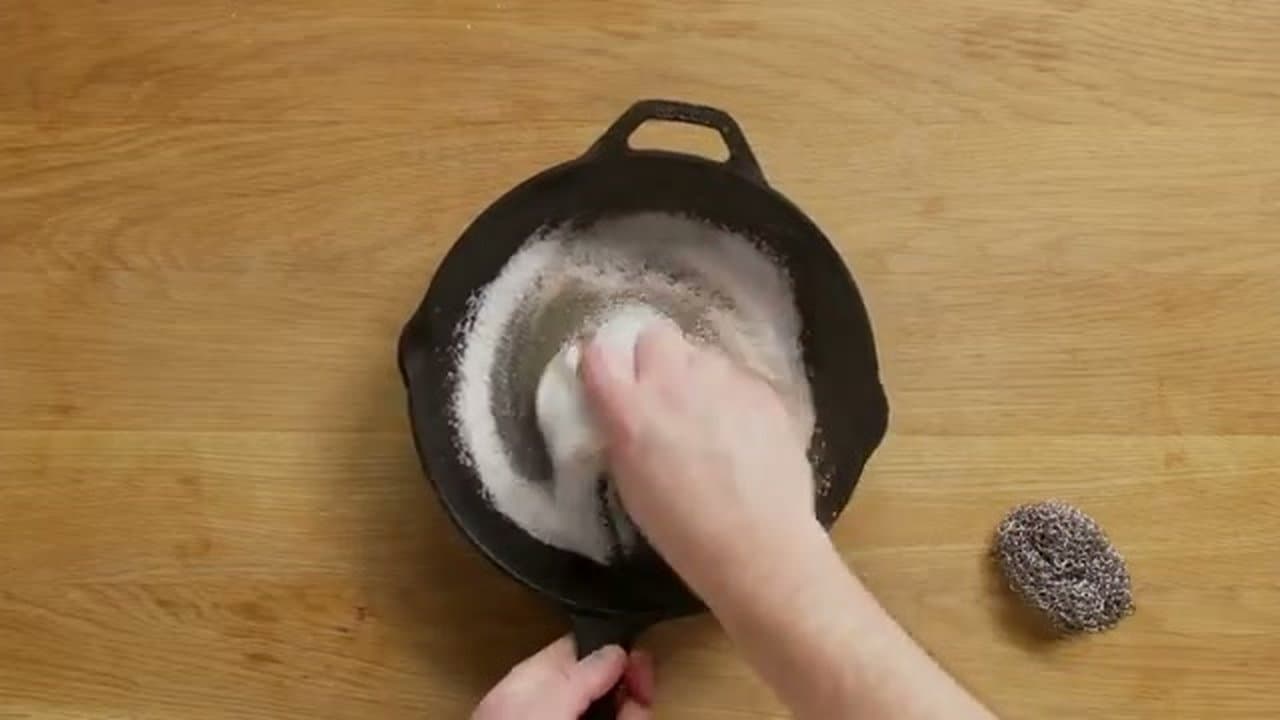
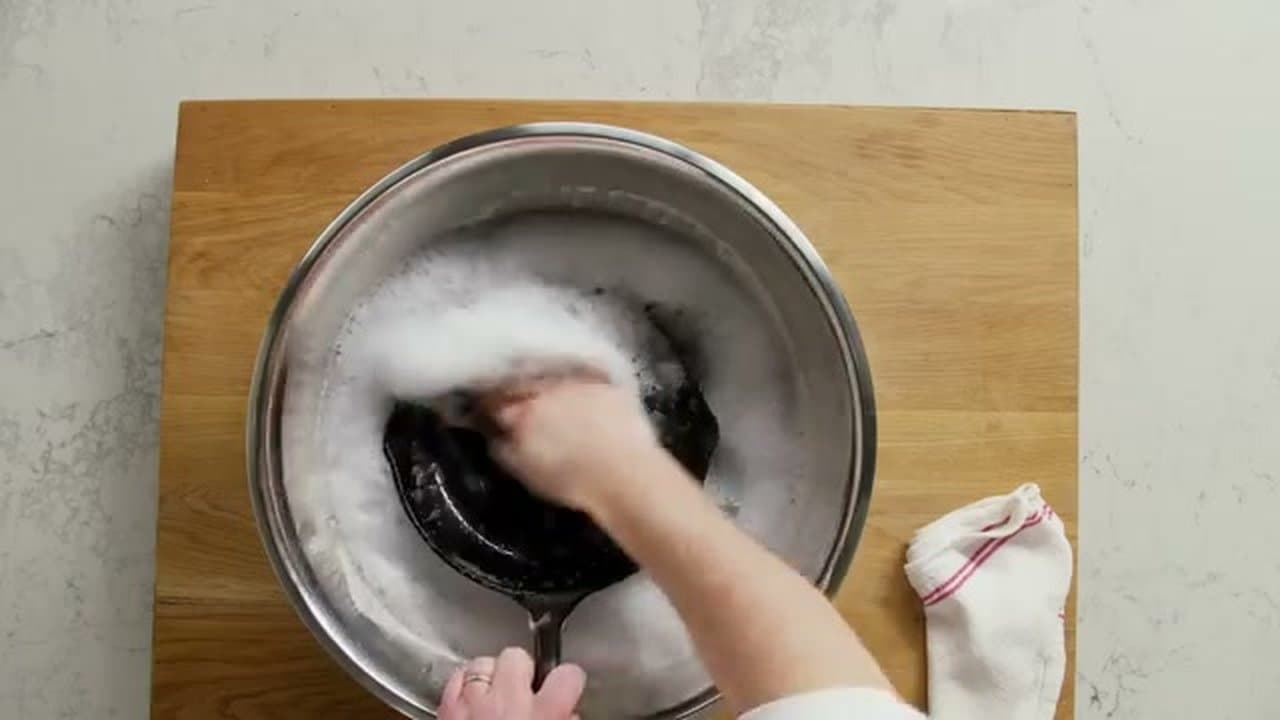
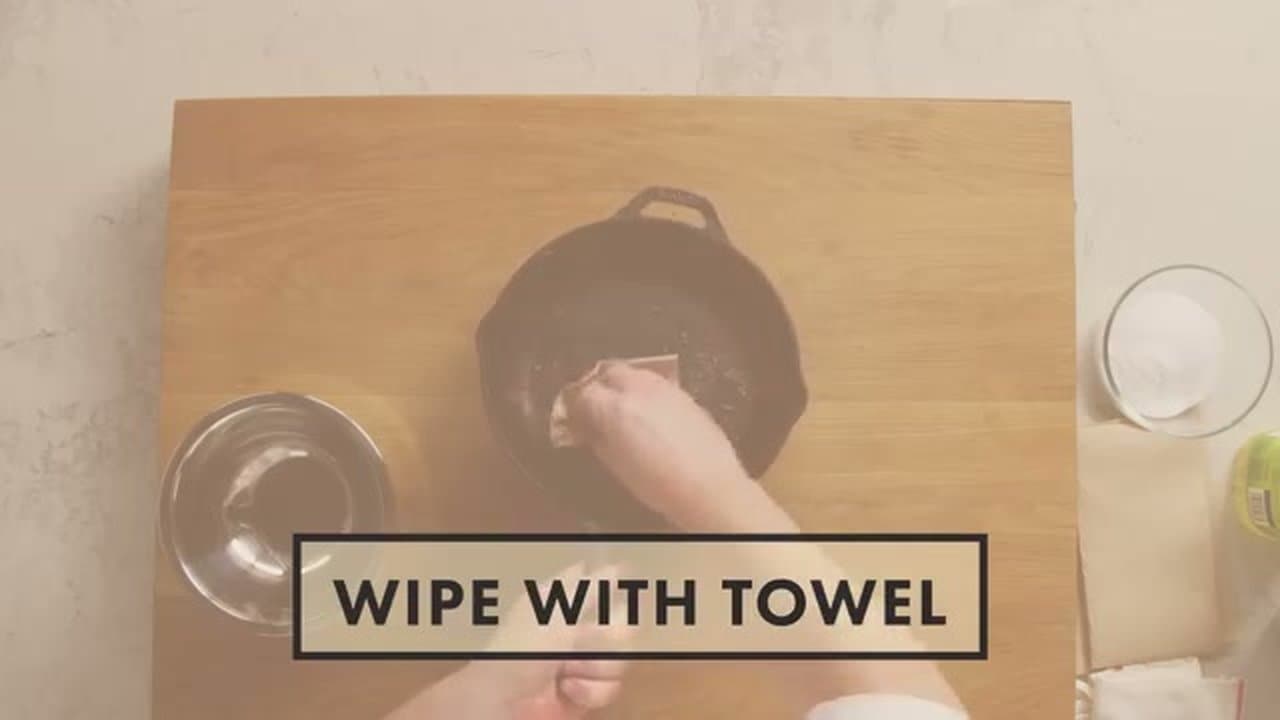
Pour a generous handful of kosher salt into the pan. Ball up a kitchen towel or paper towel and scrub the salt around in tight circles. The salt is gritty enough to lift rust spots without scratching the bare iron underneath.

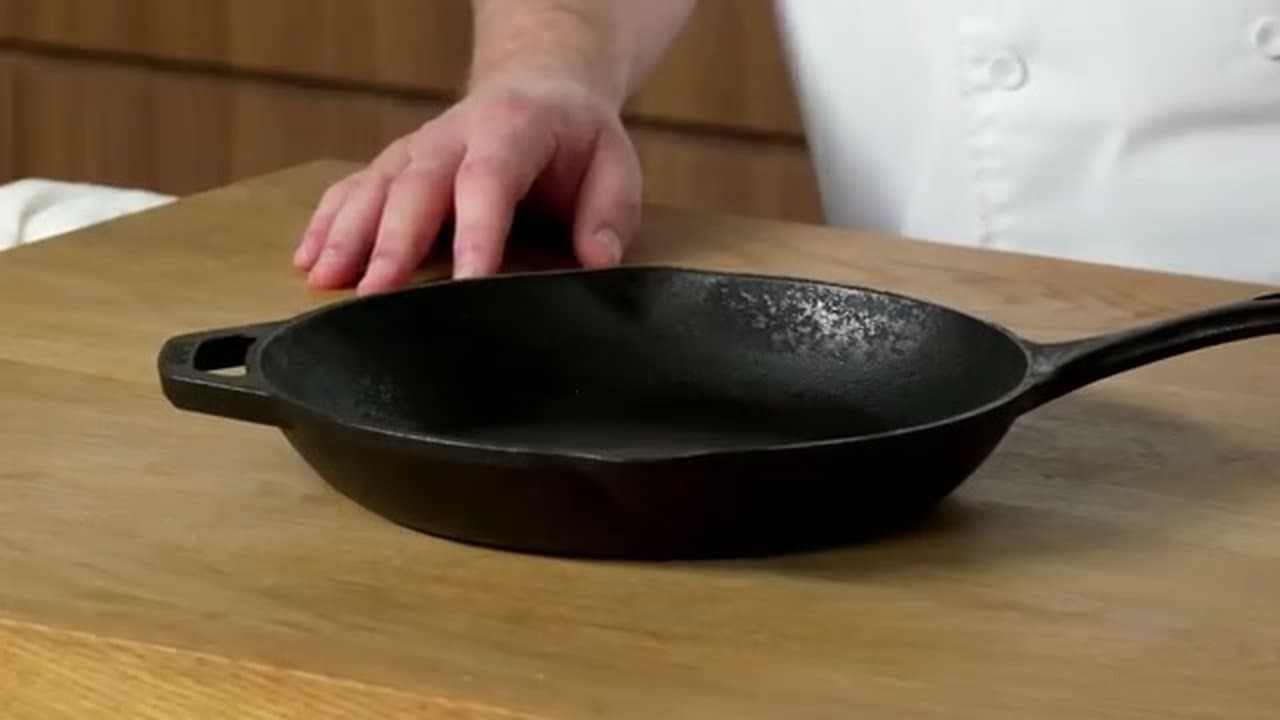
Keep going until the surface looks even and matte gray. For heavy rust, you can switch to a chain mail scrubber - it is faster but a bit more aggressive. Salt is the gentler default.

Tip

Don't use steel wool or harsh abrasives. They scratch the iron and create rough patches that the new seasoning can't fill in evenly.

Products used in this step

kosher salt
chain mail cast iron scrubber
2

Rinse With Warm Soapy Water

2:50
Step 2: Rinse With Warm Soapy Water

Run the pan under warm water with a small amount of mild dish soap. The seasoning has already been stripped at this point, so the cast iron forum will not yell at you. The point is to wash out the salt and any rust debris before you re-coat the pan.

Use a sponge or soft cloth - nothing aggressive. The metal is bare and you want it clean, not abraded.

Tip

Once the pan is re-seasoned, normal washing with a small amount of soap is fine. The myth that soap destroys seasoning is just that - a myth.

3

Dry the Pan Completely

3:20
Step 3: Dry the Pan Completely

Wipe the pan dry with a kitchen towel or paper towel. Get the cooking surface, the underside, the handle, and the rim. Any moisture left on bare iron will rust again before you can season it.

If you want to be extra careful, set the pan on a low burner for a minute to drive off any remaining water. The whole surface should look uniformly dull gray with no shiny wet spots.

Tip

Hard water leaves mineral deposits that can interfere with seasoning. If your tap water is mineral-heavy, dry with paper towels rather than air-drying.

4

Coat the Whole Pan With Crisco or Oil

4:05
Step 4: Coat the Whole Pan With Crisco or Oil

Scoop a small amount of Crisco or pour a tablespoon of vegetable oil onto a paper towel. Rub the oil into every surface of the pan - inside, outside, handle, and underside. You want a thin, even coat, not a puddle.

Wipe off any excess. Counterintuitively, less oil makes a better seasoning. Thick oil layers turn sticky and gummy in the oven; thin layers polymerize into a hard, slick coating.

Tip

Crisco works a little better than liquid oil because it stays put rather than pooling. If you only have liquid oil, use less than you think you need.

Products used in this step

Crisco vegetable shortening
5

Bake Upside Down at 350F for One Hour

4:15
Step 5: Bake Upside Down at 350F for One Hour

Place the oiled pan upside down on a foil-lined or parchment-lined baking sheet to catch any drips. Slide it into a 350F oven and let it bake for one full hour.

Upside-down is intentional: any excess oil drips off the cooking surface instead of pooling there, leaving a smooth, even coating. After an hour, turn the oven off and let the pan cool inside the oven before pulling it out.

Tip

For a really stubborn rebuild, repeat steps 4 and 5 two or three times. Each layer adds a thin coat of polymer and the cooking surface gets blacker and slicker each round.

Products used in this step

rimmed baking sheet
6

Wipe Out the Pan After Every Use

4:50
Step 6: Wipe Out the Pan After Every Use

While the pan is still warm from cooking, wipe it out with a paper towel to clear the big chunks of food. If anything is stuck, sprinkle in a little kosher salt and scrub with a balled-up paper towel - same trick as the rust step, much gentler.

A small splash of warm soapy water and a quick rinse is fine. A properly seasoned pan can handle it. What it cannot handle is sitting wet in the sink for an hour.

Tip

Never let a cast iron pan soak. The longer it sits in water, the more the bare iron under the seasoning starts to rust, and the harder cleanup gets.

7

Re-Oil and Store in a Warm, Dry Oven

5:50
Step 7: Re-Oil and Store in a Warm, Dry Oven

After the post-cook rinse, dry the pan thoroughly. Then rub a very small amount of oil into the cooking surface - just enough to leave a faint sheen, not a wet film. This protects the seasoning and keeps the iron from oxidizing while it sits.

Store the pan in a warm, dry oven if you have the space. The trapped warmth keeps moisture away from the surface and the seasoning gets stronger every cook.

Tip

If the pan ever loses its non-stick feel or food starts to stick where it didn't before, restart the cycle from step 4. A pan that has been seasoned once is easy to re-season.

Products used in this step

cast iron skillet

Products Used

kosher saltchain mail cast iron scrubberCrisco vegetable shorteningrimmed baking sheetcast iron skillet
❖ The Recipe

How to Season a Cast Iron Skillet (and Keep It That Way)

Southern US
Serves
Seasons 1 skillet
Prep
10 min
Cook
1 hr
Total
1 hr 10 min

Ingredients

4 items
  • 1, clean and drycast iron skillet
  • 1 tablespoonhigh-smoke-point oilflaxseed, grapeseed, or canola
  • as neededlint-free cloth or paper towels
  • 2 tablespoonskosher saltif scrubbing rust off first

Method

  1. 1
    Scrub Off Rust With Kosher Salt. Pour a generous handful of kosher salt into the pan.
  2. 2
    Rinse With Warm Soapy Water. Run the pan under warm water with a small amount of mild dish soap.
  3. 3
    Dry the Pan Completely. Wipe the pan dry with a kitchen towel or paper towel.
  4. 4
    Coat the Whole Pan With Crisco or Oil. Scoop a small amount of Crisco or pour a tablespoon of vegetable oil onto a paper towel.
  5. 5
    Bake Upside Down at 350F for One Hour. Place the oiled pan upside down on a foil-lined or parchment-lined baking sheet to catch any drips.
  6. 6
    Wipe Out the Pan After Every Use. While the pan is still warm from cooking , wipe it out with a paper towel to clear the big chunks of food.
  7. 7
    Re-Oil and Store in a Warm, Dry Oven. After the post-cook rinse, dry the pan thoroughly.
☐ The Checklist

How to Season a Cast Iron Skillet (and Keep It That Way)

Tools
5
Materials
3
Steps
7
Video
7 min

Your Guide

Epicurious

As an Amazon Associate we earn from qualifying purchases. Links on this page may be affiliate links - clicking them and buying doesn't change your price, but helps support ShowMeStepByStep.

Tags

Related Tutorials