Store-bought kombucha runs four or five dollars a bottle. Make it yourself and the cost drops to pennies per glass once the SCOBY is paid for. The brewing process is also dead simple: make sweet tea, drop in a SCOBY, wait a week, bottle it. That is the whole craft.
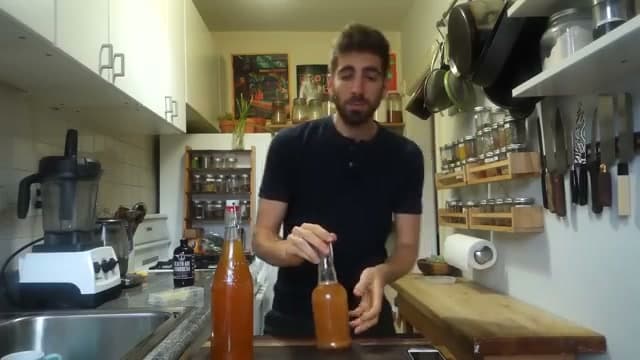
This guide walks through both fermentations - the 7 to 10 day first fermentation that turns sweet tea into tangy kombucha, and the optional 2 to 3 day second fermentation that adds flavor and natural carbonation. Mike from LifebyMikeG demonstrates the exact ratios for a 2-gallon batch in glass, including how to source a SCOBY, what the brew should look like when it is ready, and how to bottle for fizz without exploding bottles. The whole production cycle takes about 10 days and costs roughly $5 per gallon after the one-time SCOBY purchase, compared to $40+ for the same volume from the store.
Why people switch to home brewing: cost control, sugar control (you decide how much residual sugar by adjusting the first fermentation time), and flavor freedom (the second fermentation lets you experiment with ginger, berries, herbs, citrus, anything in your kitchen). Homemade kombucha contains trace alcohol from fermentation, usually under 0.5%, which is the same legal threshold as commercial non-alcoholic kombucha. If alcohol content matters for any reason, keep first fermentation under 10 days and skip the second fermentation.
If you are new to fermented drinks, kombucha is one of the easiest to start with. It is more forgiving than water kefir, faster than ginger beer, and the SCOBY is a visible, tactile indicator that something is happening - much easier to read than the invisible bacterial activity in something like sourdough. For other "make it at home" cooking basics, check out how to make iced tea, how to cook quinoa, and how to make overnight oats.
The biggest mistake first-time brewers make is impatience - opening the jar, moving it around, or checking on the SCOBY constantly. The second biggest is using chlorinated tap water (chlorine kills the SCOBY) or hot tea (heat kills the SCOBY). Both are easy to avoid once you know to watch for them. Follow the 8 steps below in order, give it the full 7 to 10 days, and you will have your first batch of kombucha cheaper, fresher, and more customized than anything on a grocery shelf.
Homemade vs Store-Bought Kombucha
| Factor | Homemade | Store-Bought |
|---|
| Cost per gallon | ~$5 (after SCOBY) | ~$40-50 |
| One-time SCOBY cost | $7-15 (or free from a friend) | N/A |
| Sugar control | Full control (fermentation time) | Whatever the brand chose |
| Flavor options | Anything you put in the bottles | Limited to brand offerings |
| Time per batch | ~10 days, ~30 min hands-on | Grab off shelf |
| Probiotic content | Live, active cultures | Live in fresh bottles, less in aged |
| Alcohol content | ~0.5%, can manage with timing | <0.5% (regulated) |
| Shelf life | 6-12 months sealed in fridge | 30-90 days from production date |
Frequently Asked Questions
How long does it take to make kombucha?
About 10 days total from start to finish. The first fermentation takes 7 to 10 days at 66 to 78 degrees Fahrenheit. The optional second fermentation (where carbonation builds) adds another 2 to 3 days. Hands-on time across the whole cycle is roughly 30 minutes.
Can I use green tea instead of black tea?
Yes, but black tea is more forgiving for beginners. Green tea ferments faster and can over-acidify if you forget about it. Mixed black-and-green tea blends are popular once you have a few batches under your belt. Avoid flavored teas, decaf teas, and anything with oils (Earl Grey, chai) - the additives weaken the SCOBY over multiple batches.
How do I know if my kombucha is bad?
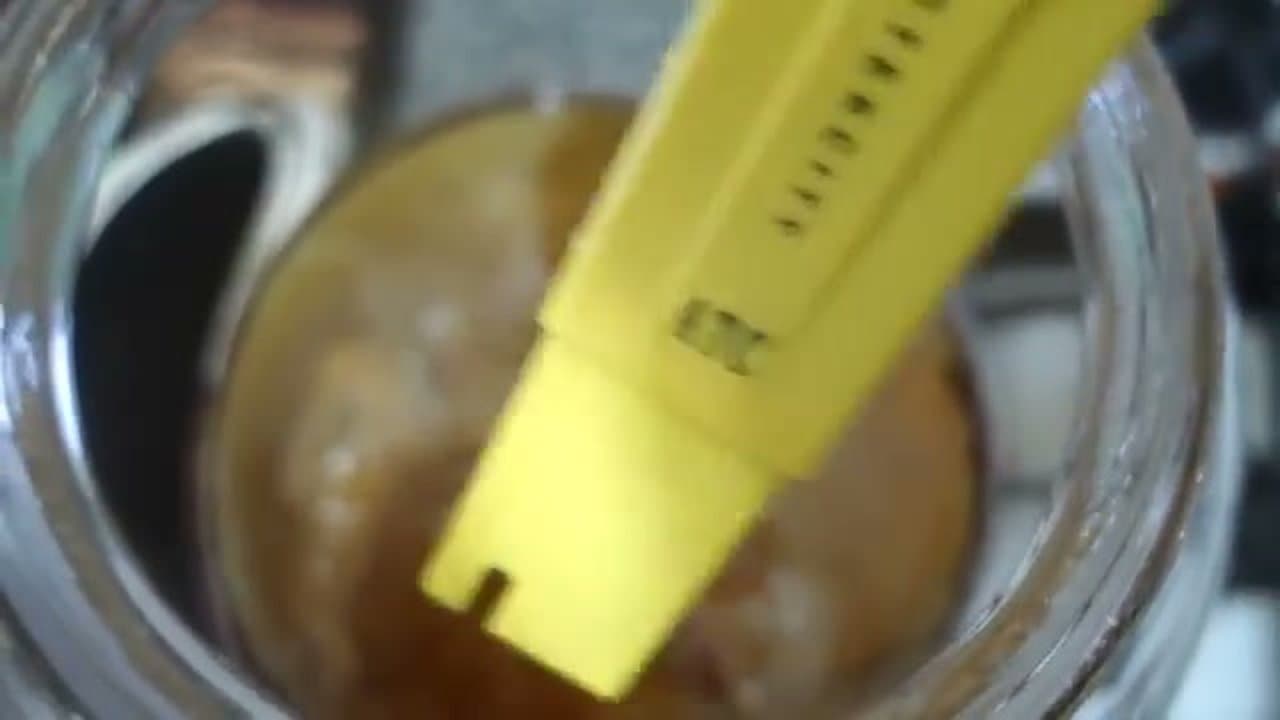
The only true sign of a bad batch is mold on the SCOBY surface - blue, green, black, or red fuzzy patches. Stringy bits, dark spots inside the SCOBY, and a sharp vinegary smell are all normal. If you see actual fuzz, throw out the entire batch (SCOBY included) and start over with a new culture. Mold is rare if you used the right amount of starter liquid and clean equipment.
Is homemade kombucha safe to drink?
Yes, as long as there is no mold and the pH stays between 2.5 and 3.5 (test with strips from a brewing supply store if you want certainty). The high acidity protects against harmful bacteria. People with compromised immune systems, pregnant women, and young children should check with a doctor before drinking kombucha because of the live cultures and trace alcohol.
How much sugar ends up in finished kombucha?
The recipe uses 1.5 cups of sugar for a 2-gallon batch (about 12g sugar per 8oz of finished kombucha at day 7). After 10 days of fermentation, the bacteria and yeast eat most of it - finished kombucha typically contains 2 to 6g of sugar per 8oz, similar to commercial brands. Longer first fermentation = lower final sugar = more tart taste.
Where do I get a SCOBY?
Three options: buy one online ($7 to $15 with starter liquid included), get a layer from a friend who already brews, or grow one yourself from a bottle of raw, unflavored store-bought kombucha (takes 2 to 4 weeks). The online route is fastest and most reliable for first-timers. Look for sellers that ship the SCOBY in active starter liquid rather than dehydrated.
How long does kombucha keep once it is bottled?
Sealed in the fridge, bottled kombucha holds for 6 to 12 months. Refrigeration slows fermentation to almost nothing but does not stop it - the bottle will keep building carbonation and getting more tart over time. Once opened, drink within 1 to 2 weeks for best taste. Always release the cap slowly the first time - older bottles can be very fizzy.
Can I make kombucha without buying a SCOBY?
Yes - buy a bottle of raw, unflavored, unpasteurized store-bought kombucha (GT Living Foods Original is a common starter), pour it into a glass jar of sweet tea (same ratios as Step 3), cover with cloth, and wait 2 to 4 weeks at room temperature. A new SCOBY will grow on top. This is slower than buying one but costs only the price of a single bottle.