How to Make Pumpkin Puree

CookingEasy4:4610 stepsPart of Cooking BasicsBrowse more →
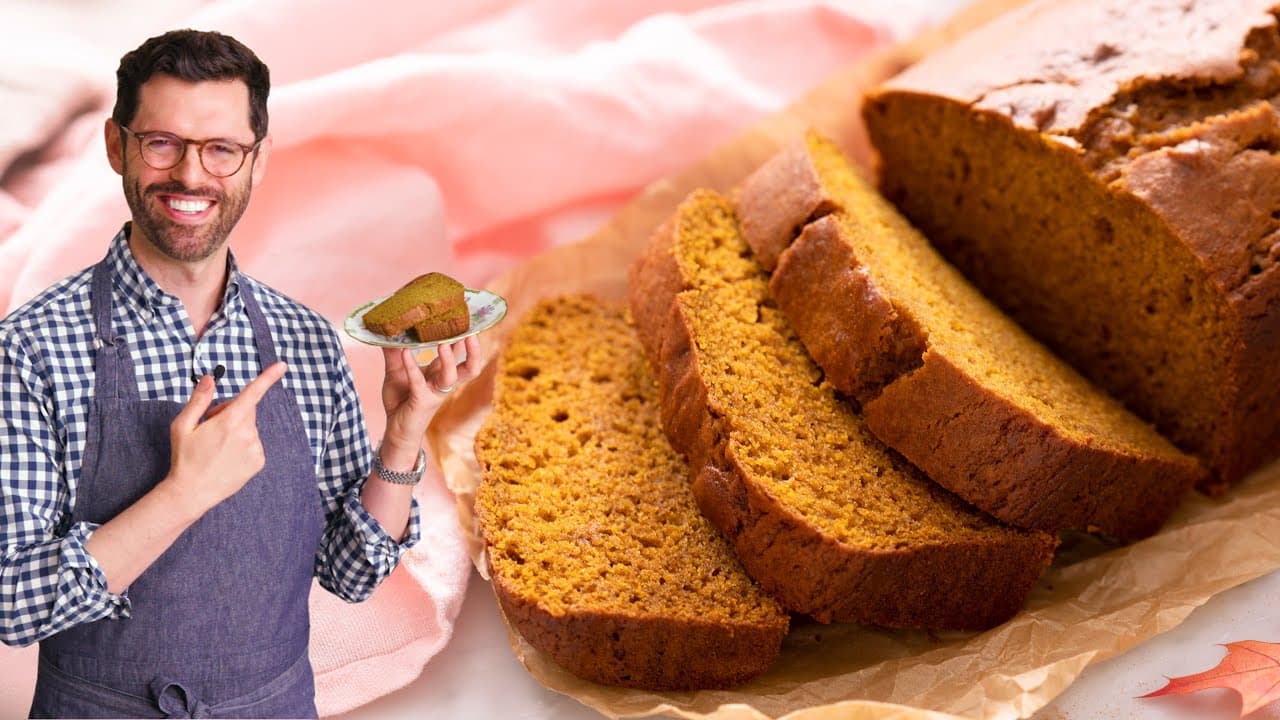
The finished result: How to Make Pumpkin Puree

By ShowMeStepByStepPublished

Based on a video by Clean & Delicious.

Canned pumpkin is fine. Fresh is better, and it takes one pumpkin and an oven to get there. The whole job is halve it, scoop it, roast it, blend it.

Sugar pumpkin or carving pumpkin

What decides whether this works is which pumpkin you buy. You want a sugar pumpkin, sometimes labeled a pie pumpkin, small and round and heavy for its size. The big one you carve in October is bred for size and a thin wall a knife goes through easily, and it cooks down watery, stringy and bland. Dani Spies of Clean & Delicious says so on camera, and it is the mistake that ruins most first attempts.

They sort themselves out in the store. A sugar pumpkin runs two to four pounds and feels dense; a carving pumpkin the same height feels hollow, because it is. Low, squat, deep ribs, even orange with no green shoulders. Pie pumpkin, sugar pie and New England Pie are all the same thing on a sign.

None in the shop? Butternut roasts and blends the same way and comes out sweeter and smoother. Kabocha and acorn work too. A spare one makes butternut squash soup.

Why roasting beats boiling

Roasting is doing something specific here. Boiled pumpkin takes on water that you then have to cook back out. In a dry oven the opposite happens. The pumpkin gives water up, the flavor concentrates, and the puree lands thicker. Steamed and microwaved pumpkin is fine for soup, but anything that has to set wants the oven.

How much puree one pumpkin makes

A 2.5 pound sugar pumpkin gives about two cups once the seeds, strings and skin are gone. Nearly every pumpkin recipe is built around the 15 ounce can, which holds a little under two cups, so one pumpkin covers one can. Work backwards at about a pound and a quarter of whole pumpkin per cup.

Recipe calls forPumpkin to buy
1 cup puree1.25 lb
One 15 oz canone 2.5 lb pumpkin

Strain it before it goes into a pie

One warning before you swap it into a recipe. Homemade puree holds more water than the canned stuff. If it is headed for pumpkin pie, drain it in a sieve or wring it out in cheesecloth first or the filling will not set. For pumpkin bread or a pumpkin spice latte you can use it straight from the container.

Line a fine mesh sieve with cheesecloth or a paper coffee filter, spoon the puree in and sit it over a bowl in the fridge for half an hour. Custards care most: pie, cheesecake, flan. Batters, soups and drinks do not.

Storing it and where it goes next

The fridge holds it about two weeks. Past that, freeze it in the amount you will reach for rather than one block. One cup and 15 ounce can portions are the units worth measuring. Freeze the bags flat, label the date and the amount, and pour off the water that weeps out as they thaw. Use it inside three months.

From here it feeds everything else. Pumpkin pie and pumpkin bread both assume you already have the puree, and a spoonful goes into a pumpkin spice latte. The seeds you set aside in step 4 turn into roasted pumpkin seeds, so one pumpkin covers two jobs.

Common mistakes

  • Using a carving pumpkin. Watery, stringy, flavorless, and nothing later rescues it.
  • Pulling it from the oven early. Skin that tears instead of lifting off in sheets means ten more minutes.
  • Leaving the strings in. They survive the oven and the blade, then turn up as threads in the puree.
  • Adding water in the processor. If it will not come together the pumpkin is underdone. Roast it longer.

What you'll need

Step-by-Step Guide

10 steps · about 5 minutes.Check off each step as you go and your progress saves automatically.

1

Slice the Top Off the Sugar Pumpkin

1:04
Step 1: Slice the Top Off the Sugar Pumpkin - How to Make Pumpkin Puree

Start with a sugar pumpkin. They are small, round and plump, usually two to three pounds, and they sit next to the carving pumpkins every autumn. Dani uses one that weighs about 2.5 pounds.

Lay it on its side on a cutting board and cut the stem end off with a chef's knife. This takes more force than you expect. Go slow, keep your free hand flat on top of the pumpkin and well away from the blade, and let the knife work through the wall instead of shoving it.

Tip

A carving pumpkin will not do. Those are grown big and thin walled, and the flesh roasts up watery, stringy and close to flavorless. Ask for a sugar pumpkin or a pie pumpkin by name.

2

Cut the Pumpkin in Half Lengthwise

1:24
Step 2: Cut the Pumpkin in Half Lengthwise - How to Make Pumpkin Puree

Stand the pumpkin on the flat face you have made so it cannot roll, then bring the knife down through the middle from top to bottom. That flat base is what makes the cut safe. A round pumpkin on a board rolls under the blade.

Pull the two halves apart and there is the seed cavity, a nest of pale seeds held in orange strings.

Tip

Breaking down a pumpkin is no different from any other winter squash. If you have halved a butternut, you already know the move.

Used in this stepchef's knife
3

Scoop Out the Seeds and Stringy Membrane

1:28
Step 3: Scoop Out the Seeds and Stringy Membrane - How to Make Pumpkin Puree

Take an ordinary metal spoon and drag it around the cavity. The seeds come away first, then the stringy membrane they sit in. Keep scraping until the inside walls feel smooth under the spoon.

Leave the strings behind and they roast into tough fibres that a food processor cannot break down, so they show up as threads running through the finished puree.

Tip

The edge of a sturdy soup spoon scrapes better than a rounded serving spoon. Work over the board, not the sink, so you can save what comes out.

4

Save the Pumpkin Seeds for Roasting

1:40
Step 4: Save the Pumpkin Seeds for Roasting - How to Make Pumpkin Puree

Tip the seeds into a bowl instead of the bin. Rinse them under cold water, pick off the last of the orange strings, and they are ready to go into the oven with oil and salt.

They come out as a snack on their own and they are good scattered over a salad or a bowl of soup. Our guide to roasting pumpkin seeds has the temperature and the timing.

Tip

Rinsing is easier in a bowl of water than under the tap. The strings float and the seeds sink, so you can lift the clean seeds straight off the bottom.

Used in this stepglass mixing bowl
5

Lay the Halves Skin Side Up on a Lined Baking Sheet

2:08
Step 5: Lay the Halves Skin Side Up on a Lined Baking Sheet - How to Make Pumpkin Puree

Line a rimmed baking sheet with parchment paper or a silicone mat, then set the halves on it cut side down with the skin facing up. Lining the pan saves you scrubbing caramelized pumpkin sugar off the metal later.

Cut side down matters more than it sounds. Steam gets trapped under the flesh and cooks it through from below while the skin takes the dry heat, so the pumpkin softens without drying out on top.

Tip

Use a rimmed sheet rather than a flat cookie sheet. Pumpkin weeps as it roasts and a flat pan sends that liquid onto the oven floor.

6

Roast the Pumpkin at 400F for 35 to 40 Minutes

2:11
Step 6: Roast the Pumpkin at 400F for 35 to 40 Minutes - How to Make Pumpkin Puree

Slide the pan into a 400F oven and leave it alone for 35 to 40 minutes. The one in the video came out at 35.

This is the step that makes fresh puree worth the trouble. Boiling pushes water into the pumpkin and you spend the rest of the recipe getting it back out. Dry oven heat pulls water off instead, so what is left tastes more like pumpkin and holds together as a thicker puree.

Tip

Test it with the tip of a knife. Push it into the thickest part of the flesh and it should slide in and back out with no resistance at all. Any drag and the pumpkin wants another five minutes.

7

Peel the Skin Off the Roasted Pumpkin

2:27
Step 7: Peel the Skin Off the Roasted Pumpkin - How to Make Pumpkin Puree

Let the halves sit until they are cool enough to handle, then pull the skin away. On a pumpkin that roasted long enough it lifts off in big sheets with almost no effort and takes none of the flesh with it.

If the skin fights back and tears into small pieces, the pumpkin came out of the oven early. Put it back for another ten minutes and try again.

Tip

Do this over the cutting board. The flesh is soft enough by now that it slumps and drops as the skin comes off.

8

Chop the Roasted Pumpkin Into Chunks

2:35
Step 8: Chop the Roasted Pumpkin Into Chunks - How to Make Pumpkin Puree

Cut the peeled flesh into big rough chunks. They do not need to be even or neat. You are only making pieces small enough for the blade to catch and pull down.

Tip

Pour off any liquid that has pooled on the board before the pumpkin goes into the processor. Less water going in means a thicker puree coming out.

9

Blend the Pumpkin Into a Smooth Puree

3:00
Step 9: Blend the Pumpkin Into a Smooth Puree - How to Make Pumpkin Puree

Load the chunks into a food processor and run it until the texture turns smooth and creamy. It happens fast, and there is nothing to add. No water, no oil. The pumpkin already carries all the moisture it needs.

No food processor is not a dead end. A blender does the same job. So does a potato masher, or the back of a fork if the pumpkin roasted long enough, though both of those leave more texture behind.

Tip

A small bowl fills fast. The video uses a 4 cup processor, and one 2.5 pound pumpkin can need two batches. Stop and scrape rather than packing the bowl to the lid.

Used in this stepfood processor
10

Scrape the Puree Into a Storage Container

3:16
Step 10: Scrape the Puree Into a Storage Container - How to Make Pumpkin Puree

Scrape every last bit out with a spoon and into a lidded container. It keeps in the fridge for up to two weeks. Dani makes hers at the weekend so it is sitting ready all week for pancakes, oatmeal, a spoonful stirred through yogurt or a smoothie.

Freezing works well too. Portion it into one cup measures before it goes in, so a recipe that calls for a cup does not mean thawing the whole batch.

Tip

Homemade puree carries more water than canned. Before it goes into pumpkin pie, sit it in a fine mesh sieve for half an hour or wring it out in cheesecloth. Skip that and the custard stays loose.

Keep going

How to Make Hot Chocolate

Products Used

The Recipe

How to Make Pumpkin Puree

American
Serves
Makes about 2 cups of puree from one 2.5 pound pumpkin
Prep
20 min
Cook
35 min
Total
55 min

Ingredients

1 item
  • 1, about 2.5 poundssugar pumpkin, also sold as a pie pumpkinsmall, round and heavy for its size - a large carving pumpkin roasts up watery, stringy and bland

    Method

    1. 1
      Slice the Top Off the Sugar Pumpkin. Start with a sugar pumpkin.
    2. 2
      Cut the Pumpkin in Half Lengthwise. Stand the pumpkin on the flat face you have made so it cannot roll, then bring the knife down through the middle from top to bottom.
    3. 3
      Scoop Out the Seeds and Stringy Membrane. Take an ordinary metal spoon and drag it around the cavity.
    4. 4
      Save the Pumpkin Seeds for Roasting. Tip the seeds into a bowl instead of the bin.
    5. 5
      Lay the Halves Skin Side Up on a Lined Baking Sheet. Line a rimmed baking sheet with parchment paper or a silicone mat, then set the halves on it cut side down with the skin facing up.
    6. 6
      Roast the Pumpkin at 400F for 35 to 40 Minutes. Slide the pan into a 400F oven and leave it alone for 35 to 40 minutes.
    7. 7
      Peel the Skin Off the Roasted Pumpkin. Let the halves sit until they are cool enough to handle, then pull the skin away.
    8. 8
      Chop the Roasted Pumpkin Into Chunks. Cut the peeled flesh into big rough chunks.
    9. 9
      Blend the Pumpkin Into a Smooth Puree. Load the chunks into a food processor and run it until the texture turns smooth and creamy.
    10. 10
      Scrape the Puree Into a Storage Container. Scrape every last bit out with a spoon and into a lidded container.

    The Checklist

    How to Make Pumpkin Puree

    Tools
    10
    Steps
    10
    Video
    5 min

    Your Guide

    Clean & Delicious

    As an Amazon Associate we earn from qualifying purchases. Links on this page may be affiliate links - clicking them and buying doesn't change your price, but helps support ShowMeStepByStep.

    Tags

    Sunday How-To

    New cooking tutorials, every Sunday

    One short email with the week's best step-by-step guides. Free, no spam, unsubscribe anytime.

    Did this work for you?

    What's next

    Related collections

    Curated theme pages that include this tutorial.

    Similar tutorials

    Hand-picked next reads based on the one you just finished.

    Weekly Digest

    Liked this cooking tutorial?

    Pick the categories you want to hear about. Weekly digest of new step-by-step tutorials. No spam, easy unsubscribe.

    Send me tutorials about

    We only email about new tutorials. Easy unsubscribe anytime.