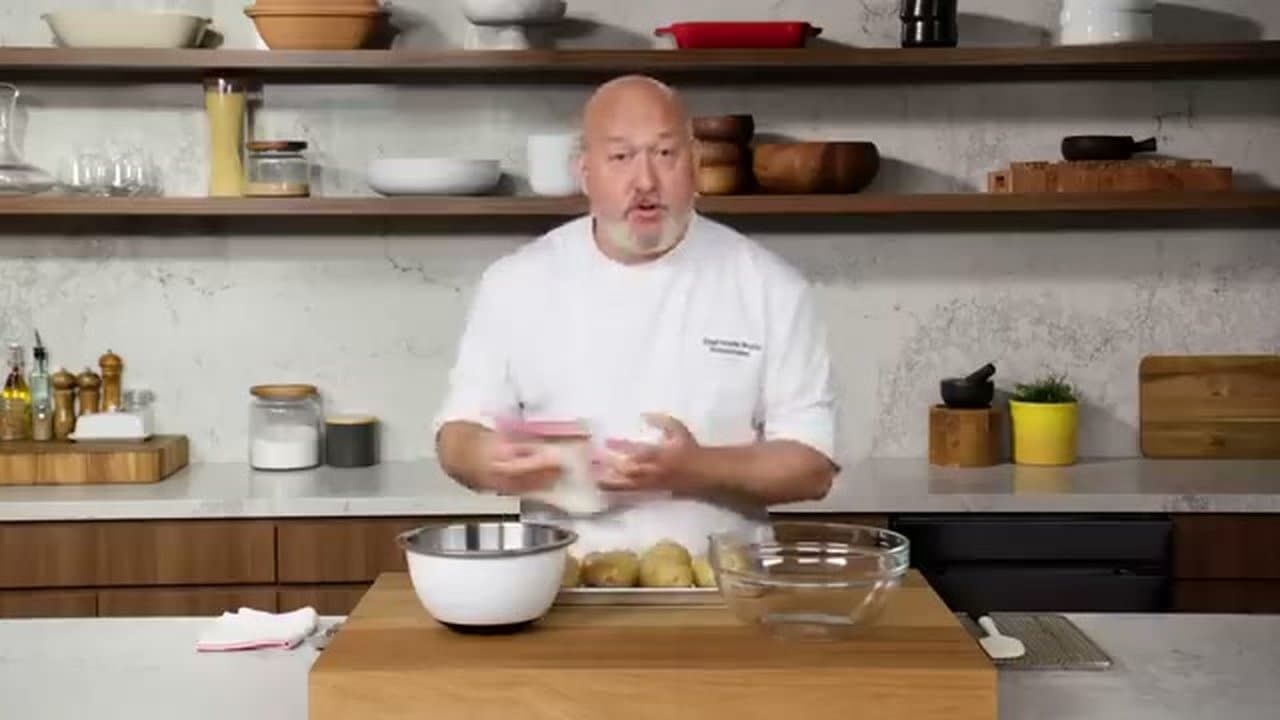
Step 1: Cold-Start the Potatoes with Skins On
1:00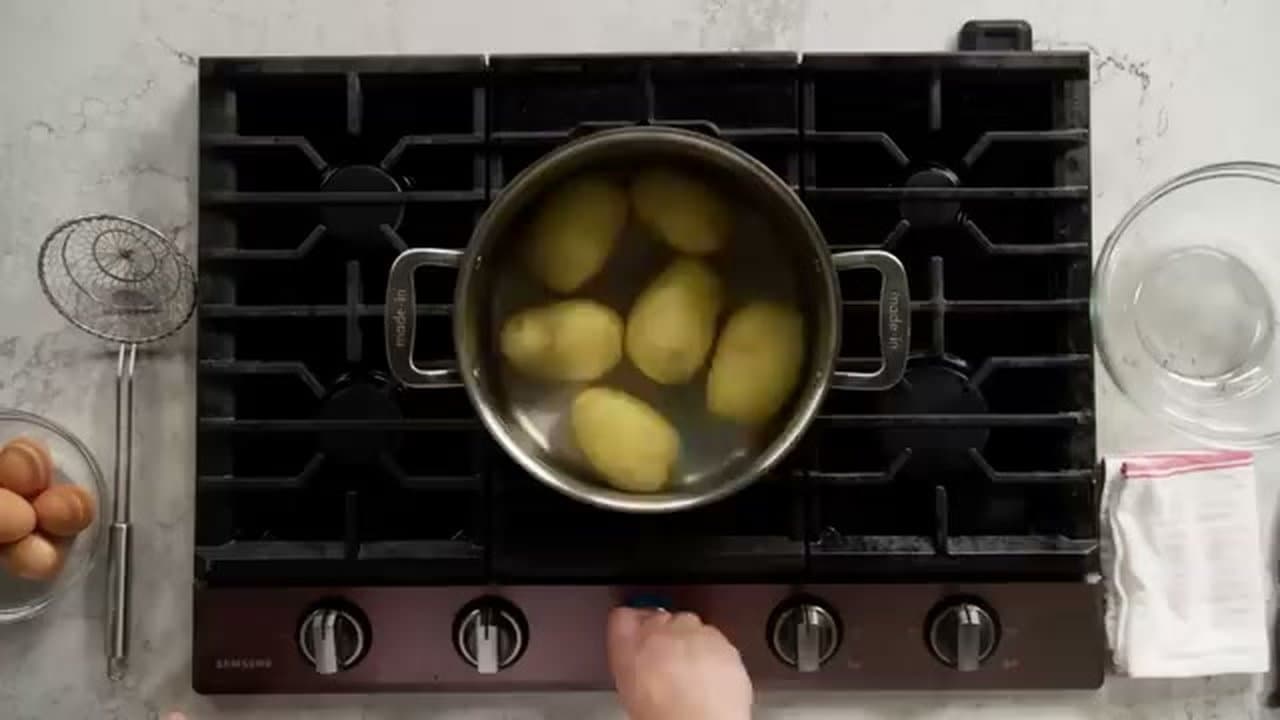
Wash and scrub 2 pounds of Yukon Gold potatoes. Yukon Golds are waxy potatoes that hold their shape when boiled and develop a creamy (not fluffy) texture - exactly what you want for potato salad. Leave the skins on; the skin acts as a jacket and prevents the potato from absorbing water during cooking.
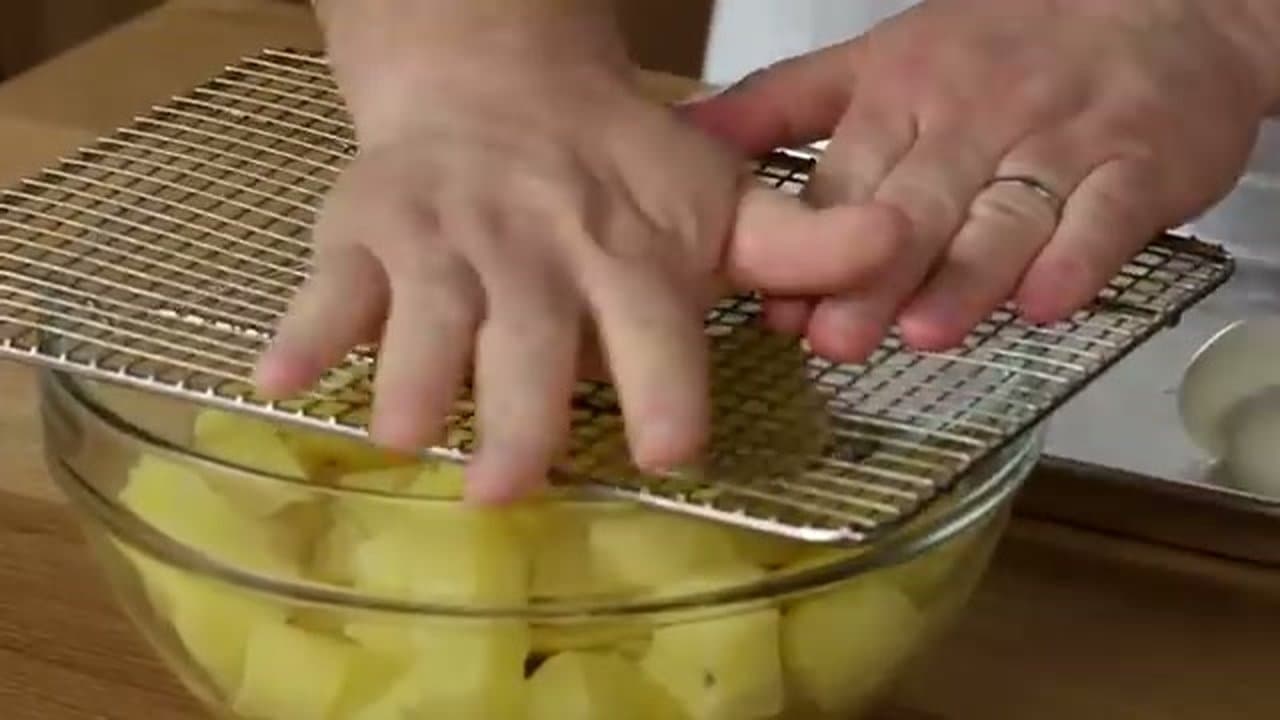
Place the potatoes in a pot with COLD water from the start. Turn the heat on and bring to a boil, then immediately lower to a gentle simmer. Cold-start cooking keeps the potatoes from rolling around the pan and losing their starch. Do NOT salt the water - the skins block the salt from getting into the potato, and the rinse step later would wash it off anyway.
Tip
Yukon Gold is the right potato. Russet potatoes get fluffy and fall apart in salad. Red potatoes work but are slightly less creamy. Avoid any potato labeled "all-purpose" - too inconsistent.