How to Cook Pearl Barley

By ShowMeStepByStepPublished Updated

Based on a video by Chef Kevin Riese.

Pearl barley is one of those grains that quietly does everything - it bulks up a soup, holds its texture in a cold grain salad, and works as a chewy side under a piece of fish or roasted vegetables. The only reason it isn't a regular in more kitchens is the cook time. Barley takes 45 minutes, which is longer than rice and a lot longer than pasta. Start it before anything else and the wait disappears into the rest of dinner.

This tutorial follows Chef Kevin Riese's pasta-style method: an abundance of salted water, a gentle 45-minute simmer, then a quick rinse to wash off the surface starch. One cup of dry pearled barley swells into about 3.5 cups cooked, which feeds four with leftovers for tomorrow's lunch. Pearled means the indigestible outer husk has been removed, so the grain is softer and faster to cook than hulled or naked barley.

For more whole-grain basics, see how to cook quinoa, brown rice, or use a rice cooker for a hands-off version. Cooked barley makes a great base for grain bowls, beef-and-barley soup, mushroom risotto-style dishes, or a tabbouleh-style salad with parsley, lemon, and feta.

Step-by-Step Guide

1

Step 1: Pick Your Cooking Method

1:45
Step 1: Step 1: Pick Your Cooking Method

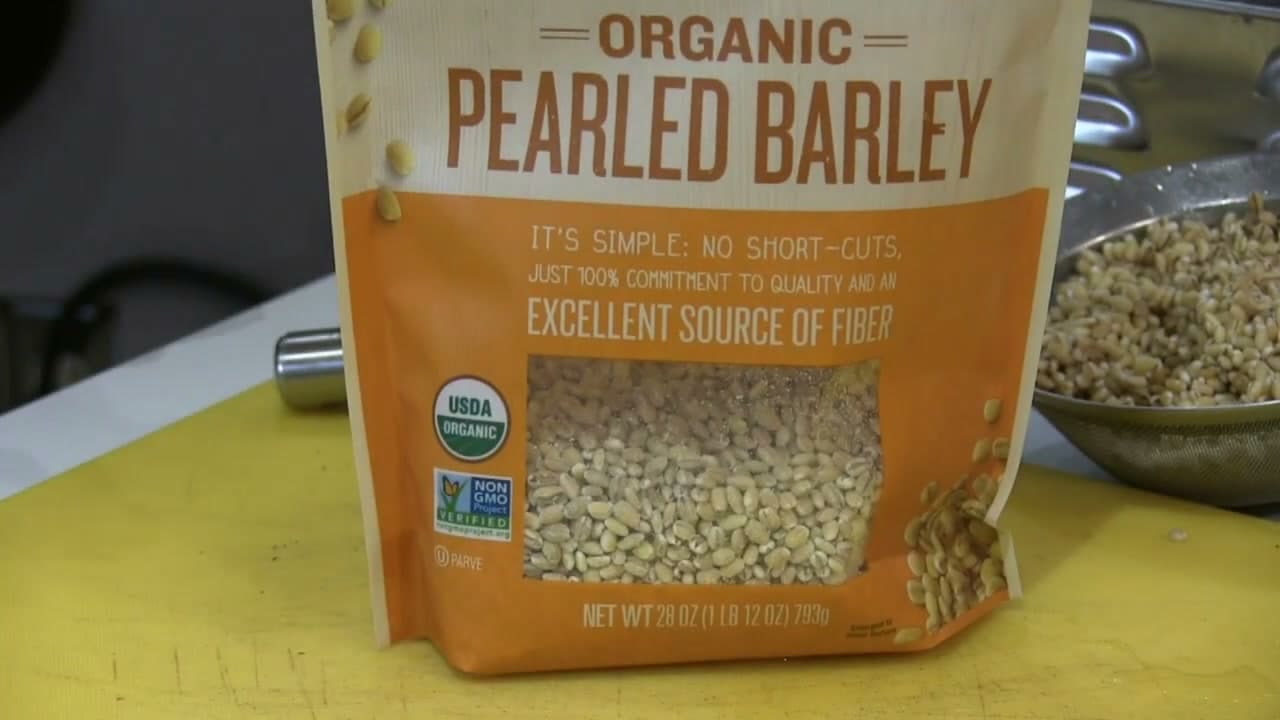
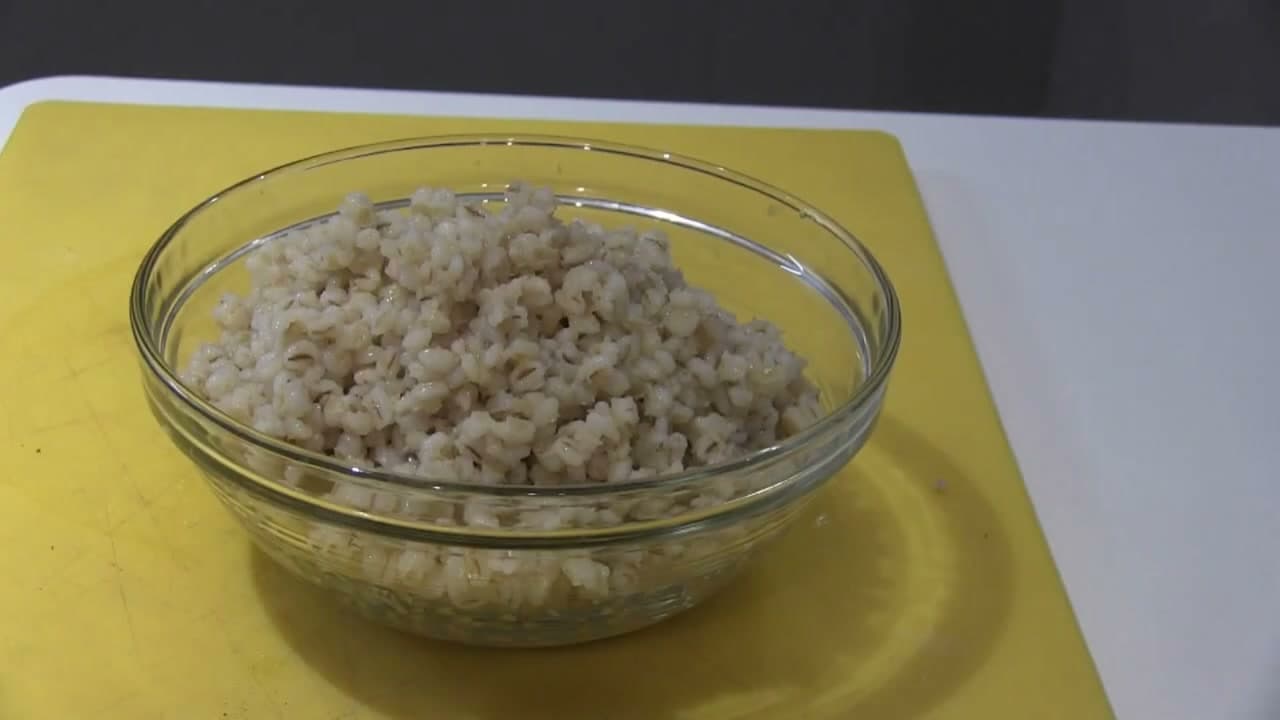
You have two solid ways to cook pearl barley. The rice method uses a measured 1:3 ratio - 1 cup of barley to 3 cups of water - cooked covered until all the liquid is absorbed. It's easy but the pot can scorch if your heat runs hot, and the barley sometimes ends up gummy from sitting in its own starch.

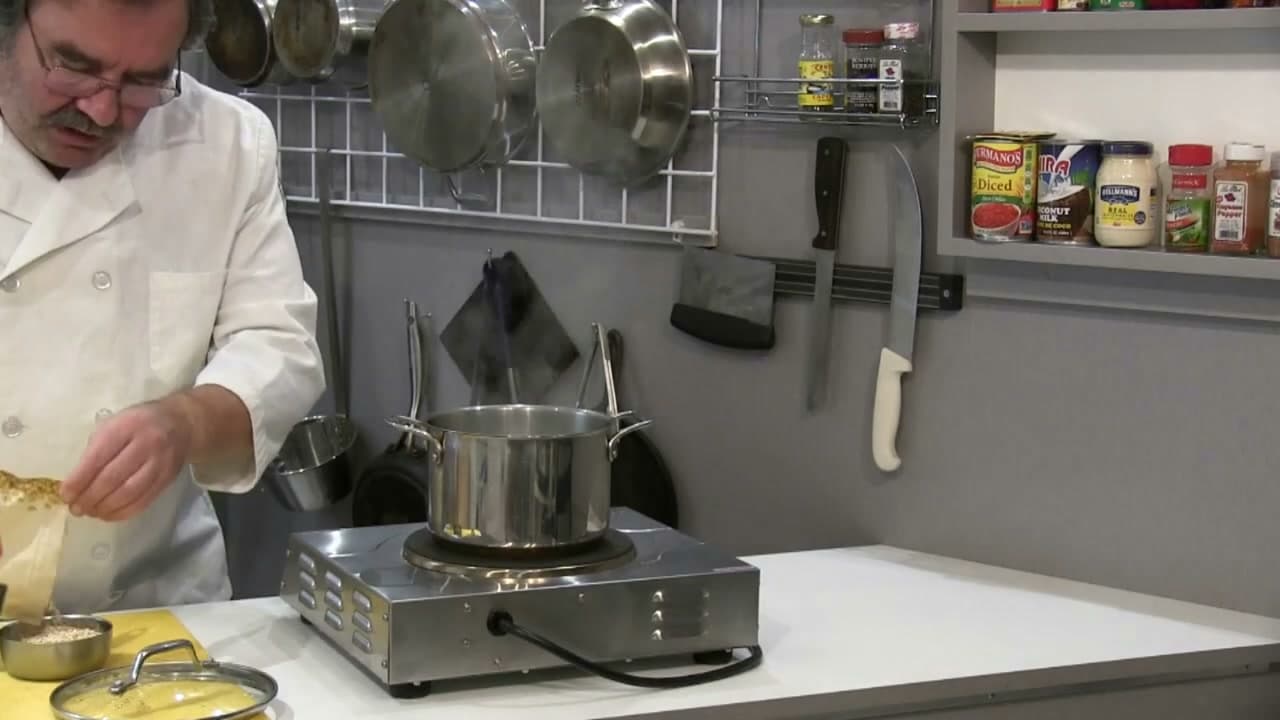
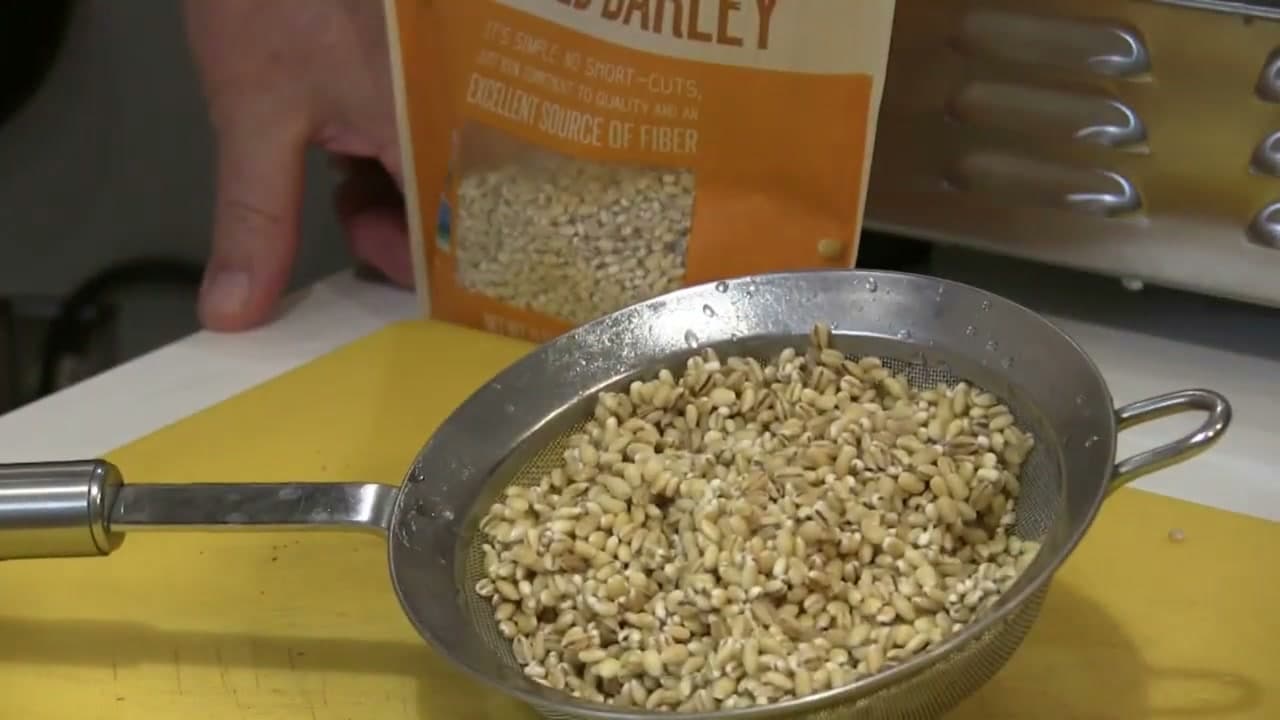
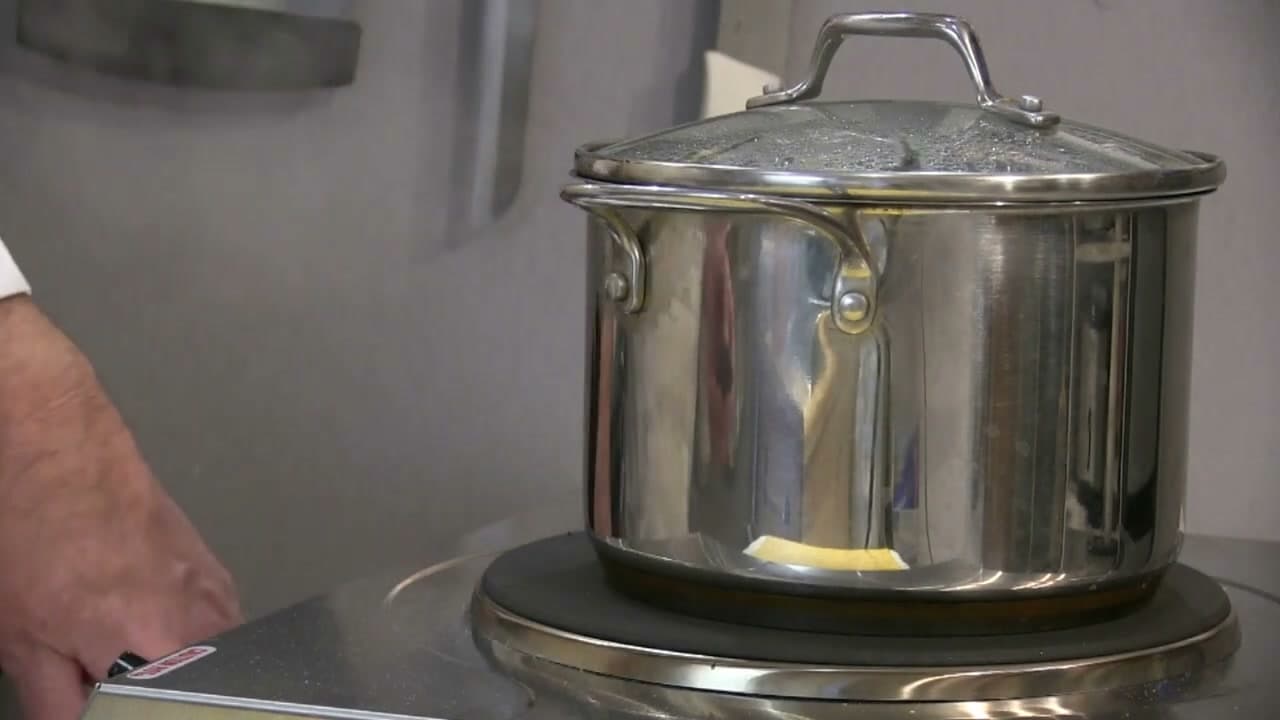
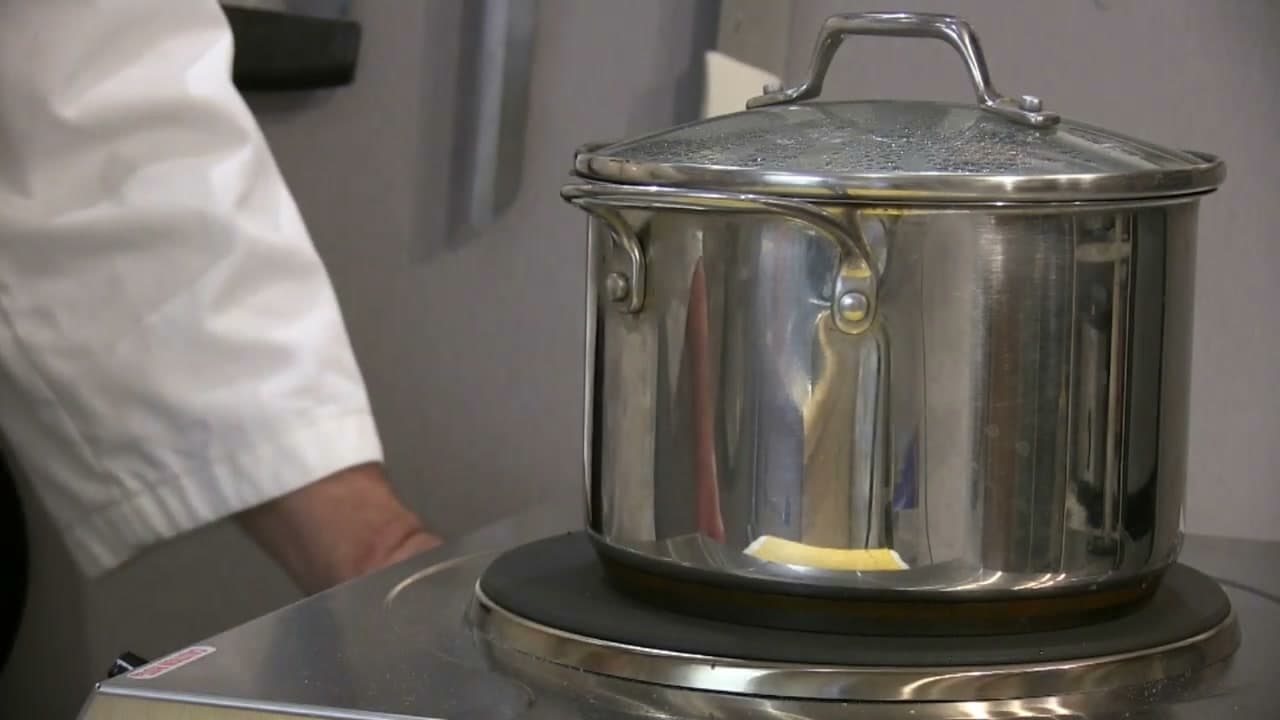
The pasta method, which this tutorial follows, uses an abundance of salted water that you drain off at the end. No scorched pan, no gluey starch, and the grain stays separate. The trade-off is you lose a little of the cooking water's nutrition down the drain - a fair price for cleaner texture and a foolproof result.

Tip

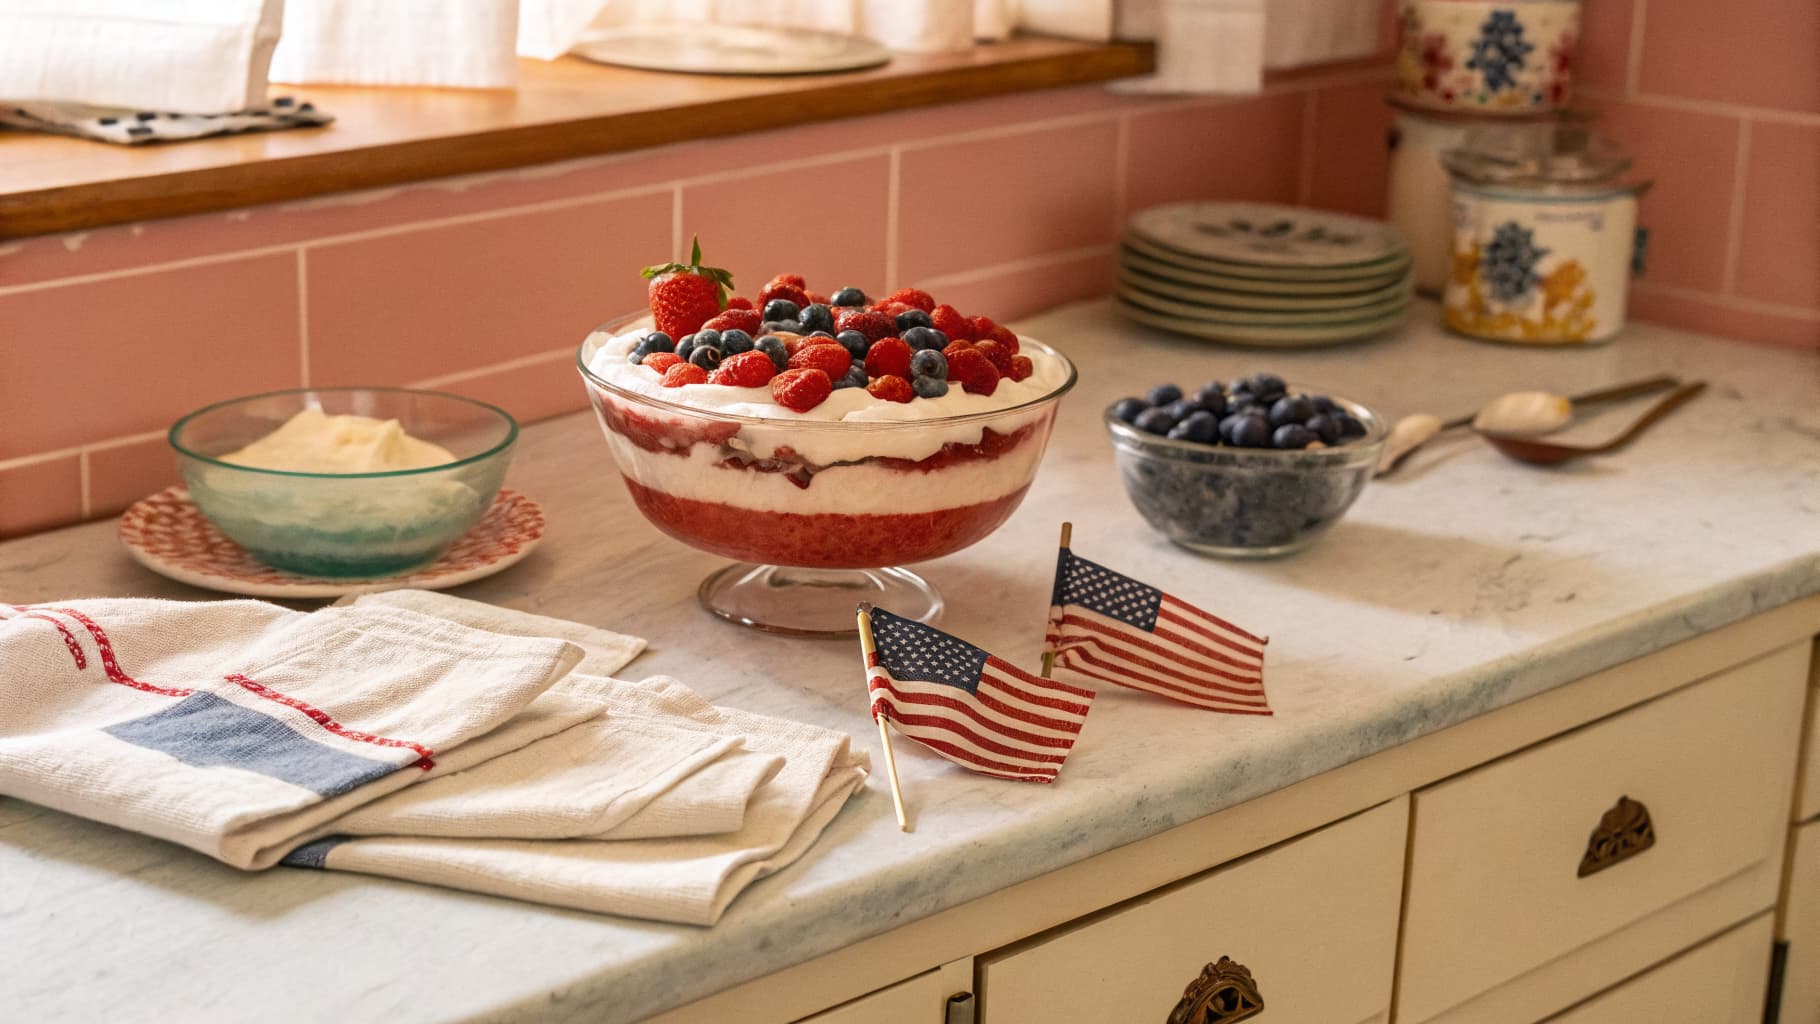
If you want a creamier, risotto-style finish, cook by the rice method and stir in a knob of butter and grated parmesan at the end.

2

Step 2: Bring a Big Pot of Salted Water to a Boil

2:15
Step 2: Step 2: Bring a Big Pot of Salted Water to a Boil

Fill a 3-quart saucepan with several inches of water and bring it to a rolling boil over high heat. A wide, heavy-bottomed pot helps the starchy water stay calm once the barley goes in - barley loves to froth up and run over the rim of a narrow pot.

Once the water is boiling, add a generous tablespoon of kosher salt. The water should taste like a mild broth. Underseasoning the cooking water is the easiest way to end up with bland-tasting grain - salt now, not after.

Tip

Swap the water for low-sodium chicken or vegetable broth and the cooked barley picks up a savory base note. Cut the added salt in half if you do.

3

Step 3: Measure One Cup of Pearl Barley

2:25
Step 3: Step 3: Measure One Cup of Pearl Barley

Measure out 1 cup of pearl barley. Look for a bag labeled pearled or pearl - the indigestible outer husk has been polished off, which is why it cooks faster than hulled or naked barley. Naked barley and pearled barley are the same thing under two different names.

One cup of dry pearl barley swells into about 3.5 cups cooked, which serves four as a hearty side or three as a grain bowl base. Want leftovers for tomorrow's salad? Double the batch - cooked barley keeps in the fridge for five days and reheats well.

Tip

Bob's Red Mill, Arrowhead Mills, and most store-brand bulk-bin barley work the same way. Organic is a nice-to-have, not a must.

4

Step 4: Rinse the Barley Under Cold Water

2:50
Step 4: Step 4: Rinse the Barley Under Cold Water

Tip the dry barley into a fine-mesh strainer and rinse under cold running water for about 30 seconds. This washes off surface dust and the powdery starch coating that builds up in the bag. The water running off will be cloudy at first and clear once you're done.

While the barley drains, pick through the grains with your fingers and look for any small stones, twigs, or shriveled hulls. They occasionally make it through commercial sorting, and biting one is unpleasant. It only takes 10 seconds and saves a chipped tooth.

Tip

A fine-mesh strainer is the right tool here. A regular colander has holes big enough for barley to slip through.

Products used in this step

5

Step 5: Add the Barley and Drop to a Simmer

3:35
Step 5: Step 5: Add the Barley and Drop to a Simmer

Pour the rinsed barley into the boiling water and stir once with a wooden spoon to break up any clumps. The water will calm down for a moment, then return to a boil within a minute or two.

As soon as it's boiling again, drop the heat to medium-low so the pot settles into a steady simmer. You want gentle bubbling, not a rolling boil - a hard boil makes the starchy water froth and overflow, and it knocks the grains around hard enough to break them up. A calm simmer cooks the barley evenly all the way through.

Tip

Don't cover the pot. Trapping the steam makes the water foam over almost instantly. Leave the lid off or set it slightly ajar.

Products used in this step

6

Step 6: Simmer 45 Minutes, Then Taste

4:10
Step 6: Step 6: Simmer 45 Minutes, Then Taste

Let the barley simmer for 45 minutes, stirring occasionally so nothing settles on the bottom and sticks. The water turns increasingly cloudy as the grains release starch - that's normal and exactly why you'll rinse them at the end.

Start tasting at the 40-minute mark. A cooked grain should be tender with a pleasant chew, the way good pasta is al dente. If it still crunches, give it another 5 minutes. If it's gone soft and mushy, drain right away. Hulled or naked barley takes closer to an hour - check the bag.

Tip

Set a timer. Forty-five minutes is easy to misjudge by 10 minutes in either direction, and the difference between perfect chew and mush is small.

Products used in this step

7

Step 7: Drain, Rinse, and Serve

4:55
Step 7: Step 7: Drain, Rinse, and Serve

Tip the pot into a colander set in the sink. Run cold water through the grains for about 10 seconds and toss with the colander - this rinses off the last of the surface starch so the cooked barley stays separate instead of clumping, and it stops the residual cooking so the grains don't get mushy sitting in their own heat.

Shake the colander well to drain. Now use it however you like: as a base for grain bowls, simmered into beef-and-barley soup, tossed warm with olive oil, lemon, and fresh herbs for a tabbouleh-style salad, or simply finished with a pat of butter and a squeeze of lemon as a simple side. Cooked barley keeps in a sealed container in the fridge for 5 days.

Tip

If you want to use the barley hot right away, skip the cold rinse and just drain. The cold rinse is for cooling and storing.

Products Used

❖ The Recipe

How to Cook Pearl Barley

Serves
Makes about 3.5 cups cooked - serves 4
Prep
5 min
Cook
45 min
Total
50 min

Ingredients

5 items
  • 1 cuppearl barleylook for organic pearled barley; yields about 3.5 cups cooked
  • 3 quartswateror low-sodium broth for more flavor
  • 1 tbspkosher saltfor the boiling water
  • 1 tbspbutteroptional, for finishing
  • 1 tsplemon juiceoptional, for finishing

Nutrition

estimated · per servingEstimated from the ingredient list, not measured. Actual values vary by brand, preparation, and serving size. Not a substitute for measured nutrition data.
Calories
175kcal
Protein
5g
Fat
1g
Carbs
38g
Fiber
6g

Method

  1. 1
    Step 1: Pick Your Cooking Method. You have two solid ways to cook pearl barley.
  2. 2
    Step 2: Bring a Big Pot of Salted Water to a Boil. Fill a 3-quart saucepan with several inches of water and bring it to a rolling boil over high heat.
  3. 3
    Step 3: Measure One Cup of Pearl Barley. Measure out 1 cup of pearl barley.
  4. 4
    Step 4: Rinse the Barley Under Cold Water. Tip the dry barley into a fine-mesh strainer and rinse under cold running water for about 30 seconds.
  5. 5
    Step 5: Add the Barley and Drop to a Simmer. Pour the rinsed barley into the boiling water and stir once with a wooden spoon to break up any clumps.
  6. 6
    Step 6: Simmer 45 Minutes, Then Taste. Let the barley simmer for 45 minutes, stirring occasionally so nothing settles on the bottom and sticks.
  7. 7
    Step 7: Drain, Rinse, and Serve. Tip the pot into a colander set in the sink.

Your Guide

Chef Kevin Riese

As an Amazon Associate we earn from qualifying purchases. Links on this page may be affiliate links - clicking them and buying doesn't change your price, but helps support ShowMeStepByStep.

Tags

Test your knowledge

Did the lesson stick? Find out in 2 minutes.

5 quick questions covering what you just read. No signup, no score saved — just a gut check.

Quick reference

Key takeaways from How to Cook Pearl Barley

5 questions, answers, and one-line explanations. Tap to expand.

  1. 1.How long should pearl barley simmer to reach a chewy-tender texture?

    Answer: 45 minutes

    Pearl barley needs about 45 minutes at a steady simmer to soften its thick hull and starchy interior fully.

  2. 2.Why rinse pearl barley before cooking?

    Answer: To remove excess surface starch and debris

    A quick rinse washes off loose starch that would otherwise cloud the cooking water and make the grains sticky.

  3. 3.Which cooking technique does boiling pearl barley most closely resemble?

    Answer: Pasta method: boil in a large pot of salted water then drain

    Like pasta, pearl barley cooks in abundant salted water and gets drained when done, not absorbed.

  4. 4.What is the best way to tell if your pearl barley is cooked?

    Answer: Taste it: it should be chewy-tender with no hard center

    Grain age and altitude affect cooking time, so tasting is more reliable than just watching the clock.

  5. 5.What should you do immediately after draining the cooked barley?

    Answer: Rinse briefly with cold water to stop cooking and separate the grains

    A cold-water rinse halts carryover cooking and washes off surface starch, keeping each grain distinct rather than gummy.

What's next

Weekly Digest

Liked this cooking tutorial?

Pick the categories you want to hear about. Weekly digest of new step-by-step tutorials. No spam, easy unsubscribe.

Send me tutorials about

We only email about new tutorials. Easy unsubscribe anytime.