1
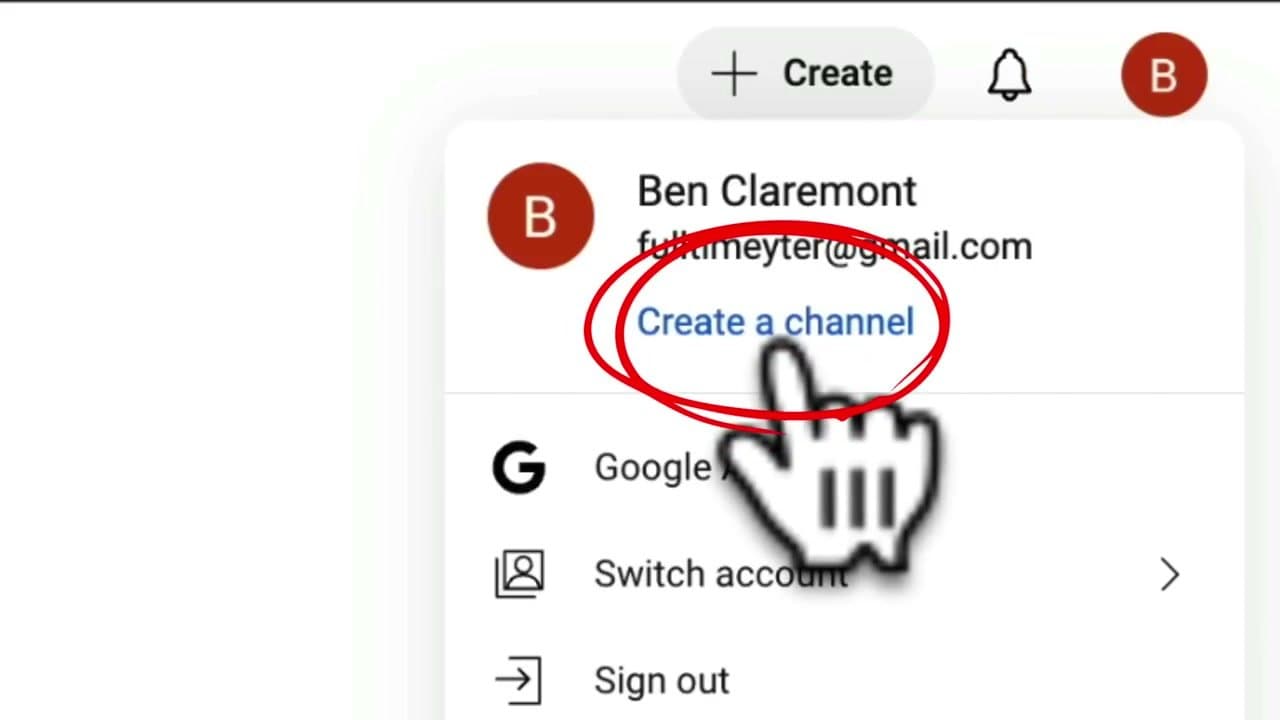
Step 1: Sign In With or Create a Google Account
0:30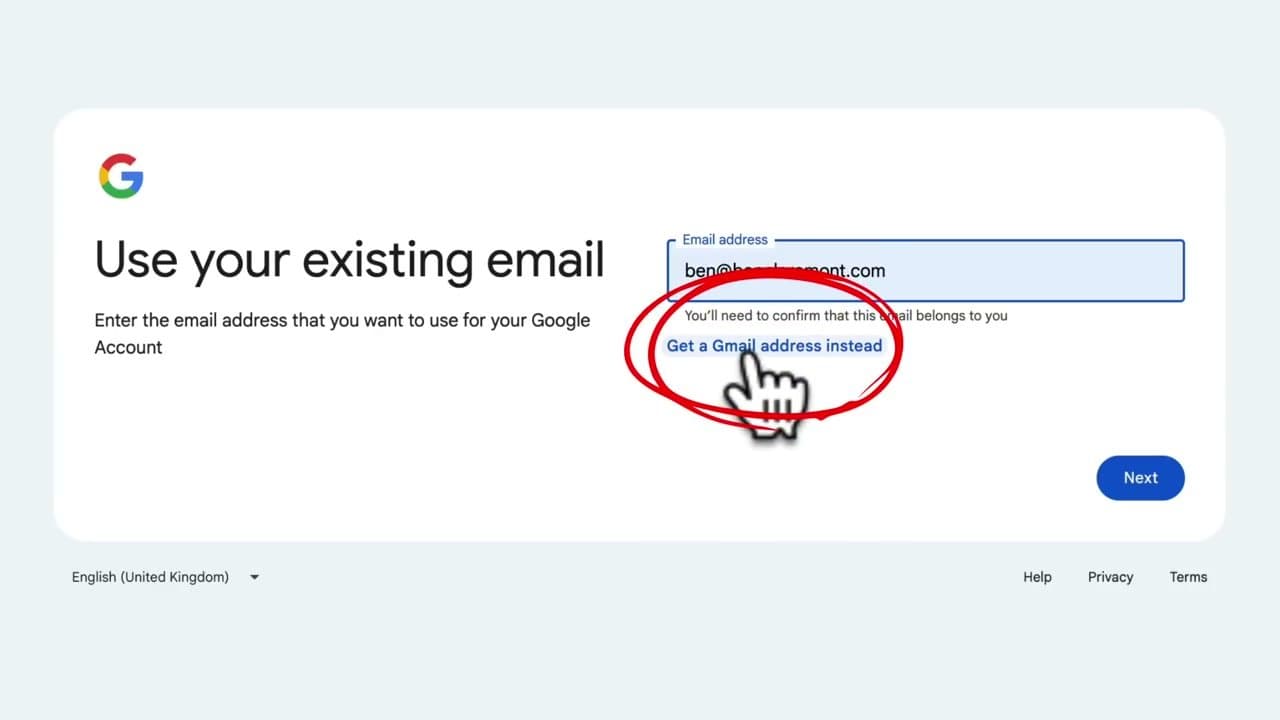
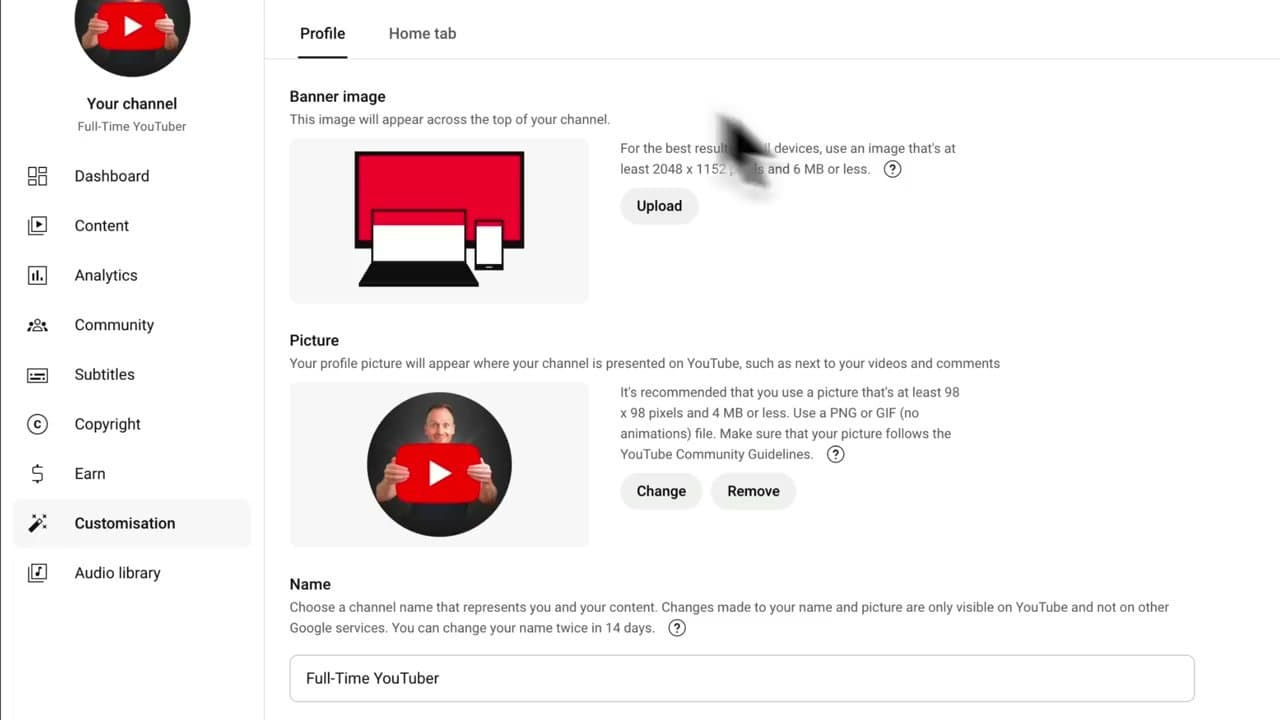
Go to youtube.com and click Sign In at the top right. If you don't already have a Gmail account, click Create Account, choose 'For Work or My Business,' and walk through the signup form (name, birthday, password, recovery email).
Your YouTube channel hangs off this Google account, so use one you'll keep long-term. You can use an existing personal Gmail or create a new dedicated one - separating your channel from personal email keeps things tidy if the channel grows.