How to Open an Etsy Shop in 7 Steps

Side HustlesEasy8:487 steps
Also in:Finances

Based on a video by HelloCustom.

Etsy is one of the lowest-friction ways to start selling online. The platform brings the traffic, you bring the product, and the setup takes under an hour. The catch is the $29 one-time setup fee plus per-listing and per-sale fees - so you want a product idea before you go through the flow, not after.

This walkthrough follows Steven Chin (Hello Custom, $3M+ Etsy seller). By the end your shop will be ready to accept listings and take payments. The tutorial covers the 5-step Etsy onboarding wizard plus identity verification, payment processing, and two-factor authentication.

Step-by-Step Guide

1

Step 1: Go to Etsy and Click Sell on Etsy

1:00
Step 1: Step 1: Go to Etsy and Click Sell on Etsy

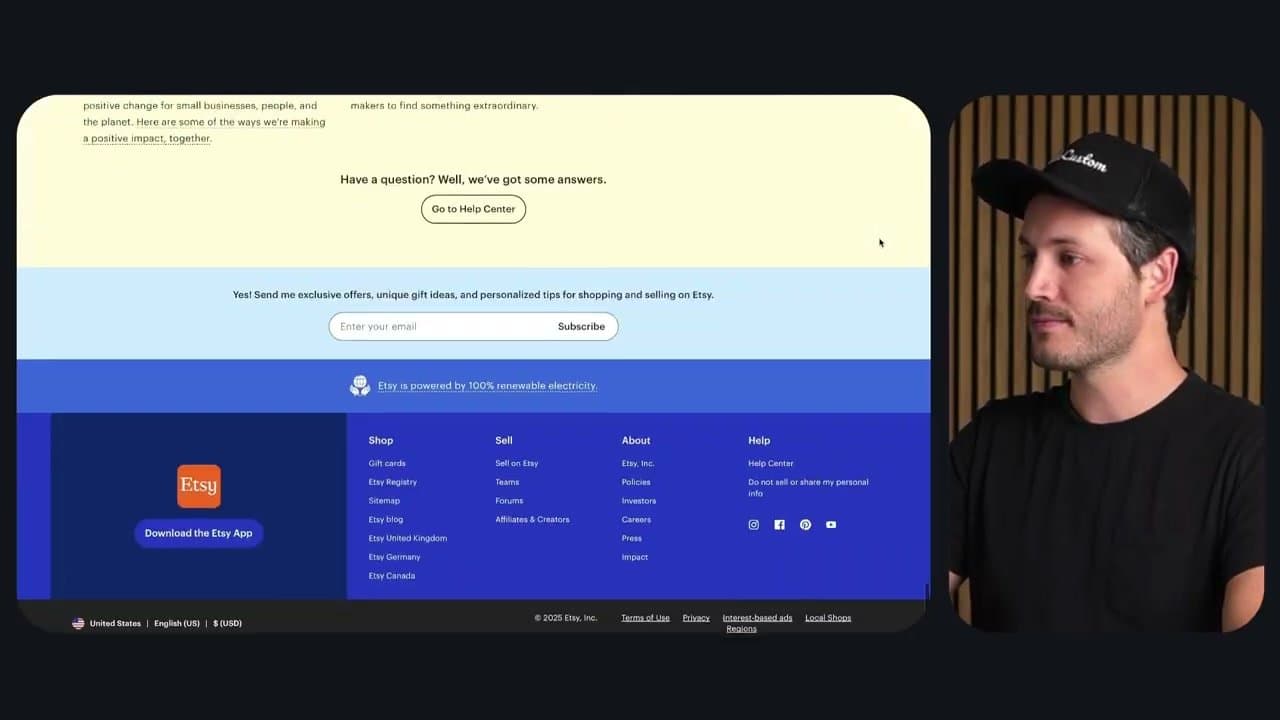
Open etsy.com, scroll all the way to the footer, and click 'Sell on Etsy' under the Sell column. On the next page, click 'Get Started.' Sign in with your existing Etsy account, or register with email, first name, and a password.

Click Register, then 'Let's do this' on the welcome screen. Etsy then asks a couple of optional questions about your seller intent - answer however you want, they don't change the setup flow.

2

Step 2: Set Your Shop Preferences

2:10
Step 2: Step 2: Set Your Shop Preferences

Etsy walks you through 5 setup steps shown across the top progress bar. The first is Shop Preferences: pick your shop language, country, and currency.

For most US sellers that's English / United States / USD. These can be changed later (except shop country once your bank is connected), so don't agonize. Click Save and Continue.

3

Step 3: Pick a Shop Name

2:45
Step 3: Step 3: Pick a Shop Name

Type your shop name. If it's taken, Etsy auto-suggests variants - the example tries 'Hello Custom' first (taken), then 'HelloCustomBoutique' (available). Common adds: Co, Company, Shop, Boutique, Studio, Designs.

Don't overthink it - you can change the name once for free, and again later for a small fee. Click Save and Continue once an available name is found.

4

Step 4: Set Up Payment and Connect Your Bank

4:00
Step 4: Step 4: Set Up Payment and Connect Your Bank

Pick where your bank is located, then choose seller type (most beginners pick Individual - skip this if you don't have an LLC or EIN). Fill in legal name, DOB, SSN, address, and phone.

Then connect your bank via Plaid - sign into your bank for instant verification, or enter your routing/account numbers manually if your bank isn't supported. Plaid only sees account numbers, not your password.

5

Step 5: Verify Your Identity With ID and Selfie

5:10
Step 5: Step 5: Verify Your Identity With ID and Selfie

Etsy uses Persona-style identity verification (the same kind Stripe and Coinbase use). Pick the express method, then take a photo of the front and back of your driver's license or passport on your phone.

Then take a selfie - it'll prompt you to look left and right to confirm liveness. Verification usually completes in under a minute. If it fails, Etsy walks you through manual re-submission.

6

Step 6: Approve the $29 Setup Fee

6:50
Step 6: Step 6: Approve the $29 Setup Fee

Etsy now charges a one-time $29 setup fee, plus per-listing ($0.20 each, every 4 months) and transaction fees (6.5% + payment processing) on every sale. Enter your billing info, click 'I authorize this charge,' and approve.

Etsy may offer Etsy Plus ($10/mo for 6 months) to refund the $29 - the math doesn't work for most beginning sellers, so click 'I don't want this exclusive offer' and continue.

7

Step 7: Set Up Two-Factor Authentication

7:55
Step 7: Step 7: Set Up Two-Factor Authentication

The last step is two-factor auth (2FA). Pick your delivery method: text message, phone call, or authenticator app (Authy, Google Authenticator, Microsoft Authenticator). Authenticator app is the most secure - it works even without cell service and isn't vulnerable to SIM-swap attacks.

Enter the verification code Etsy sends you, click Continue, and your shop is officially open for business. Now you can list your first product.

Tip

Before listing your first product, decide on a return policy and shipping profile. Setting these once at the shop level means you don't have to fill them in for every listing.

Your Guide

HelloCustom

As an Amazon Associate we earn from qualifying purchases. Links on this page may be affiliate links - clicking them and buying doesn't change your price, but helps support ShowMeStepByStep.

Tags

Related Tutorials