How to Applique - Easy Iron-On Method for Quilts

QuiltingEasy6:486 steps
Also in:CraftsSewing

By ShowMeStepByStepPublished Updated

Based on a video by Missouri Star.

Applique looks intimidating to new quilters. The reality is much simpler: you trace shapes onto fusible web, iron them onto fabric, cut them out, iron them onto your quilt, then sew around the edges. The Heat n Bond does most of the work.

Jenny from Missouri Star Quilt Company demonstrates the technique on a baby quilt with little sailboats. Her version uses a Robert Kaufman jelly roll for the bricks and small fabric scraps for the boats, sails, masts, and stars. Once you've done one shape, you've done them all - the technique scales to any pattern.

The whole process is more relaxing than precise. The blanket stitch at the end can be sewn by machine or by hand, in invisible thread for subtlety or in contrasting thread for a folksy outline. Either way, the applique survives the wash because the fusible web holds it down and the stitching keeps the edges from peeling.

Step-by-Step Guide

1

Pick Your Pattern and Gather Supplies

1:15
Step 1: Pick Your Pattern and Gather Supplies

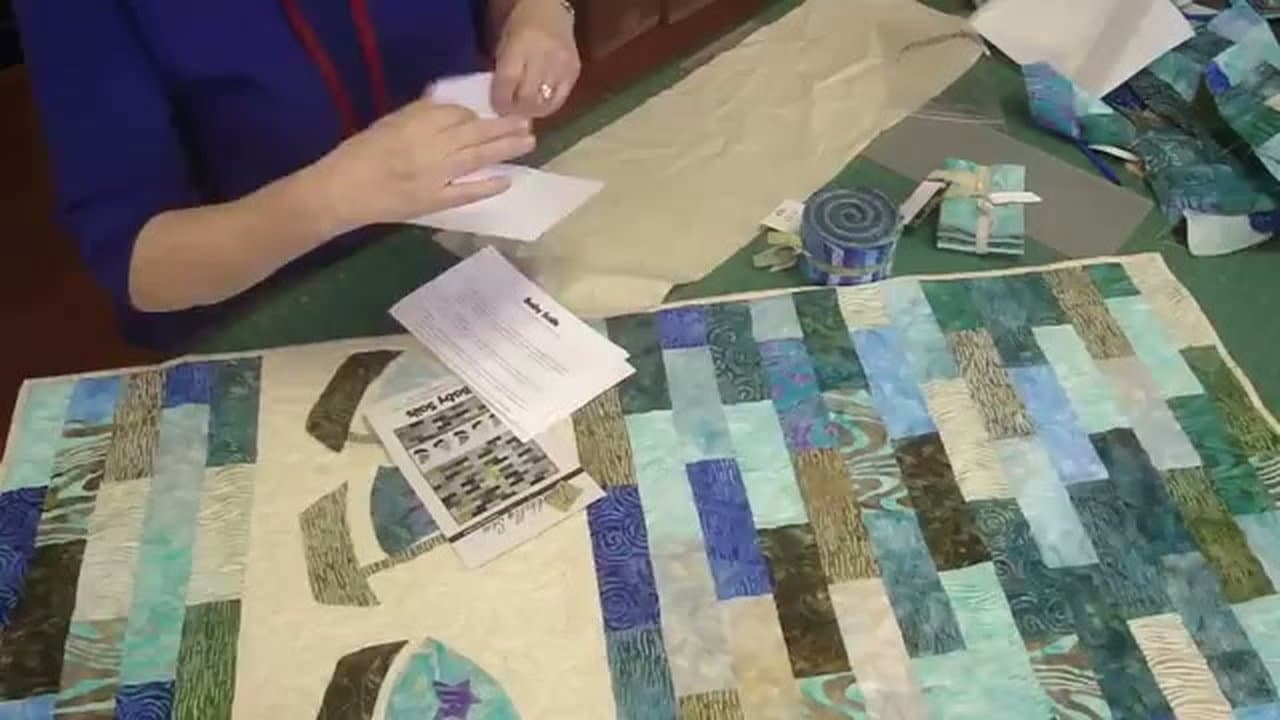
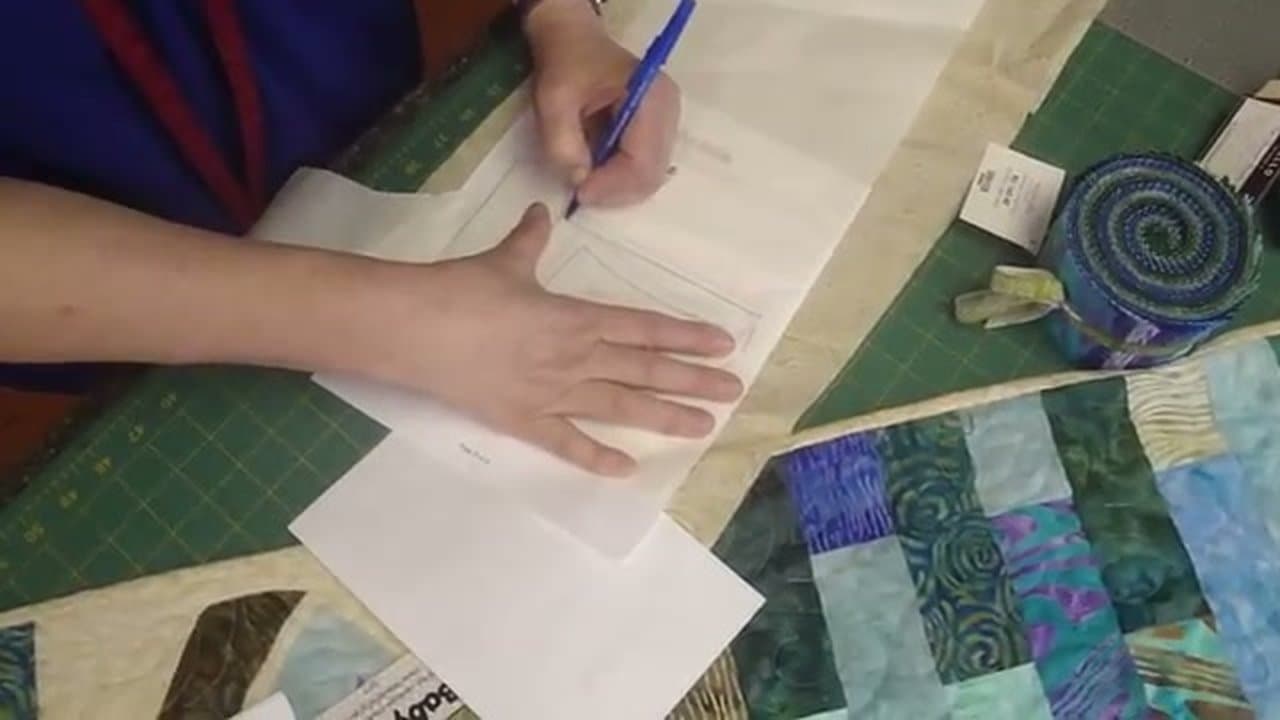
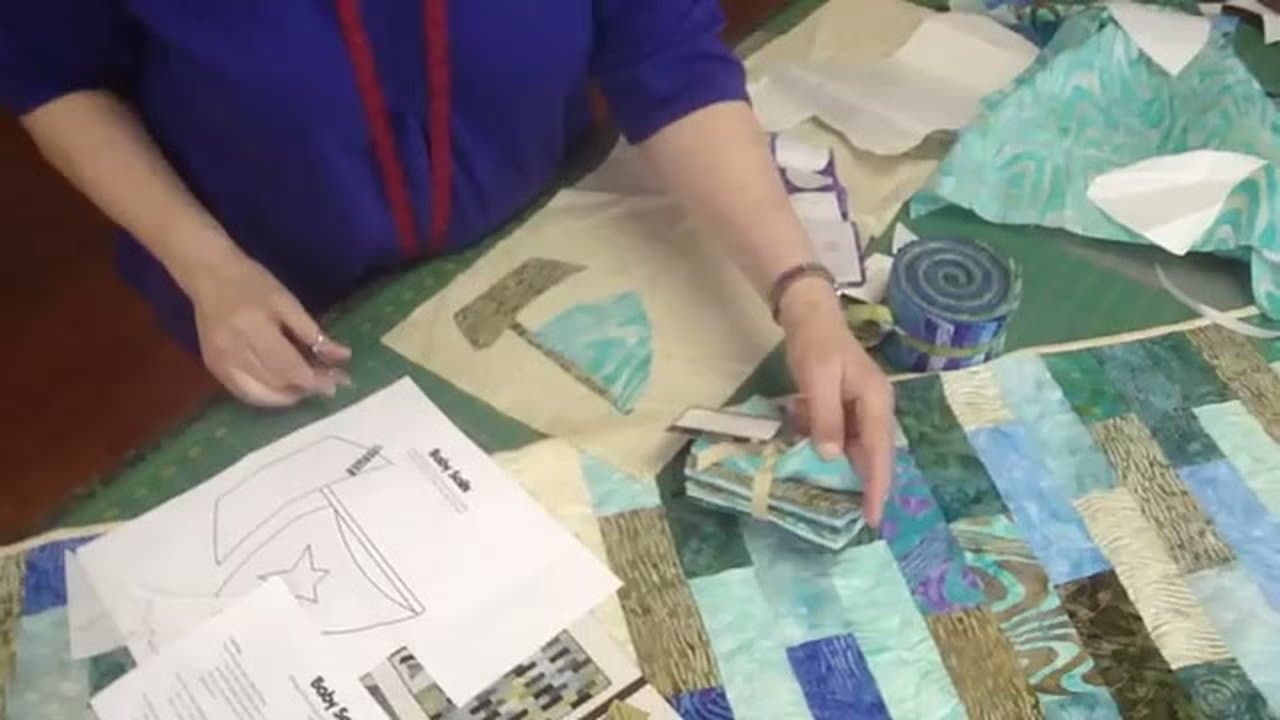
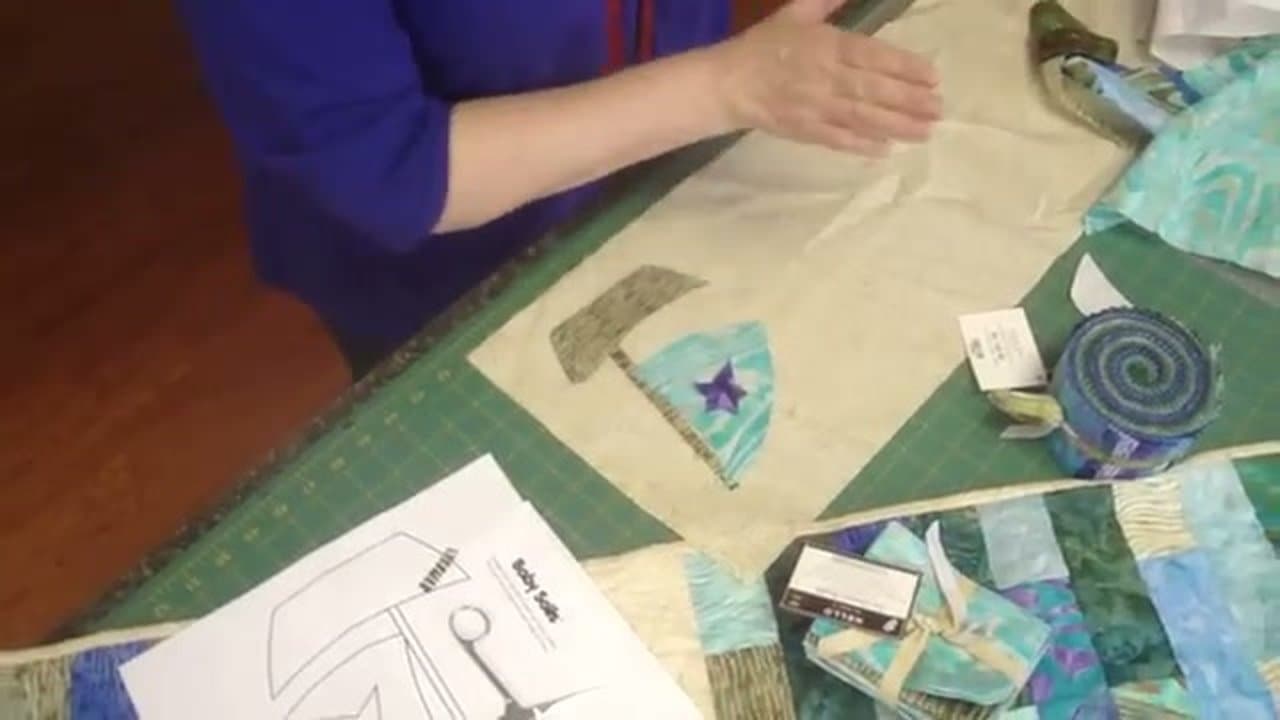
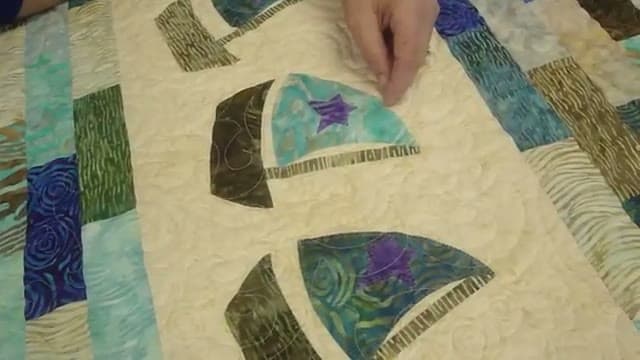
Most quilt patterns include a printable applique template page. If yours doesn't, grab any coloring book or print a clip-art shape - simple silhouettes work best for fusible applique.

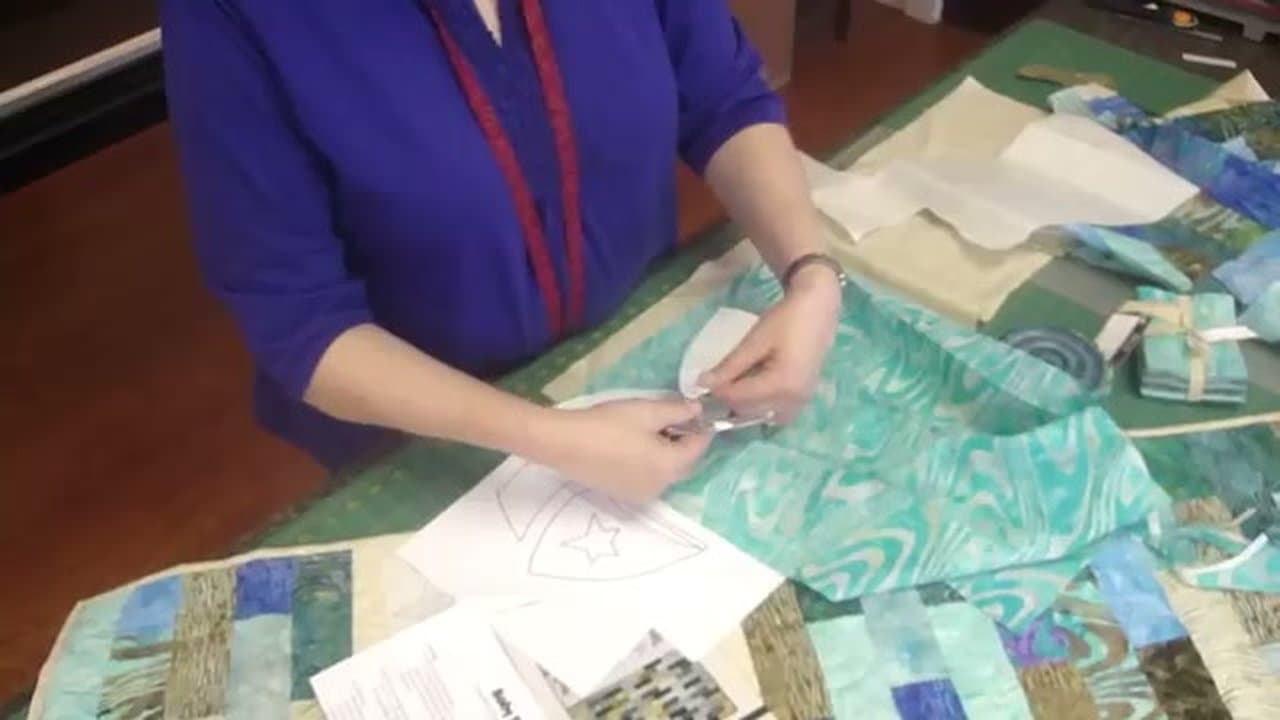
You'll need Heat n Bond (the lite version, not heavy duty - heavy is too stiff for stitching), fabric scraps, sharp scissors, and an iron. A cutting mat keeps your traced lines straight.

Tip

Save scraps from other quilt projects for applique. The shapes are usually small enough that fat-quarter leftovers go a long way.

2

Trace Shapes Onto the Heat n Bond Paper

2:10
Step 2: Trace Shapes Onto the Heat n Bond Paper

Place your pattern under a sheet of Heat n Bond, paper side up. The paper is thin enough to see through. Use a pencil to trace each shape - sailboat hull, sail, mast, star.

No seam allowance needed. The blanket stitch covers the edge, so you cut and iron exactly on the line you traced.

Tip

Pack the shapes in tight to save Heat n Bond. Jenny scoots each new shape close to the last one - over a whole quilt this saves a lot of fusible web.

3

Cut Around Each Shape

3:20
Step 3: Cut Around Each Shape

Cut around each traced shape leaving a quarter-inch margin. You don't have to be precise yet - this rough cut just makes the piece small enough to fit on a fabric scrap.

The final cut on the actual line happens after the Heat n Bond is fused to the fabric in the next step.

Tip

Group shapes by color before you cut - all the boat hulls in one stack, all the sails in another. It's faster to cut three sails at once from one piece of fabric than to dig through scraps for each.

4

Iron to Fabric, Cut on the Line, Peel Paper

4:15
Step 4: Iron to Fabric, Cut on the Line, Peel Paper

Place the Heat n Bond shape glue-side-down on the back of your fabric scrap. Iron for 4-6 seconds (medium heat, no steam). The bond fuses the paper to the fabric.

Now cut along the actual traced line with sharp scissors. Once cut, peel the paper backing off - sometimes scoring the corner with scissor tips helps the paper release. You're left with a fabric shape with sticky web on the back.

Tip

If the paper won't peel, the Heat n Bond didn't fully bond - usually because the iron wasn't hot enough or you didn't press long enough. Iron again for a few more seconds and try again.

5

Position All Pieces and Iron Them Down

5:05
Step 5: Position All Pieces and Iron Them Down

Lay every fabric piece on the quilt top before you iron anything. Slide the boat parts into place - hull at the bottom, sail above, mast across the diagonal, star floating beside.

Once everything looks right, iron each piece for 10-15 seconds. The Heat n Bond melts and fuses the applique permanently to the quilt.

Tip

Cover the applique with a thin pressing cloth before ironing if your fabric is delicate. Direct contact is fine for cottons but can scorch synthetics.

6

Sew a Blanket Stitch Around Each Edge

5:35
Step 6: Sew a Blanket Stitch Around Each Edge

Set your sewing machine to the blanket stitch (looks like a horizontal line with a small vertical tick coming off it). Sew around the outside of every applique piece, with the horizontal line just inside the fabric edge and the tick reaching out into the quilt top.

The Heat n Bond holds the applique for now, but the stitching is what survives washing. Use invisible thread to keep the stitch subtle, or contrasting thread (white on dark fabric, dark on light) for a deliberate folk-art look.

Tip

If your machine doesn't do a blanket stitch, a tight zigzag works the same way. Hand-sewn blanket stitch with embroidery floss is also a classic and looks beautiful on baby quilts.

Products Used

☐ The Checklist

How to Applique - Easy Iron-On Method for Quilts

Tools
5
Materials
5
Steps
6
Video
7 min

Your Guide

Missouri Star

As an Amazon Associate we earn from qualifying purchases. Links on this page may be affiliate links - clicking them and buying doesn't change your price, but helps support ShowMeStepByStep.

Tags

Related Tutorials