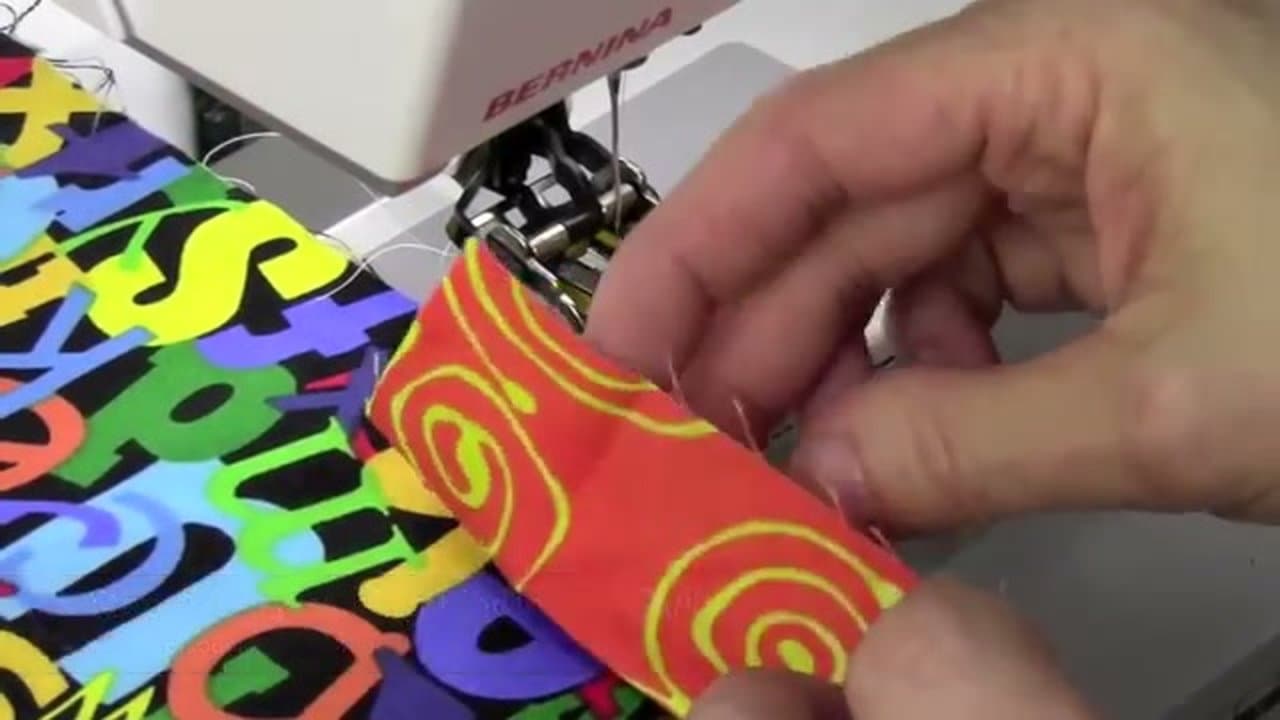
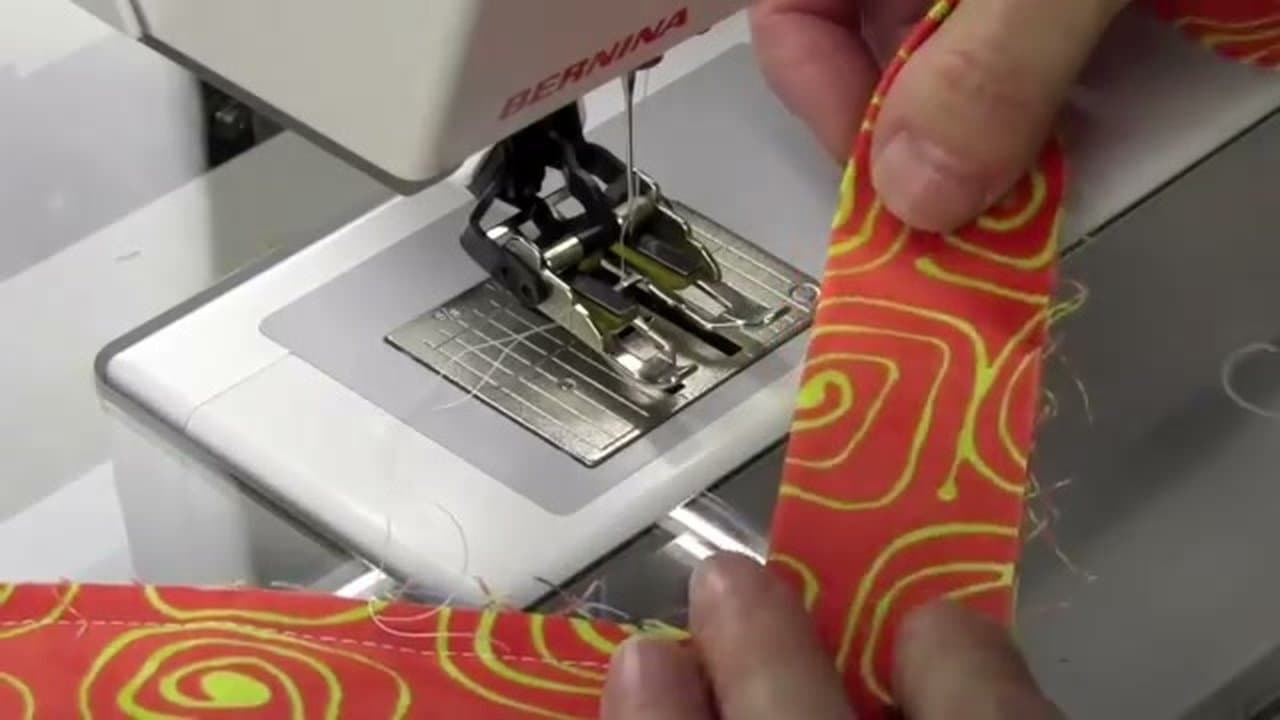
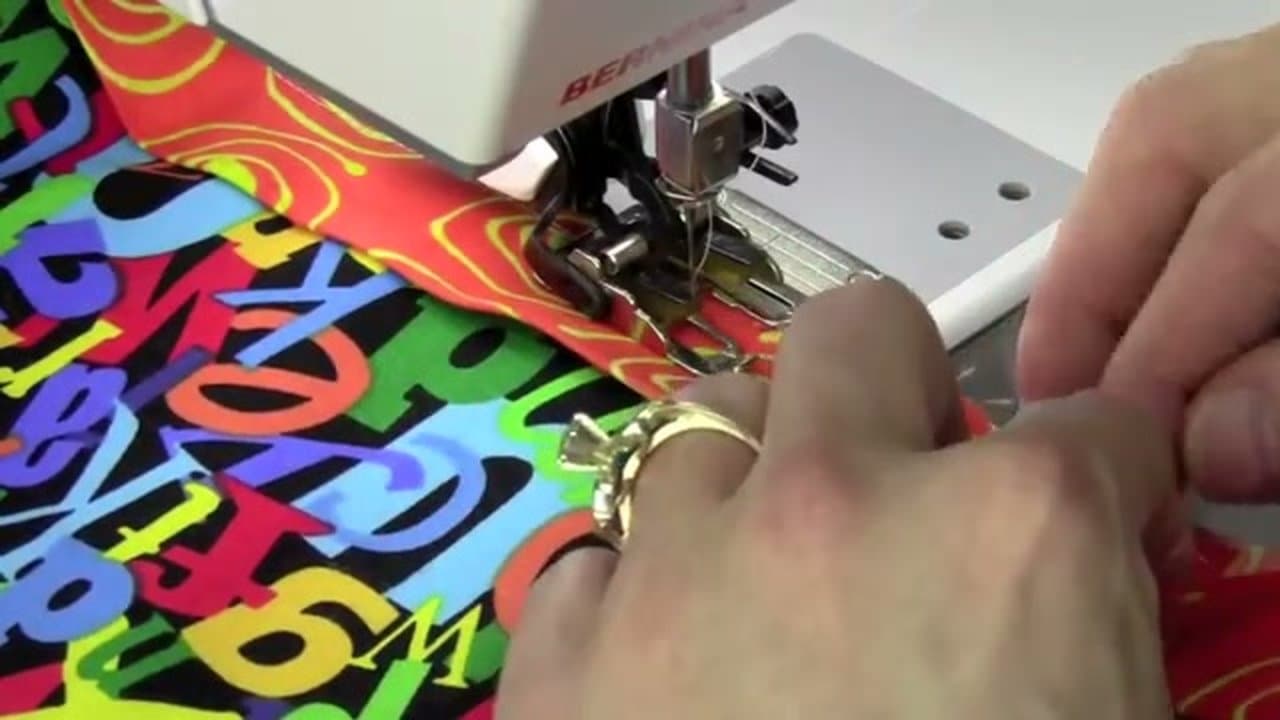
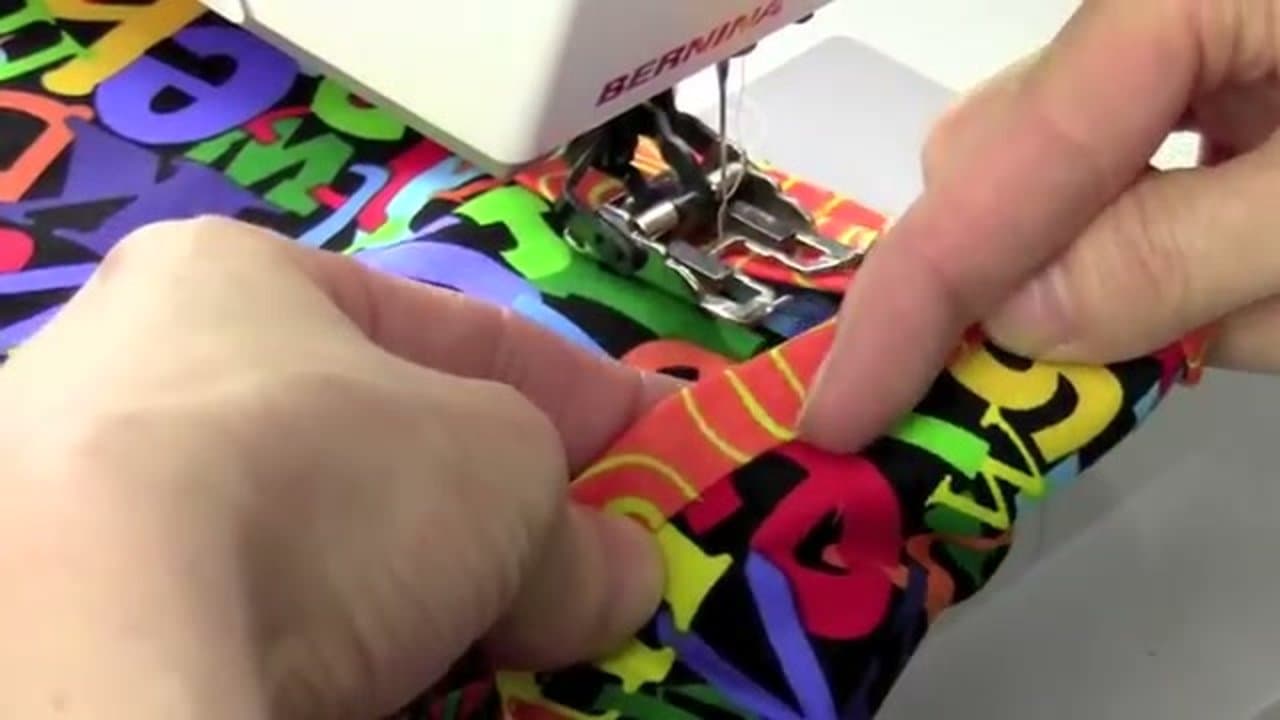
Binding is the last step that takes your finished quilt top from a project to a real quilt - it covers all those raw edges and gives the whole thing a clean, professional finish. The classic double-fold binding with mitered corners looks fancy but the technique is repeatable on every project once you've done it once.
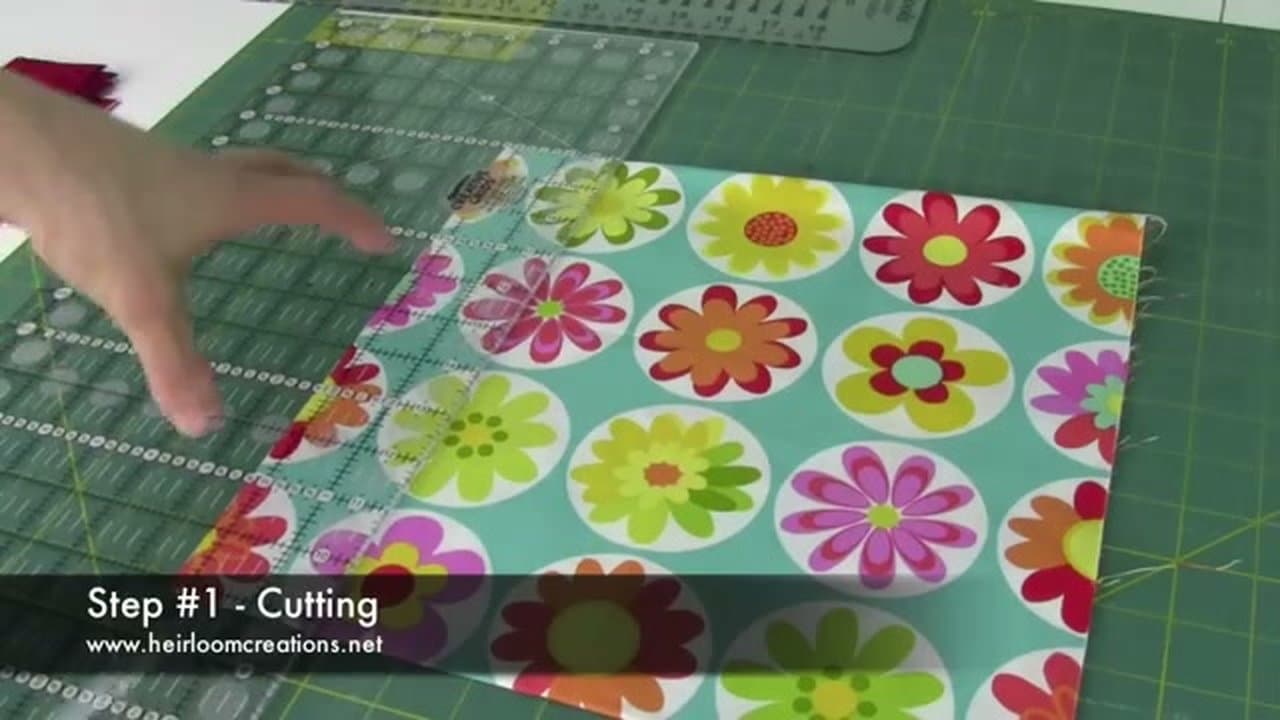
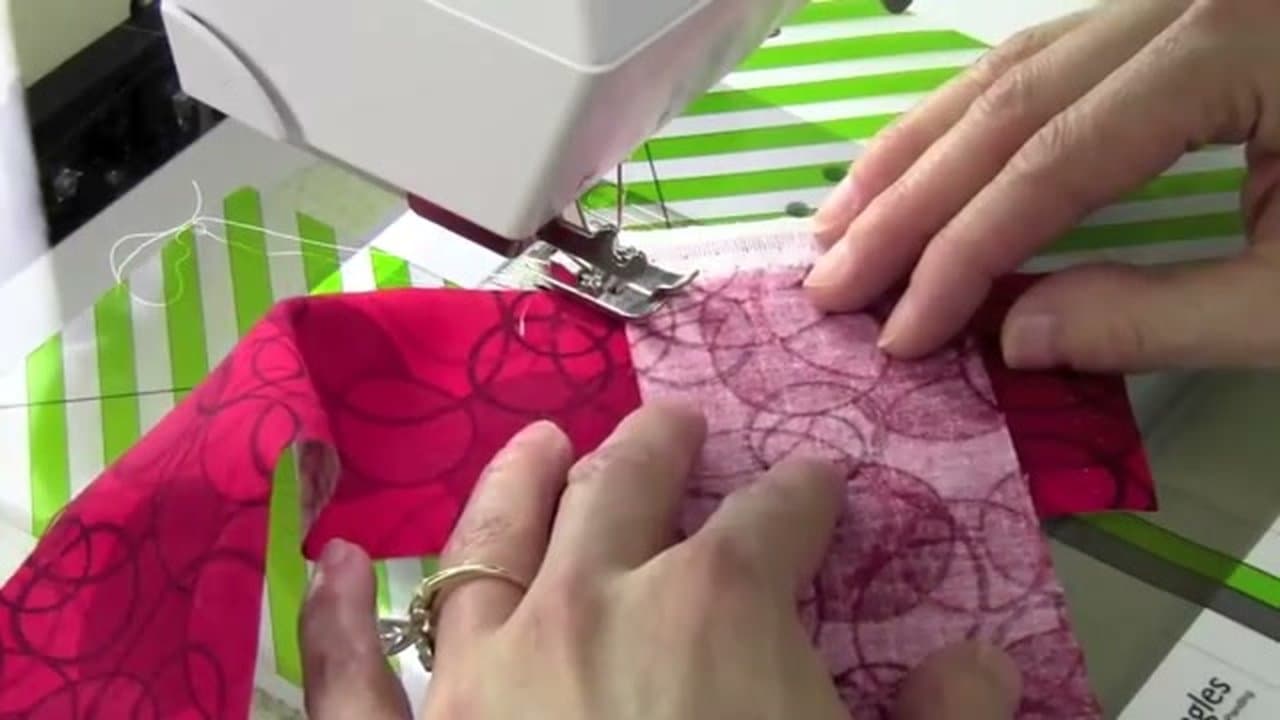
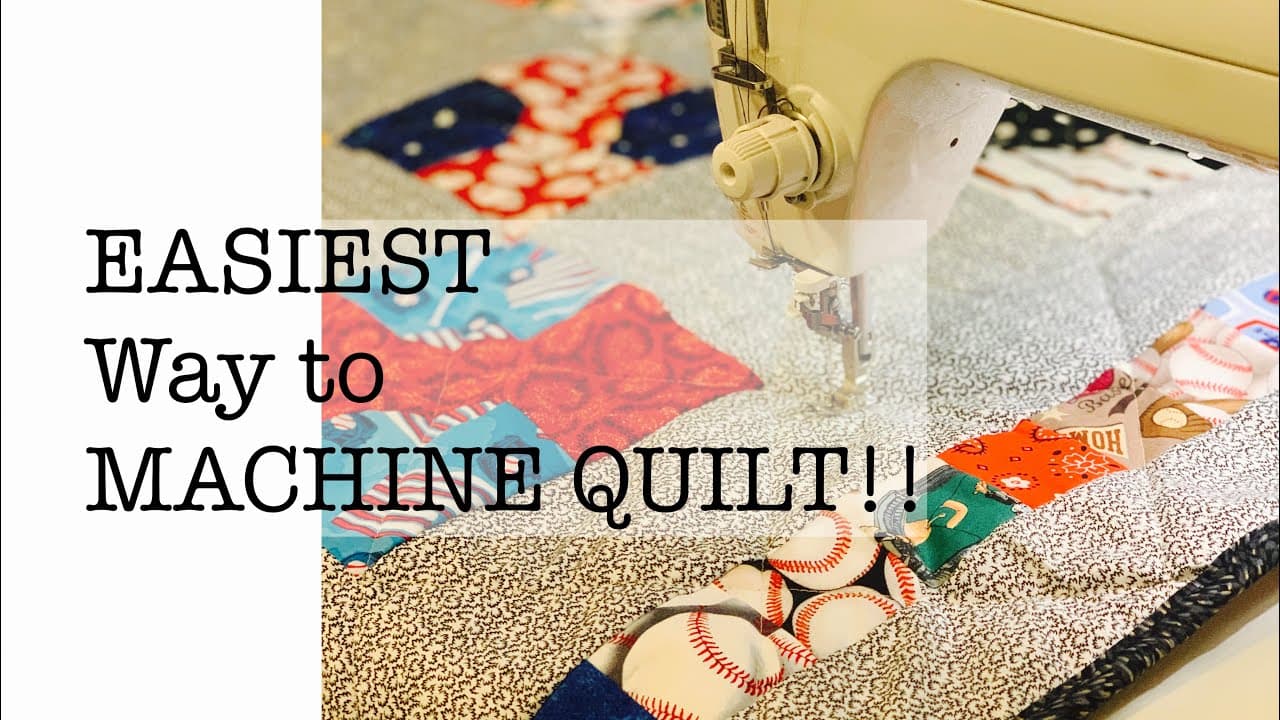
This walkthrough from Heirloom Creations breaks the binding into seven clean steps. The trickiest part is the mitered corners (step 5), but the rest is straightforward sewing once you've got the binding strip prepared. Your quilt should already be quilted and trimmed square before you start. If it isn't, see how to machine quilt first.
How much binding to cut
Add up all four sides of the quilt and add about 12 inches for the corners and the join. Divide by the usable width of your fabric (about 40 inches once the selvages are off) and round up. That's your strip count.
A worked example for a 60 x 70 inch throw: 60 + 60 + 70 + 70 = 260 inches, plus 12 is 272. Divide 272 by 40 and you get 6.8, so cut 7 strips. At 2.5 inches wide that's 17.5 inches of fabric. Buy half a yard and you have a little spare for a mis-cut.
Straight grain or bias binding?
Straight-grain strips cut selvage to selvage are what most quilters use, and they're fine for any quilt with straight edges and square corners. They use less fabric and there's no fiddly cutting.
Bias binding is cut at 45 degrees to the weave, so it stretches. That matters in two places: quilts with curved or scalloped edges, and heirloom quilts that will get years of heavy use, because the wear spreads across many threads instead of one. Plaids and stripes cut on the bias also give you a candy-cane look some people love.
Machine or hand finishing on the back
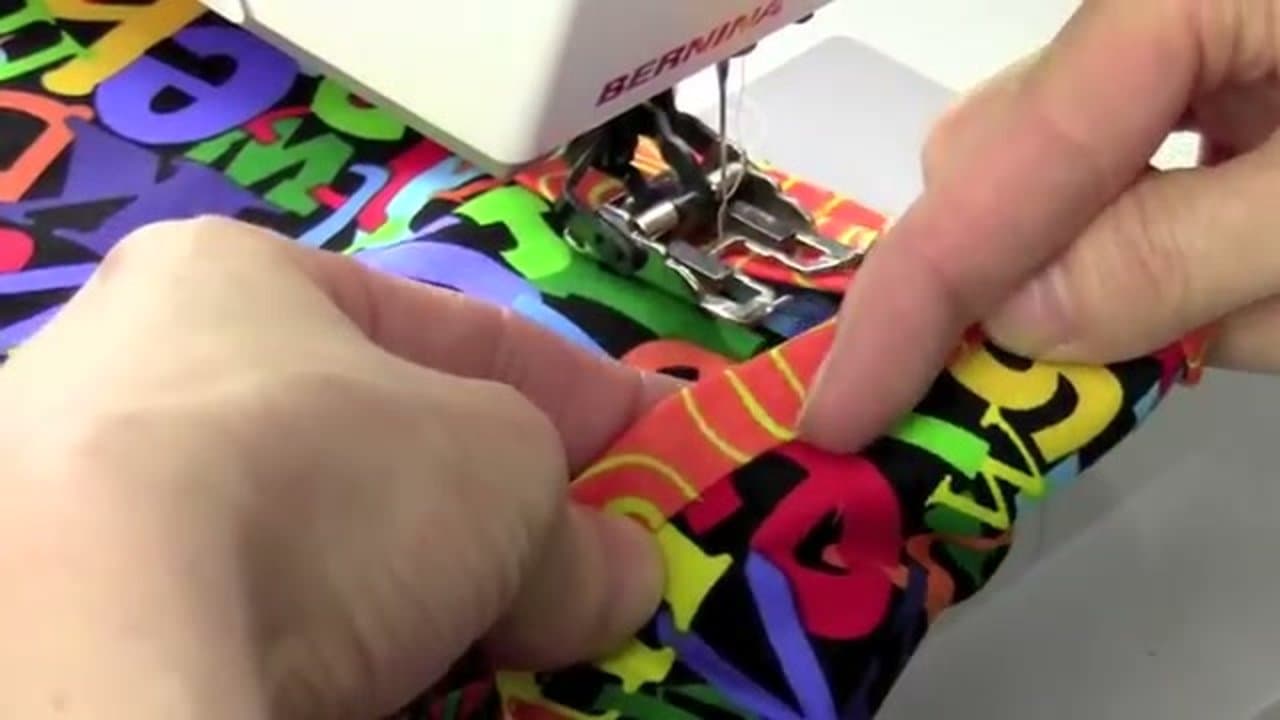
Hand stitching the fold down with a blind or ladder stitch is invisible and relaxing, but a throw takes an evening or two. Machine finishing is faster and tougher, which makes it the better pick for baby quilts and anything headed for the washer every week. The trade-off is a line of stitching that shows on one side. Clip the binding over to the back and stitch in the ditch from the front, catching the folded edge underneath.
Binding clips vs pins
Clips win for the back. They hold several layers without distorting them, they don't stab you while you hand sew, and they won't leave holes in the binding. Pins work fine for the front if that's what you have. Clip every 4 to 6 inches, plus one on each side of every corner.
Common binding mistakes
- Wavy edges. The binding was stretched as it went through the machine, or the quilt wasn't trimmed square. Let the walking foot feed it and don't pull.
- Corners that won't lie flat. You stitched past the quarter-inch stopping point, or the fold wasn't lined up with the next edge. Unpick a few stitches and refold.
- Binding too narrow to cover the stitches. The fold should just cover the machine line on the back. If it can't, cut 2.5 inch strips next time or trim the batting a touch closer.
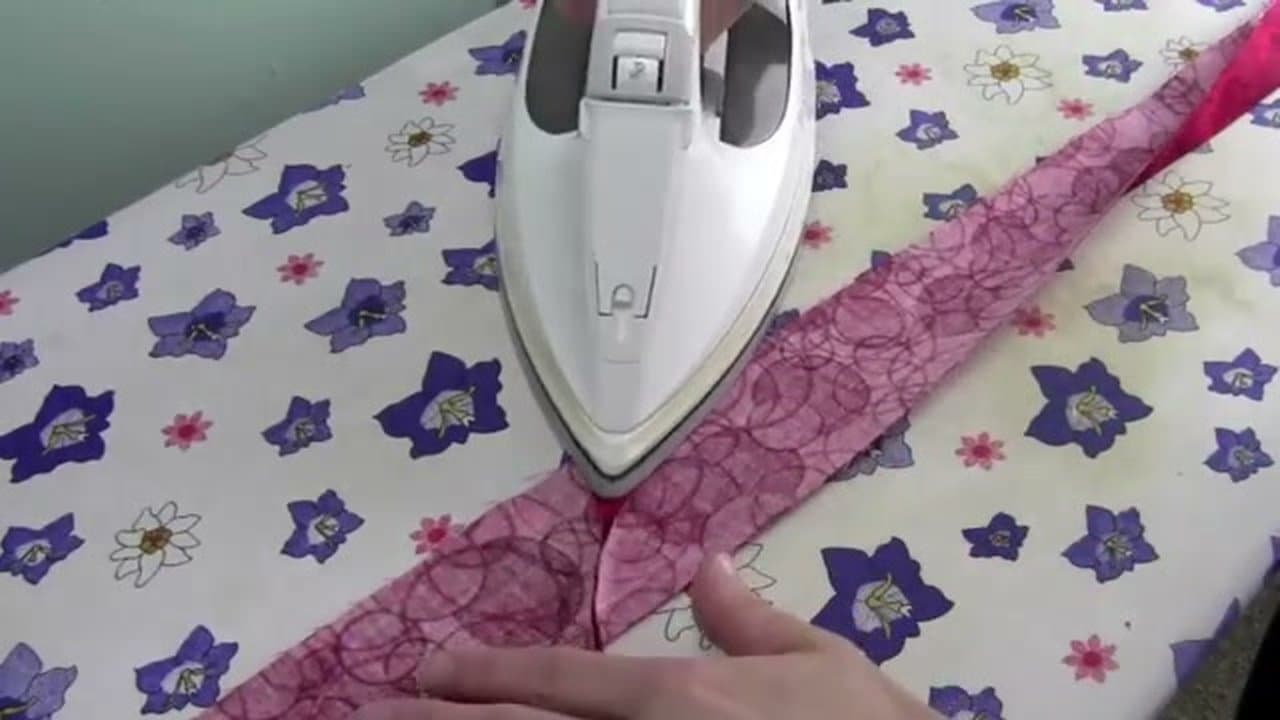
- A lump at the join. The seams were pressed to one side instead of open, or the diagonal join wasn't trimmed.
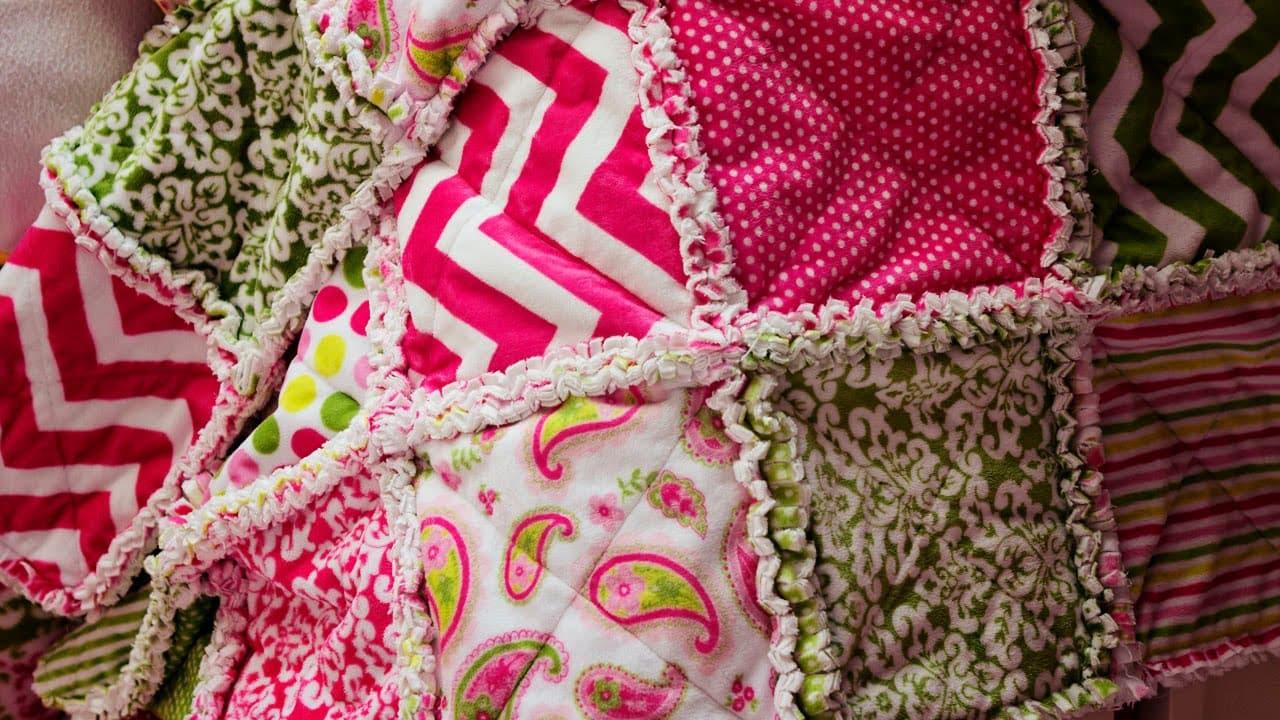
Planning more quilts? Basting a quilt and adding borders come before this step, and a rag quilt skips binding altogether.