How to Use Air Dry Clay: Magnets and Dish in 6 Steps

PotteryEasy10:426 steps
Also in:Crafts

By ShowMeStepByStepPublished Updated

Based on a video by Shayda Campbell.

Air dry clay is the easiest way to make ceramic-like pieces without a kiln. It works on a kitchen table, dries overnight, takes acrylic paint beautifully, and won't crack like the cheap dollar-store stuff if you use a quality brand like DAS.

This walkthrough from Shayda Campbell makes two beginner projects in one session - a set of round fridge magnets and a small free-form dish for paintbrushes or rings or jewelry. Same clay, same techniques, two different finished pieces.

Step-by-Step Guide

1

Step 1: Roll Out the Clay

0:50
Step 1: Step 1: Roll Out the Clay

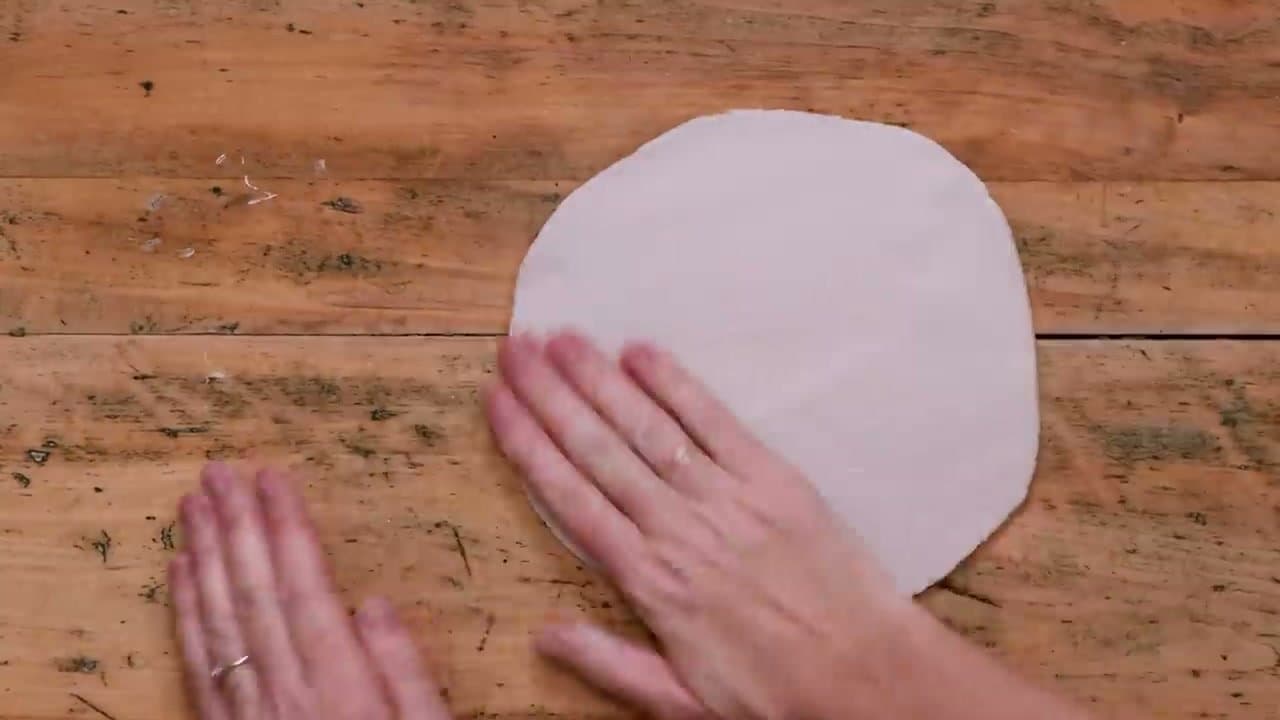
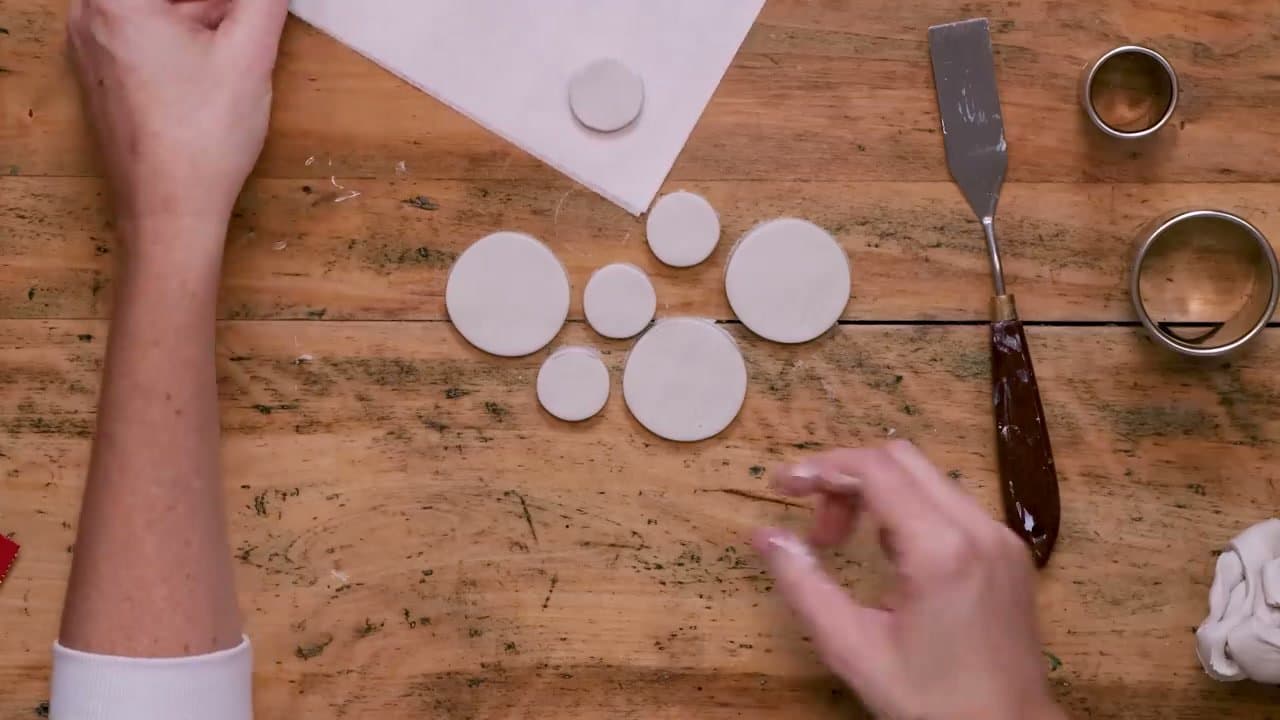
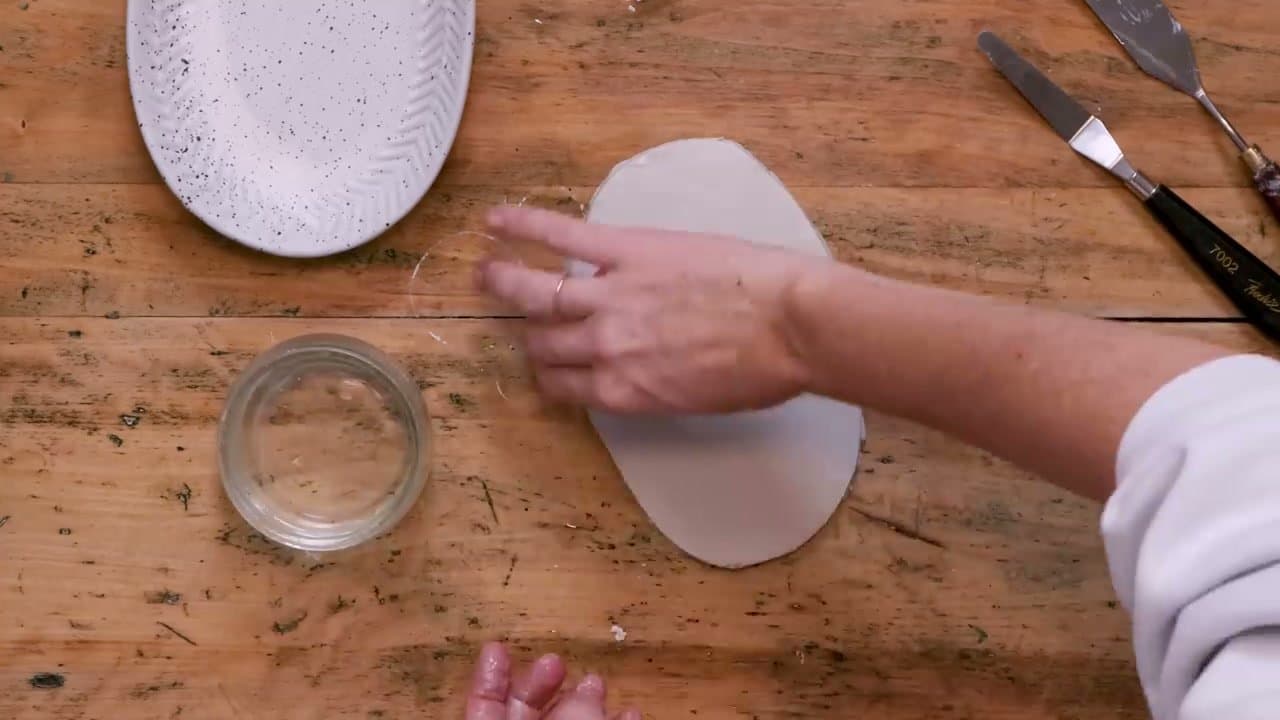
Take about half a package of clay and knead it for a minute to soften it. Place it on a clean flat surface (a non-stick mat or parchment paper underneath keeps it from sticking) and roll it out with a rolling pin.

Aim for about 1/4 inch thickness - a little less for magnets, a little more for a dish. Even thickness matters: spots that are too thin will crack as they dry.

Tip

If the clay starts sticking to the rolling pin, dust the pin with a tiny bit of cornstarch. Water makes the clay too sticky - cornstarch is the safer non-stick.

2

Step 2: Cut Shapes for Magnets

1:30
Step 2: Step 2: Cut Shapes for Magnets

Press cookie cutters through the rolled clay - round shapes work best for fridge magnets, but any shape works. Lift each shape with a palette knife or butter knife so it doesn't deform.

Pat the edges to round them and run a damp fingertip around each shape to smooth the cut edges. Sharp edges crack as they dry; smooth edges hold up.

Tip

You can use anything circular - bottle caps, the rim of a small glass, the inside of a roll of tape. No need to buy specific clay tools if you're just trying this once.

3

Step 3: Shape a Small Dish

3:50
Step 3: Step 3: Shape a Small Dish

Roll out the rest of the clay to a slightly thicker 1/4 inch. Drape it over a small upside-down bowl or push it gently into the inside of a bowl to give it a slight dish shape.

Don't try to make it perfectly round or perfectly even. The free-form, slightly imperfect shape is the look. Smooth the rim with a wet finger so it's not sharp when dry.

4

Step 4: Let Everything Dry, Then Sand

6:20
Step 4: Step 4: Let Everything Dry, Then Sand

Move all the pieces to parchment paper or a wire rack. Let them dry overnight - 24 to 48 hours depending on thickness and humidity. Don't try to speed this up with a hairdryer or oven; both cause cracking.

Once fully dry, lightly sand any rough spots with fine-grit sandpaper or a sanding sponge. The sanded surface takes paint better and feels finished in the hand.

Tip

If a piece warps slightly while drying (the dish especially), don't worry. The painted finish hides minor warps and the imperfection adds to the handmade look.

Products used in this step

5

Step 5: Paint Your Pieces

8:00
Step 5: Step 5: Paint Your Pieces

Acrylic paint works beautifully on air dry clay. Use thin coats and let each one dry before adding the next. For solid colors, paint the entire piece including the back. For decorative styles like flowers or speckles, paint a base color first then add details on top.

Once the paint is fully dry, brush on a coat of clear acrylic sealer. The sealer protects the paint from chipping and gives a slight sheen that looks professional.

6

Step 6: Add Decorative Details (and Glue Magnets)

10:20
Step 6: Step 6: Add Decorative Details (and Glue Magnets)

For a more finished look, paint decorative details on top of the base coat - little blue florals on a speckled white base reads as ceramic-like, perfect for the dish. Use a fine round brush for clean shapes.

For the magnets, glue a strong neodymium disc magnet to the back of each shape with a dab of E6000 craft glue. Press for 30 seconds, let cure for an hour, then stick to your fridge.

Tip

E6000 is permanent and stronger than hot glue or super glue for magnets. The smell is intense - work in a ventilated area.

Products Used

☐ The Checklist

How to Use Air Dry Clay: Magnets and Dish in 6 Steps

Tools
6
Materials
5
Steps
6
Video
11 min

Your Guide

Shayda Campbell

As an Amazon Associate we earn from qualifying purchases. Links on this page may be affiliate links - clicking them and buying doesn't change your price, but helps support ShowMeStepByStep.

Tags

Related Tutorials