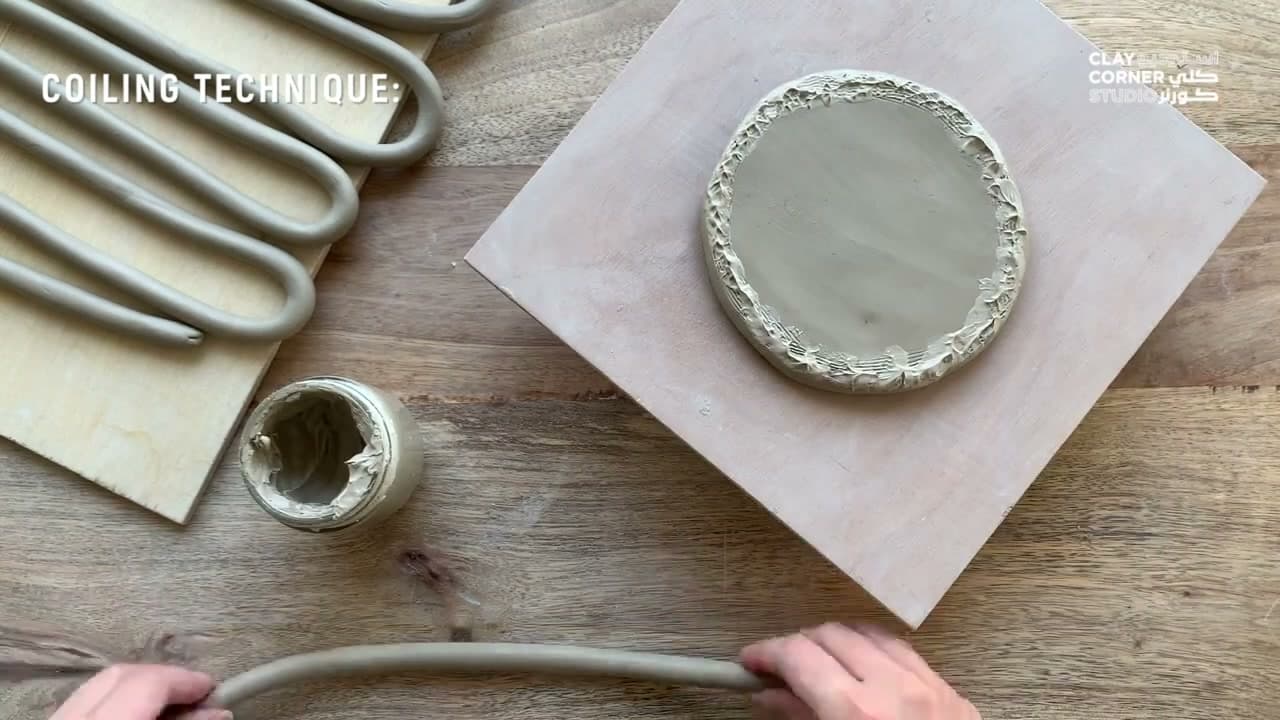
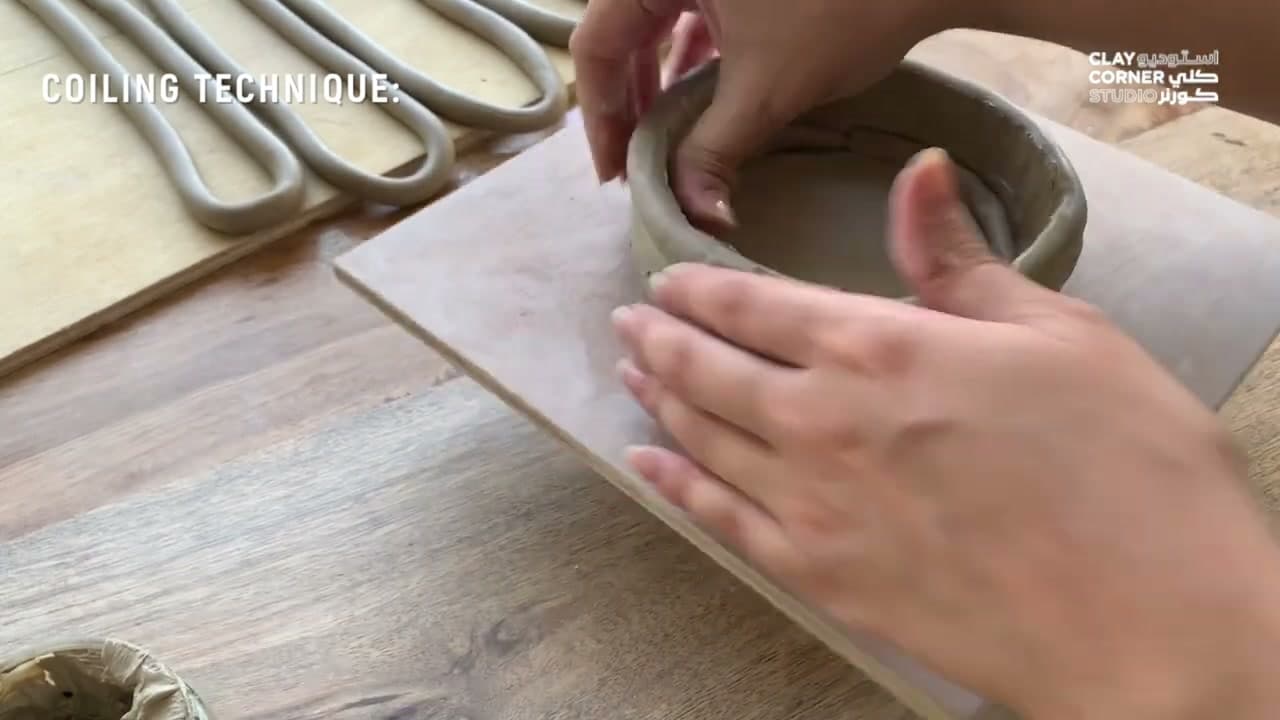
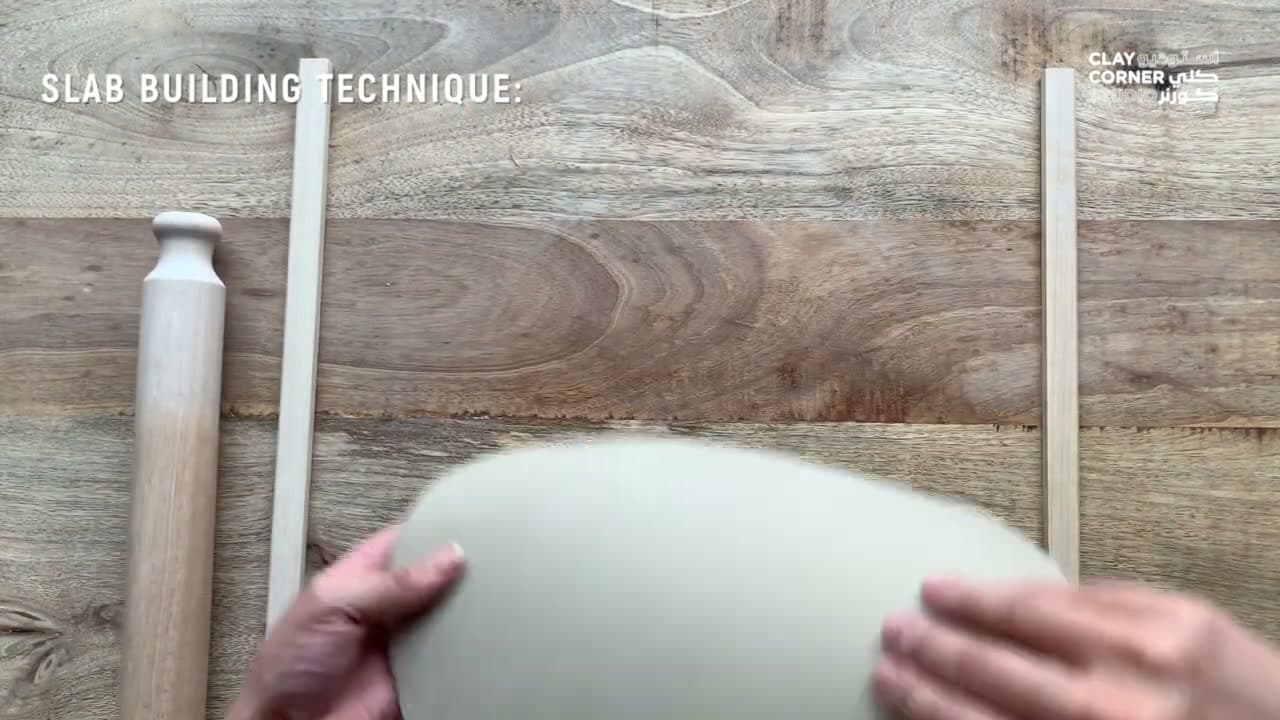
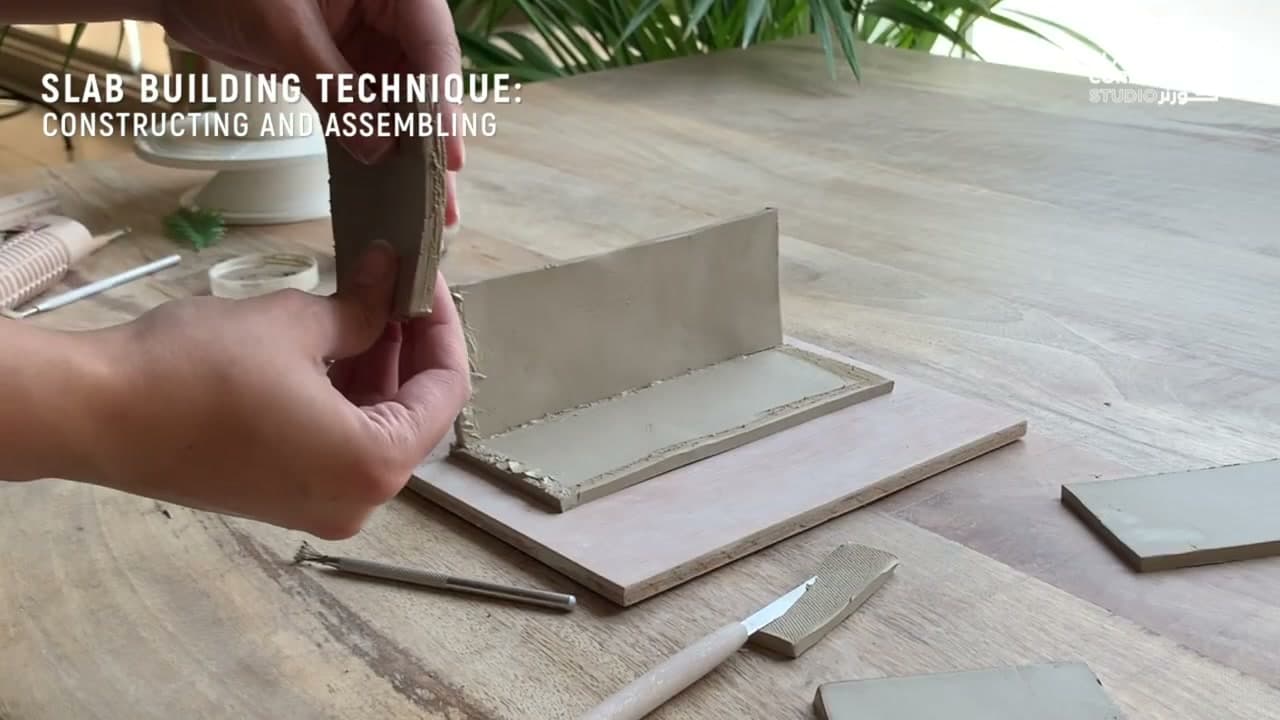
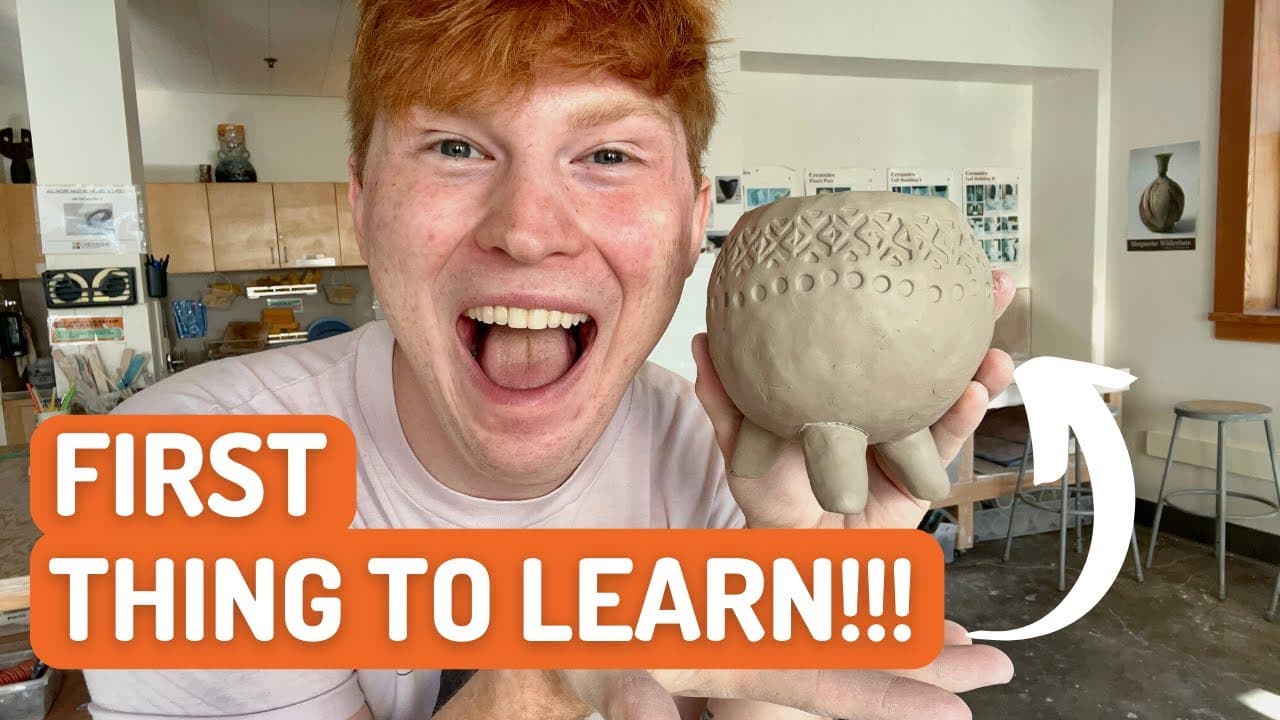
Most people think pottery requires a wheel, a kiln, and a studio. It doesn't. The three fundamental hand-building techniques - pinch pot, coiling, and slab building - have been used to make every kind of vessel, plate, and sculpture for thousands of years before wheels existed. With a block of clay and your hands, you can make almost anything.
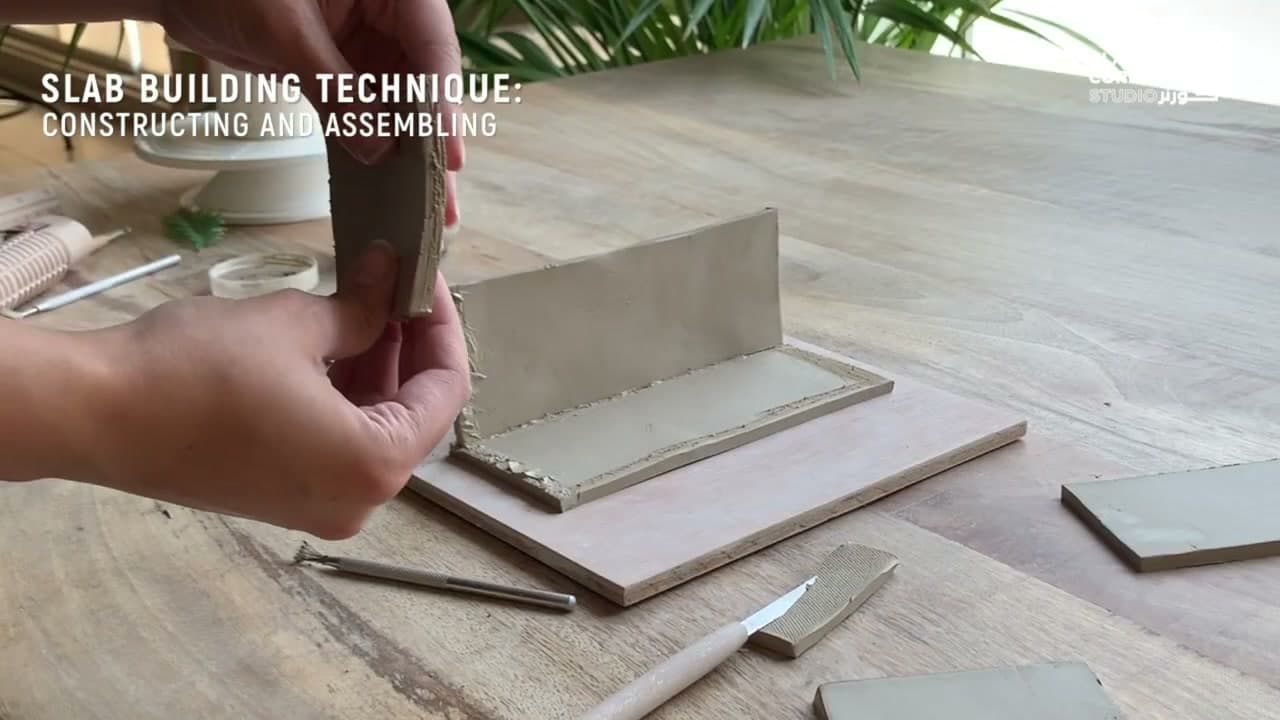
This walkthrough from Clay Corner Studio covers all three techniques in one tutorial. Once you have these moves down, you can combine them - coil rim on a pinched bowl, slab walls with a coiled handle, pinch-pot feet on a slab plate. Each technique opens a different range of forms.
Pinch, coil or slab?
| Method | Makes well | Learn it first? |
|---|
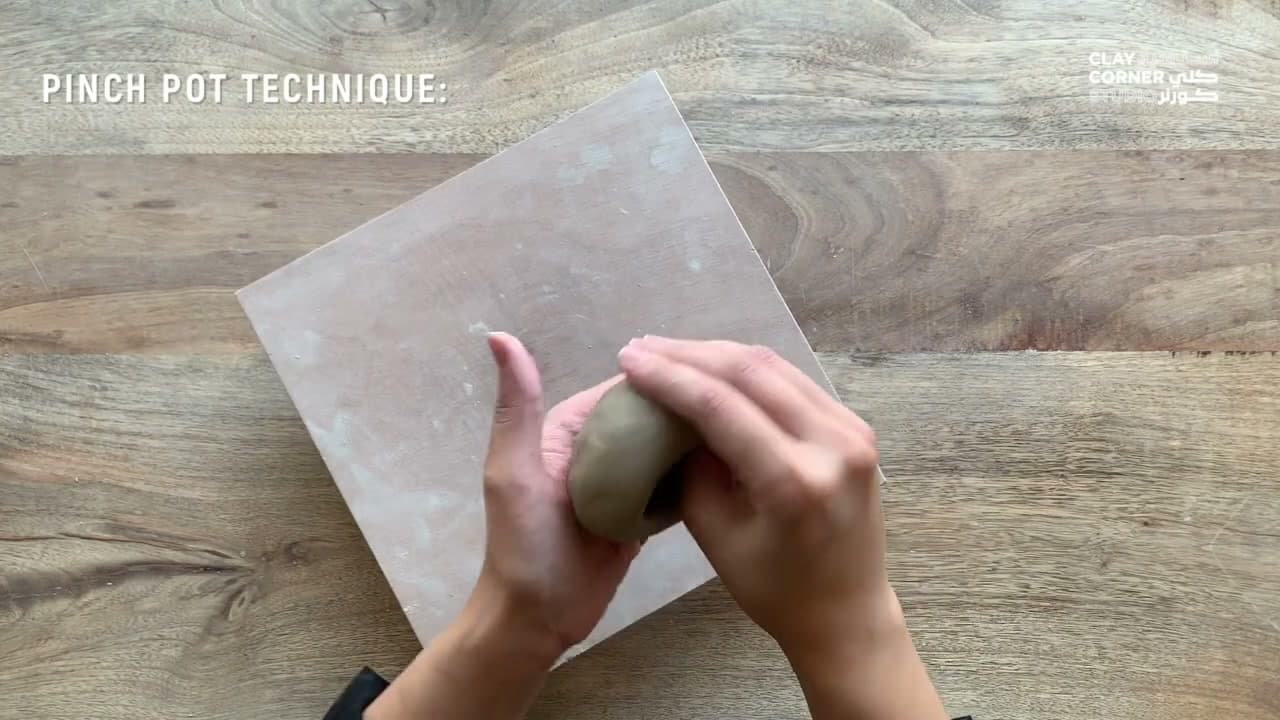
| Pinch | Small bowls, cups, ring dishes | Yes - the easiest start |
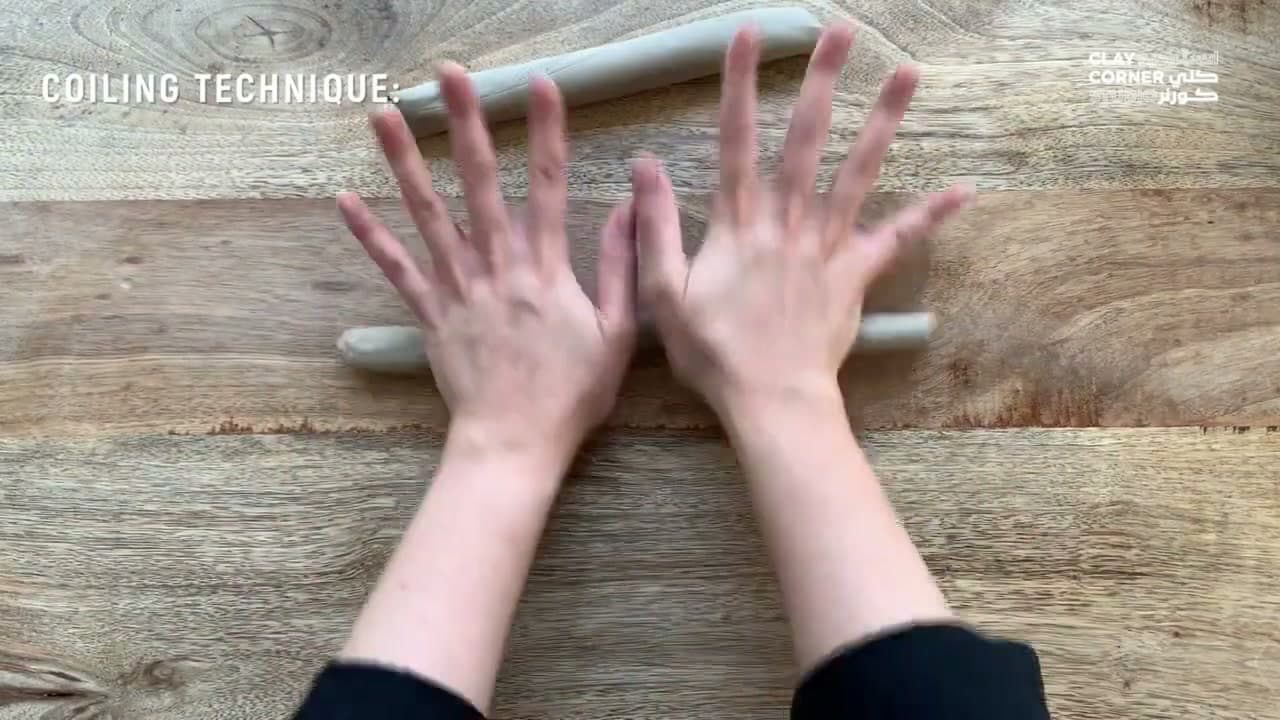
| Coil | Tall vases, round pots, curved forms | Second |
| Slab | Boxes, plates, mugs, tiles, flat sides | Once joins feel solid |
Start with a pinch pot, then try a coil pot.
Which clay to buy
Kiln clay (stoneware or earthenware) has to be fired. If you don't have a kiln, many pottery studios and community centers will fire pieces for a small fee. Fired and glazed with a food-safe glaze, it can hold food and drinks.
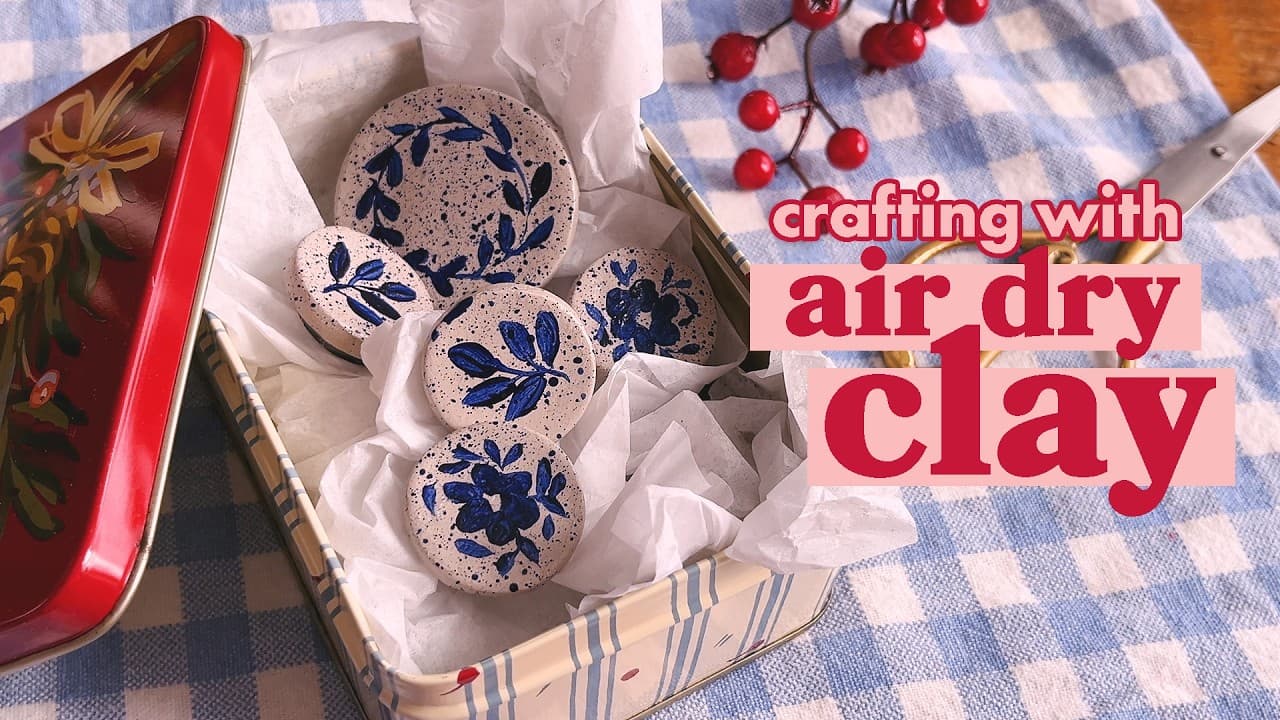
Air-dry clay hardens on its own with no firing. Good for decor, trinket dishes and ornaments. It is never food safe or waterproof, even sealed. Our guide to air-dry clay covers its quirks.
Score and slip, every time
Pressing two pieces together is not enough. Scratch both surfaces in a crosshatch, brush on slip, press together, then blend the seam with a tool or your thumb. Both pieces should be the same dampness. A soft coil on a stiff base pulls apart as it dries.
Drying without cracks
Clay shrinks as water leaves. If the rim dries faster than the base, the difference shows up as cracks. Dry slowly: drape the piece loosely in plastic for the first few days, then open it up. Turn it so the bottom dries too. Thin parts like handles and rims dry first, so cover them with a small strip of plastic.
What happens next
Kiln clay goes through a bisque firing once bone dry, then glaze, then a second glaze firing. Air-dry clay is done once dry (usually 24-72 hours). Sand it, paint it with acrylic, and seal it with varnish.
Common mistakes
- Uneven walls. Thick spots dry slower and crack. Aim for about a quarter inch all round.
- Joins cracking. Skipped scoring, or pieces at different dampness. Re-score and slip.
- Drying too fast. Sun, heaters and fans crack pieces. Slow is safer.
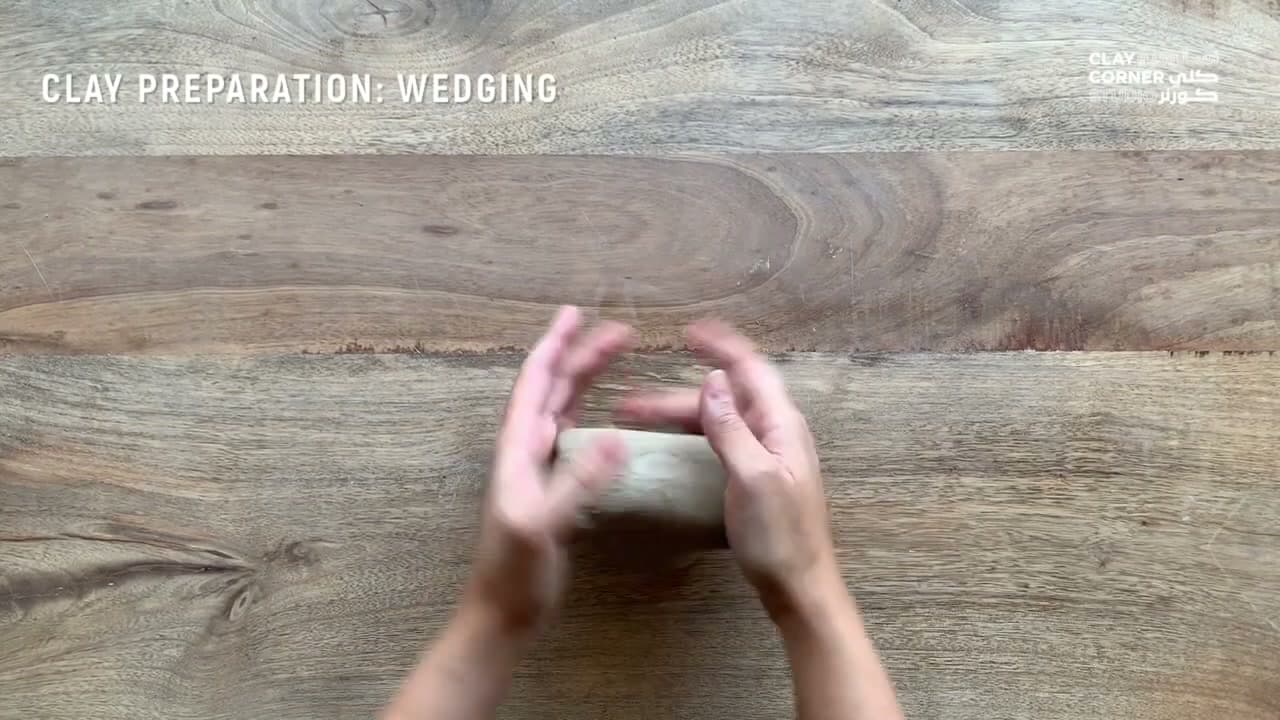
- Trapped air. Wedge first, as step 1 shows.
Polymer clay is a different material that cures in a home oven - if that's what you have, see how to bake polymer clay.