How to Make a Clay Spoon Rest

PotteryMedium8:449 stepsPart of Crafting for BeginnersBrowse more →
The finished result: How to Make a Clay Spoon Rest

By Show Me Step by StepPublished

Based on a video by Jonthepotter.

A clay spoon rest is one of the fastest things you can throw on a pottery wheel. It is a small, shallow dish with a low rim and one flat side where the spoon handle lies. Jon the Potter shows how he makes them in about two minutes each from half a pound of clay, then speeds through one in under thirty seconds. They make great gifts and a good first project once you can center.

How to make a clay spoon rest: the short version

  • Weigh out about 8 ounces of clay per spoon rest.
  • Center it on a bat, then press it flat with the edge of your hand.
  • Pull the floor out and lift a low rim.
  • Draw a spiral in the floor and press one side down flat.
  • Dry it on the bat overnight, trim, bisque fire, glaze and fire again.

What you need

Stoneware clay (Jon uses buff stoneware), a kitchen scale, a pottery wheel, a few bats, a sponge and basic pottery tools. You also need glaze and access to a kiln. Many community studios and pottery classes fire student work for a small fee, so you do not need your own kiln.

Why throw on a bat

A spoon rest is wide and only half an inch to three quarters of an inch thick. If you cut it off the wheel head while wet, it warps or tears. Throwing on a bat lets you lift the whole thing off and leave it overnight. As it dries it shrinks and pops loose by itself, ready to trim the next day.

No wheel? Hand build one

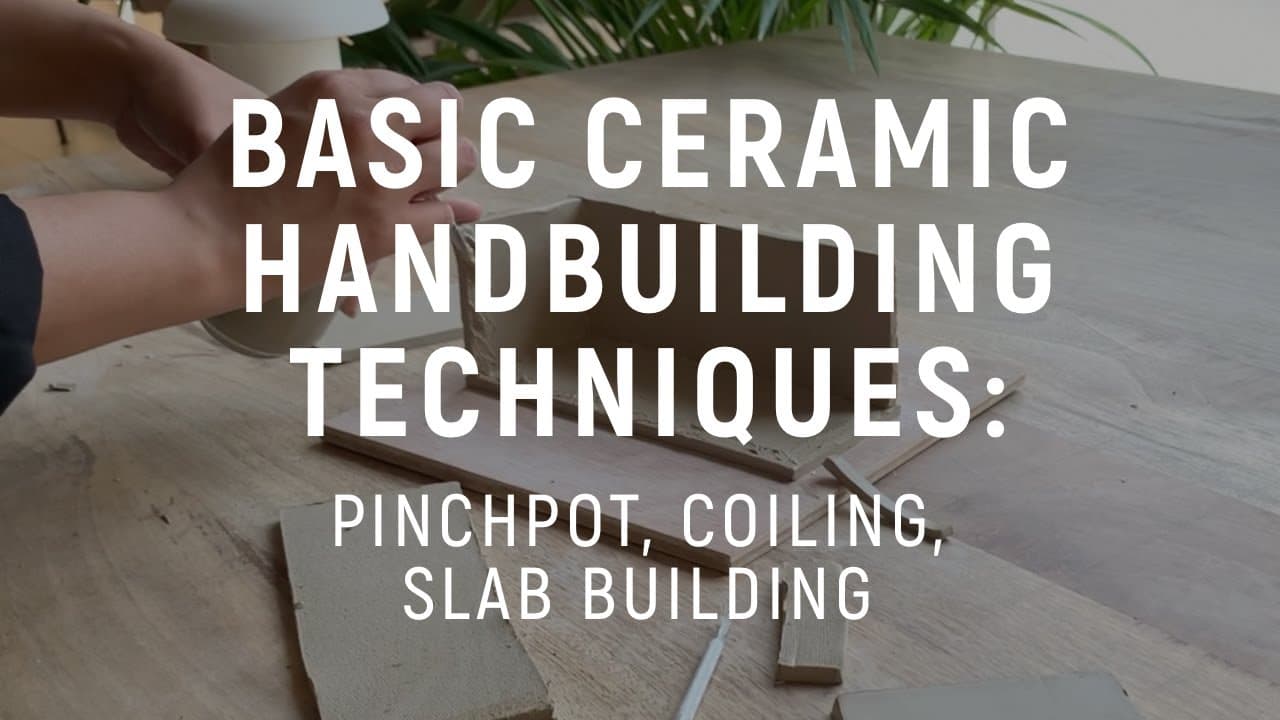
You can make a spoon rest without a wheel. Roll a slab about a quarter inch thick, cut an oval with a spoon shaped tab, then lift the edges over a soft support. Our guide to making a slab pottery dish covers the method. A large pinch pot pressed flat on one side also works. See how to hand build pottery for the basics.

Design ideas

  • A spiral, like Jon's, which catches glaze and shows off two colors.
  • Stamped leaves, initials or a short word in the floor.
  • A wavy rim pinched with two fingers.
  • A matched set of four in different glazes for a gift basket.

Drying, trimming and firing

Let each spoon rest firm up on its bat overnight until it is leather hard. Flip it over, trim a little clay off the bottom so it sits flat, and soften the edge with a damp sponge. Then let it dry fully for a few days before the first, or bisque, firing. Flat pieces dry fastest at the rim, so loose plastic over the top slows the edge down and keeps it from cracking.

Glazing a spoon rest

Jon keeps it simple with a two glaze dip. Dip one side of the bisqueware in the first glaze, then dip the other side in a second glaze so the two overlap in the middle. The overlap often makes a third color. Use a food safe glaze, since spoons go straight back into the pot.

Common problems

  • Cracks in the floor. Compress the floor with a sponge or rib while it spins.
  • Rim too thin. Leave a little extra clay at the edge before you pull it up.
  • Spoon slides off. Make the flat side wider and lower.

Ready for something deeper? Try a clay bowl next.

What you'll need

Step-by-Step Guide

9 steps · about 9 minutes.Check off each step as you go and your progress saves automatically.

1

Weigh Half Pound Balls of Clay for Each Spoon Rest

1:40
Step 1: Weigh Half Pound Balls of Clay for Each Spoon Rest - How to Make a Clay Spoon Rest

Cut your clay into pieces of about half a pound, or 8 ounces, each. A kitchen scale keeps them the same size, so a set of spoon rests matches. Roll each piece into a ball between your palms. Jon does not wedge pieces this small; he only wedges clay over about a pound and a half. Make a few at once, because they go fast.

Tip

Cover the balls with plastic so they stay soft while you work.

2

Throw the Clay Ball Onto the Center of a Bat

2:11
Step 2: Throw the Clay Ball Onto the Center of a Bat - How to Make a Clay Spoon Rest

Attach a bat to your wheel head. This matters for spoon rests, since you will lift the whole bat off and let the piece dry on it. Wet the bat lightly with your hand. Then throw the clay ball down hard, right in the center, so it sticks firmly. A good throw makes centering much easier.

Tip

Have several bats ready so you can make a batch in one sitting.

3

Cone the Clay Up and Down to Center It

2:25
Step 3: Cone the Clay Up and Down to Center It - How to Make a Clay Spoon Rest

Start the wheel spinning at a good speed and wet your hands. Squeeze the clay inward so it rises into a tall cone, then press it back down into a mound. Do this once or twice. Coning helps when you skip wedging, because it lines up the clay and pushes out air. When your hands stop wobbling, the clay is centered.

Tip

Brace your elbows on your legs or the splash pan for steady hands.

4

Press the Edge of Your Hand Into the Clay Mound

2:59
Step 4: Press the Edge of Your Hand Into the Clay Mound - How to Make a Clay Spoon Rest

Hold one hand steady on the clay as a guide. Press the outer edge of your other hand, the pinky side, down into the center of the spinning mound. Your hand edge makes a shallow V, deeper in the middle and tapering out. Keep the clay wet and press down until the base is about half an inch to three quarters of an inch thick.

Tip

Press slowly and keep your hand still; let the wheel do the work.

5

Pull the Spoon Rest Floor Out With a Finger

3:03
Step 5: Pull the Spoon Rest Floor Out With a Finger - How to Make a Clay Spoon Rest

With the wheel still spinning, put a fingertip in the center and drag it outward to widen the flat floor. Stop when the dish looks about the size you want, leaving a small ridge of clay at the outer edge. That leftover clay becomes the rim in the next step, so do not thin it out. Spoon rests are usually 4 to 5 inches across.

Tip

Run a damp sponge over the floor to compress it and prevent cracks.

6

Lift a Low Rim Around the Spoon Rest

3:25
Step 6: Lift a Low Rim Around the Spoon Rest - How to Make a Clay Spoon Rest

Pinch the ridge of clay at the edge between your fingers and gently pull it up into a low wall. Jon likes using a sponge for this because it holds more water, so the clay stays slick. Smooth the inside with the sponge as well. Knock down any sharp edges along the top so the rim feels soft and rounded.

Tip

Keep the rim low; a tall wall makes it hard to set a spoon down.

7

Draw a Spiral Into the Spoon Rest Floor

3:54
Step 7: Draw a Spiral Into the Spoon Rest Floor - How to Make a Clay Spoon Rest

Now add any design you like. Jon puts a fingertip in the center of the spinning floor and slowly moves it outward to draw a spiral groove. It takes a few seconds. The spiral looks great once glazed, because glaze pools in the grooves and breaks over the ridges. A wooden tool or a comb gives a crisper line.

Tip

Move your finger at a steady pace for evenly spaced rings.

8

Press Down One Side to Make the Spoon Handle Rest

4:14
Step 8: Press Down One Side to Make the Spoon Handle Rest - How to Make a Clay Spoon Rest

Stop the wheel. This step turns a little plate into a spoon rest. Press down on one side of the rim with your fingers and rock back and forth to flatten it into a low notch. That is where the spoon handle will lie. Push the rim up a little on either side of the notch to make it stand out.

Tip

Test the notch with a real wooden spoon before the clay firms up.

9

Leave the Clay Spoon Rest on the Bat to Dry

4:22
Step 9: Leave the Clay Spoon Rest on the Bat to Dry - How to Make a Clay Spoon Rest

Lift the bat off the wheel with the spoon rest still on it. You can cut it free with a wire now, but Jon leaves it overnight. As it dries it shrinks and pops loose by itself. Trim the bottom lightly the next day, let it dry fully, and bisque fire it. Then glaze it and fire again.

Tip

Dry slowly under loose plastic so the thin edge does not crack.

How to Make a Marbled Polymer Clay Dish With Gold Leaf Edge

Keep going

How to Make a Marbled Polymer Clay Dish With Gold Leaf Edge

Products Used

The Checklist

How to Make a Clay Spoon Rest

Tools
7
Materials
2
Steps
9
Video
9 min

Tools we recommend

Your Guide

Jonthepotter

As an Amazon Associate we earn from qualifying purchases. Links on this page may be affiliate links - clicking them and buying doesn't change your price, but helps support Show Me Step by Step.

Tags

Sunday How-To

New pottery tutorials, every Sunday

One short email with the week's best step-by-step guides. Free, no spam, unsubscribe anytime.

Did this work for you?

What's next

Weekly Digest

Liked this pottery tutorial?

Pick the categories you want to hear about. Weekly digest of new step-by-step tutorials. No spam, easy unsubscribe.

Send me tutorials about

We only email about new tutorials. Easy unsubscribe anytime.