How to Set Up a Fish Tank

PetsEasy10:048 stepsBrowse more →

By ShowMeStepByStepPublished

Based on a video by Big Al's.

Setting up your first fish tank looks like a lot, but it breaks down into a handful of simple steps. In this walkthrough, Thomas from Big Al's takes an empty glass tank and turns it into a planted, running freshwater aquarium that's ready for fish.

You'll rinse and add gravel, arrange plants and a centerpiece decoration, hang the power filter, drop in a heater, and set up an air pump for bubbles. Then you fill it, add water conditioner, and let it cycle. Take your time and the fish part comes later.

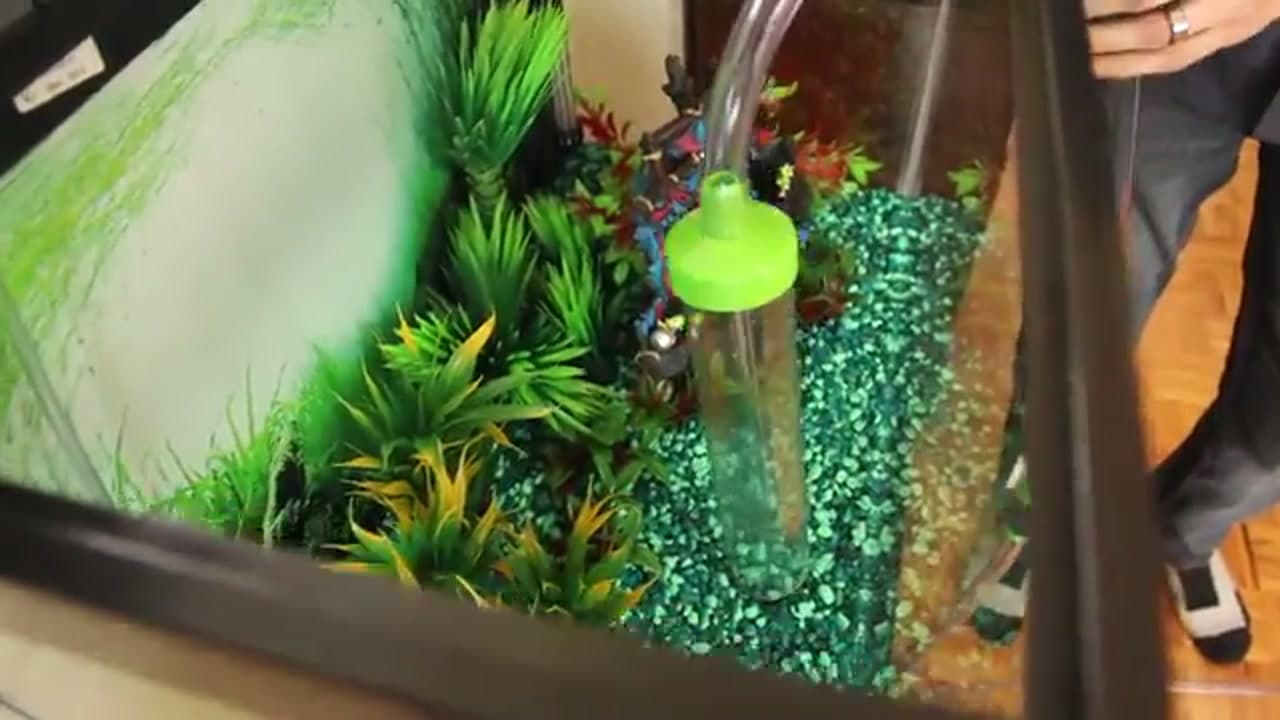
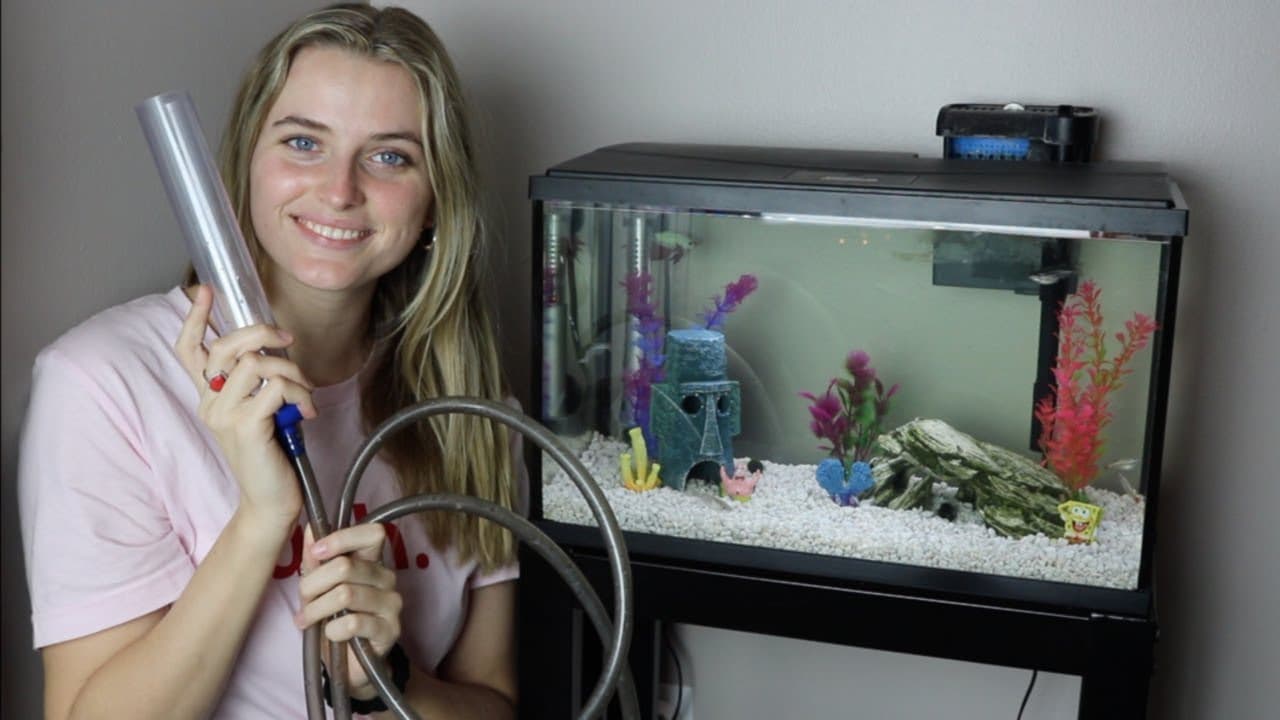
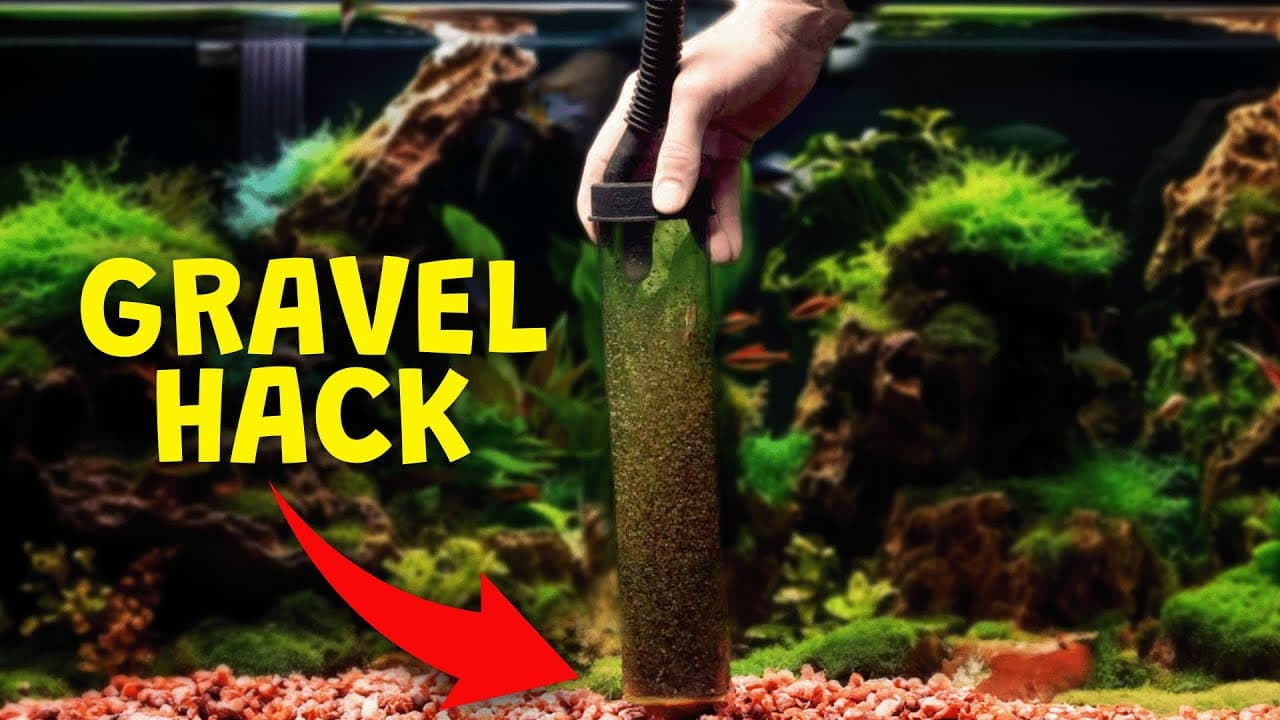
Once it's running, a little upkeep keeps it healthy. When the glass or water gets murky, here's how to keep it clean, and every so often you'll want to clean the gravel to pull out the gunk that settles at the bottom.

Step-by-Step Guide

1

Rinse the Tank and Add the Background

2:25
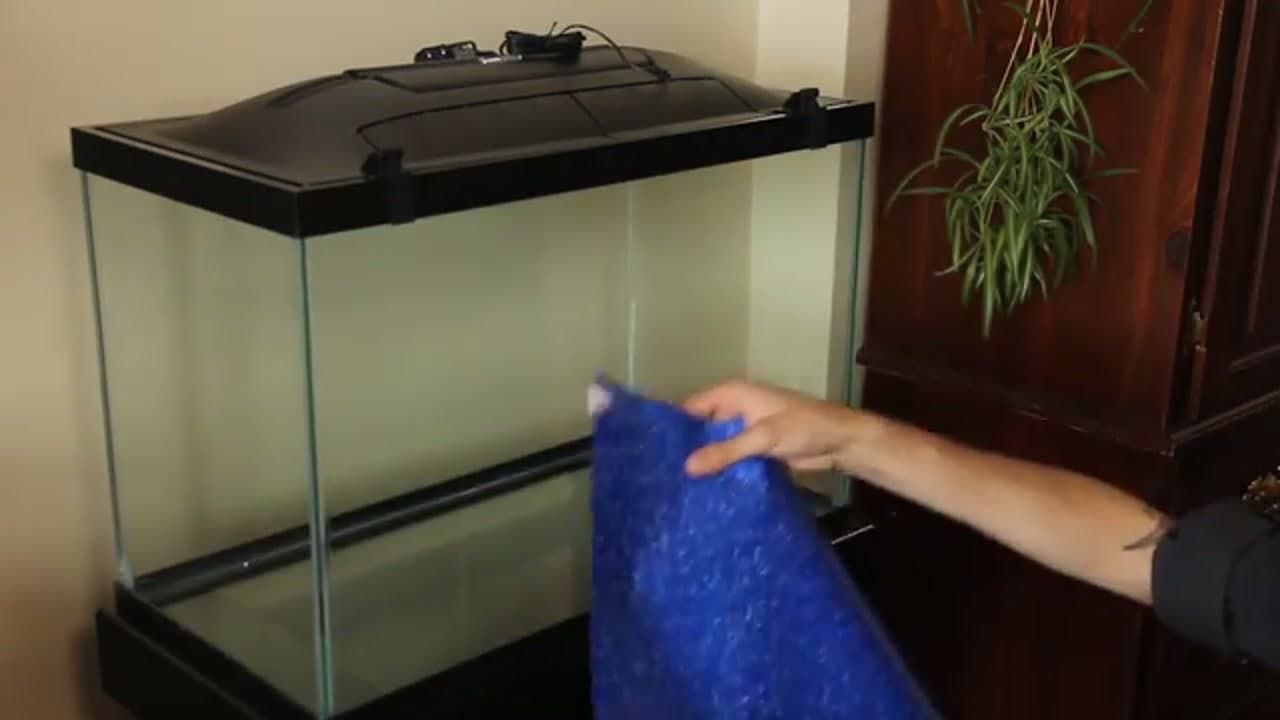
Step 1: Rinse the Tank and Add the Background

Start with a clean, empty tank on a level, sturdy stand that can hold the full weight once it's filled. Wipe out any dust from the glass. Then tape the reversible background to the back panel so your plants and decorations really pop against it. Pick whichever side of the background you like best. Doing this now is much easier than fighting with it after the tank is full.

Tip

A tank full of water is heavy. Make sure the stand is sitting on a flat, solid surface before you go any further.

2

Rinse and Add the Gravel

3:10
Step 2: Rinse and Add the Gravel

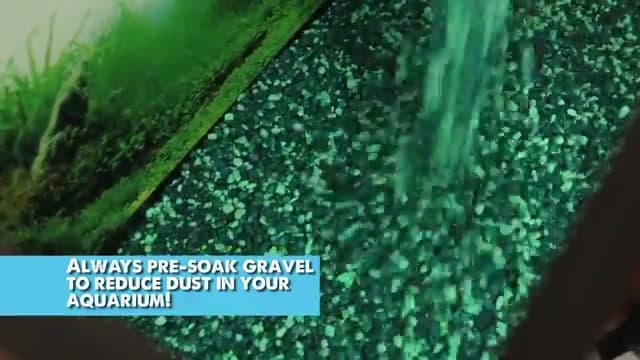
Rinse your gravel in a bucket until the water runs clear. This washes out the fine dust that would otherwise cloud your tank for days. Once it's rinsed, pour a couple of inches across the bottom. Slope it a little higher toward the back so you get some depth and your plants have something to root into. Spread it evenly with your hand.

Tip

Always pre-soak or rinse gravel before it goes in. It cuts way down on the cloudy dust in your new tank.

3

Add Your Plants and Decorations

3:36
Step 3: Add Your Plants and Decorations

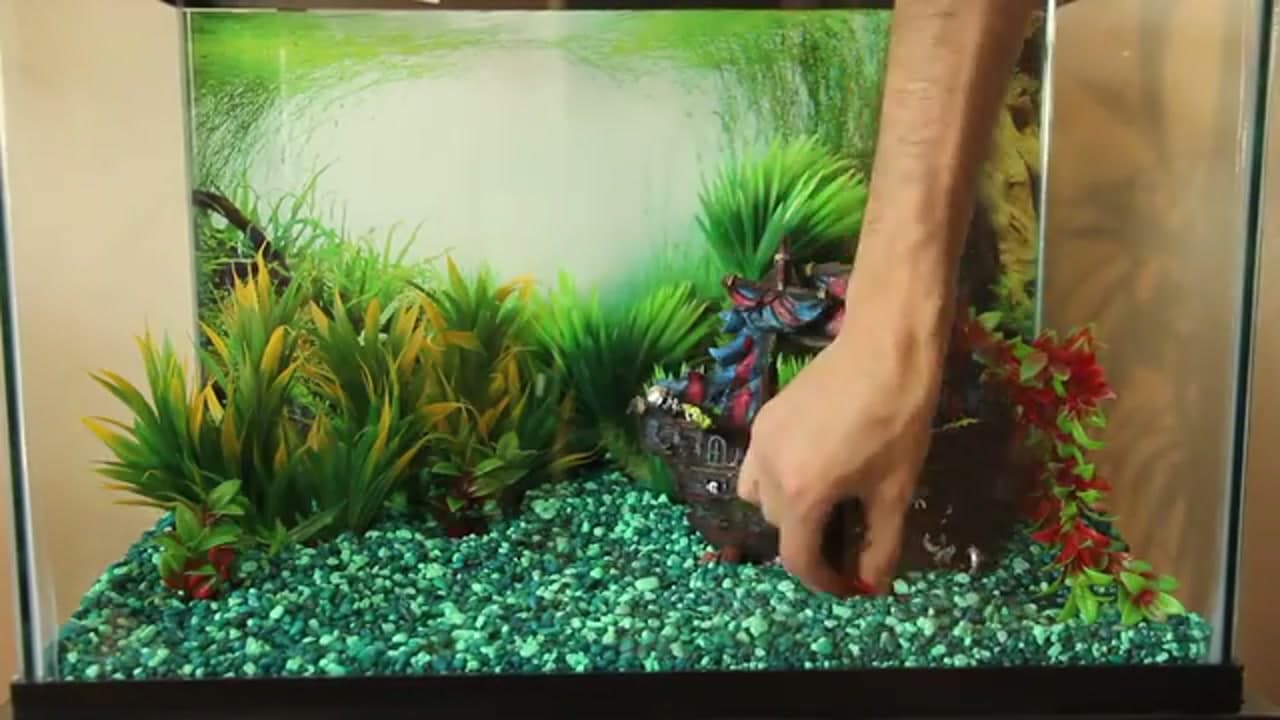
Rinse your plants and decor first, then start arranging. Push the tall plants toward the back and sides, and keep the shorter ones up front where you can see them. Set your centerpiece, like a shipwreck or a big rock, where you want the eye to land. Bury the bases in the gravel so nothing floats loose. Step back and tweak it until the layout looks right to you.

Tip

Give every plant and ornament a quick rinse before it goes in the tank. It keeps dust and residue out of your water.

4

Install the Power Filter

5:05
Step 4: Install the Power Filter

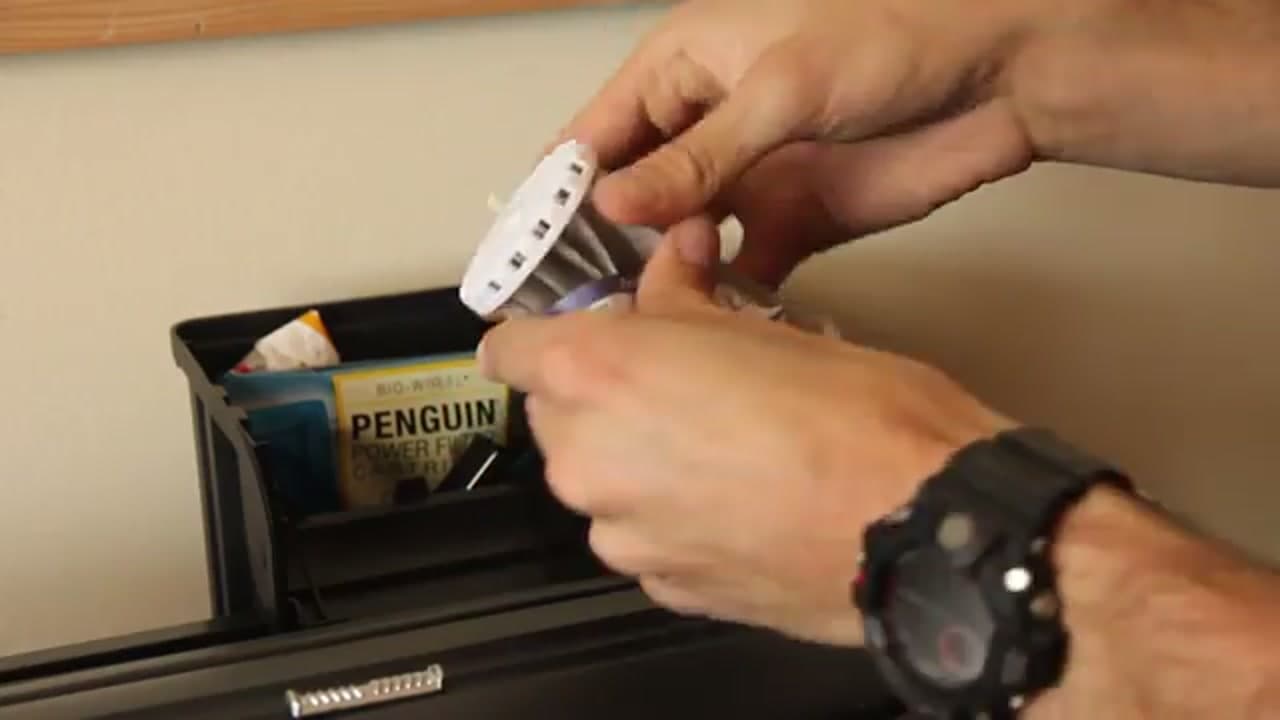
Give the filter cartridge a quick rinse, then slide it into the hang-on-back power filter. Hook the filter over the back rim of the tank and drop the intake tube down so it sits near the bottom. The filter is what keeps your water clear and healthy, so make sure it's seated properly and the flow has a clear path back into the tank.

Tip

Match the filter to your tank size. One rated for your gallons or a bit more will keep the water moving well.

5

Set Up the Heater

6:06
Step 5: Set Up the Heater

Unbox the submersible heater and mount it inside the tank, ideally near the filter flow so the warm water spreads around. Leave it unplugged for now. Once the tank is full, give it a bit to adjust to the water temperature before you switch it on. For most tropical fish you're aiming for around 78 degrees. Check it with a thermometer to be sure.

Tip

Never run a heater in air. Let it sit in the filled tank for a while first, then plug it in, or the glass can crack.

6

Connect the Air Pump

6:35
Step 6: Connect the Air Pump

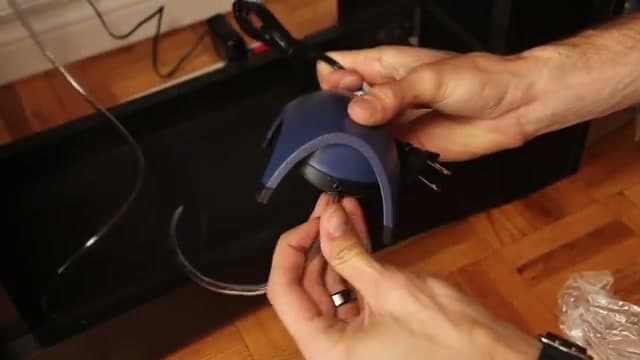
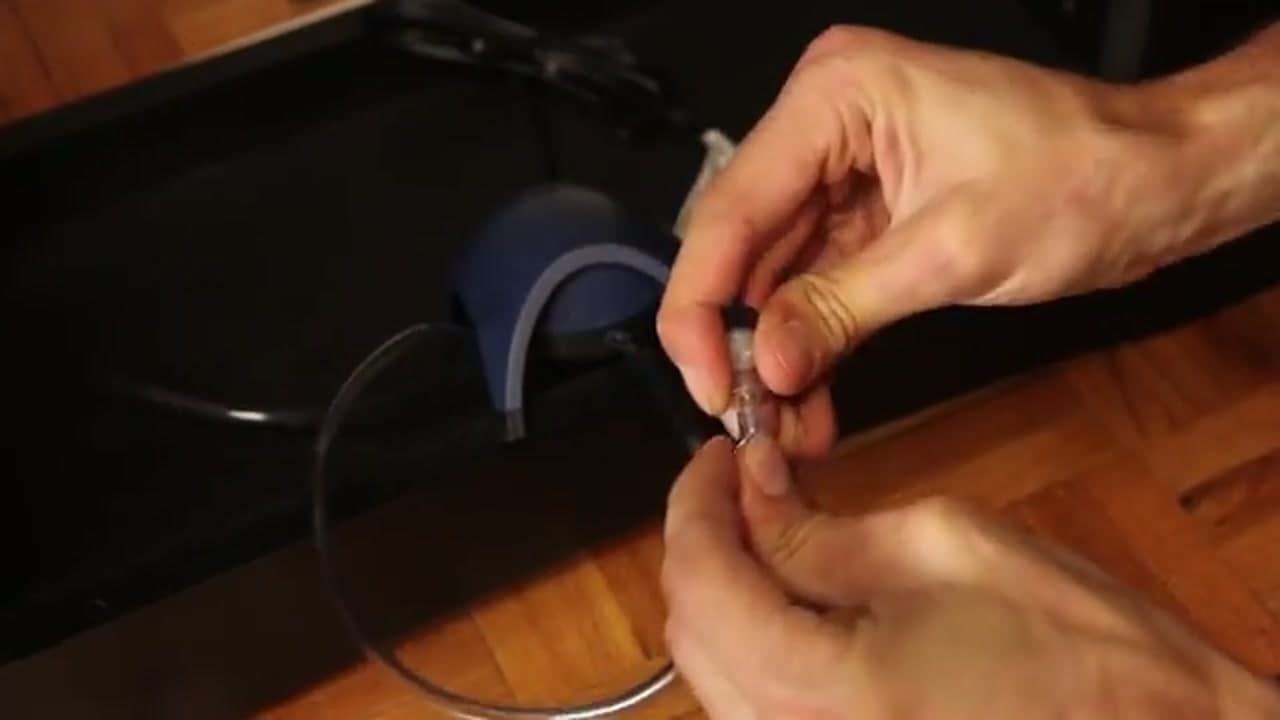
If you want bubbles and extra oxygen, set up an air pump. Run the airline tubing from the pump and fit a check valve inline. That valve is important. It stops water from siphoning back down into the pump if the power ever cuts out. Keep the pump sitting higher than the water line as a backup, and get the tubing ready to drop into the tank.

Tip

The check valve is cheap insurance. Without it, a power outage can drain water straight into your air pump.

7

Position the Air Diffuser

7:05
Step 7: Position the Air Diffuser

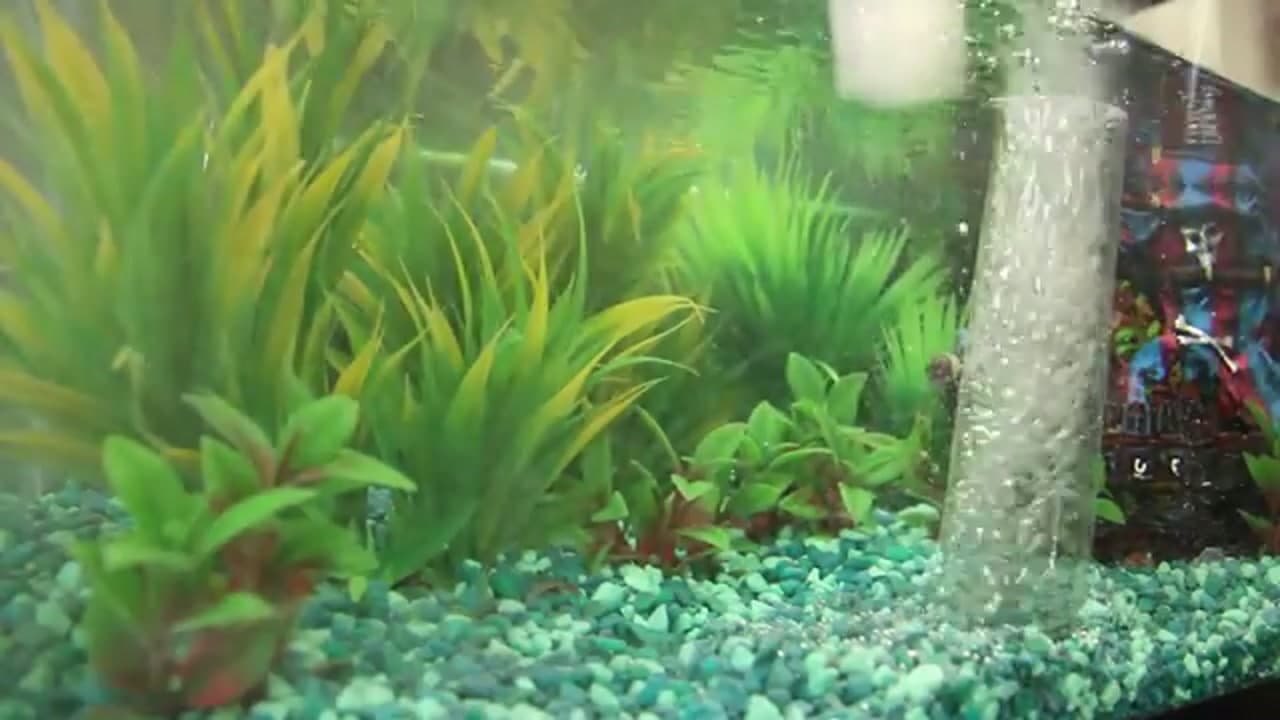
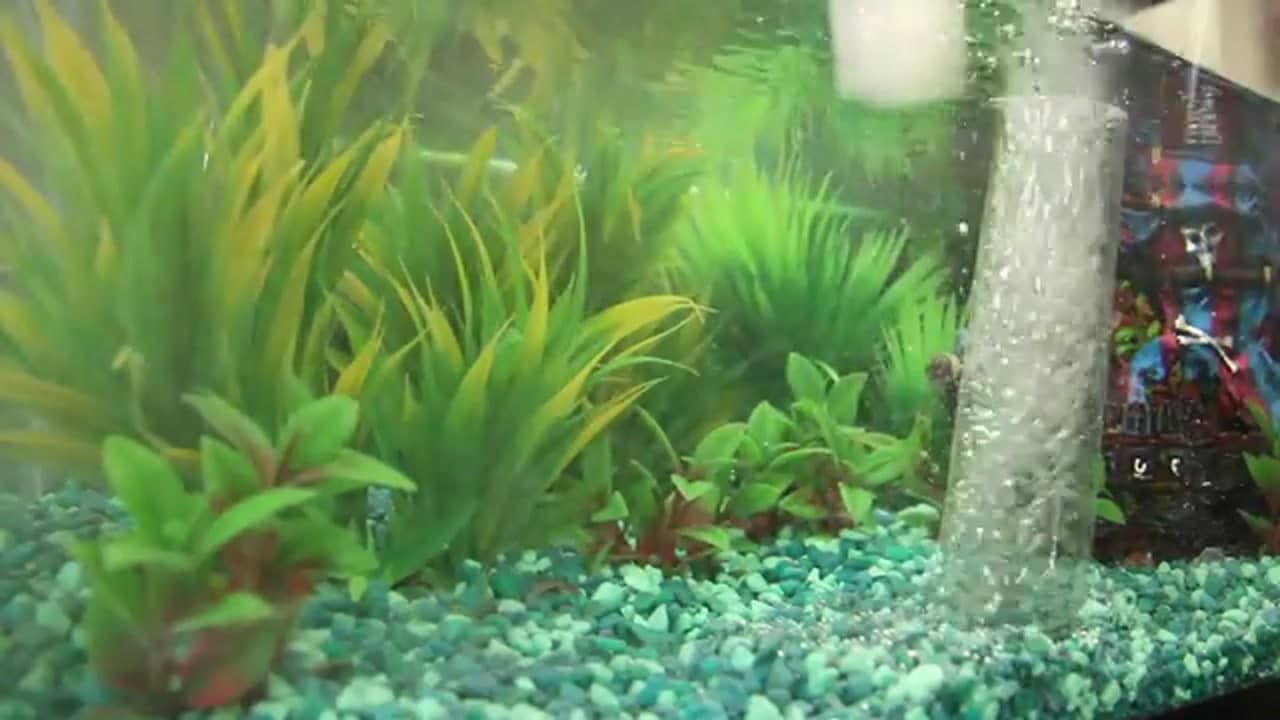
Lower the air diffuser, air stone, or bubble wall into the tank and tuck it behind your plants where the tubing stays hidden. Nestle it into the gravel so it stays put. Once the pump kicks on, it sends up a steady curtain of bubbles that adds oxygen and gets the water moving. It also just looks great as a background feature.

8

Fill, Condition, and Cycle the Water

7:32
Step 8: Fill, Condition, and Cycle the Water

Fill the tank with room-temperature water and add a water conditioner to remove chlorine, which is harmful to fish. Now turn on the filter, heater, and light. Here's the part people skip: don't add fish yet. Let the tank run and cycle for a week or two so the good bacteria can build up. A water test kit tells you when it's safe. Once it's running, a little regular upkeep keeps it healthy, so learn to keep it clean and to clean the gravel as part of your routine.

Tip

Skipping the cycle is the number one beginner mistake. Give the tank time before you buy fish and you'll avoid a lot of heartbreak.

Products Used

☐ The Checklist

How to Set Up a Fish Tank

Tools
3
Materials
3
Steps
8
Video
10 min

Your Guide

Big Al's

As an Amazon Associate we earn from qualifying purchases. Links on this page may be affiliate links - clicking them and buying doesn't change your price, but helps support ShowMeStepByStep.

Tags

Sunday How-To

New pets tutorials, every Sunday

One short email with the week's best step-by-step guides. Free, no spam, unsubscribe anytime.

Did this work for you?

What's next

Related collections

Curated theme pages that include this tutorial.

Weekly Digest

Liked this pets tutorial?

Pick the categories you want to hear about. Weekly digest of new step-by-step tutorials. No spam, easy unsubscribe.

Send me tutorials about

We only email about new tutorials. Easy unsubscribe anytime.