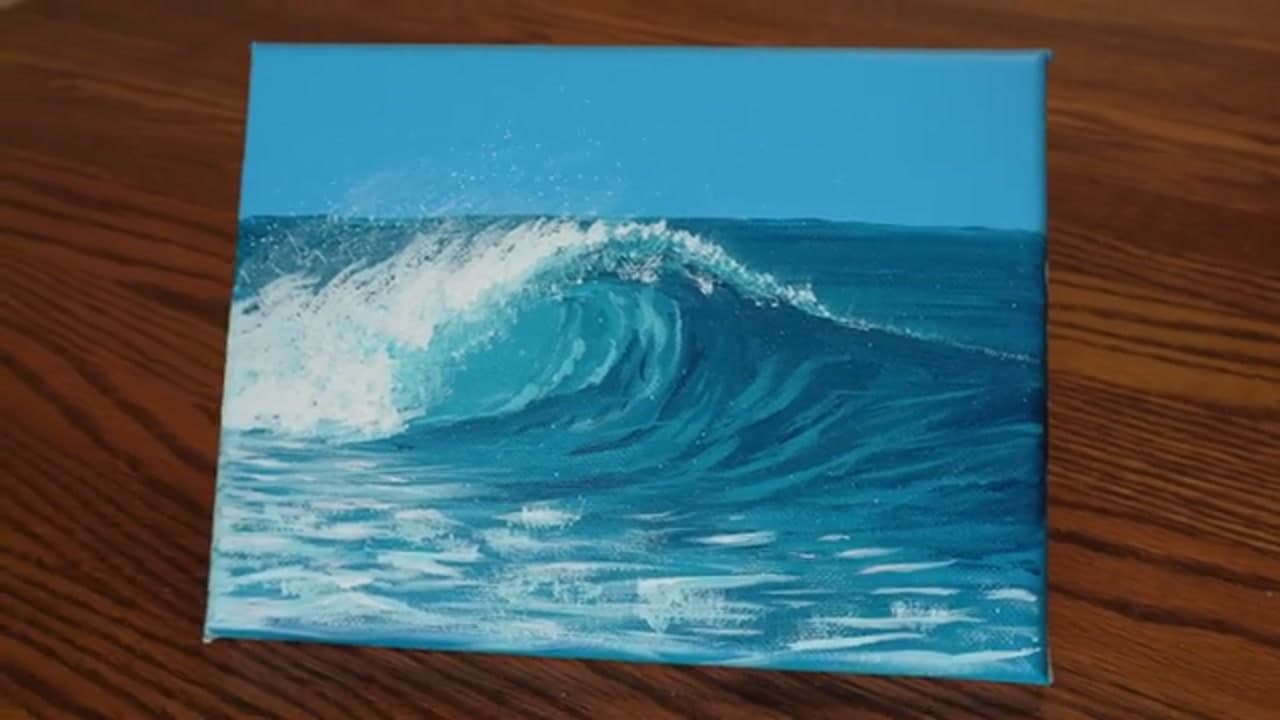
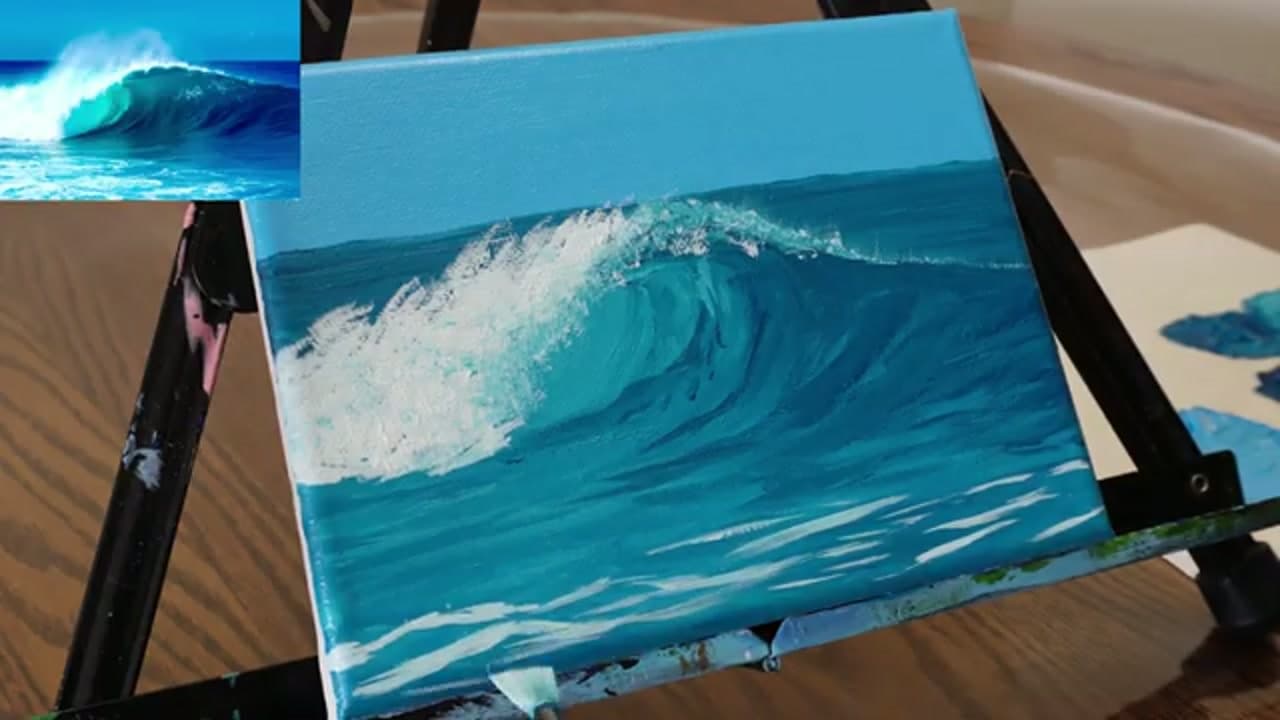
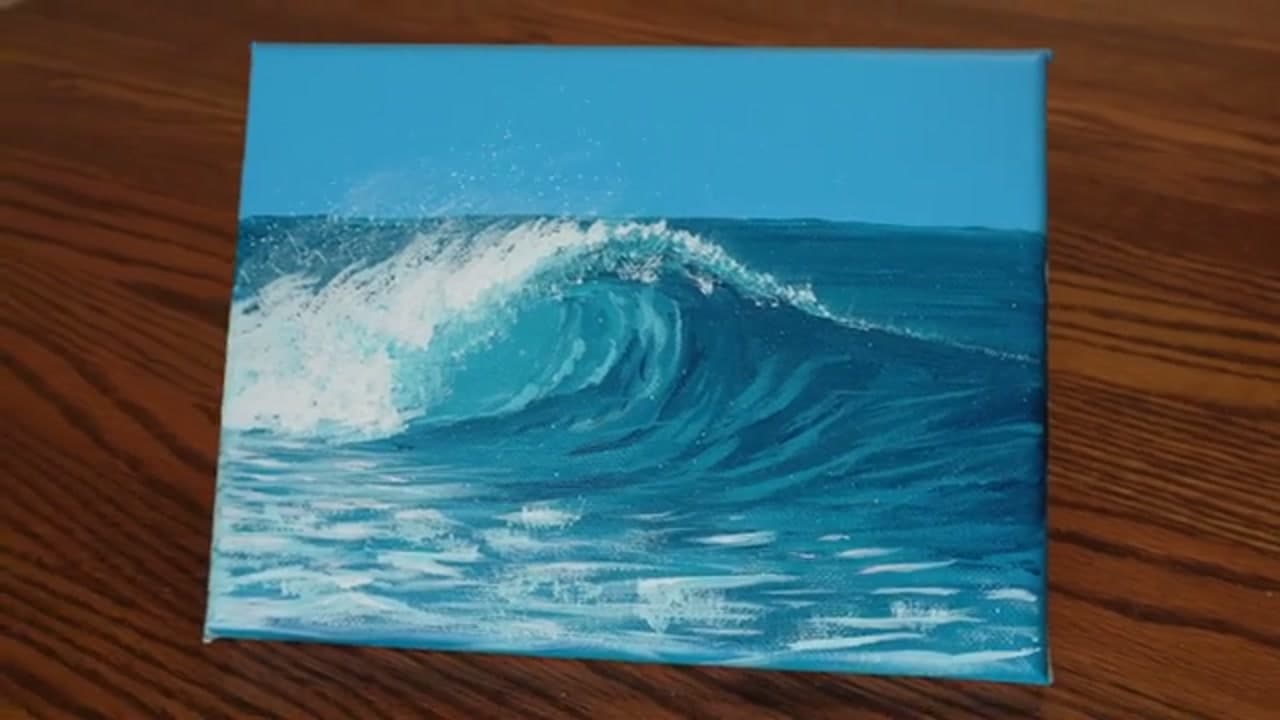
A crashing ocean wave looks like it takes real skill, but this one comes down to a single fan brush and three tubes of paint. Bryan Dennison of AB Painting Studio walks you through it in a way that feels calm instead of intimidating.
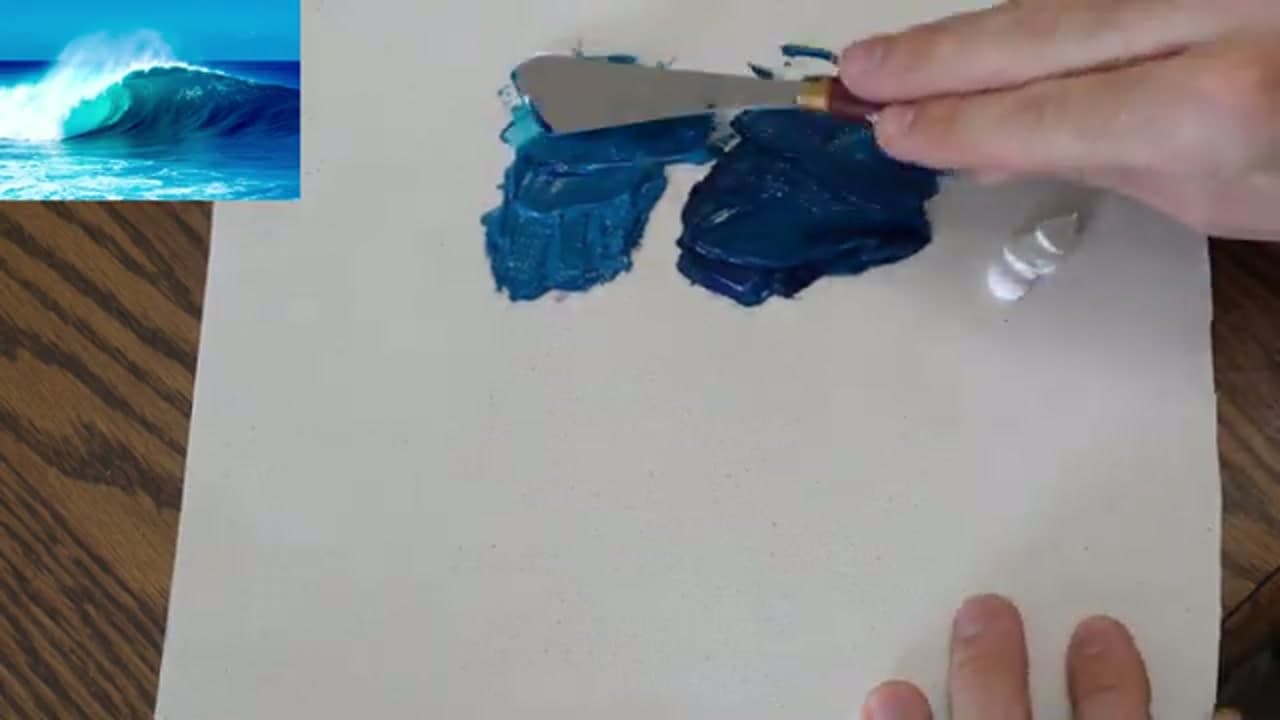
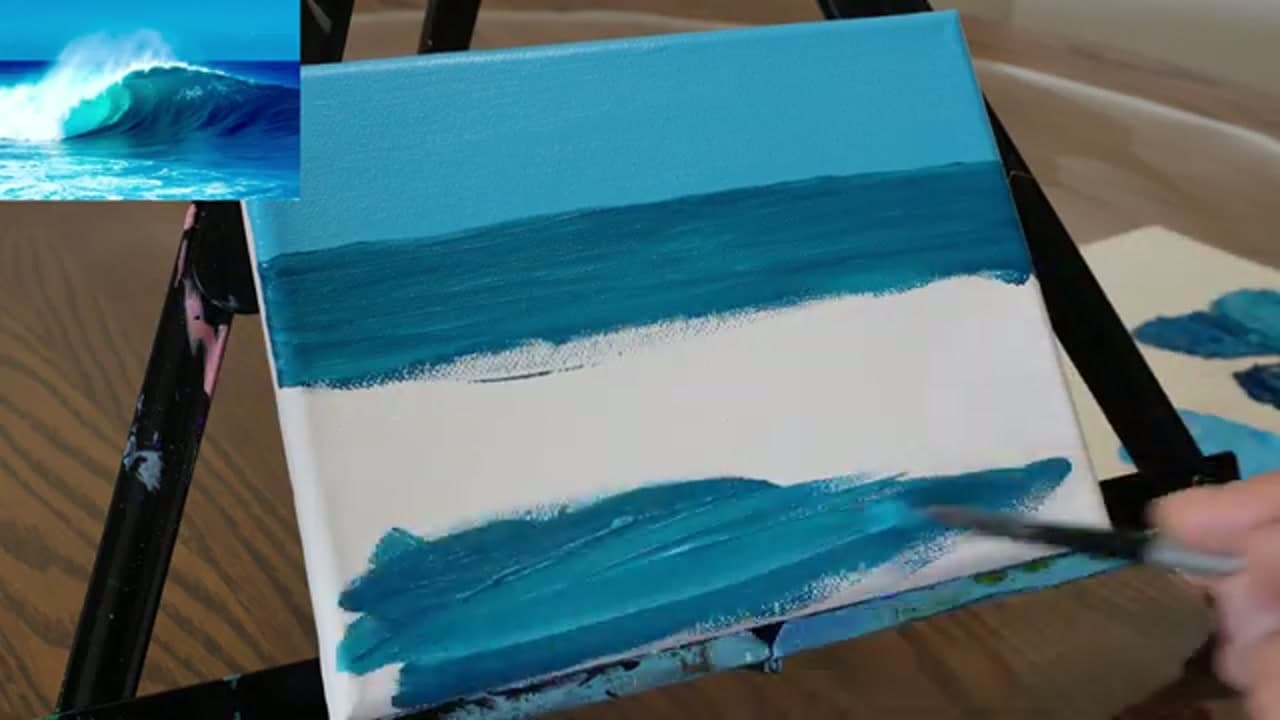
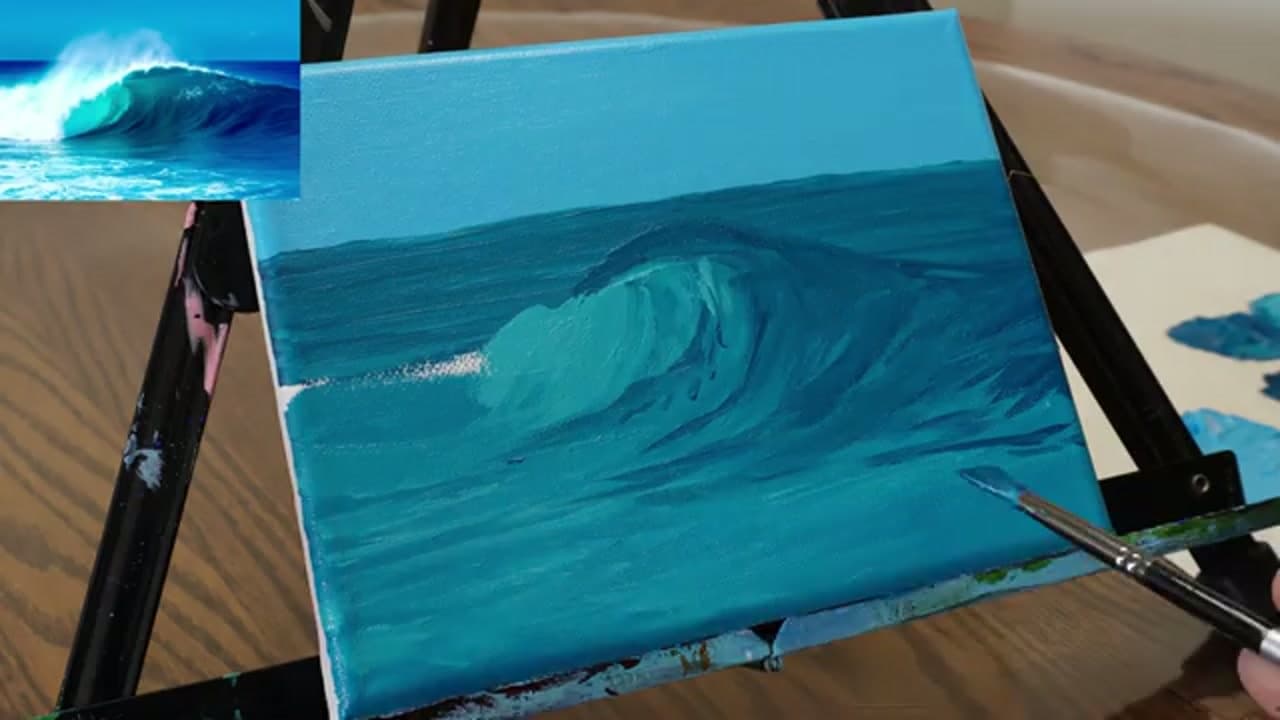
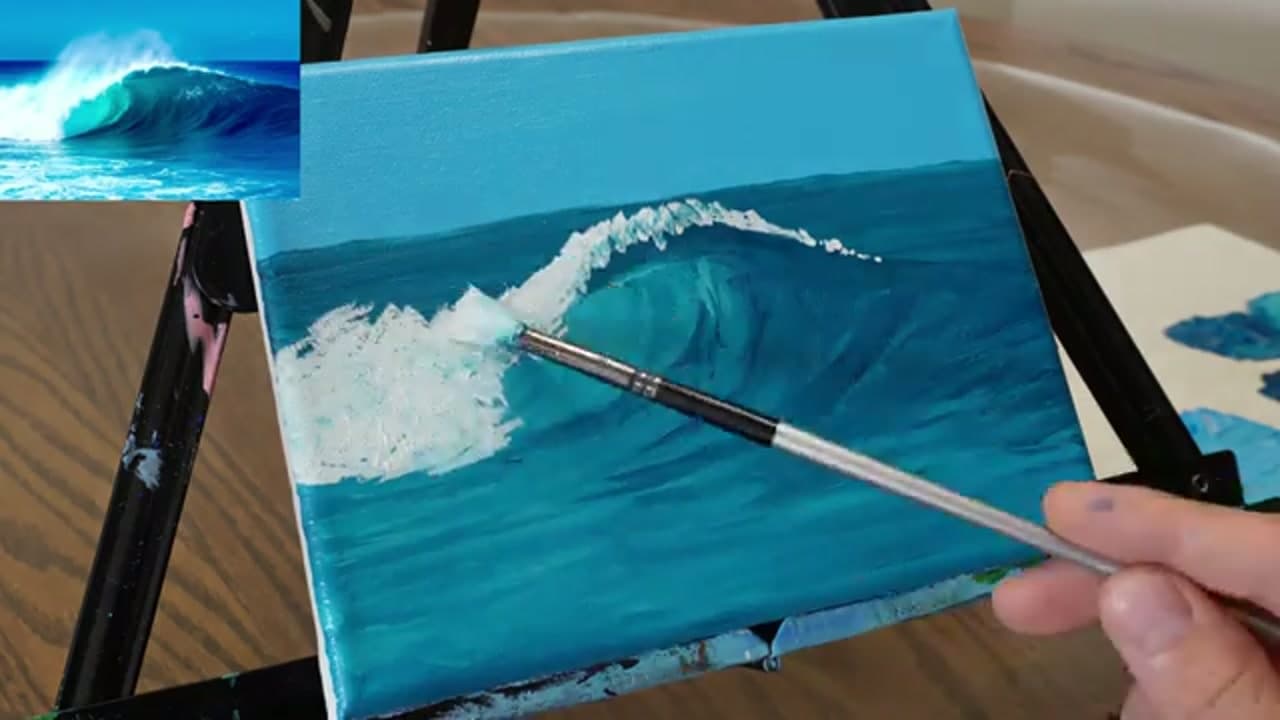
You will mix four tones from phthalo blue, phthalo green, and titanium white, block in the sky and water, then build the curl of the wave and drop in that bright white foam. A reference photo stays in the corner the whole time so you always know where you are headed.
By the end you will have a vibrant turquoise wave on canvas, and the technique carries over to any ocean scene you want to try next.
The color palette for acrylic waves
Phthalo blue and phthalo green are strong pigments. A pea-sized dab tints a big pile of white, so start small and add more. Blue on its own reads as deep water. Green pulls it toward the turquoise of a shallow, sunlit break.
The glow comes from the lightest tone. Where a real wave curls over, sunlight shines through the thin water near the crest. Mix white into the midtone for that spot. If you have a tube of yellow, a speck in that light mix pushes it toward sea glass and makes the water look lit from behind.
Loading and holding the fan brush
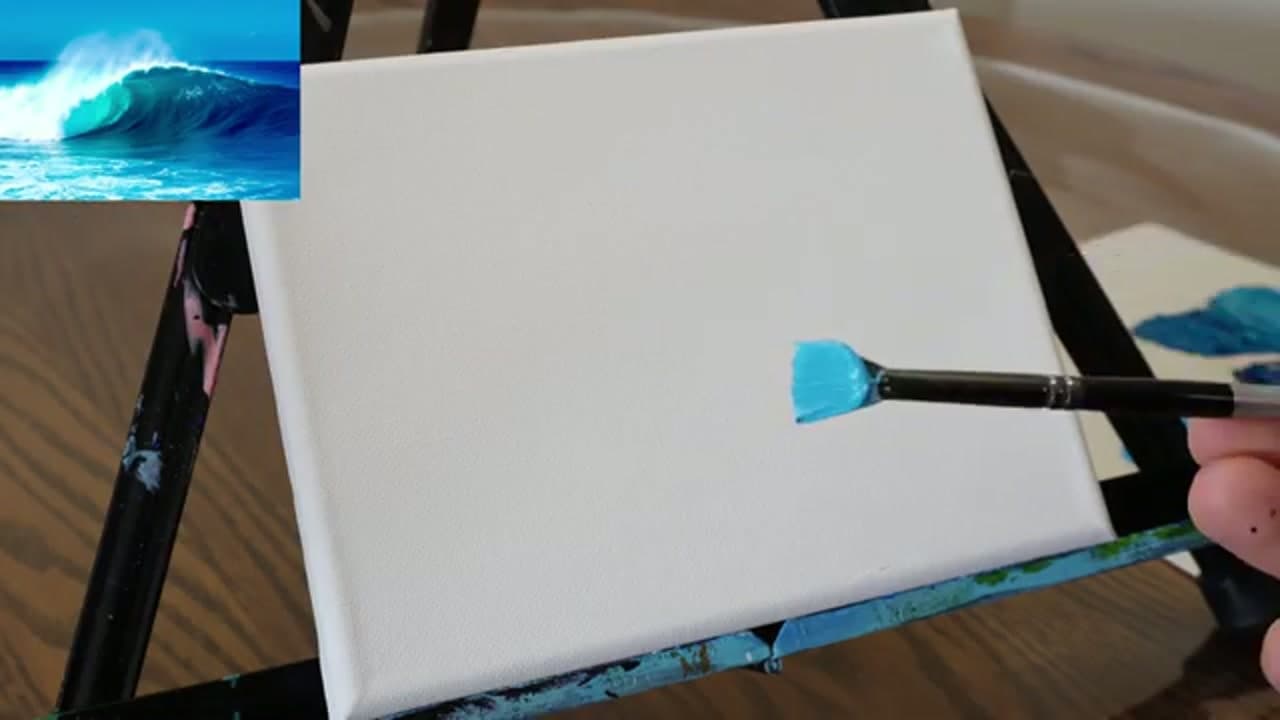
Dip only the tips of the bristles, then tap off the excess on the palette. An overloaded fan brush lays down solid stripes, which is the opposite of what you want. Turn it on its flat side for broad water, on its edge for thin crisp lines, and press it straight in for foam. If you have never used one, how to use a fan brush covers the basic strokes.
Sky and horizon first
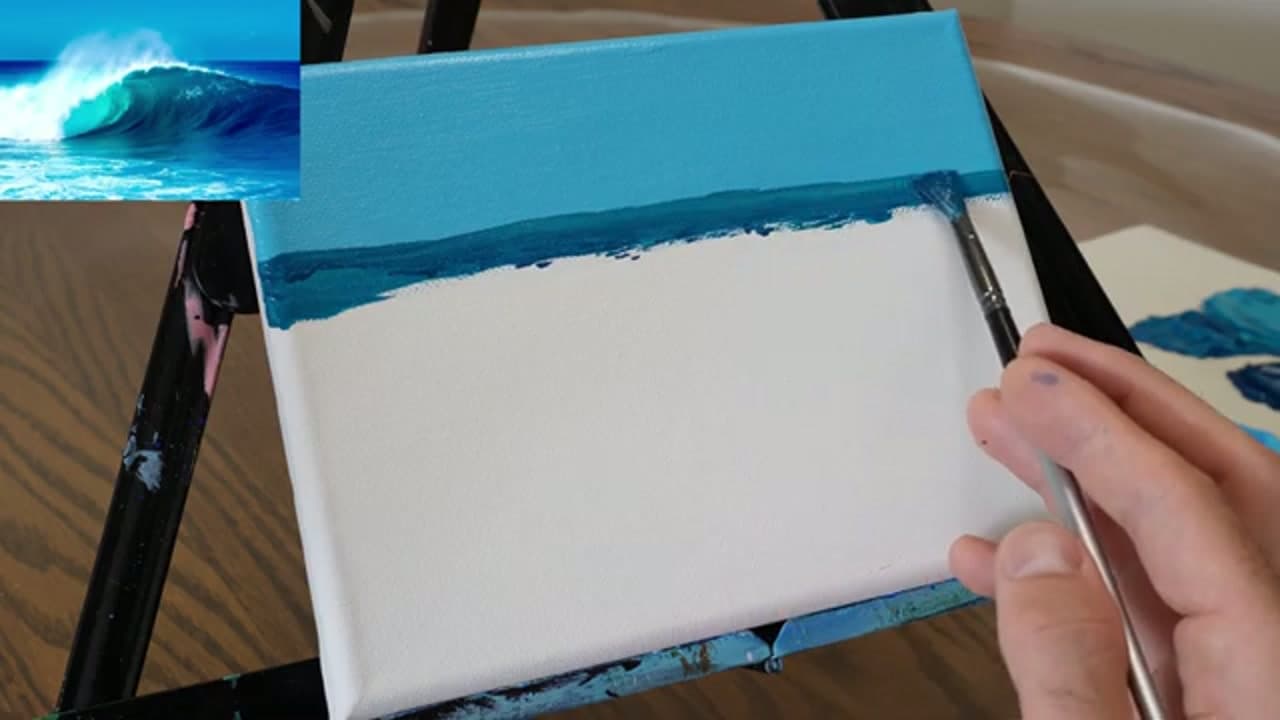
Paint back to front. Sky goes down before anything else, then the horizon, the water and the wave. Each layer overlaps the one behind it, so you never have to paint carefully around a finished crest. Keep the horizon level. A tilted sea is the first thing anyone notices.
Wet-on-wet or layering once dry?
Both work, and this painting uses both. The water tones blend wet into wet so the change from deep to shallow is soft. The foam goes on over paint that has started to set, so the white stays white instead of turning pale blue. If a blend starts to drag, stop and wait. You can glaze over it later.
Waves live or die on how smoothly the water blends from deep to shallow. If yours are banding, work through how to blend acrylic paint and come back to this.
Painting foam and spray
Two moves do nearly all the work. Stippling means pressing the flat of the fan brush into the canvas and lifting, which leaves broken clusters of white. Dry-brushing means dragging an almost empty brush across the ridges of the canvas so the white catches on the texture. Save the splatter of thinned white for the very end.
Common mistakes
- Muddy water. Too many passes over wet paint grinds the blue, green and white into gray. Lay a stroke and leave it.
- Foam that looks like snow. Pure white everywhere flattens out. Keep the brightest white for the crest and let the foam lower down carry a little blue.
- Flat water with no light. Without that pale tone behind the curl, the wave looks like a wall. Add it before the foam.
- Strokes going every which way. Every stroke should follow the direction the water is moving.
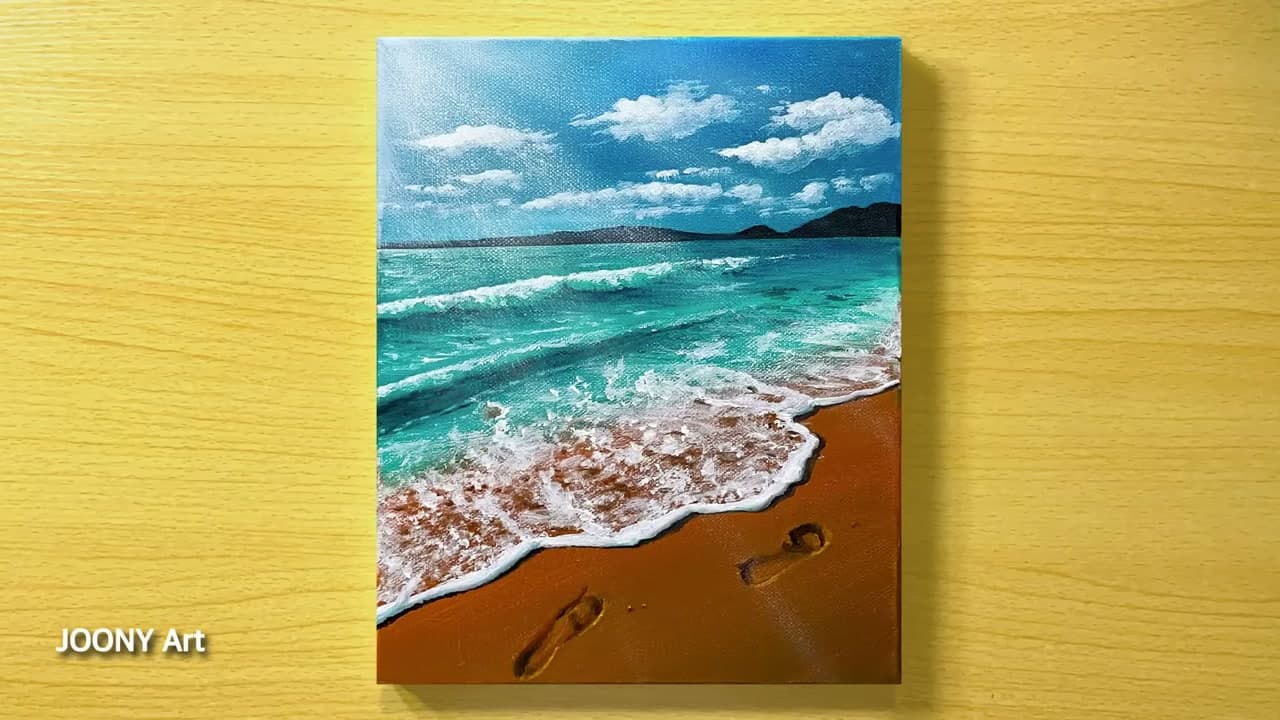
Want the same wave without paint? Try how to draw waves in pencil, or put a full shoreline behind it with how to paint a beach.