How to Macrame: 7 Basic Knots Every Beginner Must Know

The finished result: How to Macrame: 7 Basic Knots Every Beginner Must Know

By Show Me Step by StepPublished

Based on a video by Majestic Macrame.

Macrame looks like a lot of separate skills - plant hangers, wall hangings, keychains, lanterns - but it's all built from the same handful of knots. Learn these seven and you can read most macrame patterns and start a real project.

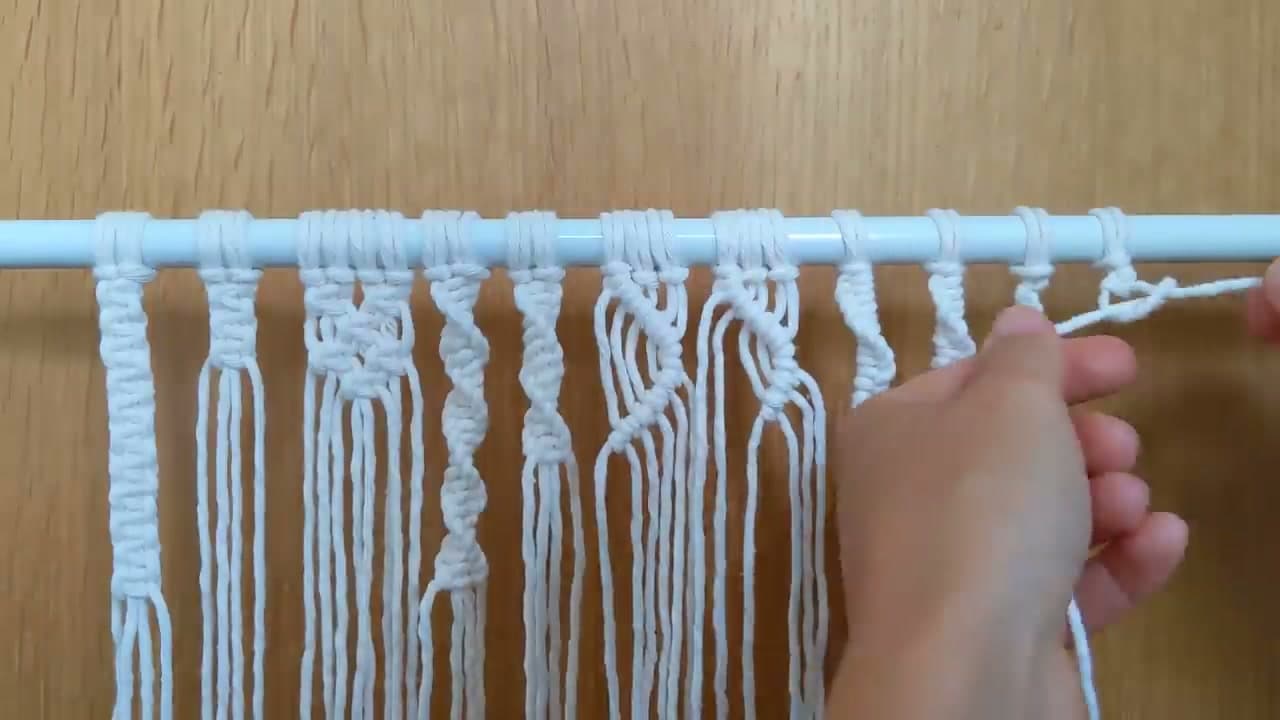
This walkthrough from Majestic Macrame teaches every foundational knot in one sitting. The lark's head attaches cord to the dowel, square knots build the body, spirals add twist, and half hitches let you draw lines and shapes. Tie each one until your hands stop thinking about it.

What you need

  • 3mm single-strand cotton cord (a 50-yard roll covers a lot of practice)
  • A wooden dowel, 12 inches or longer
  • Sharp scissors and a tape measure
  • Two S-hooks, a clothes rail or painter's tape to hold the dowel

Picking cord for your first knots

Start with 3mm single-strand cotton. It's soft on the hands, it shows every knot clearly, and when you mess up it unpicks cleanly. Braided cord holds its shape but hides the knot structure, which makes learning slower. Three-ply twisted cord gives a rope look and is fine for plant hangers.

Save 5mm cord for chunky wall hangings. Anything under 2mm is jewelry territory.

How much cord to cut

The rough rule is four times the finished length per working strand. A lark's head folds each cord in half, so double it again. A 12-inch piece needs cords about 8 feet long. Square knots eat cord fast, and half hitch rows eat more, because the filler cords do all the wrapping.

Running short halfway down is the worst way to lose a project. Cut long. Leftovers become fringe or keychains.

Setting up

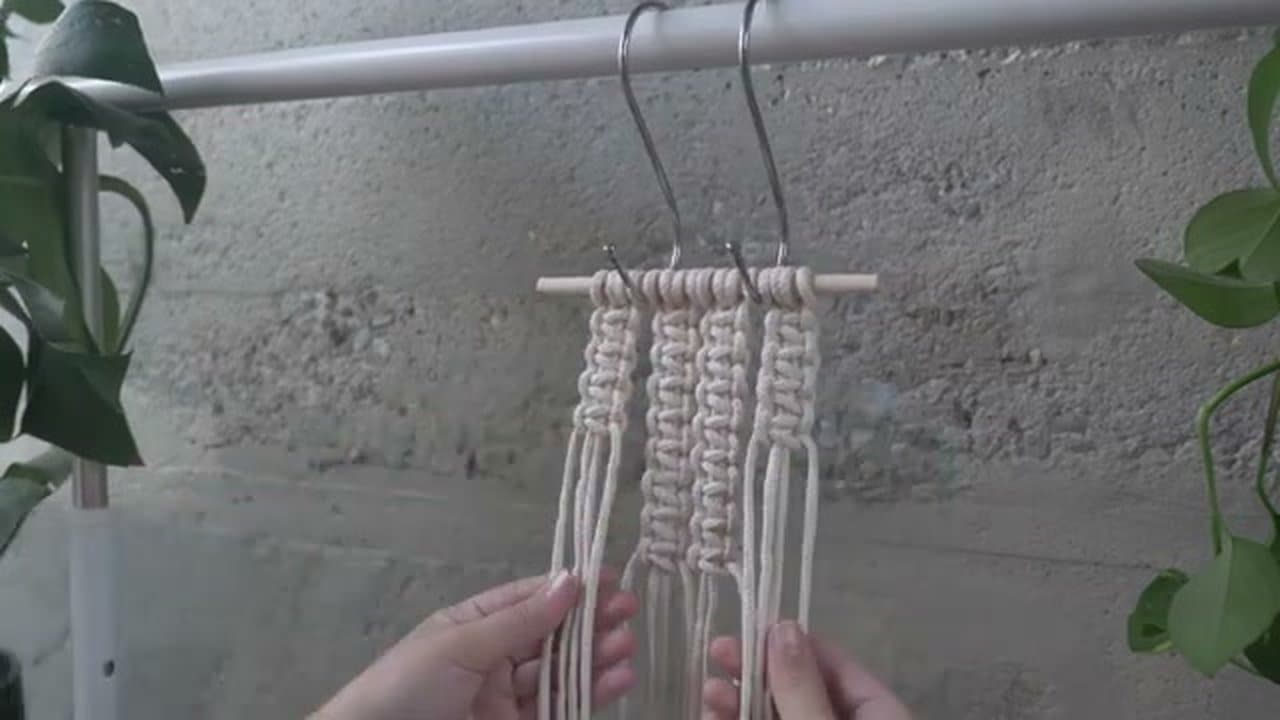
Hang the dowel at chest height from two S-hooks on a clothes rail, curtain rod or over-door hook. Working vertically lets gravity keep the cords straight and your tension even. For small pieces, tape the dowel to a table edge, or clip the cords to a clipboard.

Which knot makes which pattern

KnotWhat it builds
Lark's headAttaches cord to a dowel or ring
Square knotFlat columns, plant hanger arms
Alternating square knotNet and diamond panels
Spiral knotTwisted columns
Double half hitchStraight and diagonal lines, leaves
Single or alternating half hitchNarrow spirals and thin woven cords

Want a closer look at one knot? See the lark's head knot, the square knot and the half hitch on their own pages.

A first project path

Go small to big. A keychain uses four cords and a column of square knots - twenty minutes, done. A plant hanger adds spirals, a gathering knot and real length. A wall hanging brings in alternating square knots and half hitch lines across 16 or more cords, which is where planning starts to matter.

Common mistakes

  • Uneven tension. Pull every knot to the same snug firmness. Loose and tight knots side by side make a panel pucker.
  • Square knots that twist. If a column starts spiraling, you started both halves from the same side. Alternate: left first, then right.
  • A slack leader on half hitches. Hold the leader taut and at the angle you want. The line follows the leader, not the fillers.
  • Cords cut too short. Measure twice and add a foot for fringe.
What you'll need

Step-by-Step Guide

7 steps · about 11 minutes.Check off each step as you go and your progress saves automatically.

1

Tie a Larks Head Knot

0:12
Step 1: Tie a Larks Head Knot - How to Macrame: 7 Basic Knots Every Beginner Must Know

Every macrame project starts with attaching cord to a rod. Fold a long cord in half, drape the fold over the back of the dowel, then bring both cord ends through the loop and pull tight. That's a Larks Head Knot.

Each Larks Head produces 2 working strands. Most projects use 4-8 Larks Head knots side by side, giving you 8-16 working strands to knot down through the body of the project.

2

Tie a Square Knot

0:45
Step 2: Tie a Square Knot - How to Macrame: 7 Basic Knots Every Beginner Must Know

Square knots are the workhorse - most macrame walls and plant hangers are mostly square knots. With 4 cords (from 2 Larks Heads), take the leftmost cord OVER the middle two and UNDER the rightmost. Then take the rightmost cord UNDER the middle two and back through the loop.

Reverse direction for the second half: start from the right this time. Going right-then-left creates a flat, balanced knot. Skip the reverse and you get a spiral instead (that's Step 4).

3

Combine Sets With Alternating Square Knots

2:40
Step 3: Combine Sets With Alternating Square Knots - How to Macrame: 7 Basic Knots Every Beginner Must Know

Tie square knots in two adjacent groups of 4 cords. For the next row, take the middle 4 cords (2 from each adjacent group) and tie a square knot using those. The pattern shifts so each row of knots offsets the row above.

This alternating diamond pattern is the foundation of most macrame wall hangings and plant hanger bodies. Continue down the project, alternating each row with the one above.

4

Tie a Spiral Knot

5:00
Step 4: Tie a Spiral Knot - How to Macrame: 7 Basic Knots Every Beginner Must Know

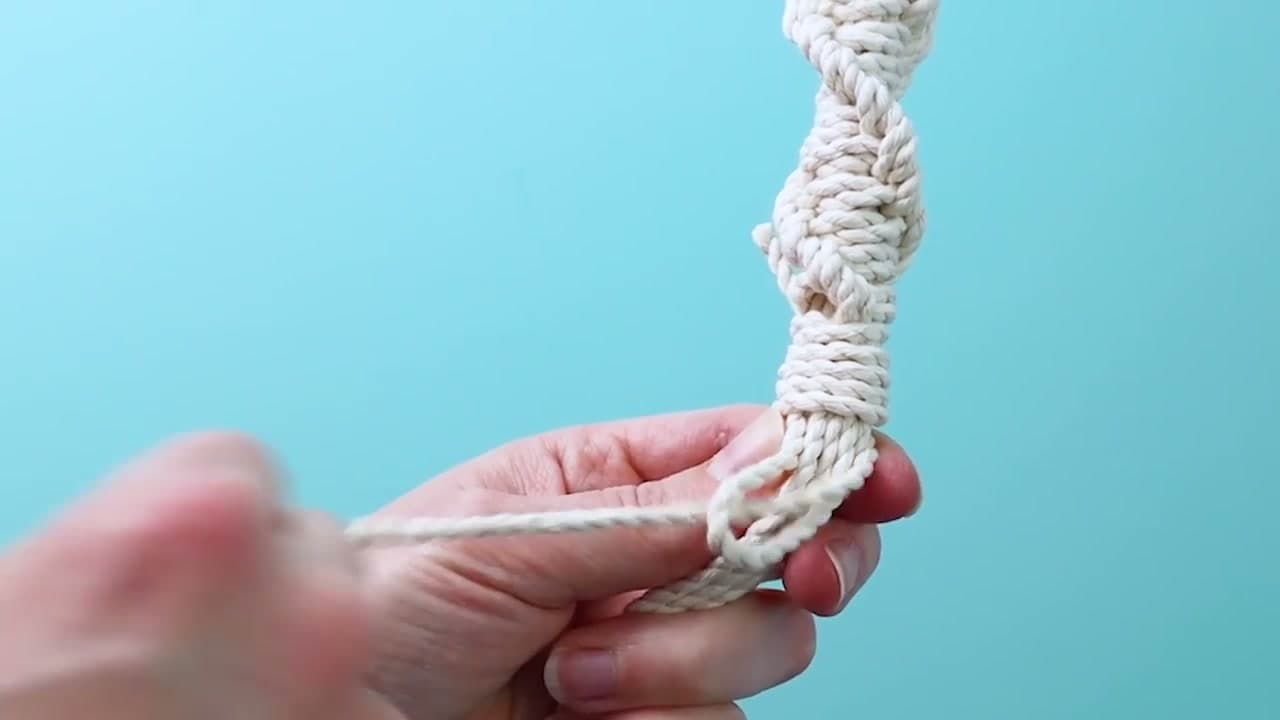
Tie ONLY the first half of a square knot - left cord over middle and under right, right cord under middle and through the loop - then repeat exactly that same direction. Don't reverse.

The cords twirl as you go. Always lead with the same side (left if you started left, right if you started right). When the cord twists, just spin the project around to keep working from the front.

5

Tie Double Half Hitch Knots

6:40
Step 5: Tie Double Half Hitch Knots - How to Macrame: 7 Basic Knots Every Beginner Must Know

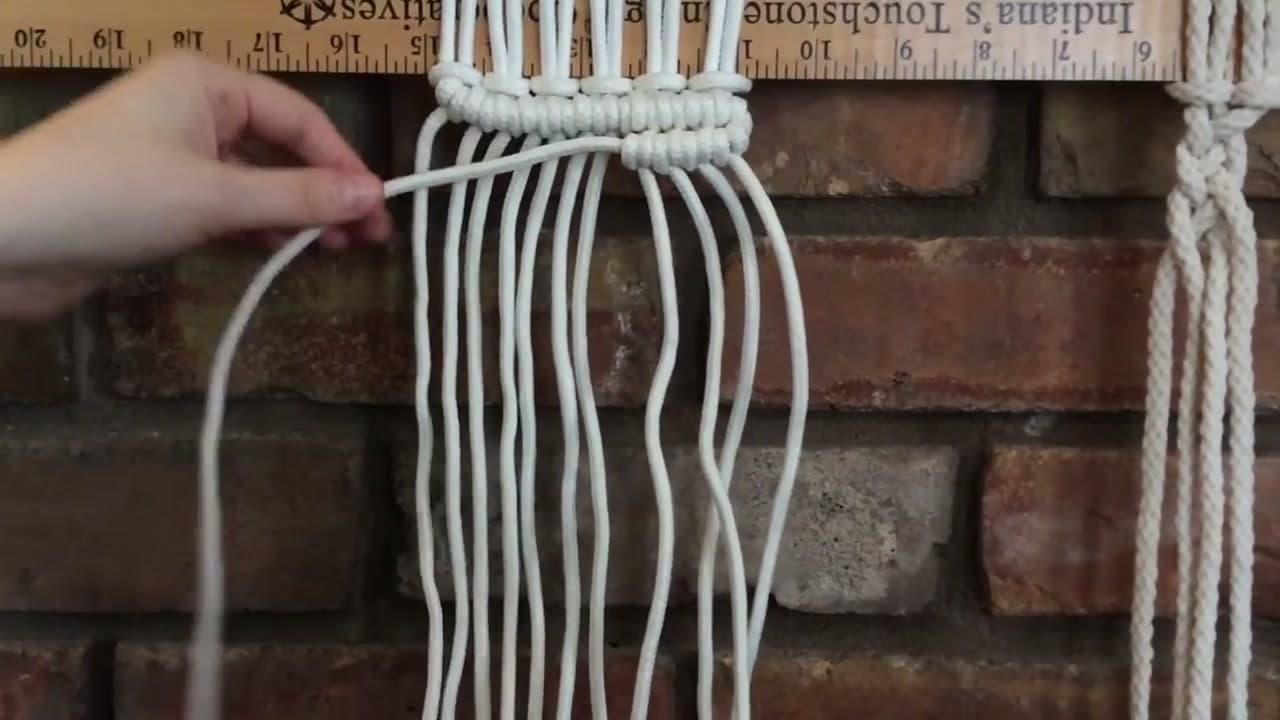
Take one cord (the 'lead' or 'leader') and hold it horizontally across the others. Each remaining cord is a 'filler' - wrap each filler OVER and UNDER the leader twice, creating two knots per filler.

The leader stays straight; the fillers do all the wrapping. The result is a clean horizontal line of knots. Angle the leader for diagonal lines, and you can build any geometric or floral pattern by chaining lead cords together.

6

Tie a Single Half Hitch Knot

9:40
Step 6: Tie a Single Half Hitch Knot - How to Macrame: 7 Basic Knots Every Beginner Must Know

The single Half Hitch is just one wrap (versus two for Double). Always lead with the same cord - take the left cord over the right and through the loop, then repeat with the same left cord over and over.

As you keep going, the cord starts to spiral. It's similar to the Spiral Knot in step 4, but uses just two cords instead of four. Useful for narrower decorative spirals.

7

Tie an Alternating Half Hitch Knot

10:40
Step 7: Tie an Alternating Half Hitch Knot - How to Macrame: 7 Basic Knots Every Beginner Must Know

This time, alternate which cord is the leader. Tie a Half Hitch leading with the LEFT cord, then a Half Hitch leading with the RIGHT cord, then left, then right - back and forth.

Alternating creates a delicate woven pattern that lays flat instead of spiraling. Great for thin braided sections, jewelry, or as decorative borders within larger pieces.

Tip

Practice each knot 20-30 times on a scrap cord before trying a real project. The hand motions feel awkward at first but become automatic surprisingly fast. Once these feel easy, look up Berry Knots, Vertical Lark's Head, and Diagonal Half Hitches for intermediate patterns.

How to Make a Macrame Keychain - Easy Seashell Pattern for Beginners

Keep going

How to Make a Macrame Keychain - Easy Seashell Pattern for Beginners

Products Used

The Checklist

How to Macrame: 7 Basic Knots Every Beginner Must Know

Tools
3
Materials
1
Steps
7
Video
11 min

Tools we recommend

Your Guide

Majestic Macrame

As an Amazon Associate we earn from qualifying purchases. Links on this page may be affiliate links - clicking them and buying doesn't change your price, but helps support Show Me Step by Step.

Tags

Sunday How-To

New macramé tutorials, every Sunday

One short email with the week's best step-by-step guides. Free, no spam, unsubscribe anytime.

Test your knowledge

Did the lesson stick? Start with this one.

5 questions covering what you just read. No signup, no score saved, and you can stop after this one.

Question 1 of 5

What knot ATTACHES cord to a dowel at the start of every macrame project?

Quick reference

Key takeaways from How to Macrame: 7 Basic Knots Every Beginner Must Know

5 questions, answers, and one-line explanations. Tap to expand.

  1. 1.What knot ATTACHES cord to a dowel at the start of every macrame project?

    Answer: Larks Head knot (fold cord in half, drape fold over the dowel, pull both ends through the loop)

    Every macrame project starts with Larks Heads. Each one produces 2 working strands for knotting down through the body.

  2. 2.Why does a SPIRAL knot twist on its own?

    Answer: It's the FIRST HALF of a square knot done over and over (no reversal) - alternating would lay flat instead

    Square = left-then-right (flat). Spiral = left-then-left (twists). Same starting knot, different repetition.

  3. 3.What does the LEAD cord do in a double half hitch?

    Answer: Stays straight while the filler cords wrap OVER and UNDER it twice each, creating a clean horizontal (or diagonal) line of knots

    Leader is the anchor; fillers do the wrapping. Angle the leader for diagonal lines - basis of geometric macrame patterns.

  4. 4.What design pattern do ALTERNATING SQUARE KNOTS produce?

    Answer: An offset diamond pattern - row 1 uses 4-cord groups; row 2 borrows 2 cords from each adjacent group

    Alternating square knots = the diamond mesh you see on most wall hangings and plant hanger bodies.

  5. 5.About how long should you cut the cord for a macrame project (rule of thumb)?

    Answer: Several times longer than the finished piece - knotting eats through cord fast

    5-foot-tall hanger? Cut 15+ feet per cord. The knotting consumes most of the length and running out mid-project is the worst.

Did this work for you?

What's next

Weekly Digest

Liked this macramé tutorial?

Pick the categories you want to hear about. Weekly digest of new step-by-step tutorials. No spam, easy unsubscribe.

Send me tutorials about

We only email about new tutorials. Easy unsubscribe anytime.