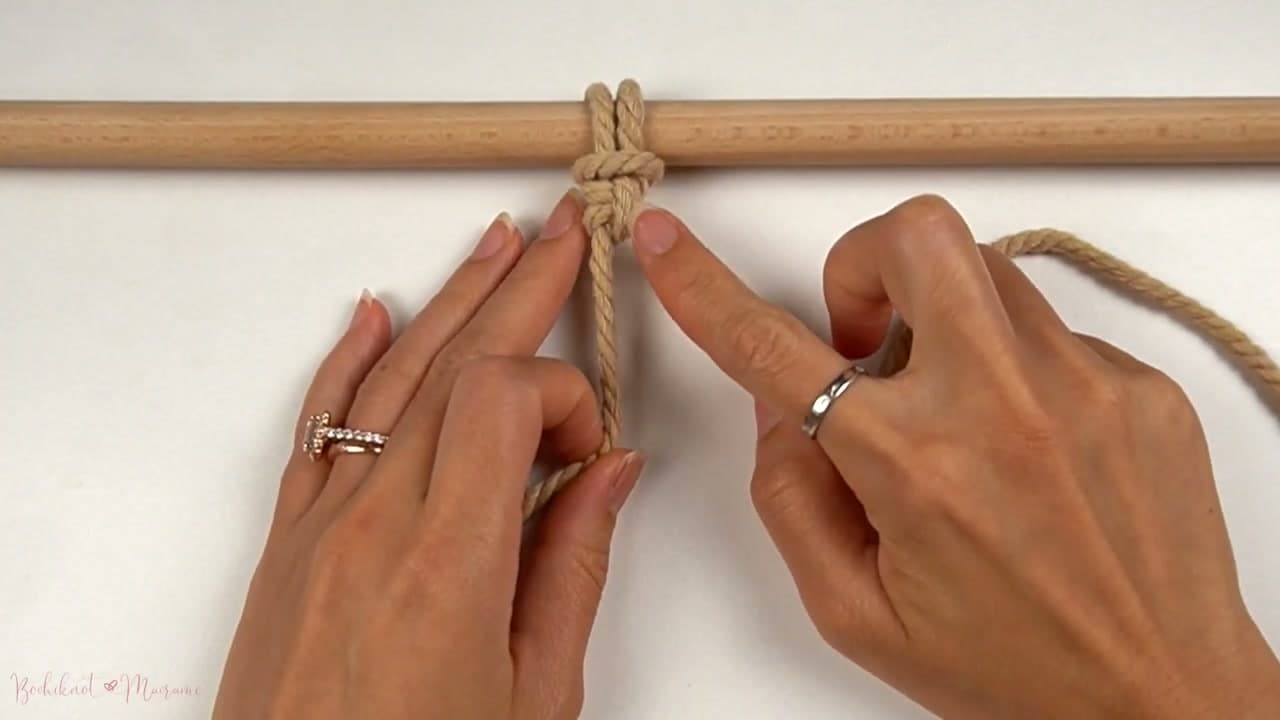
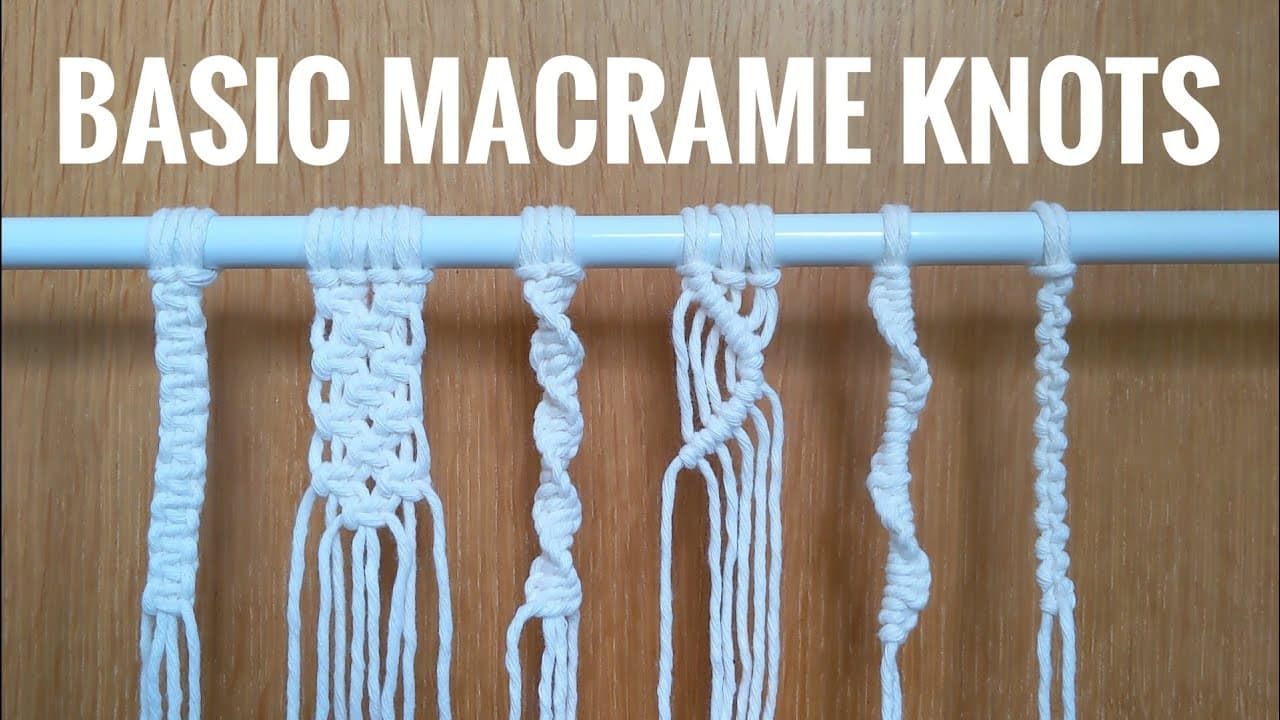
The lark's head knot is the first knot you'll learn in macrame. Every wall hanging, plant hanger, and friendship bracelet starts with cord mounted to something - a dowel, a ring, a branch - and the lark's head is how you do it. Get this knot down and you can read any macrame pattern.
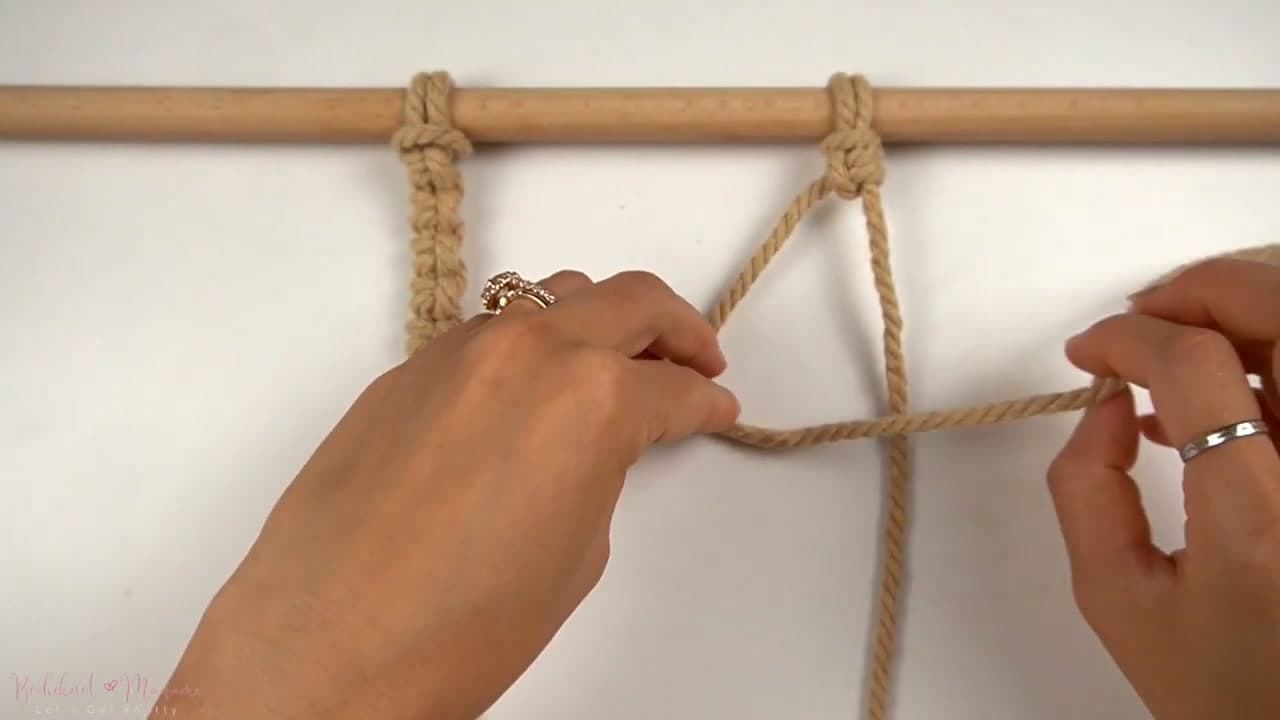
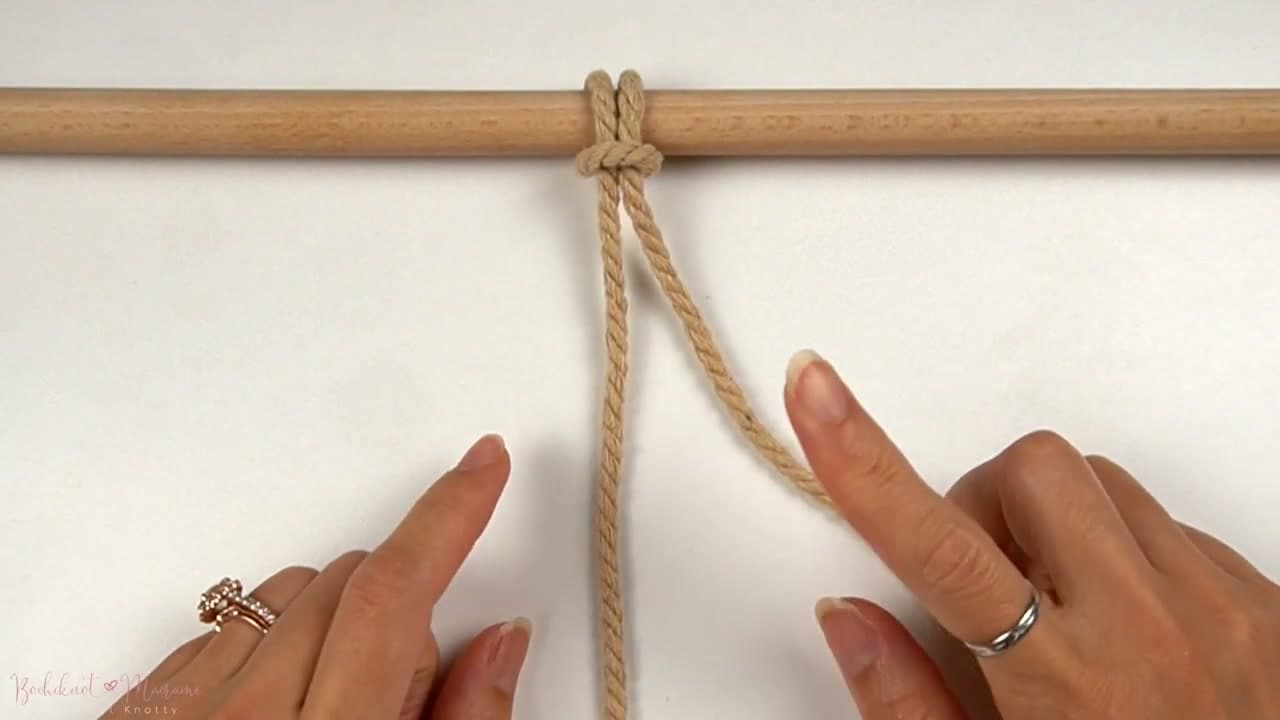
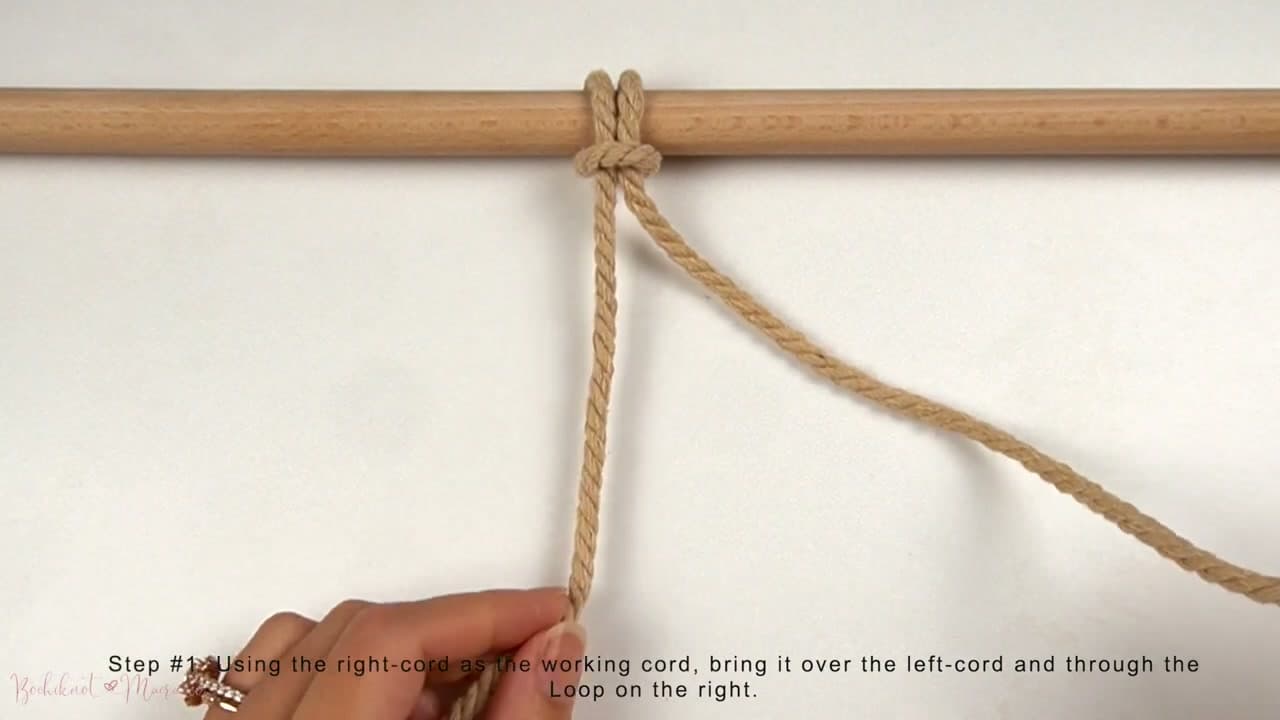
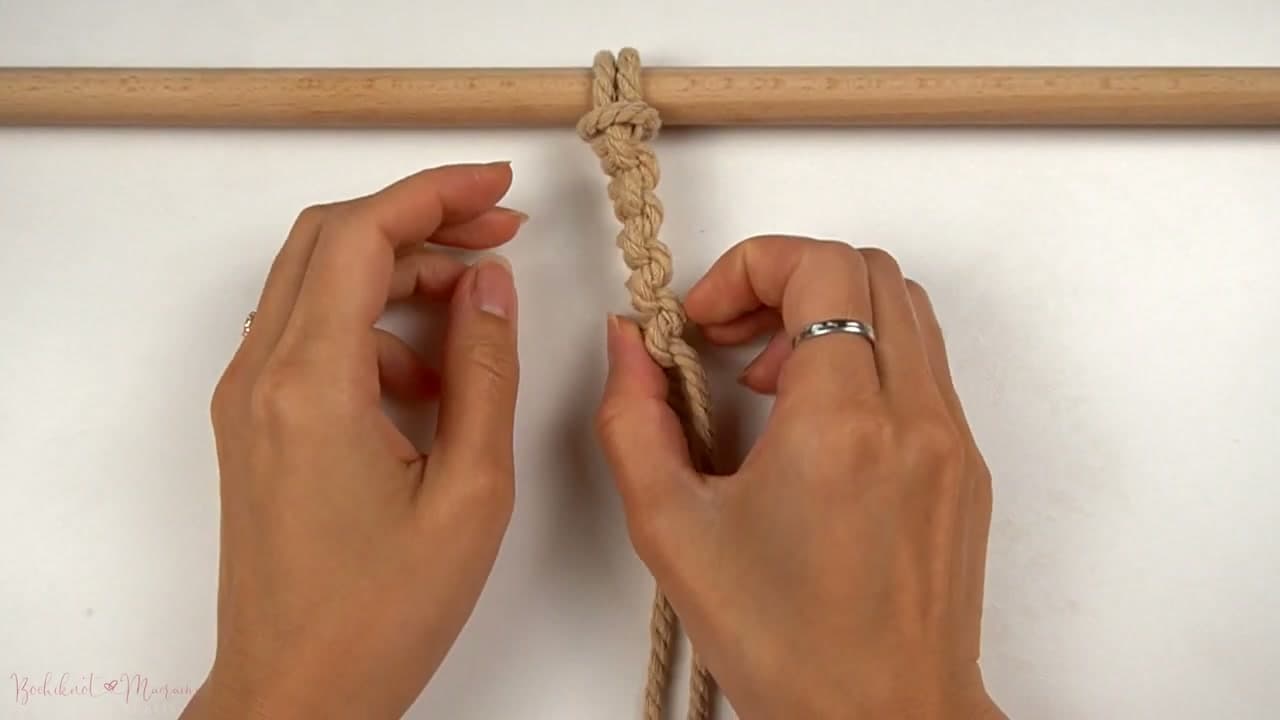
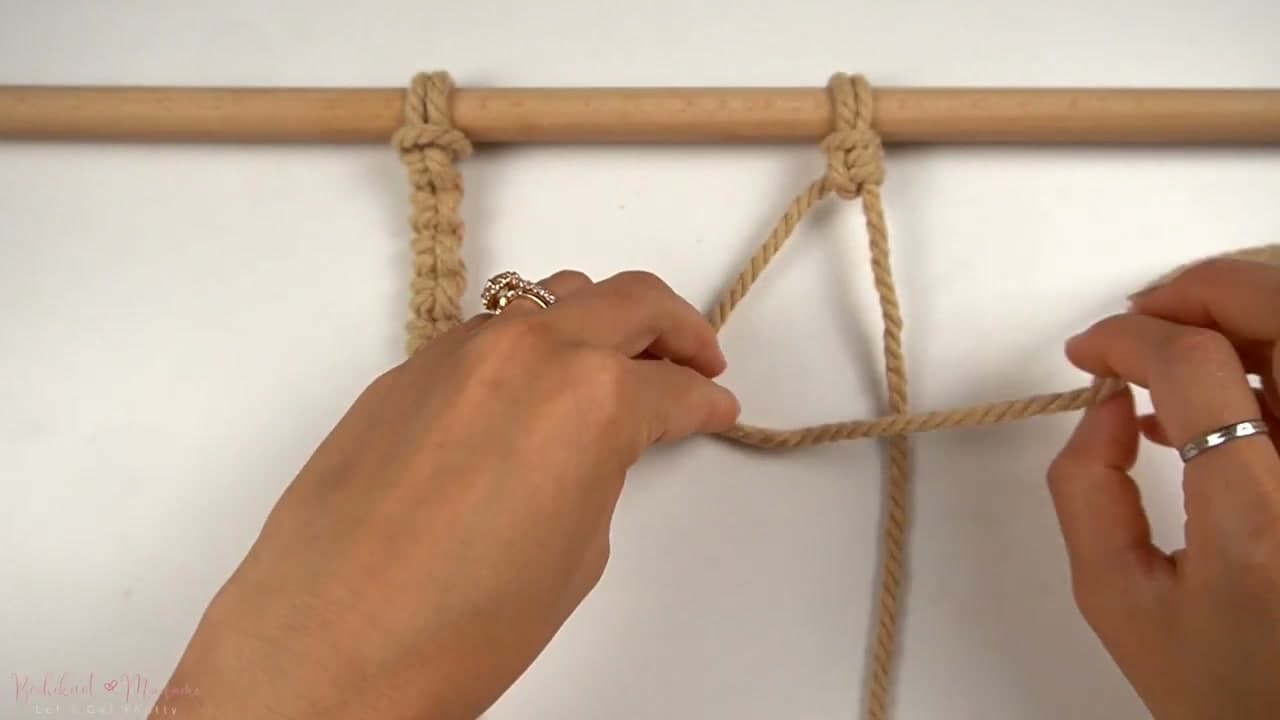
This walkthrough from Nicole at BOCHIKNOT covers the basic lark's head and then takes it a step further with the vertical lark's head, a decorative variation that builds a chained knot pattern down your cord. The vertical version takes a few practice tries to get the cord direction right, but once it clicks, you'll use it everywhere.
What the lark's head knot is for
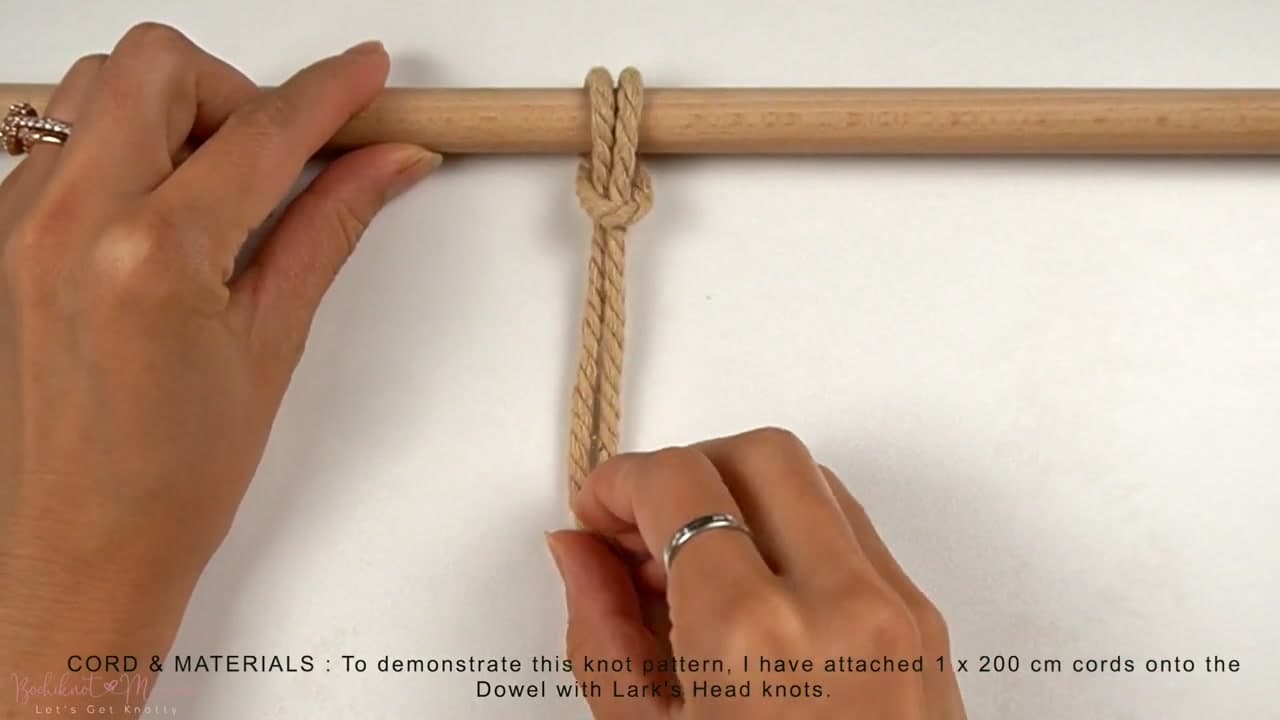
Mounting. You fold a cord in half, loop it over a dowel or ring, and pull the tails through. Two working strands now hang from one secure point, and nothing slips. Almost every macrame project starts with a row of these along the top.
It also works as a way to hang a tag from a bag strap, and it's the start of most cord keychains.
Standard vs reverse lark's head
Same knot, two faces. With the standard lark's head the horizontal bump sits on the front of the dowel. Loop the cord over from the front instead and the bump ends up at the back, so the front shows two clean vertical strands. That's the reverse lark's head.
Neither one is wrong. Pick one per piece and stick to it, because a mix of both along the same dowel looks messy.
Double lark's head and lark's head sinnets
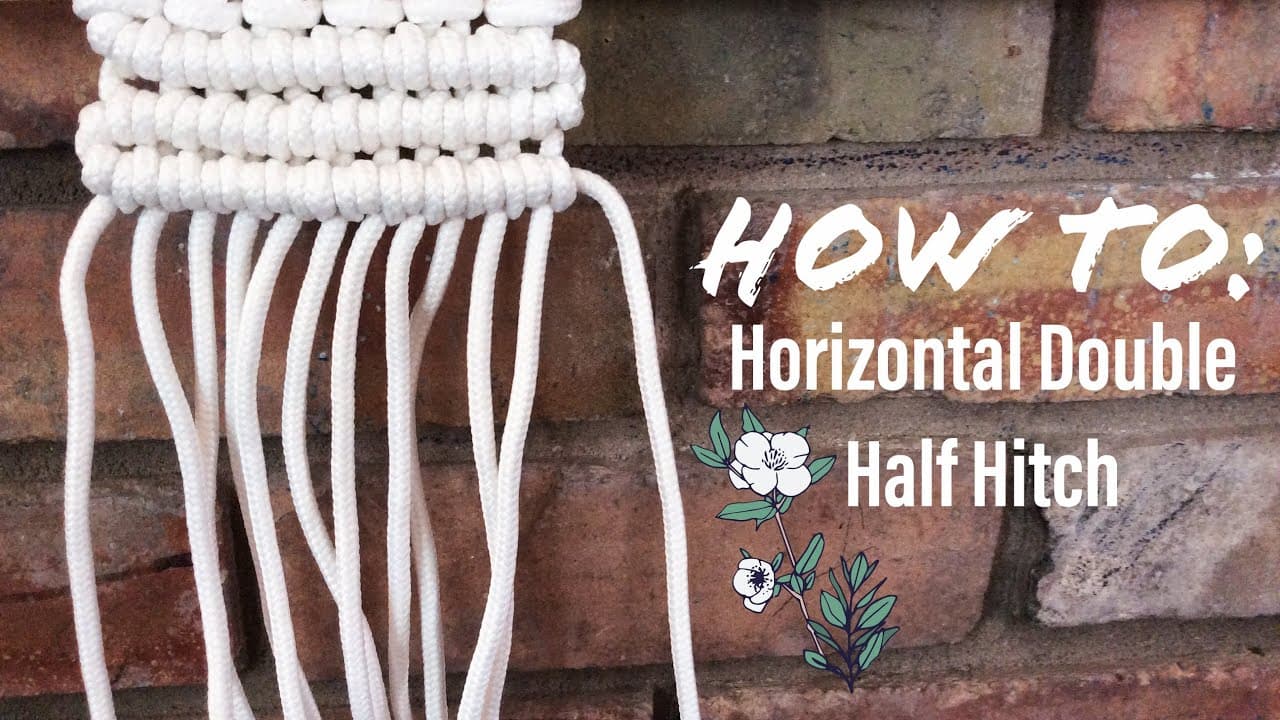
A double lark's head adds a half hitch on each side of the mount. You get a wider knot that grips the dowel harder, which helps on heavy pieces.
The vertical lark's head in this tutorial, repeated down an anchor cord, becomes a lark's head sinnet - a chain with a zig-zag edge. It makes a good border, or a strap for a small hanger.
How much cord to cut for mounting
Because the cord folds in half, every mounted piece hangs as two strands at half the length you cut. Work out how long you want each strand to hang, add length for the knots you'll tie, then double it. A rough rule: knotted sections eat three to four times their finished length in cord. Running short halfway down a wall hanging is no fun, so cut long.
Other uses for the knot
- Keychains and bag charms: mount a few cords on a split ring and knot down from there.
- Bracelets: start a cord bracelet on a lark's head loop, then finish with a sliding bracelet knot.
- Plant hangers: mount on a wooden ring and build down to a macrame plant hanger.
Troubleshooting
- Twisted loops. One strand crossed over the other as you pulled through. Loosen it, lay both strands flat and side by side, and tighten again.
- Uneven tails. The fold wasn't centered. Line the ends up before you fold, or one side runs out first.
- Knots sliding on the dowel. Tighten each mount firmly and push them snug against each other. On a smooth dowel, a double lark's head grips better.
What to tie next
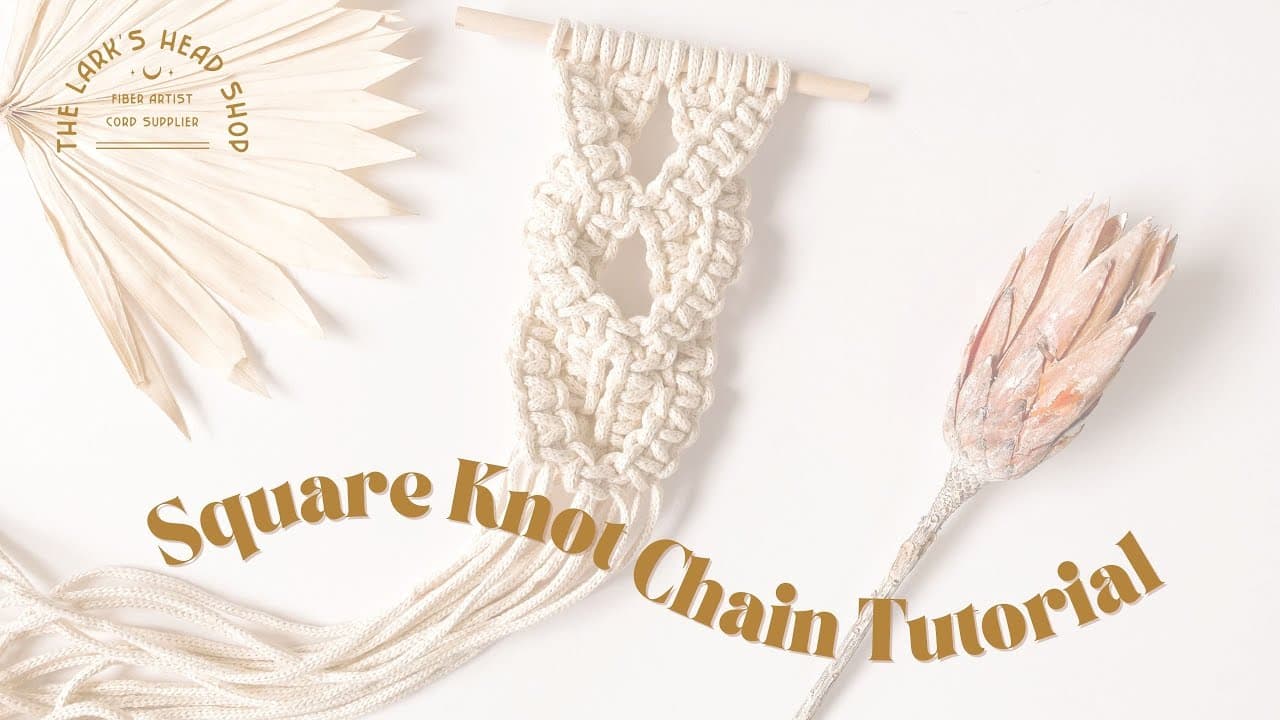
Once your cords are mounted, the knot you almost always tie next is the square knot. For the other basic knots, see how to macrame, then put them together in a macrame wall hanging. A good first project is an easy macrame wall hanging that uses lark's head mounting plus a few square knots.