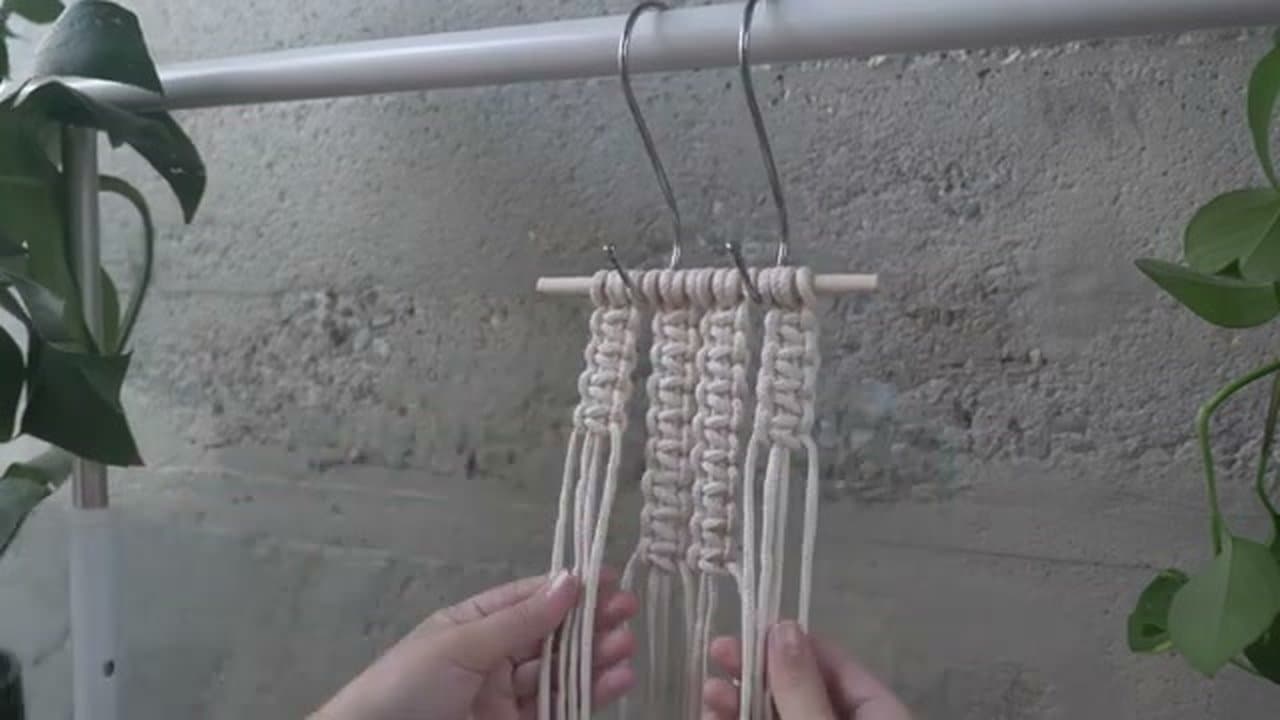
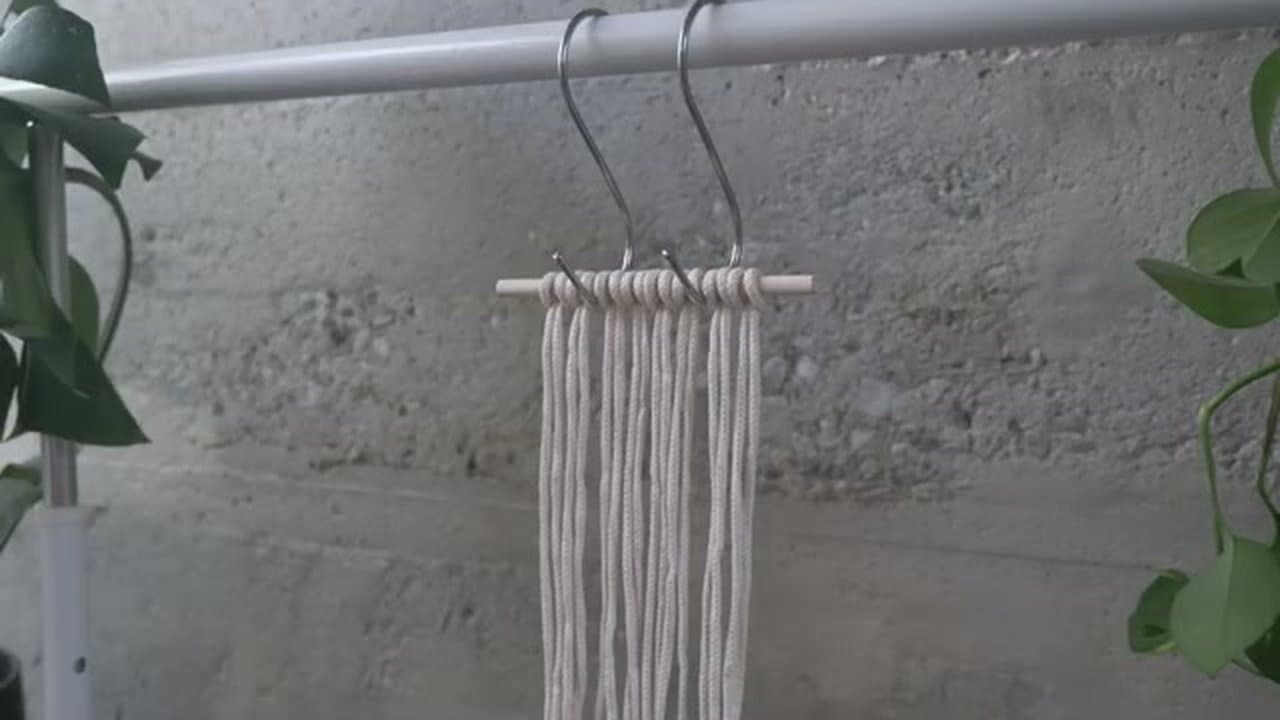
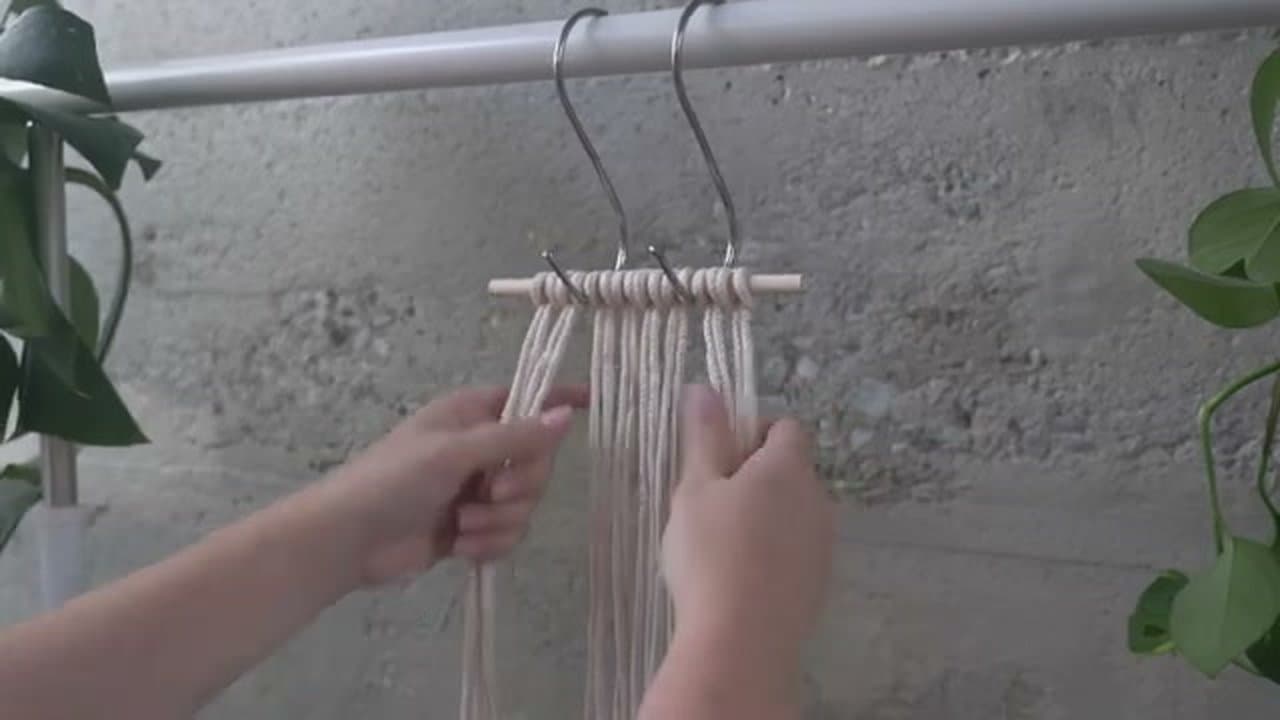
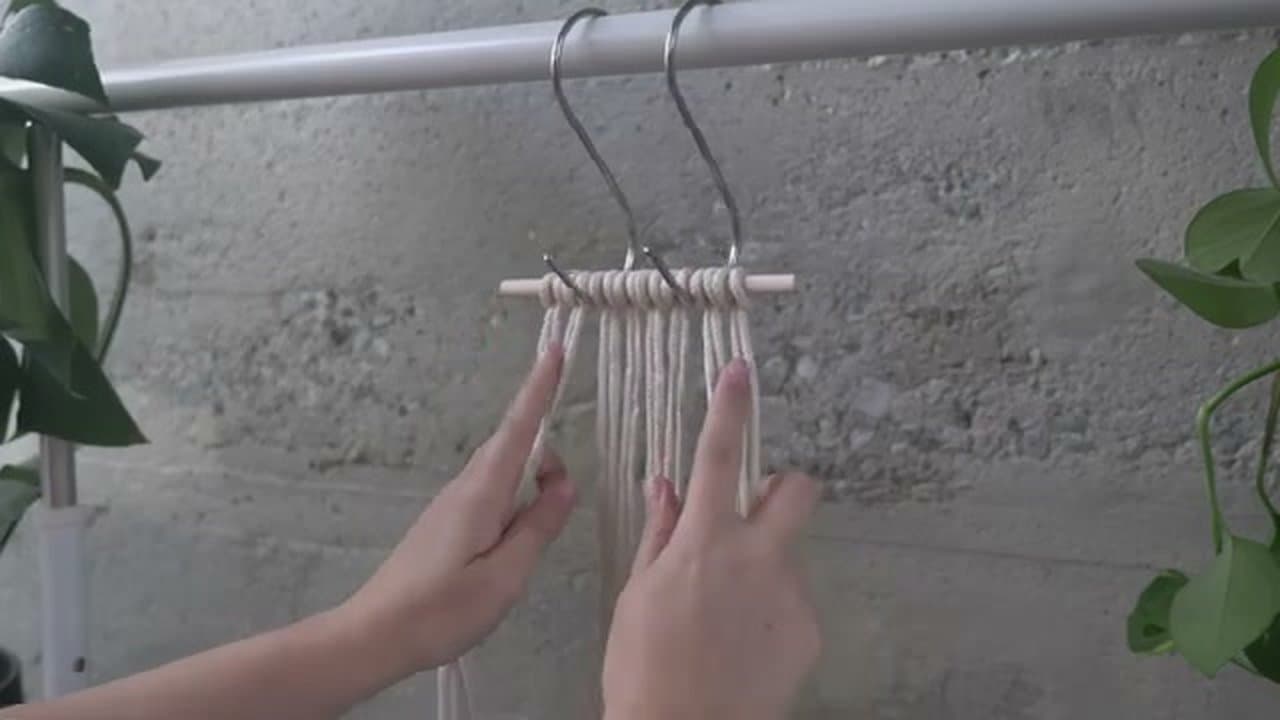
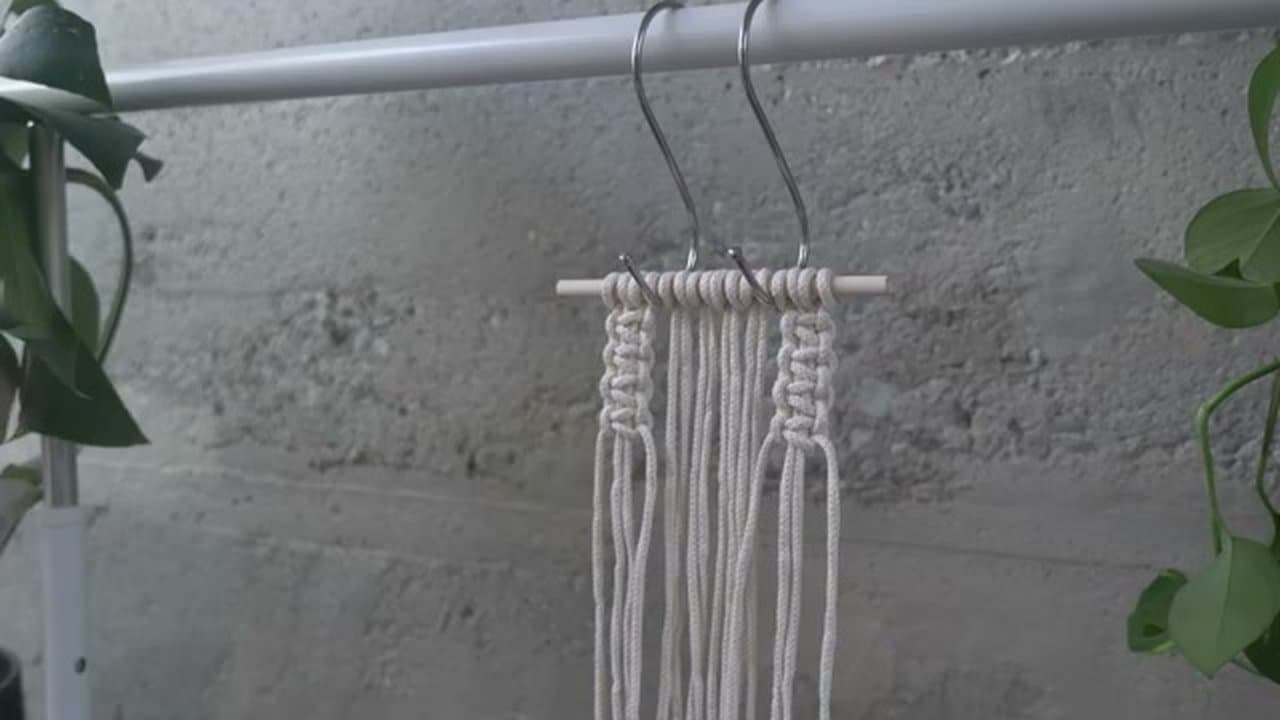
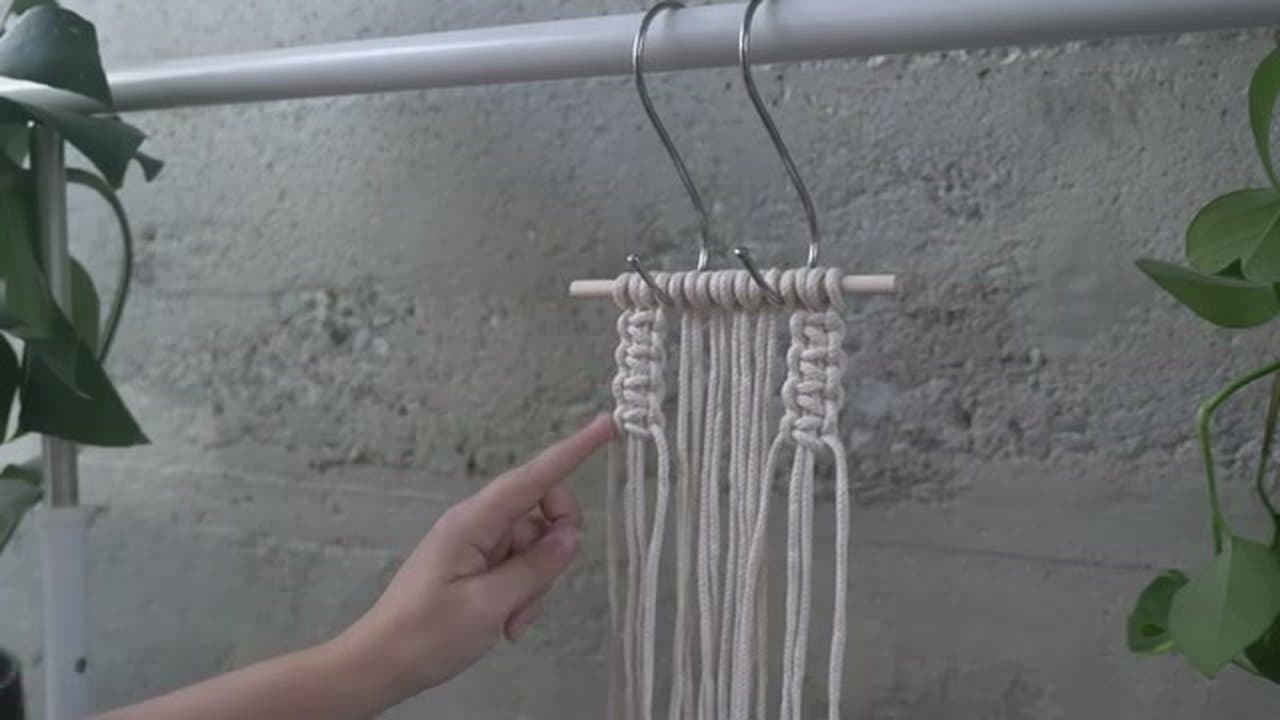
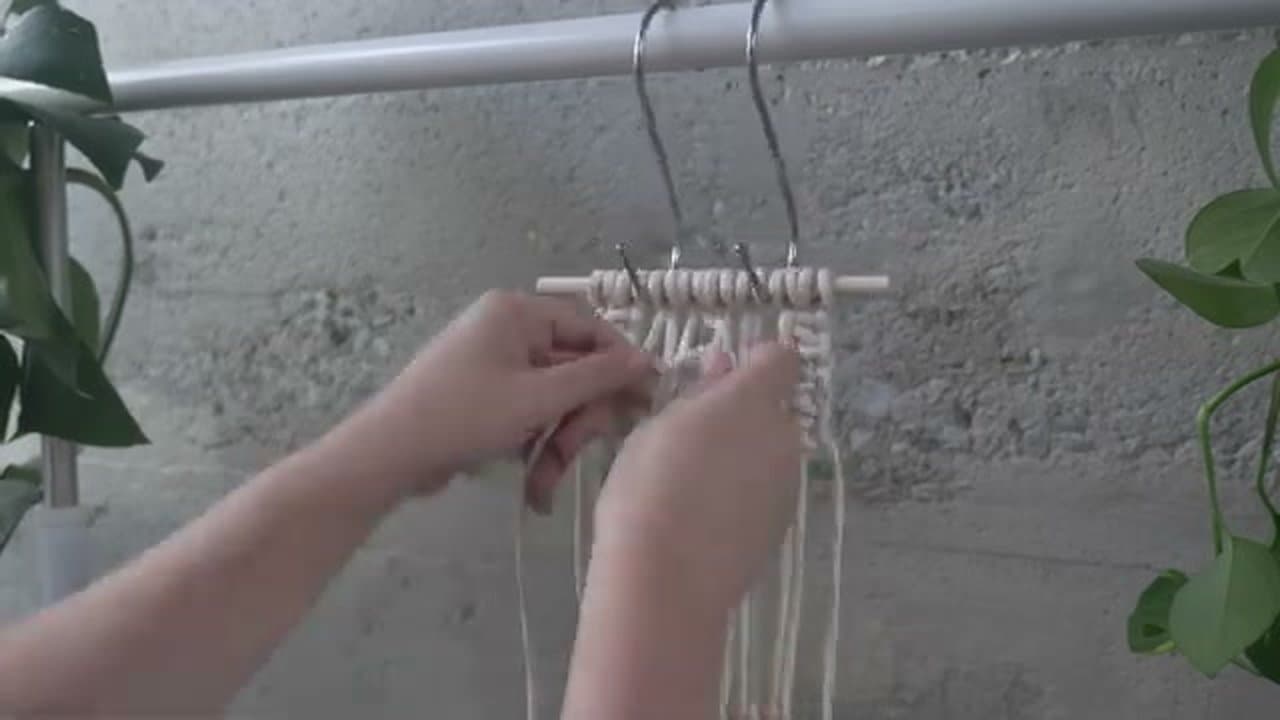
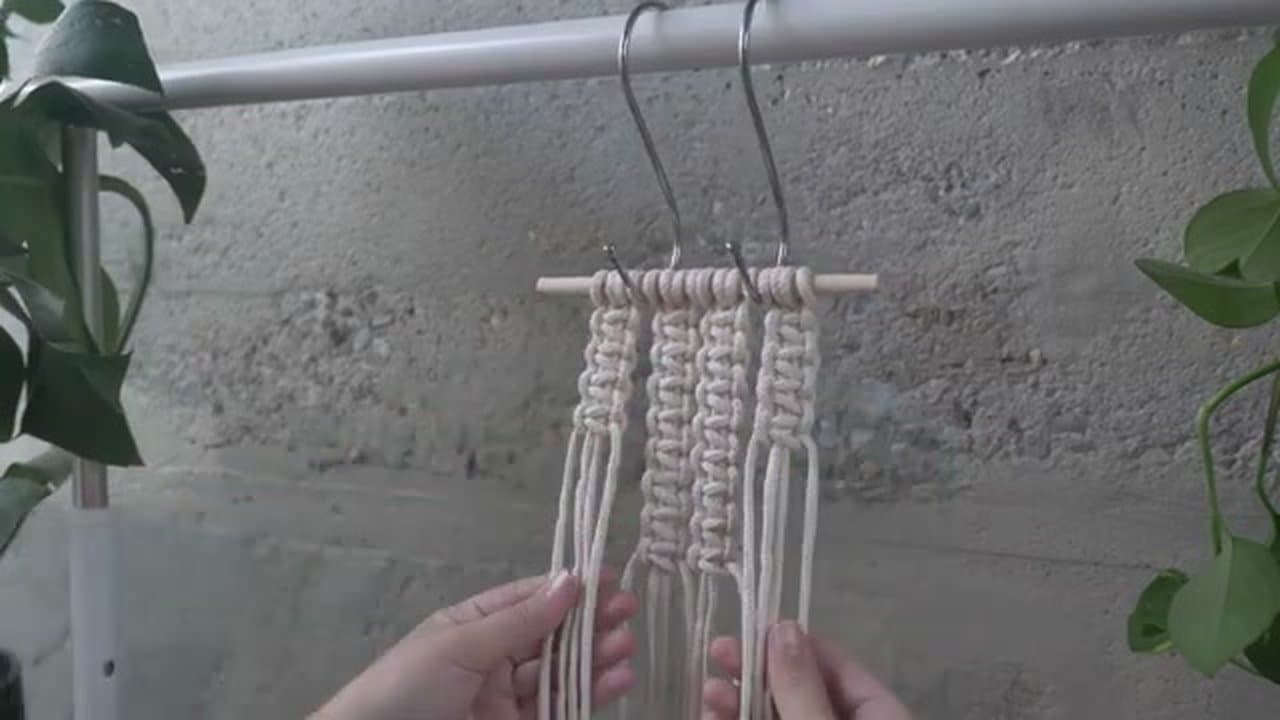
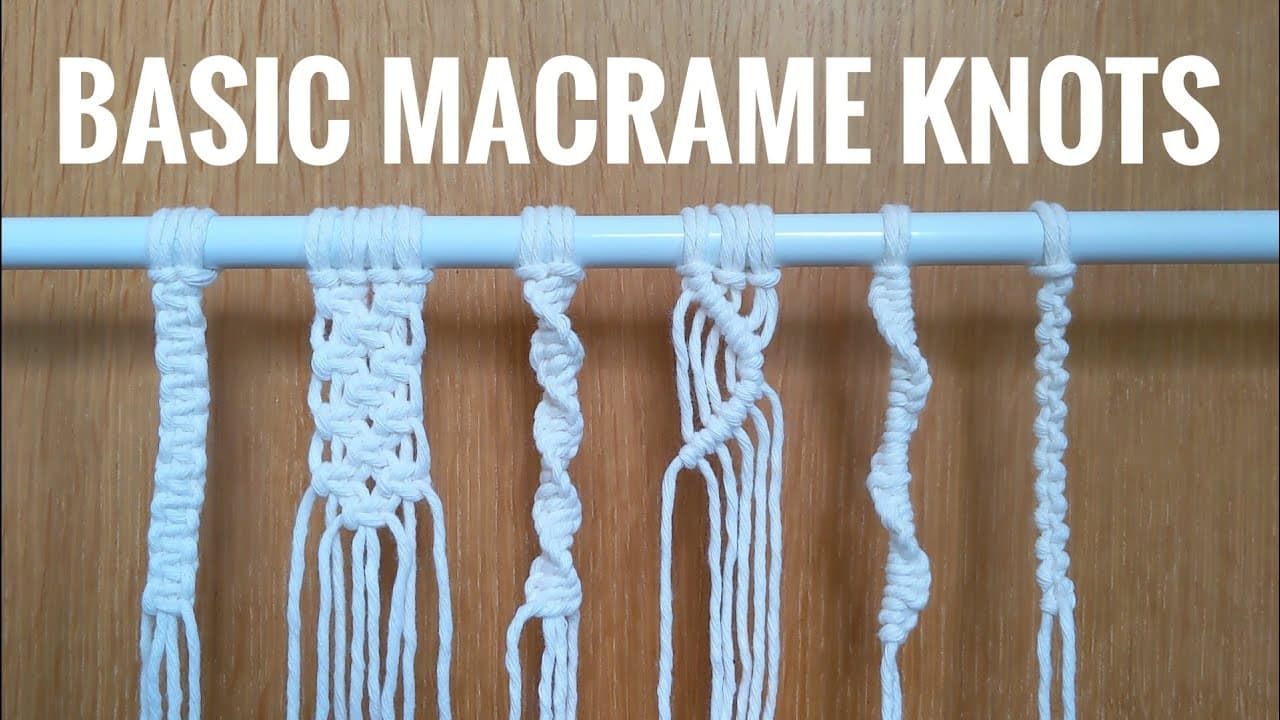
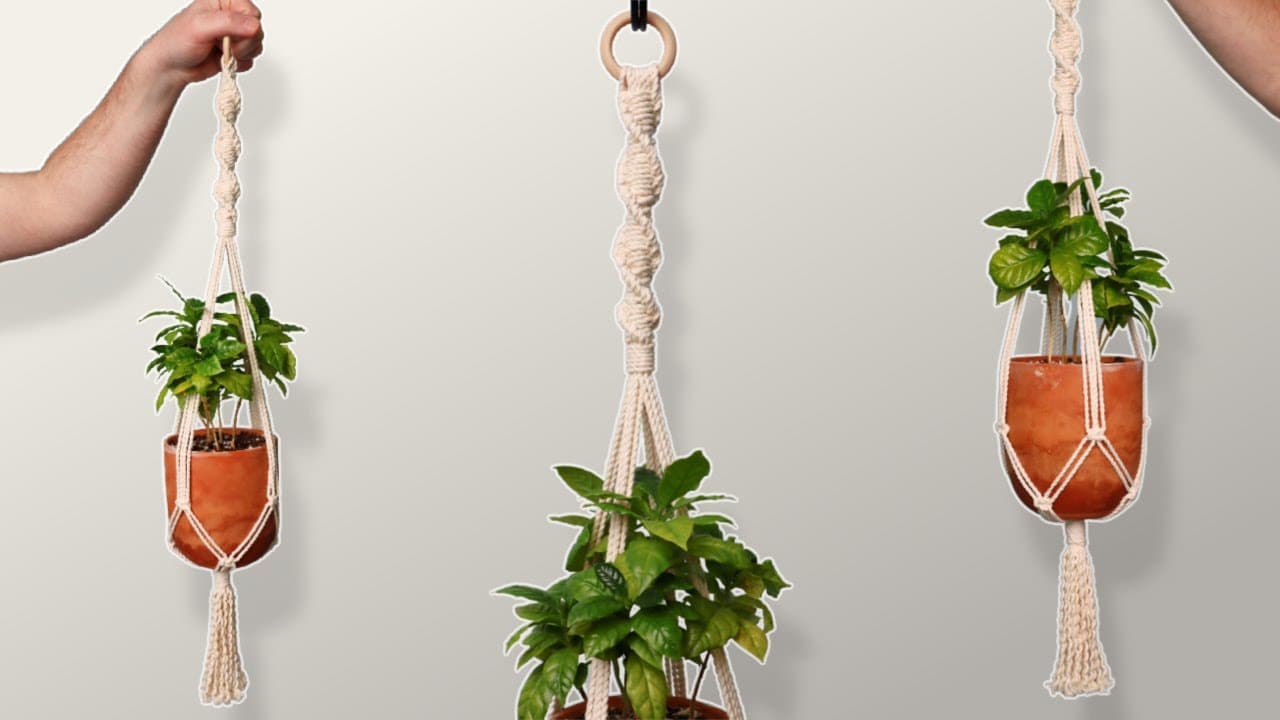
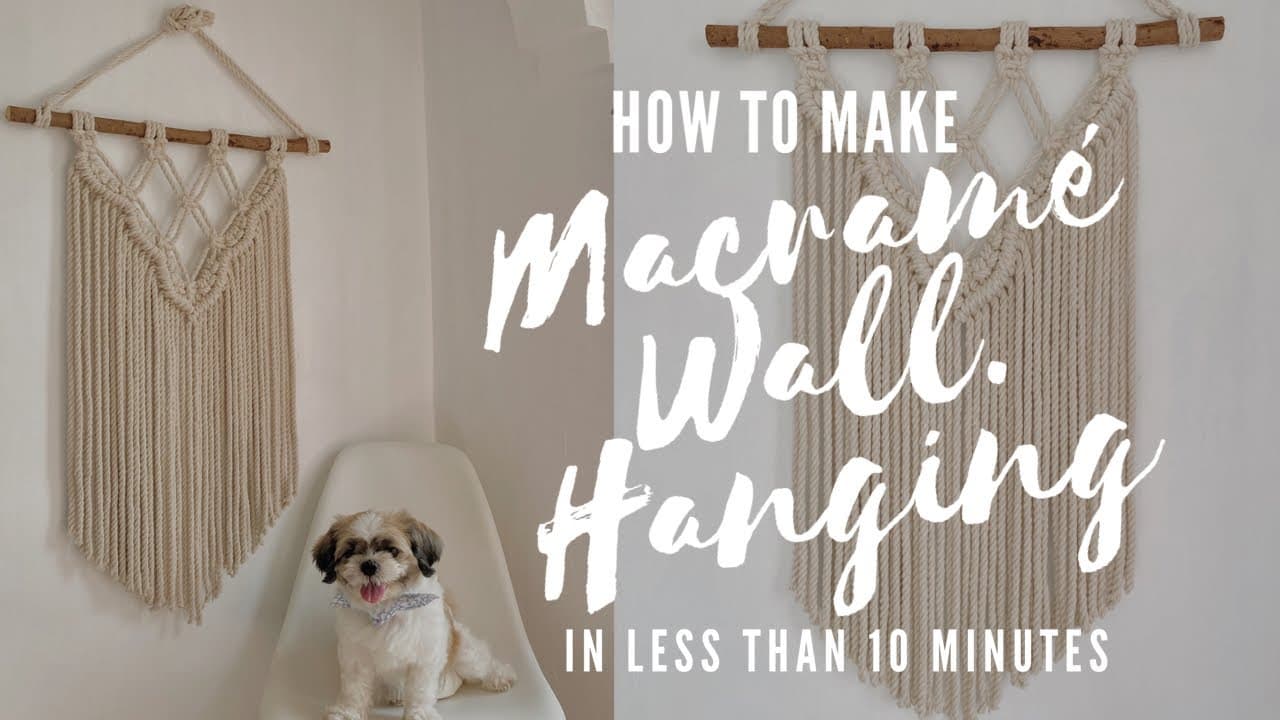
The square knot is the knot behind almost every macrame project you have ever seen. Plant hangers, wall hangings, keychains, bracelets - if you can tie a clean one, you can build any of them. It uses four cords: the two outer ones do all the wrapping, and the two inner ones stay still and form the spine.
Moptop Goods works through it in the video above. Ten minutes on scrap cord takes it from puzzle to muscle memory.
What you need
- 3mm or 4mm single twisted cotton cord
- A dowel, a ring, or the back of a chair to mount on
- Sharp scissors
- Two S-hooks to hang it at eye level
Beads and a comb are for finishing, not practice. If the cords will not stay put on the dowel, start with the lark's head knot.
Working cords and filler cords
A macrame square knot takes four strands - two lark's head knots give exactly that. Number them 1 to 4 from the left. Cords 1 and 4 are the working cords and do all the travelling. Cords 2 and 3 are the fillers: they hang straight down and get wrapped.
Most beginner mistakes trace back to this. The fillers drift, or you tie around a working cord instead of the spine. Pinch 2 and 3 taut in your other hand and the knot comes out square even without looking.
Why the two halves face opposite directions
One square knot is two half knots that mirror each other. The first sends the left working cord over the fillers, the right one under and up through the loop. The second starts from the right: right over, left under and up through the loop on the other side.
Each half twists the knot one way, so running them opposite cancels the twist and it lies flat. A finished macrame square knot shows two small horizontal bars stacked up, one per half. Anything else and both halves went the same way.
The half knot spiral
Repeat that first half without mirroring it and the column corkscrews. That is a half knot sinnet - the same knot done wrong on purpose. The twisted arms on most macrame plant hangers are spirals, not square knots. The column turns a quarter every four knots or so. Let it rotate in your hand instead of fighting it.
Alternating square knots across rows
Stacked on the same four cords, square knots make a sennit, a straight column. Nets and diamonds come from regrouping the cords each row. With eight strands: row one knots cords 1-4 and 5-8. Row two drops the outer two strands on each side and ties one knot on 3-6, a little lower. Row three repeats row one. How far you drop each row decides how open the net looks, and it is the structure behind most of a macrame wall hanging.
How much cord to cut
Square knots eat cord. Each one folds in half at the mount, so a cut length gives two strands of half that. Measure the finished length and multiply:
- Knots at the top and bottom only - cut 4x
- About half the length knotted - cut 6x
- Dense knots or spiral throughout - cut 8x
Working cords burn far more than fillers, so cut the outer two long. Running out halfway has no clean fix.
Common problems and how to fix them
It spirals when you wanted flat. Both halves went the same way. Untie back to the last knot showing two clean bars and mirror from there.
Knots slide down the fillers. Pull the working cords out sideways, not down, then push the knot up snug against the one above.
Knots come out different sizes. Tension, not technique. Pull to the same feel each time rather than as hard as you can. Tie ten in a row and the drift shows up.
Cords twist between knots. Single twisted cotton unwinds as you handle it. Shake the tails out every few knots.
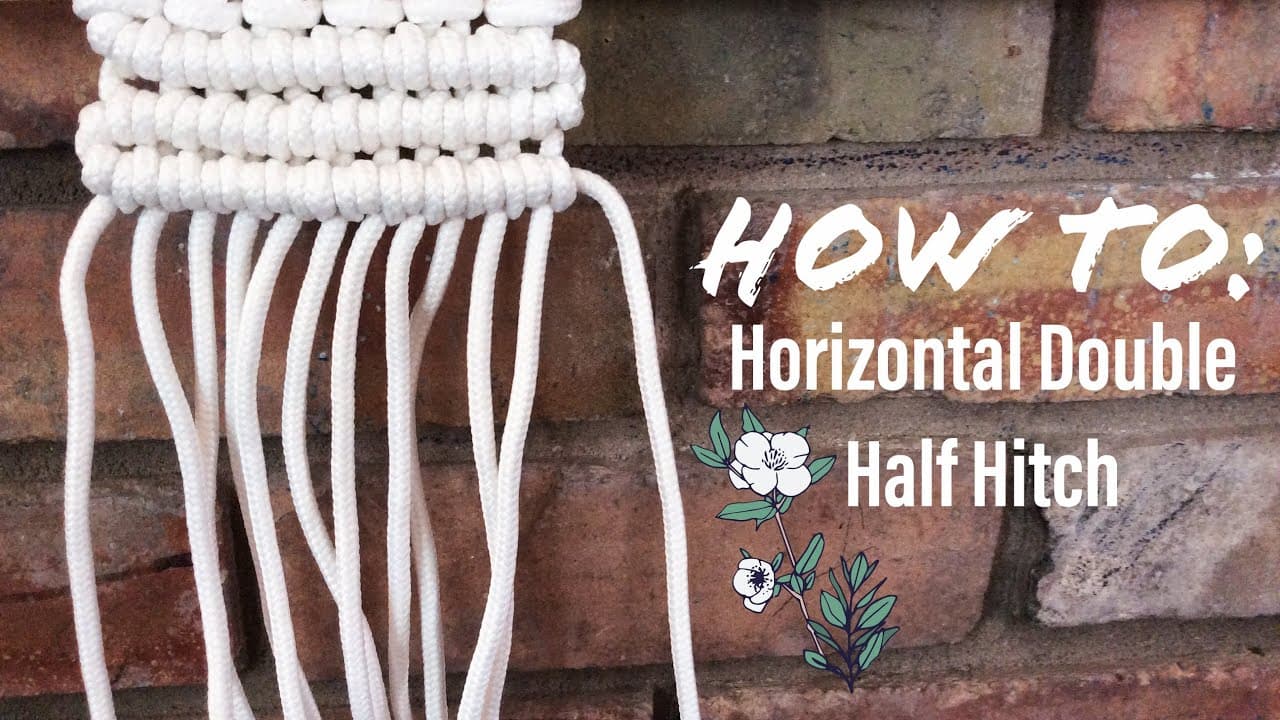
The next knot to learn is the half hitch, which draws the diagonal lines across a piece. Our macrame starter guide shows where each one fits.