How to Make a Macrame Wall Hanging - Beginner Pattern

Also in:Crafts

By ShowMeStepByStepPublished Updated

Based on a video by Habit Made.

A macrame wall hanging looks elaborate but it's just three knots layered into a pattern. Larkshead attaches the cords to a wooden dowel. Square knots build the textured center. Double half hitch knots form the diagonal V at the bottom that frames the design.

Habit Made walks through a beginner-friendly version that takes about 45 minutes once you've practiced the knots. The clean white cotton cord against a wooden dowel is the classic boho look - it goes with almost any decor without trying.

The trickiest part is keeping the knot tension even. If one row looks tighter than another, it's usually because you're pulling harder on one side. Slow down and the rows even out. The whole piece is forgiving - small inconsistencies become part of the handmade character.

Step-by-Step Guide

1

Gather Your Supplies

0:30
Step 1: Gather Your Supplies

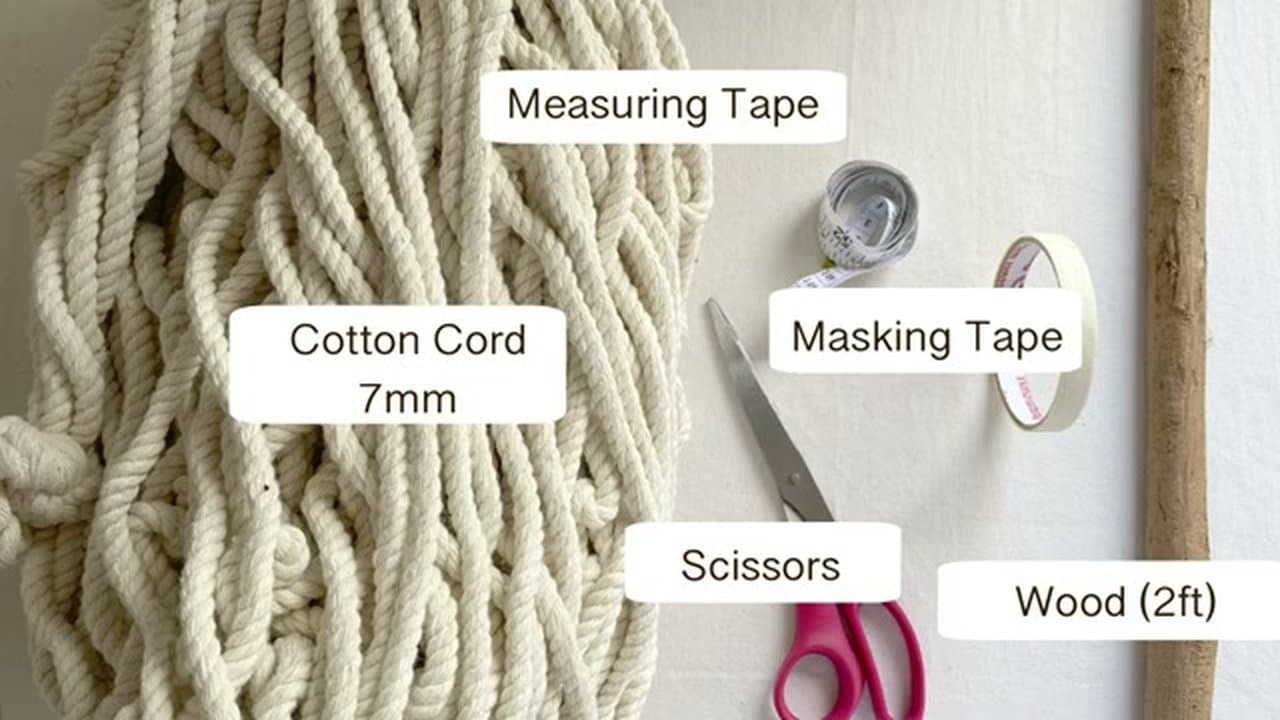
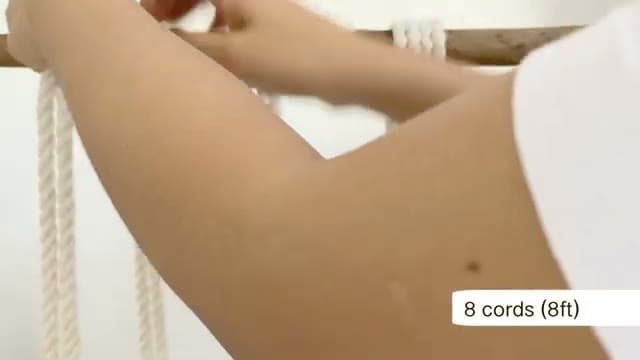
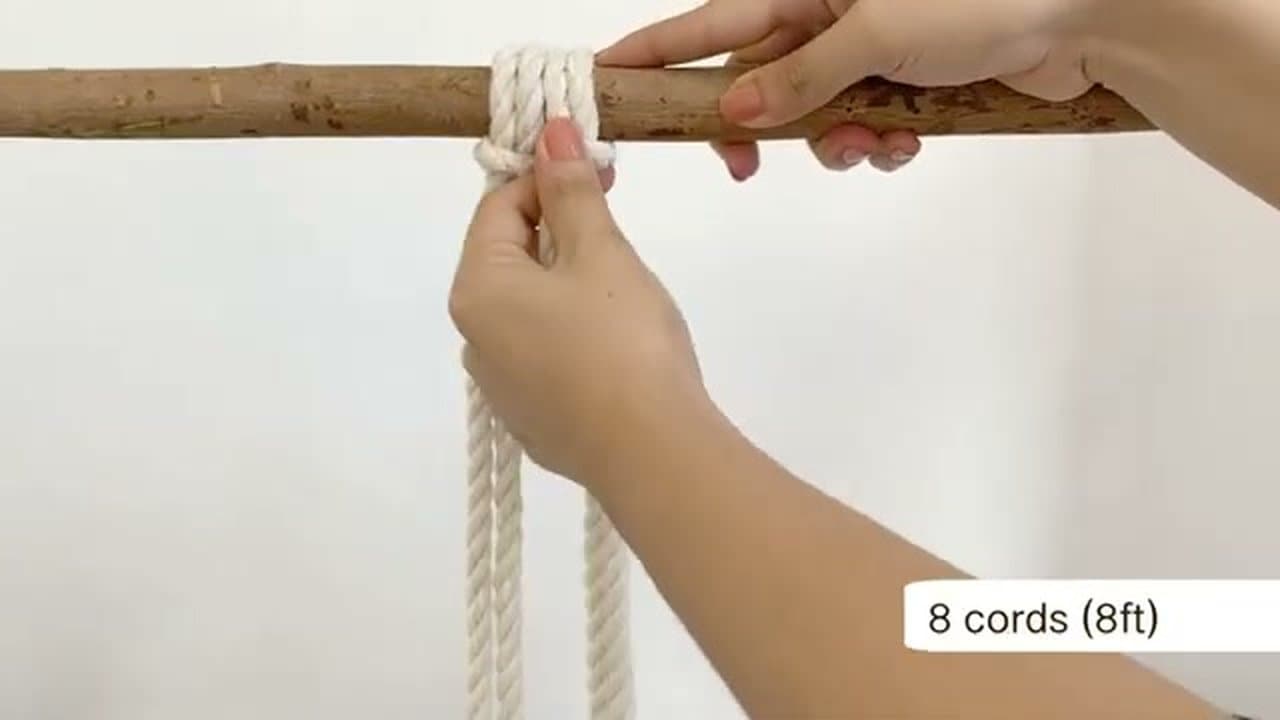
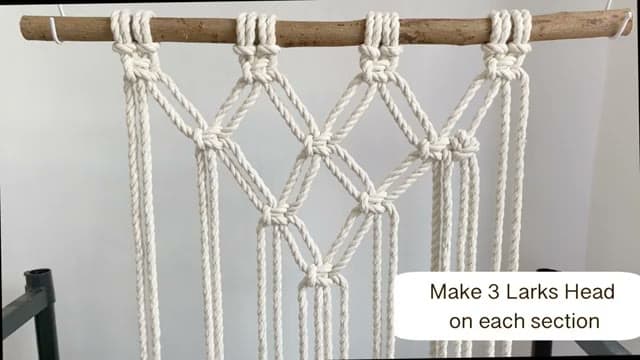
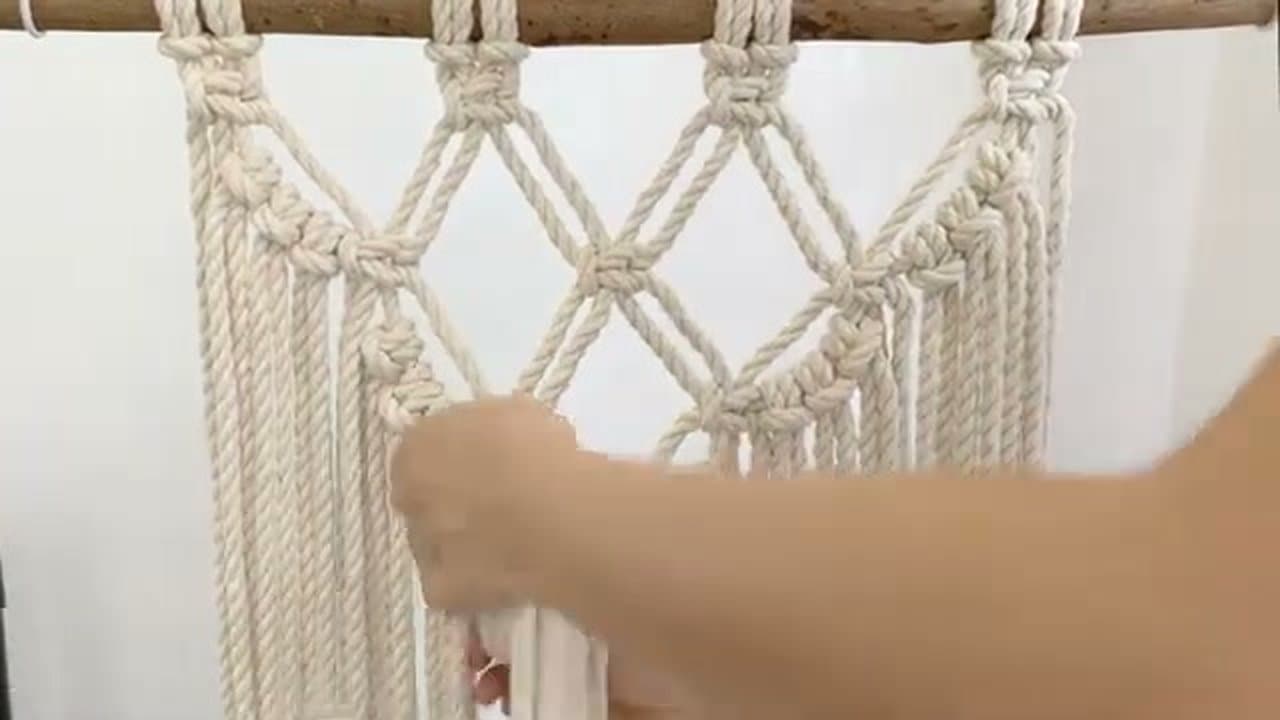
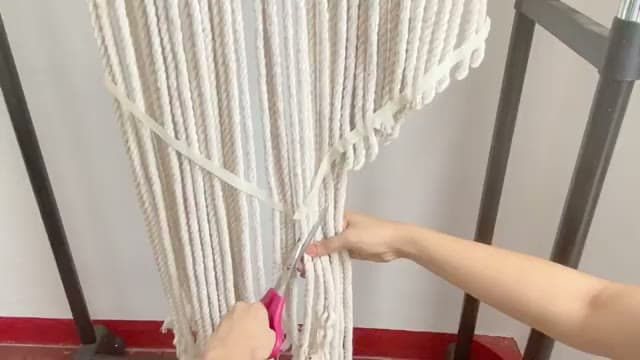
You need cotton macrame cord (7mm thickness is the standard for wall hangings), sharp scissors, a measuring tape, masking tape, and a 2-foot wood dowel or natural branch.

Cotton cord gives a soft, lived-in look once it unravels at the bottom into fringe. Avoid synthetic cord - it doesn't fray the same way and the texture feels plasticky.

Tip

Look for a natural-finish wooden branch instead of a perfect dowel - it adds rustic character. Most craft stores sell them in the floral or wedding section.

2

Cut Your Cords

1:50
Step 2: Cut Your Cords

Cut 8 cords at 8 feet each - these go in the center of the design and need extra length for all the knots. Then cut 18 cords at 6 feet each - these add to the sides later.

Lay them flat on the floor as you cut so the lengths stay even. Cotton cord stretches if you measure it under tension.

Tip

Always cut a foot longer than you think you need. Macrame eats cord faster than expected, and running out 3/4 of the way through the design is the worst feeling.

3

Attach Cords with Larkshead Knots

1:15
Step 3: Attach Cords with Larkshead Knots

Tape the dowel to a flat surface or hang it on a hook so it stays still. Fold each 8-foot cord in half. Loop the fold over the front of the dowel, pull both tails back through the loop, and snug it up.

That's a larkshead knot. Repeat with all 8 cords, spaced evenly across the center of the dowel.

Tip

Push each new larkshead snug against the previous one - small gaps look intentional, big gaps look sloppy.

4

Tie the First Square Knot Row

2:25
Step 4: Tie the First Square Knot Row

Group the hanging cords into bundles of 4 (the two outer cords are the working cords, the two inner cords are the filler).

Drop down 3.5 inches from the dowel. Tie a square knot at each bundle. A square knot is two half-knots tied in opposite directions - left over right, then right over left.

Tip

Keep your tension even across all the knots in one row. Pull each knot to the same tightness or the row dips and waves.

5

Build Square Knot Rows in a V

3:20
Step 5: Build Square Knot Rows in a V

Drop another 2.5 inches and tie the second row of square knots, but offset between the first row's knots (this is called alternating square knots).

Repeat with another row of 2 knots offset 2.5 inches below, then a final single knot at the bottom point. The result is a downward-pointing V of square knots in the center.

Tip

If your V isn't centered on the dowel, you used different bundles than expected for the offset. Untie back to the previous row and start the alternation pattern over.

6

Attach 18 More Cords

5:30
Step 6: Attach 18 More Cords

Take the 18 shorter (6-foot) cords. Attach them with larkshead knots in groups of 3 - that's 3 cords per section, alternating sections on each side of the central V.

Once all are attached, the dowel is fully covered with cords hanging down. The design is starting to take shape now.

Tip

The video calls these 'larks heads' but the technique is identical to step 3 - just three folded cords instead of one. Pinch all three folds together before threading through the loop.

7

Diagonal Double Half Hitch Knots

7:40
Step 7: Diagonal Double Half Hitch Knots

Starting from the leftmost cord at the top, tie diagonal double half hitch knots working down toward the center. Each knot wraps the working cord twice around a holding cord laid diagonally across the design.

Repeat from the right side. The two diagonal lines meet at the bottom of the central V to frame the square-knot section in a diamond shape.

Tip

Double half hitch is the slowest knot in macrame - don't rush. The diagonal angle has to stay consistent or the V looks crooked.

8

Trim the Bottom Fringe

12:00
Step 8: Trim the Bottom Fringe

Tape a piece of masking tape across the bottom in a V or straight line - this is your cut guide. Trim the cords with sharp scissors right along the tape edge.

Pull the masking tape off and comb out the fringe with your fingers if you want a fluffier, lived-in look. Hang the dowel on a wall hook.

Tip

Steam-iron the cord ends after trimming for a neat finish. A little water in a spray bottle plus an iron on the cotton setting tames frizzy ends in seconds.

Products Used

☐ The Checklist

How to Make a Macrame Wall Hanging - Beginner Pattern

Tools
3
Materials
2
Steps
8
Video
13 min

Your Guide

Habit Made

As an Amazon Associate we earn from qualifying purchases. Links on this page may be affiliate links - clicking them and buying doesn't change your price, but helps support ShowMeStepByStep.

Tags

Test your knowledge

Did the lesson stick? Find out in 2 minutes.

5 quick questions covering what you just read. No signup, no score saved — just a gut check.

Quick reference

Key takeaways from How to Make a Macrame Wall Hanging - Beginner Pattern

5 questions, answers, and one-line explanations. Tap to expand.

  1. 1.

    Answer: Larkshead knot

    The larkshead knot folds each cord in half over the dowel, instantly creating two working strands from a single cord.

  2. 2.

    Answer: The two outer (working) cords, while the center cords stay straight

    The outer two are the working cords that do all the knotting; the inner two are filler cords that stay taut and straight.

  3. 3.

    Answer: 7mm

    7mm cotton cord hits the sweet spot for wall hangings — substantial enough to show texture clearly without being too stiff to knot easily.

  4. 4.

    Answer: Offsetting each row so new knots group cords that straddle two previous knots, dropped at intervals

    Staggering rows at 2.5-inch intervals and grouping cords between previous knot positions creates the offset that naturally forms V or diamond shapes.

  5. 5.

    Answer: Tape masking tape across the bottom as a cutting guide, then trim along the tape edge

    A masking tape guideline gives you a consistent straight edge to cut against — far faster and more accurate than measuring each cord individually.

What's next

Weekly Digest

Liked this macramé tutorial?

Pick the categories you want to hear about. Weekly digest of new step-by-step tutorials. No spam, easy unsubscribe.

Send me tutorials about

We only email about new tutorials. Easy unsubscribe anytime.