How to Fold a T-Shirt - 4 Different Methods

LifestyleEasy4:435 steps
Also in:Adulting

By ShowMeStepByStepPublished Updated

Based on a video by Real Men Real Style.

Step-by-Step Guide

1

Step 1: The Basic Fold

0:25
Step 1: Step 1: The Basic Fold

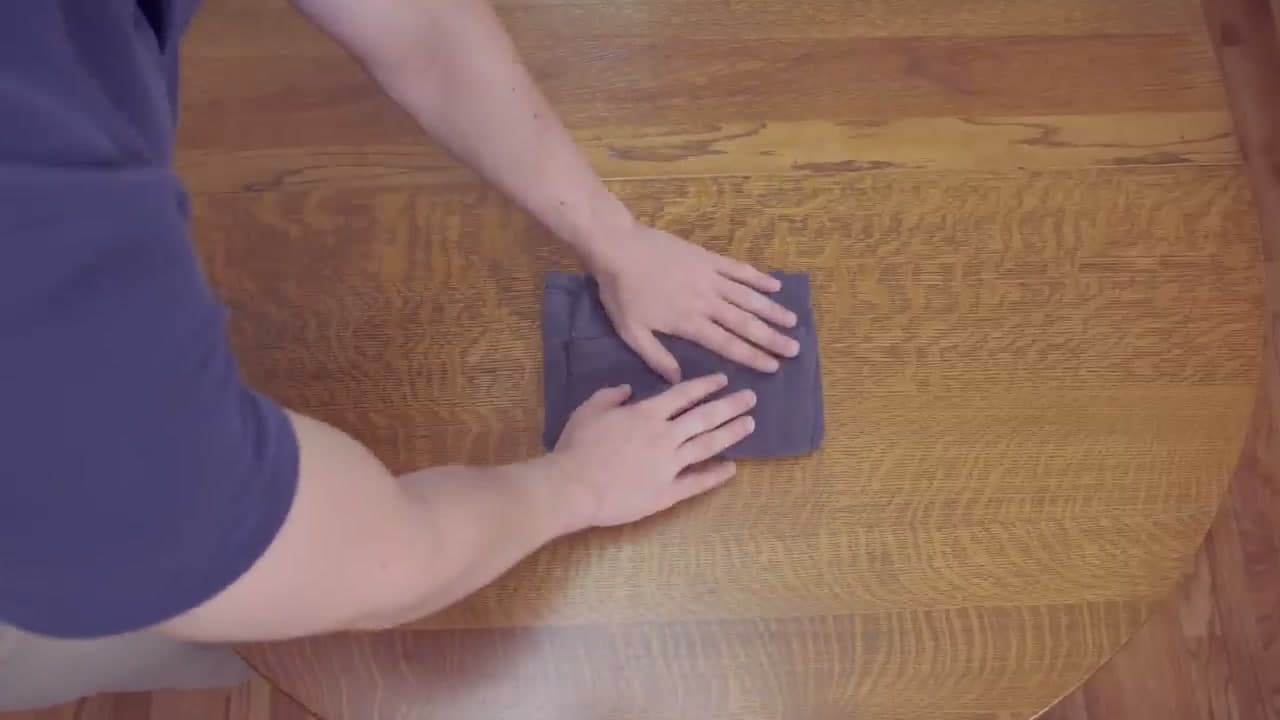
This is the fold most people default to. Lay the shirt face down on a flat surface. Fold it in half from left to right so the sleeves stack on top of each other. Fold the sleeves back toward the middle so they don't stick out past the shirt edge. Then fold the shirt in half from the hem up to the collar.

If you want the fold smaller (for a packed drawer), fold it in half once more. It's simple and works for both dresser storage and travel. The downside is you'll get crease lines where the folds sit.

2

Step 2: The Marine Roll

1:45
Step 2: Step 2: The Marine Roll

This one's a space-saver. Lay the shirt face up. Fold the bottom hem up about three to four inches - this cuff is what you'll use to lock the roll in place at the end.

Smooth out the fabric, then fold the shirt into thirds: left side over the center, then the left sleeve back. Same on the right side. Now you've got a vertical strip. Roll tight from the collar end down to the hem. When you reach the end, unroll the cuff you made and tuck it over each end of the roll.

Best for suitcases, backpacks, and packed drawers. Takes longer than every other method but gives you maximum compression.

Tip

Roll tight from the start. A loose roll falls apart the first time you move it.

3

Step 3: Hang on a Plastic Hanger

1:55
Step 3: Step 3: Hang on a Plastic Hanger

No folding at all. Slide the shirt onto a hanger and put it in the closet.

Use plastic hangers, not wire. Wire hangers stretch the shoulders into bumps that you can't get out without rewashing. Plastic distributes the weight more evenly.

Best when you have closet space and you hate the crease lines that folding leaves. Worst if your closet is small or you travel with the shirts often (you'll just be folding them again later).

4

Step 4: The Two-Second Fold

2:50
Step 4: Step 4: The Two-Second Fold

The fastest fold in the video. Lay the shirt flat and smooth out wrinkles.

Imagine two lines: one running across the middle of the shirt horizontally, one running top to bottom between the collar and the sleeve. Where the two lines meet is point A. The top of the shirt is point B. The bottom is point C.

Pinch point A with your left hand - grab both layers of fabric. Pinch point B with your right hand. Bring point B down to meet point C. Uncross your arms by laying the shirt face down on the table, then smooth the bottom flap into place.

It looks awkward the first three times. After ten reps it really is about three seconds.

Tip

Practice on a t-shirt you don't care about - you'll fumble the first few until the muscle memory builds.

5

Step 5: Pick the Method That Fits Your Space

3:40
Step 5: Step 5: Pick the Method That Fits Your Space

You don't need a single right answer here. Most people end up using two methods - one for the dresser, one for travel.

Tight drawer? Two-second fold or basic. Suitcase or backpack? Marine roll. Roomy closet and you hate creases? Hanger. The point is to actually fold the shirts after the laundry is done instead of leaving them in a pile - any of these methods beats that.

Products Used

Your Guide

Real Men Real Style

As an Amazon Associate we earn from qualifying purchases. Links on this page may be affiliate links - clicking them and buying doesn't change your price, but helps support ShowMeStepByStep.

Tags

Related Tutorials