How to Do Knotless Box Braids at Home

By ShowMeStepByStepPublished Updated

Based on a video by Tiffani Renae.

Knotless box braids have taken over for good reason. No bulky knot at the root, no tightness that keeps you up at night, and you can toss them in a ponytail the same day they're done. If you've ever worn regular box braids and winced every time you moved your head for the first week, you know exactly why this method matters.

Tiffani Renae walks through her full process here - from the first parting line all the way down to the finished braid. She braids in real time so you can actually see what's happening at each stage, not just a sped-up clip that leaves you guessing.

The technique isn't hard once you understand the one thing that makes it different from regular box braids: you start with your own hair and feed the extension hair in gradually. That's it. No anchor knot. No bulk. Just a smooth, natural-looking root.

Step-by-Step Guide

1

Part the Hair from Ear to Ear

0:17
Step 1: Part the Hair from Ear to Ear

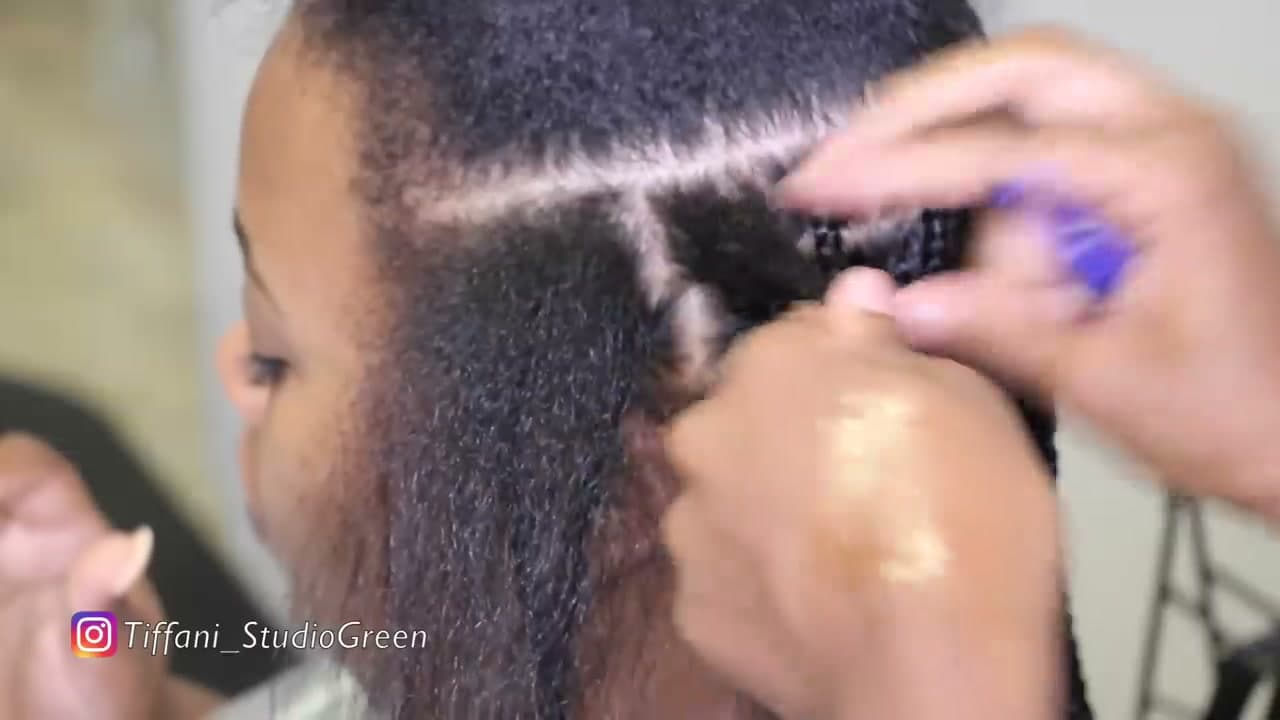
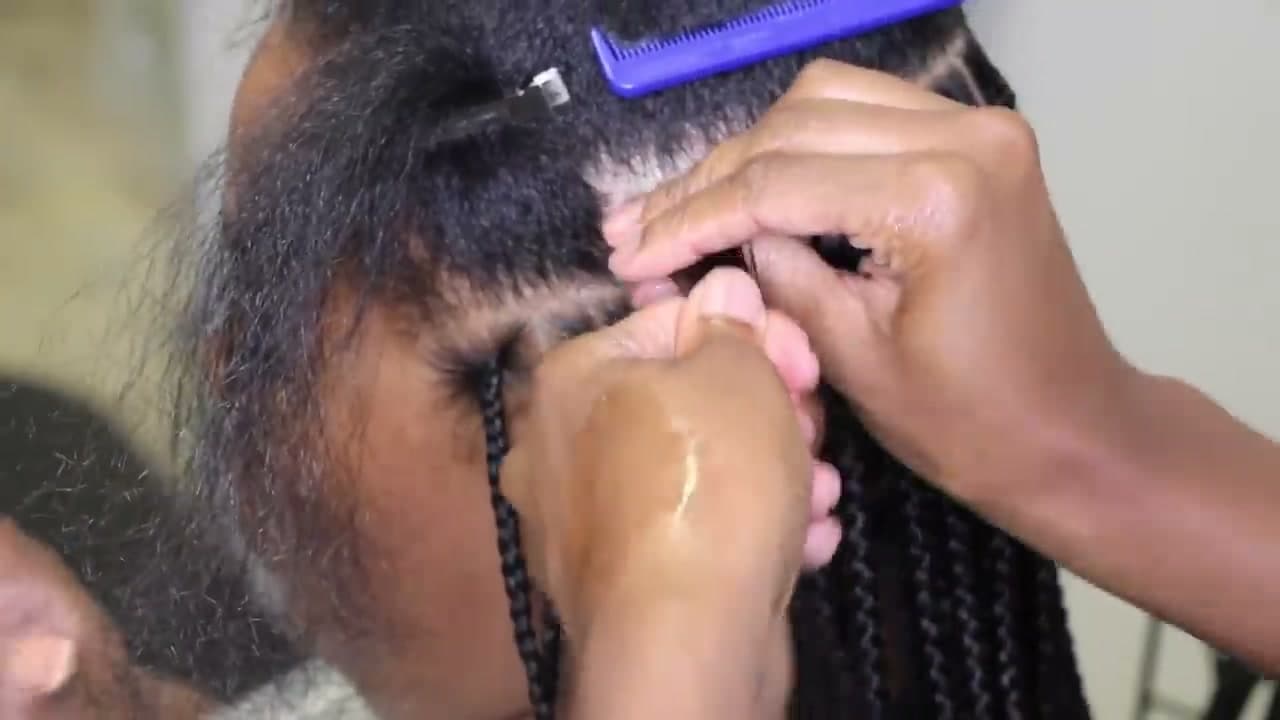
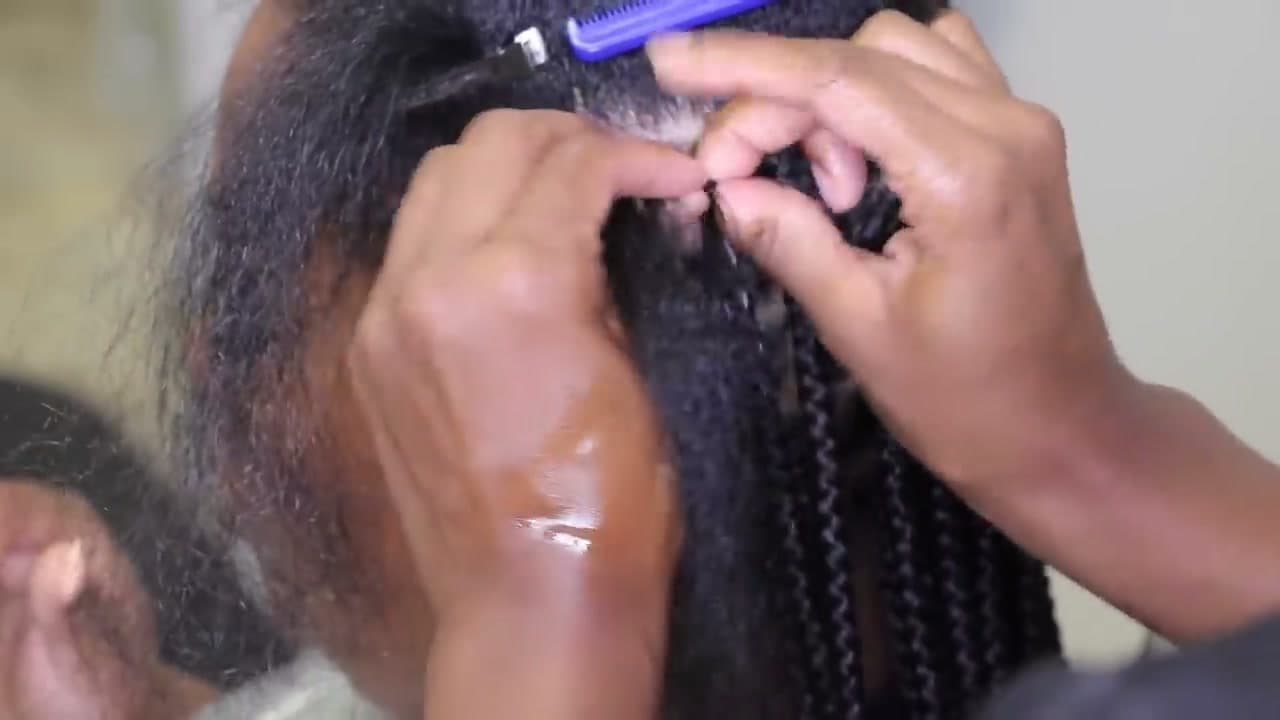
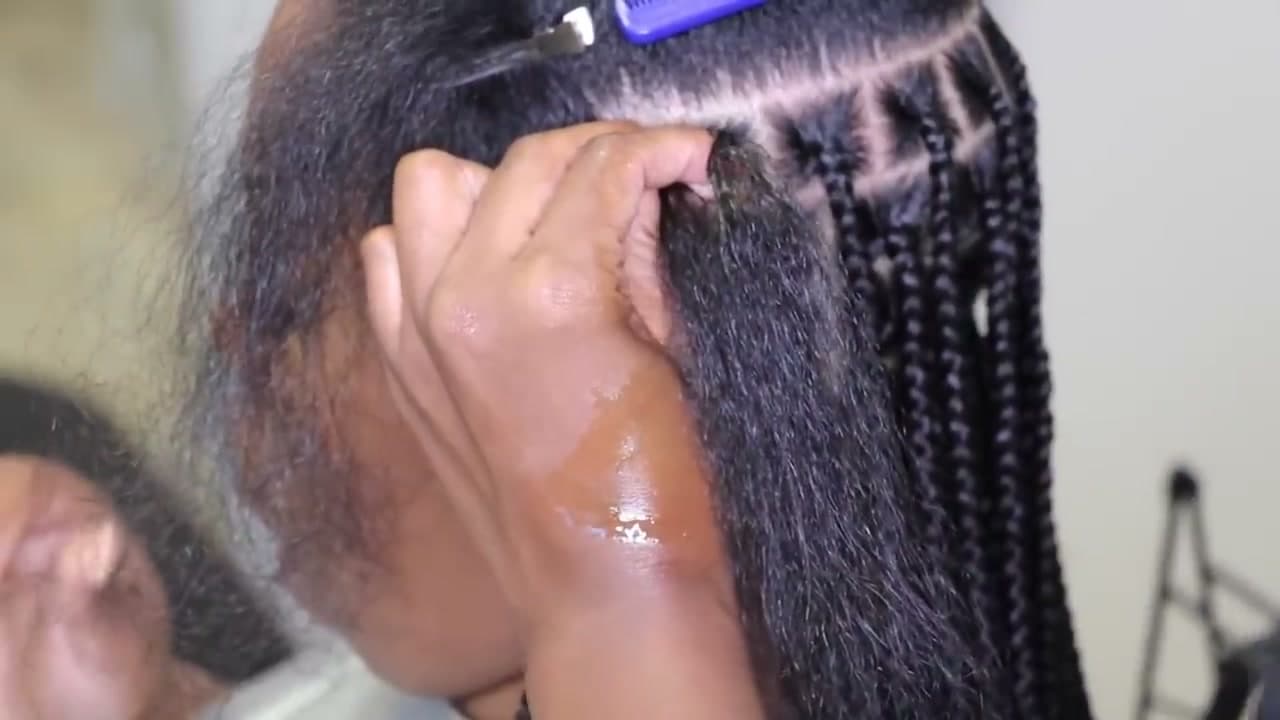
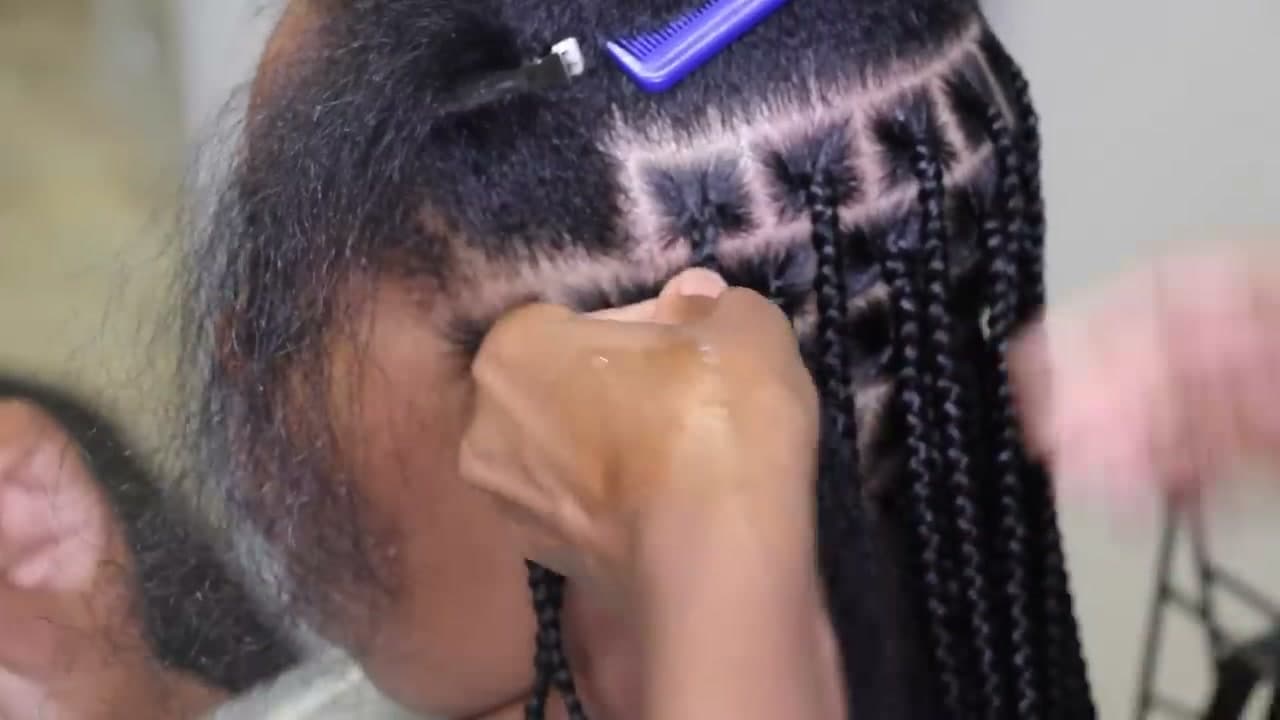
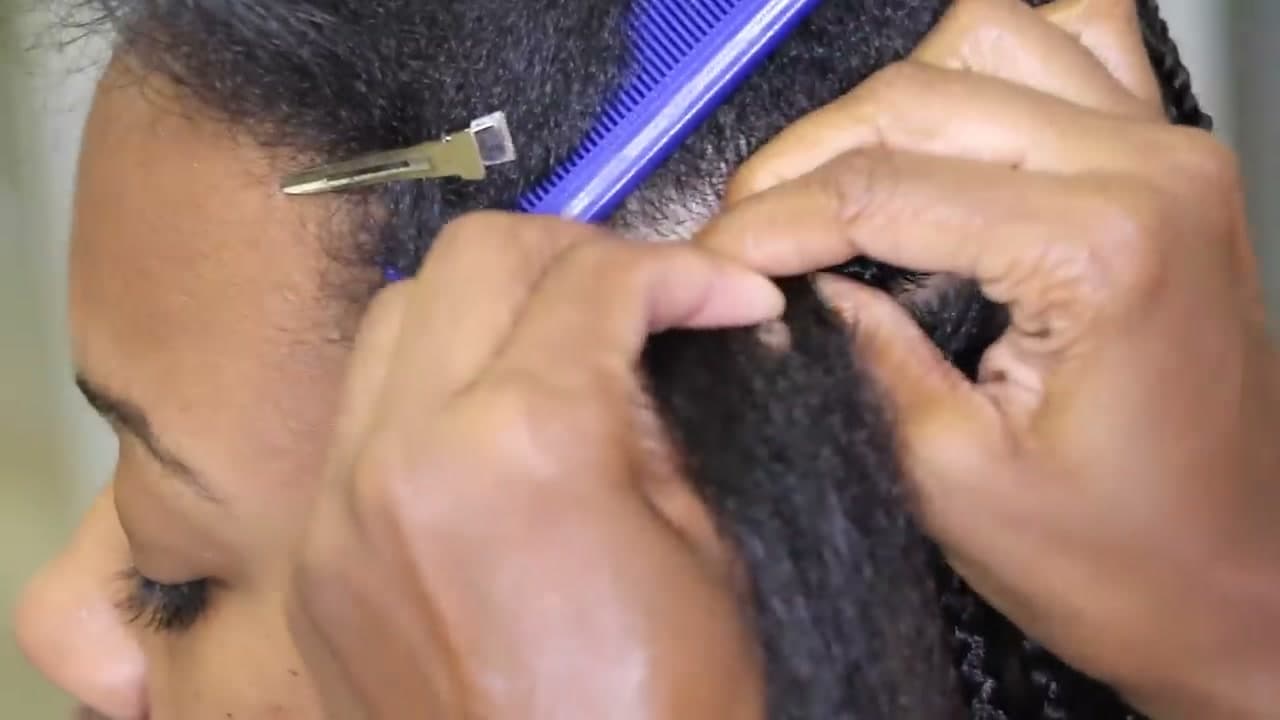
Start by drawing a clean horizontal part from one ear to the other. Use the tail of your comb to get a straight line across the head. Clip everything above the part out of the way - you'll work from the bottom up. Once that main section is clear, take a moment to plan how many braids you want across it. Mapping them out before you start is what keeps the finished look even and the boxes a consistent size.

Tip

Use a rat tail comb for the cleanest parting lines. If your comb keeps slipping, mist the section lightly with water first.

2

Section Off a Box and Divide into Three Strands

0:41
Step 2: Section Off a Box and Divide into Three Strands

Take your tail comb and section off a small square - this is your box. Keep it neat on all four sides. Then split it into three equal pieces. These three pieces are what you'll actually braid with, so getting them roughly the same size matters. The more even your starting strands, the cleaner the braid. Clip away all surrounding hair so nothing drifts into your section while you work.

3

Braid Your Natural Hair Down First - No Extensions Yet

0:52
Step 3: Braid Your Natural Hair Down First - No Extensions Yet

This is the step that makes it knotless. Before you touch any extension hair, braid down your natural hair once or twice on its own. Your right hand crosses over and grabs the strand furthest to the left, then you alternate - over to the left, back to the right, over to the left again. Two or three passes of just your own hair creates a flat, natural base at the root. If you skip this and start adding hair from the first pass, the root gets bulky and sits high on the scalp.

4

Feed In Extension Hair in Small Pieces

1:10
Step 4: Feed In Extension Hair in Small Pieces

After two or three passes with just your natural hair, start adding extension hair. Take a small piece - less than you think you need. Fold it around one of the three strands so it feeds in smoothly rather than sitting on top. Braid it in, then add another small piece on the next pass. Keep adding until the braid reaches the thickness you want. The key word is small. Too much at once and the braid gets uneven where the extension starts.

Products used in this step

5

Apply Braiding Gel Throughout as You Go

1:47
Step 5: Apply Braiding Gel Throughout as You Go

Keep edge control or braiding gel on your hands the whole time - not just at the start. Tiffani uses Shine N Jam throughout every braid. Work it into each section as you braid rather than trying to smooth everything down at the end. It keeps flyaways from poking out and makes the braid look tighter and neater without extra effort. Apply a bit more wherever the hair feels rough or the braid looks fuzzy.

6

Continue Braiding Down to the Ends

3:00
Step 6: Continue Braiding Down to the Ends

Once the braid is as thick as you want it, stop adding new hair and just braid the extension down to the ends. Keep your tension consistent the whole way - the same grip pressure from top to bottom. Too loose and the braid goes frizzy fast. Too tight and it puts stress on the roots. Finish each braid and move on to the next section, working your way up the head until every box is done. The finished result should lie flat, move freely, and not pull at the scalp at all.

Tip

If the braid feels tight at the root when you're done, it's okay to gently massage the scalp and let it relax. Knotless braids should not hurt.

Products Used

☐ The Checklist

How to Do Knotless Box Braids at Home

Tools
3
Materials
4
Steps
6
Video
10 min

Your Guide

Tiffani Renae

As an Amazon Associate we earn from qualifying purchases. Links on this page may be affiliate links - clicking them and buying doesn't change your price, but helps support ShowMeStepByStep.

Tags

Test your knowledge

Did the lesson stick? Find out in 2 minutes.

5 quick questions covering what you just read. No signup, no score saved — just a gut check.

Quick reference

Key takeaways from How to Do Knotless Box Braids at Home

5 questions, answers, and one-line explanations. Tap to expand.

  1. 1.What makes knotless box braids different from traditional box braids?

    Answer: They start with your natural hair before feeding in extensions

    Starting with natural hair eliminates the bulky knot at the root that traditional braids create.

  2. 2.Why do knotless braids cause less tension on the scalp?

    Answer: There is no tight knot anchoring extensions at the scalp

    Without a knot at the root, there is far less stress on each follicle.

  3. 3.When do you first add extension hair during a knotless braid?

    Answer: After braiding an inch or two of your natural hair first

    Braiding a short section of natural hair first creates the flat, knotless root effect.

  4. 4.What is the correct way to feed in extension hair as you go?

    Answer: Add small pieces of extension hair gradually throughout the braid

    Small, gradual additions keep the braid the same thickness from root to tip without a sudden bulk point.

  5. 5.What is the purpose of braiding gel throughout the process?

    Answer: It adds slick to help extensions grip and blend while reducing scalp frizz

    Applied throughout, gel helps extension hair grip and blend while keeping the scalp area smooth.

What's next

Related collections

Curated theme pages that include this tutorial.

Weekly Digest

Liked this lifestyle tutorial?

Pick the categories you want to hear about. Weekly digest of new step-by-step tutorials. No spam, easy unsubscribe.

Send me tutorials about

We only email about new tutorials. Easy unsubscribe anytime.