How to Knit a Yarn Over Between Knit and Purl Stitches

KnittingEasy10:119 stepsPart of Crafting for BeginnersBrowse more →
The finished result: How to Knit a Yarn Over Between Knit and Purl Stitches

By Show Me Step by StepPublished

Based on a video by Rokolee DIY.

A yarn over is the easiest increase in knitting. You wrap the yarn once around the right needle, and that wrap becomes a new stitch on the next row. It also leaves a small hole, which is the whole point in lace. Rokolee of Rokolee DIY shows it four ways, because the move changes a little depending on the stitches on either side. She also covers the next row, and how to undo a yarn over you made by accident.

How to knit a yarn over: the one rule

Every yarn over is the same motion. The yarn wraps once around the right needle, counterclockwise, coming over the top from front to back. What changes is where the yarn starts and where it has to end up. Before a knit stitch it must finish at the back. Before a purl stitch it must finish at the front. Keep that in mind and you never need to memorize four versions.

Reading yo in a pattern

Pattern saysWhat you doUK name
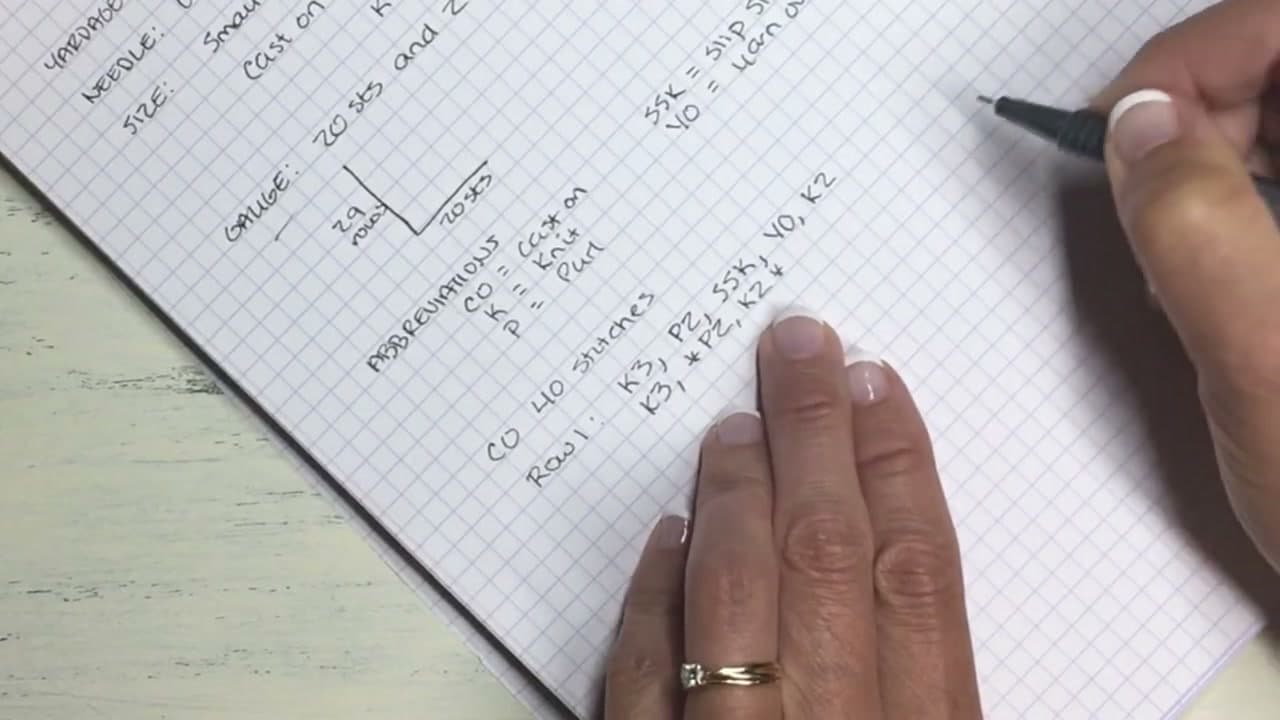
k1, yo, k1Bring the yarn forward between the needles, then knityfwd
k1, yo, p1Yarn forward, wrap over the needle, forward again, then purlyrn
p1, yo, p1Yarn over the needle to the back, forward again, then purlyrn
p1, yo, k1Leave the yarn in front and knityon

Why a yarn over makes a hole

The wrap is not pulled through any stitch below it. It floats on the needle with nothing anchoring it, so when you work it on the next row it leaves an open eyelet. One yarn over adds one stitch. Lace patterns usually pair each yarn over with a decrease such as knit two together, so the count stays the same and only the holes are left. If your stitch count keeps creeping up, check that every decrease is there.

Choosing yarn for yarn overs

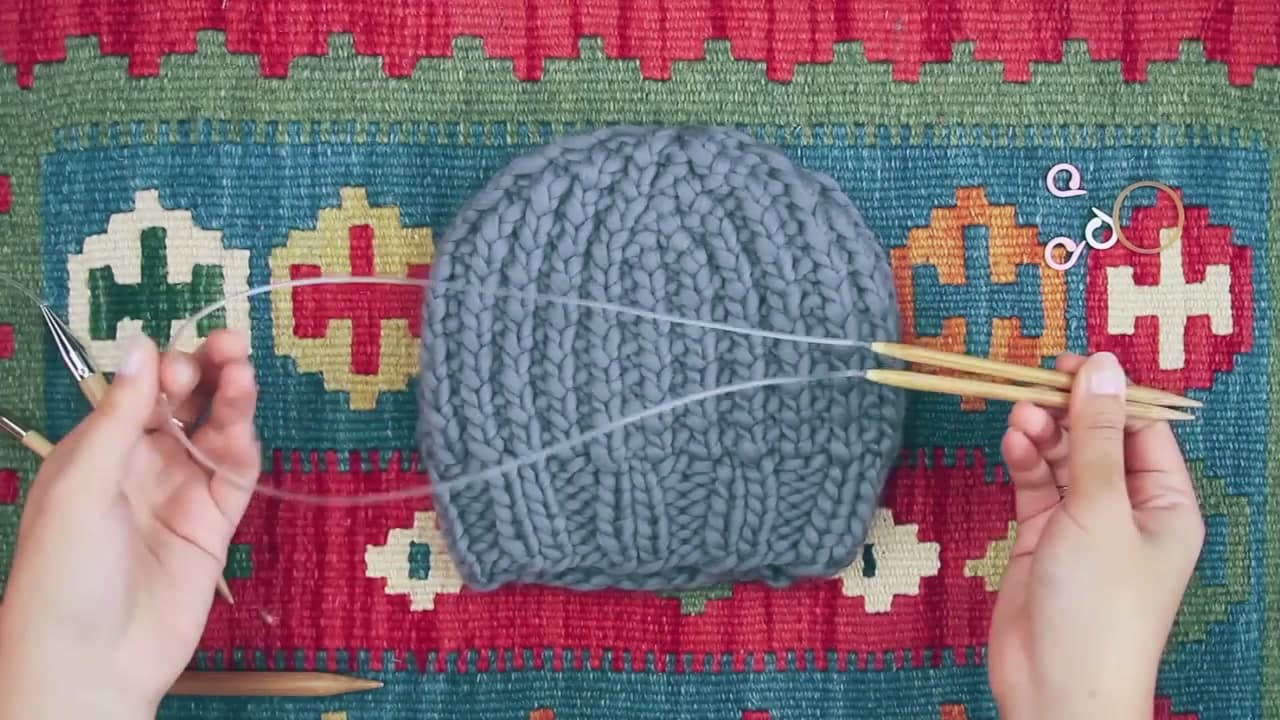
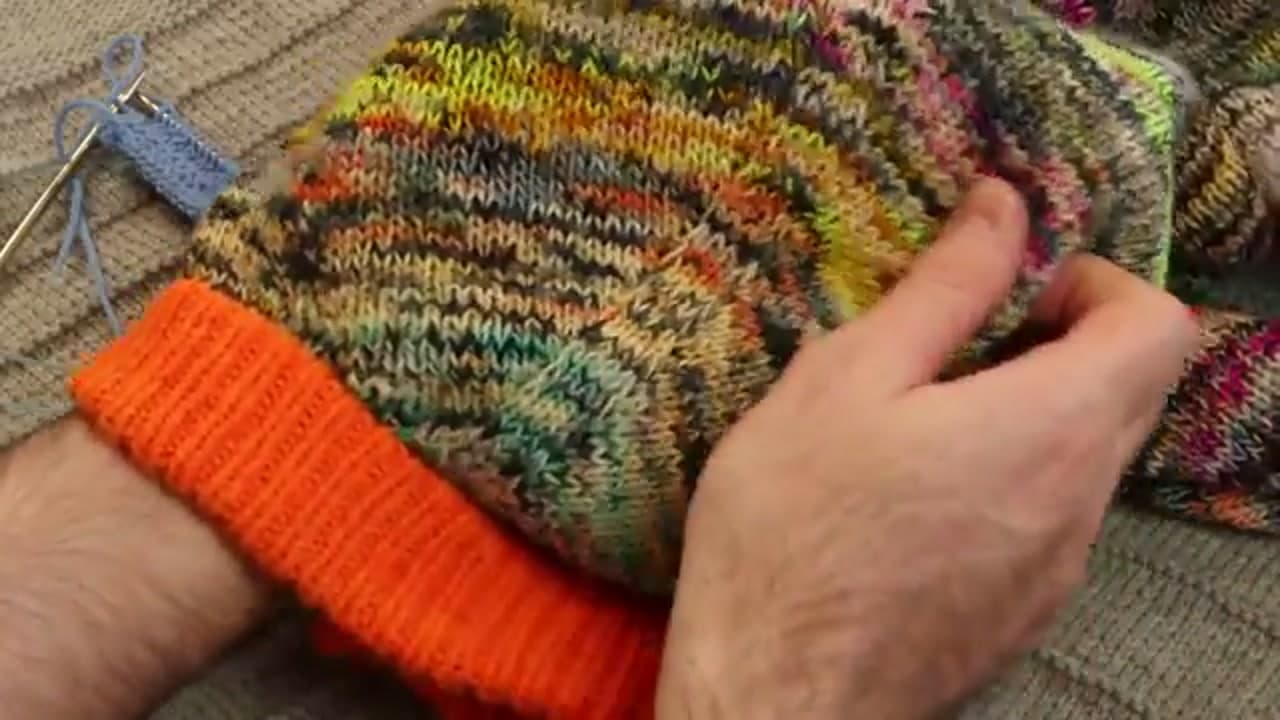
Rokolee practices in chunky yarn so the camera can see every wrap. Holes in chunky yarn look big and a bit clumsy. For a real project, pick something finer. Fingering, sport or DK weight shows off eyelets best, and a smooth, light color makes the pattern easy to read. Fuzzy mohair and dark shades hide the holes.

Common mistakes

  • Accidental yarn overs. The yarn is left in front when you start a knit stitch, often right after a purl. Count stitches at the end of each row.
  • Wrapping the wrong way. A clockwise wrap twists the new stitch and the hole closes up. Always go over the top, front to back.
  • Losing the loop on the next row. A yarn over is loose and slides off easily. Treat it as a stitch and work it.
  • Forgetting the matching decrease. The holes appear but the piece slowly gets wider.

Where to go from here

New to the two basic stitches? Start with how to knit and purl. A yarn over is one of several ways to add a stitch, and how to increase in knitting covers the others. For lace you also need decreases, and how to read a knitting pattern explains the abbreviations. Lace looks crumpled until it is washed and pinned out, so finish with how to block knitting.

What you'll need

Step-by-Step Guide

9 steps · about 10 minutes.Check off each step as you go and your progress saves automatically.

1

Bring the Yarn to the Front Between the Knitting Needles

2:43
Step 1: Bring the Yarn to the Front Between the Knitting Needles - How to Knit a Yarn Over Between Knit and Purl Stitches

Knit up to the spot your pattern marks yo. Here it comes after a knit stitch, written k1, yo, k1. Bring the working yarn forward between the two needle tips, toward you, the same way you would to purl. Do not purl. Having the yarn sit in front is the whole setup for this yarn over. Nothing has been wrapped yet.

Tip

UK patterns call this yfwd, short for yarn forward.

2

Knit the Next Stitch to Wrap the Yarn Over the Right Needle

3:00
Step 2: Knit the Next Stitch to Wrap the Yarn Over the Right Needle - How to Knit a Yarn Over Between Knit and Purl Stitches

Put the right needle into the next stitch knitwise and knit it as normal. To finish that stitch, the yarn has to travel from the front, up over the top of the right needle, and down to the back. That trip over the needle is the yarn over. Keep your tension relaxed so the wrap does not pull tight against the needle.

Tip

Hold the wrap in place with your right index finger for the first few tries.

3

Spot the Yarn Over Loop and Eyelet on the Right Needle

3:25
Step 3: Spot the Yarn Over Loop and Eyelet on the Right Needle - How to Knit a Yarn Over Between Knit and Purl Stitches

Look at the right needle. The new yarn over sits there as a slanted loop, leaning a different way from the stitches around it. It has no stitch underneath holding it, so you can see a small gap below. That gap is the start of the eyelet. Count your stitches now and you will find one extra for each yarn over.

Tip

Clip a locking stitch marker beside each yarn over so you can find them on the next row.

4

Make a Yarn Over Between a Knit and a Purl Stitch

4:40
Step 4: Make a Yarn Over Between a Knit and a Purl Stitch - How to Knit a Yarn Over Between Knit and Purl Stitches

For k1, yo, p1, knit the first stitch and bring the yarn forward as if to purl. That alone is not enough, because a purl stitch needs the yarn in front anyway. Wrap the yarn counterclockwise over the top of the right needle to the back, then bring it forward between the needles again. Now purl the next stitch.

Tip

UK patterns write this as yrn, yarn round needle.

5

Make a Yarn Over Between Two Purl Stitches

5:40
Step 5: Make a Yarn Over Between Two Purl Stitches - How to Knit a Yarn Over Between Knit and Purl Stitches

For p1, yo, p1, purl the first stitch. The yarn is already in front. Take it up over the top of the right needle to the back, then bring it forward again between the needle tips. It has gone all the way around the needle once, counterclockwise. Purl the next stitch and the wrap stays put on the right needle.

Tip

If the loop looks twisted, it went the wrong way round. Undo it and wrap over the top instead.

6

Make a Yarn Over Between a Purl and a Knit Stitch

7:05
Step 6: Make a Yarn Over Between a Purl and a Knit Stitch - How to Knit a Yarn Over Between Knit and Purl Stitches

For p1, yo, k1, purl the first stitch and leave the yarn where it is, in front. Normally you would move it to the back before a knit stitch. This time you do nothing. Knit the next stitch with the yarn still in front. It has to come over the top of the right needle to reach the back, and that makes the yarn over for you.

Tip

This is the easiest version, and also the one beginners make by accident.

7

Knit the Yarn Over Loop on the Next Row

8:30
Step 7: Knit the Yarn Over Loop on the Next Row - How to Knit a Yarn Over Between Knit and Purl Stitches

On the next row the yarn over looks loose and a little messy. That is how it should look. Knit or purl it like any other stitch, whichever the pattern asks for at that spot. Once you have worked it and the stitch after it, the slack disappears. A neat, closed eyelet is left in the row below. Lace patterns are built from rows of these holes.

Tip

Work into the front of the loop. Working into the back twists it and closes the hole.

8

Drop an Accidental Yarn Over and Even Out the Slack

9:08
Step 8: Drop an Accidental Yarn Over and Even Out the Slack - How to Knit a Yarn Over Between Knit and Purl Stitches

Found a yarn over you did not mean to make? Slide it off the left needle and let it go. It leaves a loose strand along the top of the row. Pull it a little at a time, following the yarn from stitch to stitch, and spread the extra across the neighboring stitches. Keep easing until the tension looks even, then carry on knitting.

Tip

Count stitches at the end of every row while you learn. An extra stitch is usually a stray yarn over.

9

Check the Finished Row of Yarn Over Eyelets

9:28
Step 9: Check the Finished Row of Yarn Over Eyelets - How to Knit a Yarn Over Between Knit and Purl Stitches

Hold the work up after a couple of rows. Each yarn over has become a round eyelet, and any you dropped have vanished into the fabric. In chunky yarn the holes look large. In a finer yarn they look small and delicate, which is why lace is usually knit in fingering or DK. Wash and pin out lace to open the holes fully.

Tip

A row of eyelets makes a handy channel for threading ribbon through a hat or bag.

How to Knit a Cowl for Beginners

Keep going

How to Knit a Cowl for Beginners

Products Used

The Checklist

How to Knit a Yarn Over Between Knit and Purl Stitches

Tools
3
Materials
2
Steps
9
Video
10 min

Tools we recommend

Your Guide

Rokolee DIY

As an Amazon Associate we earn from qualifying purchases. Links on this page may be affiliate links - clicking them and buying doesn't change your price, but helps support Show Me Step by Step.

Tags

Sunday How-To

New knitting tutorials, every Sunday

One short email with the week's best step-by-step guides. Free, no spam, unsubscribe anytime.

Did this work for you?

What's next

Weekly Digest

Liked this knitting tutorial?

Pick the categories you want to hear about. Weekly digest of new step-by-step tutorials. No spam, easy unsubscribe.

Send me tutorials about

We only email about new tutorials. Easy unsubscribe anytime.