How to Install a Range Hood

Home ImprovementMedium4:429 stepsBrowse more →
Also in:Adulting

By ShowMeStepByStepPublished

Based on a video by The Home Depot.

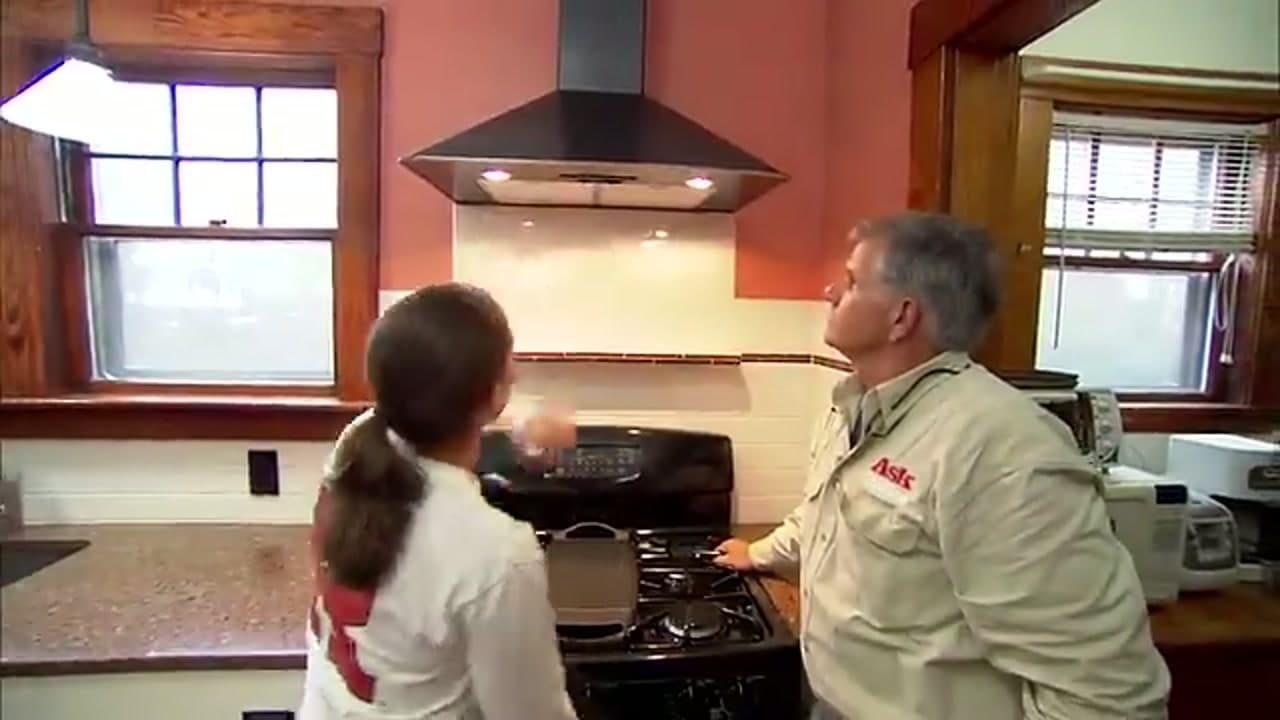
A range hood pulls grease, steam, and smoke out of your kitchen so it vents outside instead of settling on your cabinets. This walkthrough from The Home Depot, in partnership with This Old House, covers a wall-mounted chimney hood that ducts straight through an exterior wall.

You will cut a hole for the duct, mount an exterior vent cap, run the ductwork, hang the hood, seal the seams, and connect the wiring. Have an electrician handle the power connection, and check for a stud before you cut. If you are still working through the rest of the kitchen, the same care applies when you install a kitchen faucet.

Take your time lining up the interior and exterior holes. Getting that duct run straight is what makes the whole job come together.

Step-by-Step Guide

1

Step 1: Cut the Duct Hole in the Interior Wall

0:48
Step 1: Step 1: Cut the Duct Hole in the Interior Wall

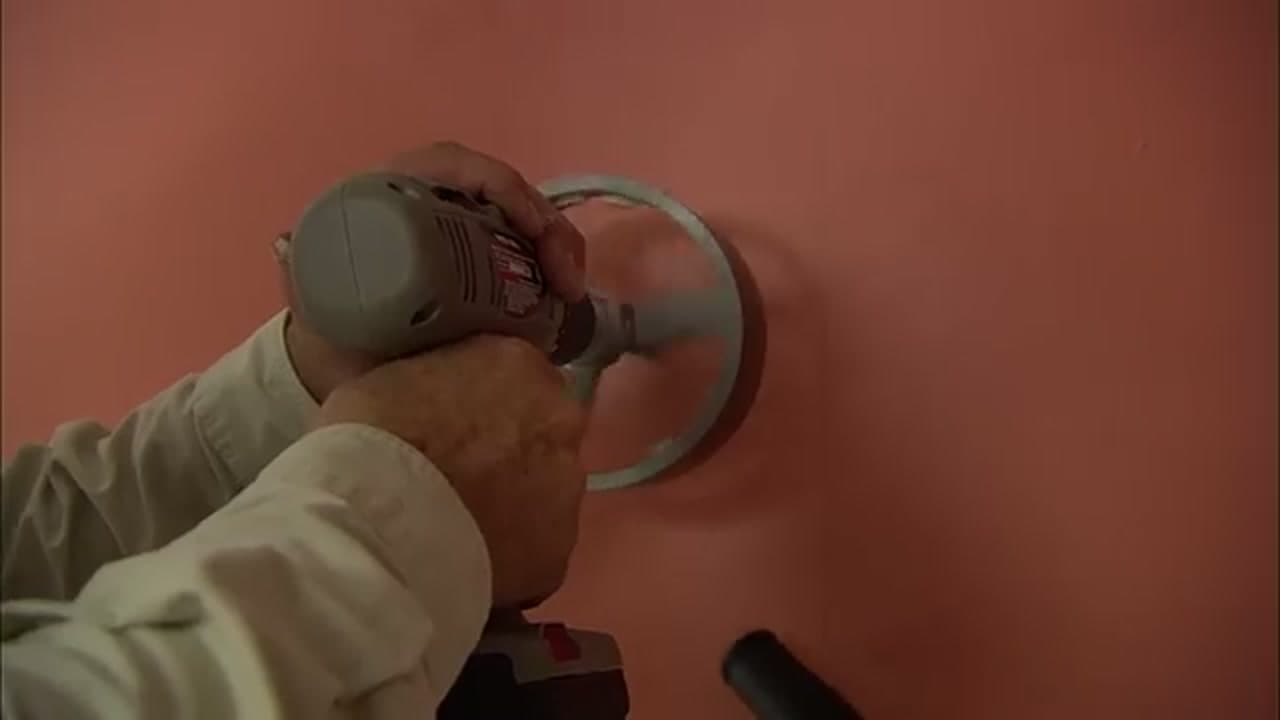
Mark where the duct needs to pass through, then bore the opening with a hole saw chucked into a cordless drill. Match the hole saw to the diameter of your duct so the fit is snug. Keep steady pressure and let the saw do the work. This interior opening is the first half of the path the duct will follow to the outside.

Tip

Run a stud finder across the wall first. If a stud lands in the way, you will need to cut a larger opening and reframe around it.
2

Step 2: Cut Through the Exterior Wall and Siding

1:35
Step 2: Step 2: Cut Through the Exterior Wall and Siding

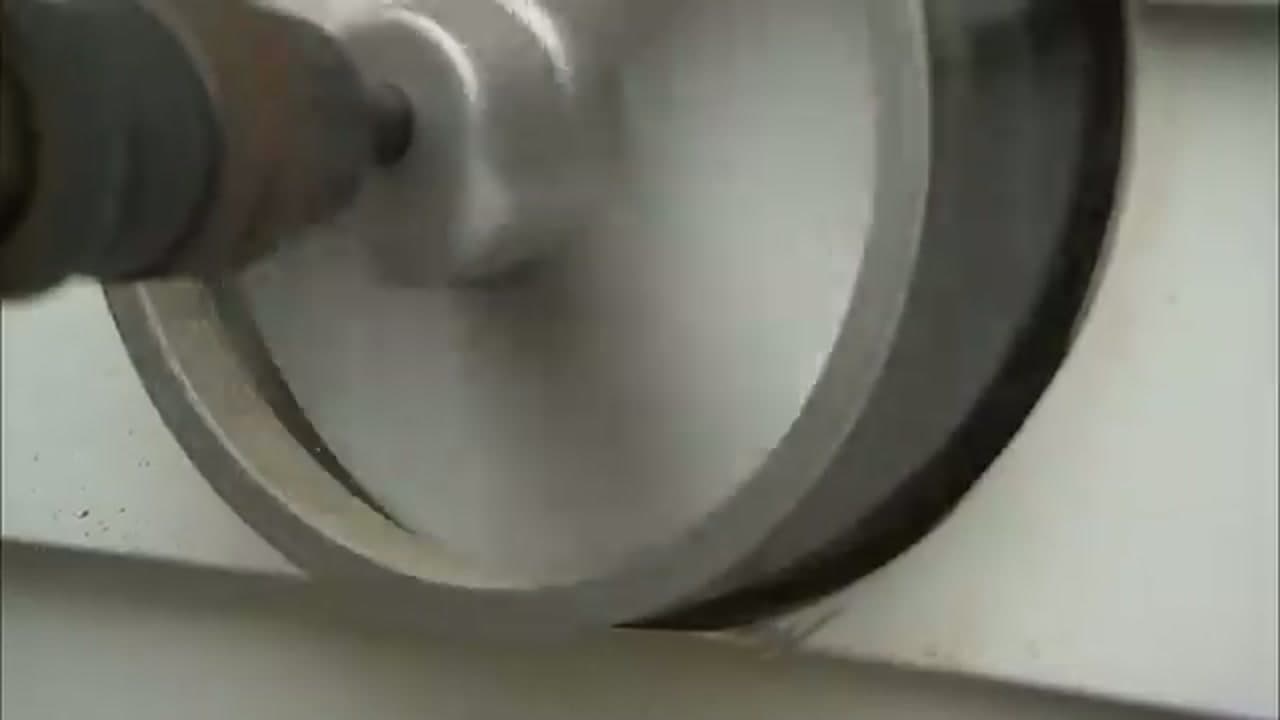
Carry the same hole straight through the exterior wall and siding. Hold the drill level so the outside opening lines up with the one you cut inside. A wandering angle here means the duct will not seat cleanly, so go slow and check that the pilot bit is tracking true. The siding cuts fast once the saw bites in.

Products used in this step

3

Step 3: Set the Mounting Block Against the Siding

2:15
Step 3: Step 3: Set the Mounting Block Against the Siding

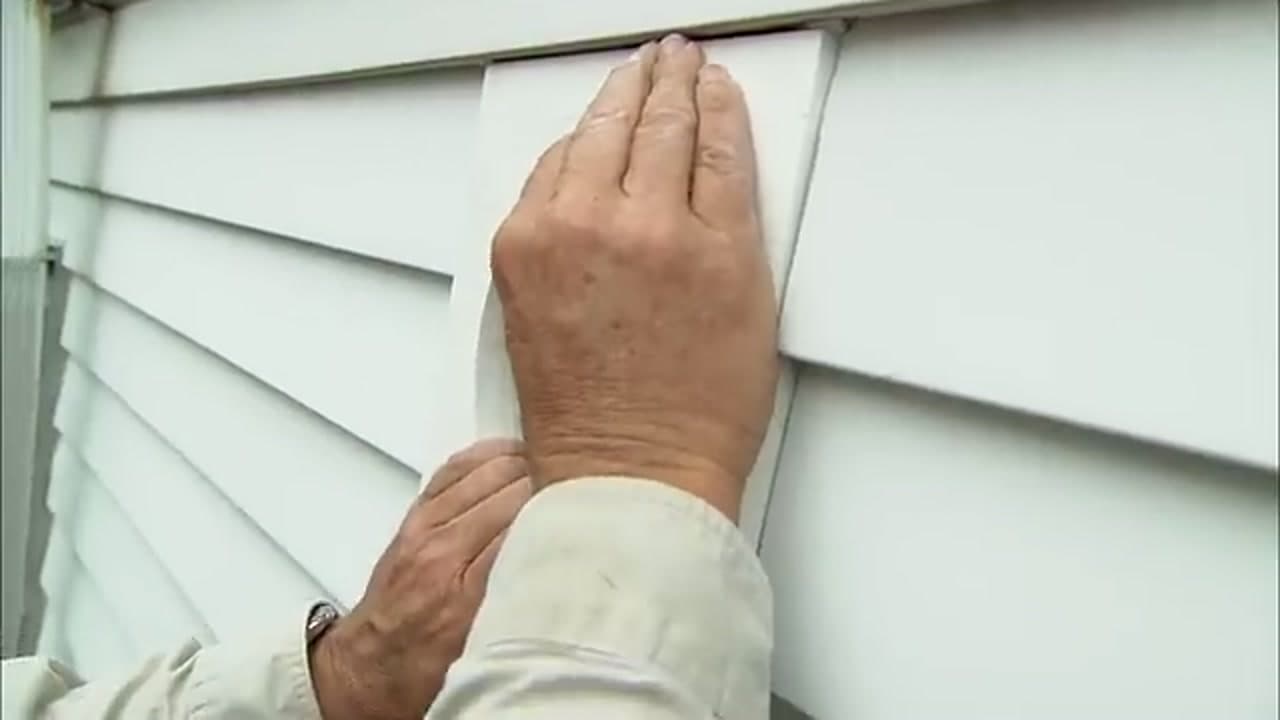
Lap siding is beveled, so the vent cap cannot sit flat against it on its own. Press a mounting block over the opening to give yourself a level, weatherproof surface. Hold it firm against the siding and confirm it covers the hole with room around the edges for fasteners. The block is what keeps the finished cap from rocking or leaking.

Tip

You can buy a pre-made mounting block or cut one to fit. Either way, run a bead of exterior caulk behind it to keep water out.

4

Step 4: Screw the Vent Cap to the Wall

2:35
Step 4: Step 4: Screw the Vent Cap to the Wall

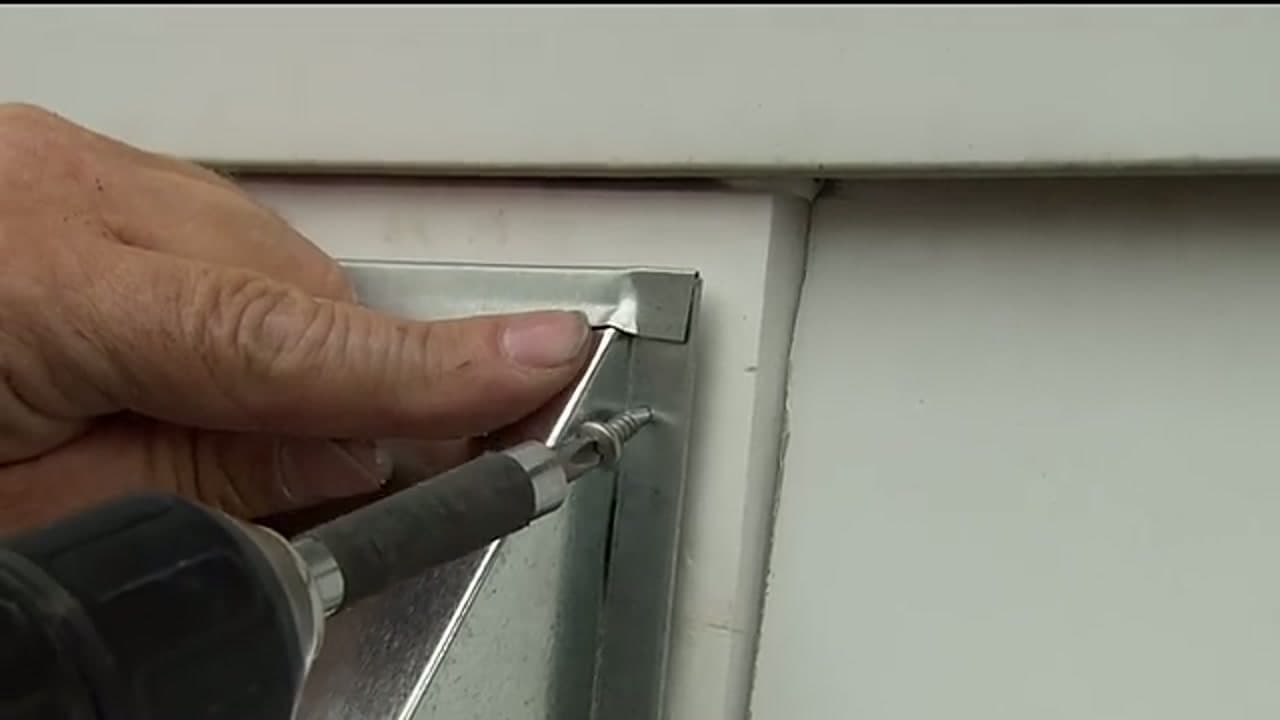
Set the exterior vent cap over the block and drive screws through its flange into the wall with a drill. Snug each fastener down evenly so the cap pulls tight against the siding with no gaps. The cap has a flap that swings open when the fan runs and drops shut when it stops, which keeps out rain, drafts, and pests. Seal the perimeter after fastening.

5

Step 5: Connect the Ductwork Inside

2:55
Step 5: Step 5: Connect the Ductwork Inside

Back indoors, join the metal duct to the wall opening and route it up toward where the hood will hang. Test-fit each section before you commit so you are not fighting a duct that is a hair too long or short. Slide the pieces together fully and make sure the run has no sharp kinks that would choke airflow. A smooth path moves air far better than a crimped one.

Products used in this step

6

Step 6: Hang and Secure the Range Hood

3:25
Step 6: Step 6: Hang and Secure the Range Hood

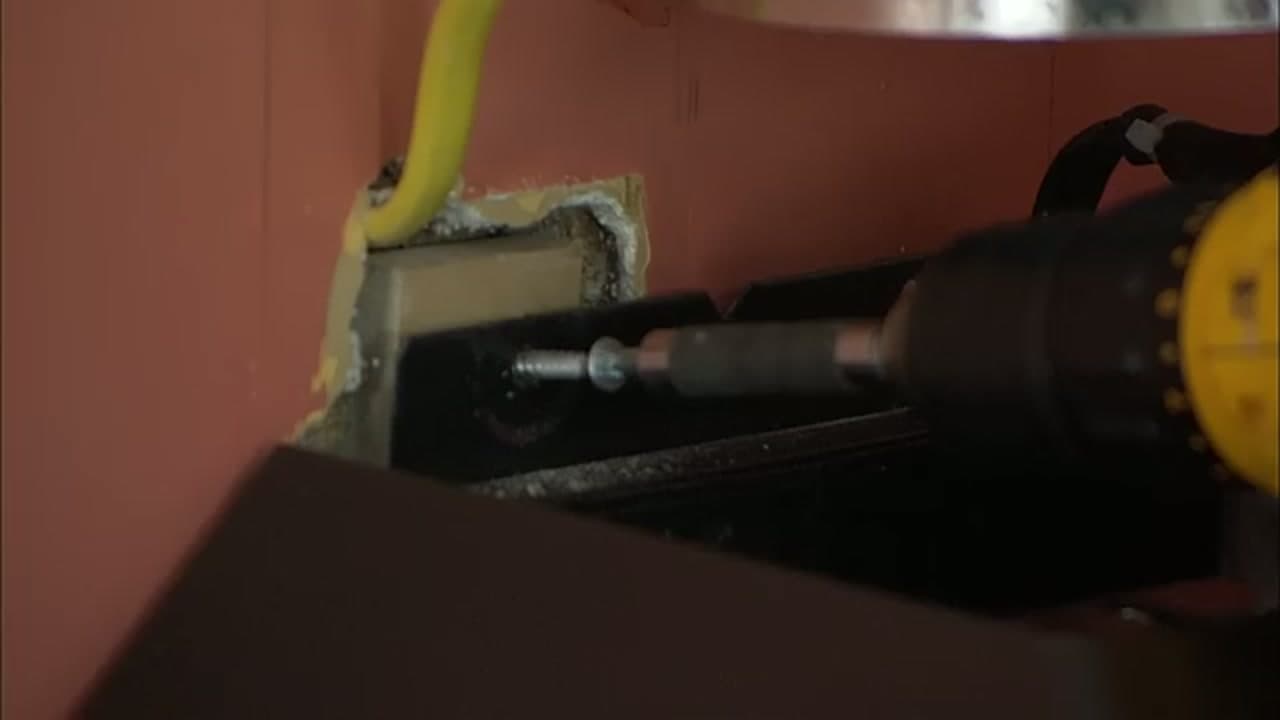
Lift the hood onto its mounting brackets, then drive screws to lock it to the wall or the cabinet framing. Check that it sits level before you sink every fastener, since a crooked hood is obvious once the stove is back in place. Hold it steady while the screws bite so it does not shift on you. Give it a light tug to confirm it is solid.

Tip

These hoods are heavier than they look. A second set of hands makes hanging it far safer.

7

Step 7: Seal the Duct Seams with Foil Tape

3:45
Step 7: Step 7: Seal the Duct Seams with Foil Tape

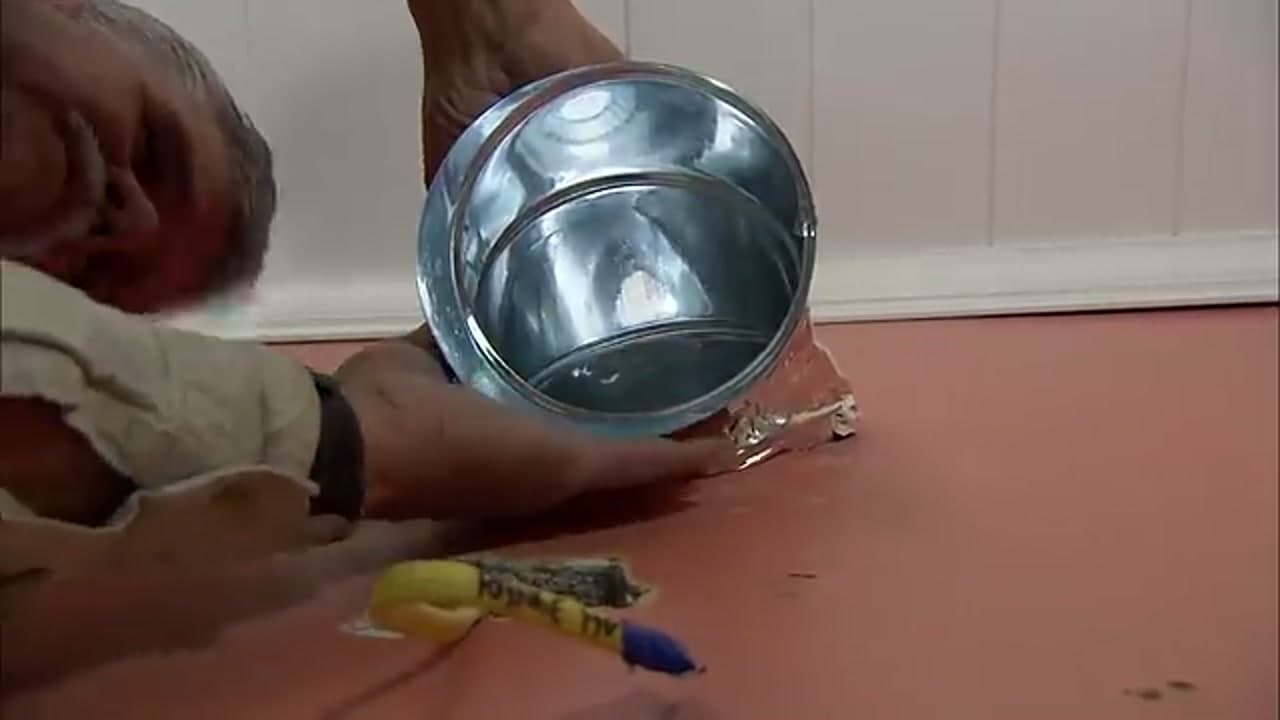
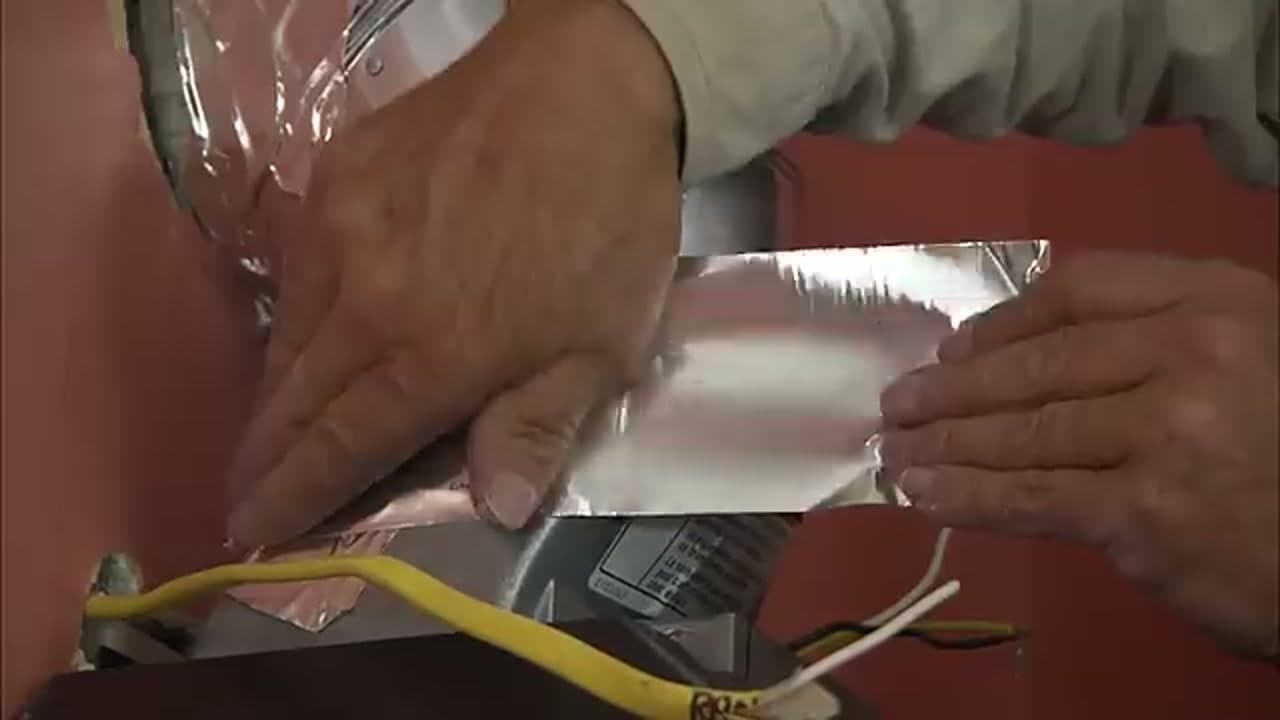
Wrap foil tape around every duct joint and press it flat so it grips the metal. This locks the seams and stops conditioned air, moisture, and greasy exhaust from leaking into the wall cavity. Skip the cloth duct tape here. Its adhesive dries out and peels, while foil tape is rated to stay put on ductwork for the long haul.

Products used in this step

8

Step 8: Connect the Wiring

3:55
Step 8: Step 8: Connect the Wiring

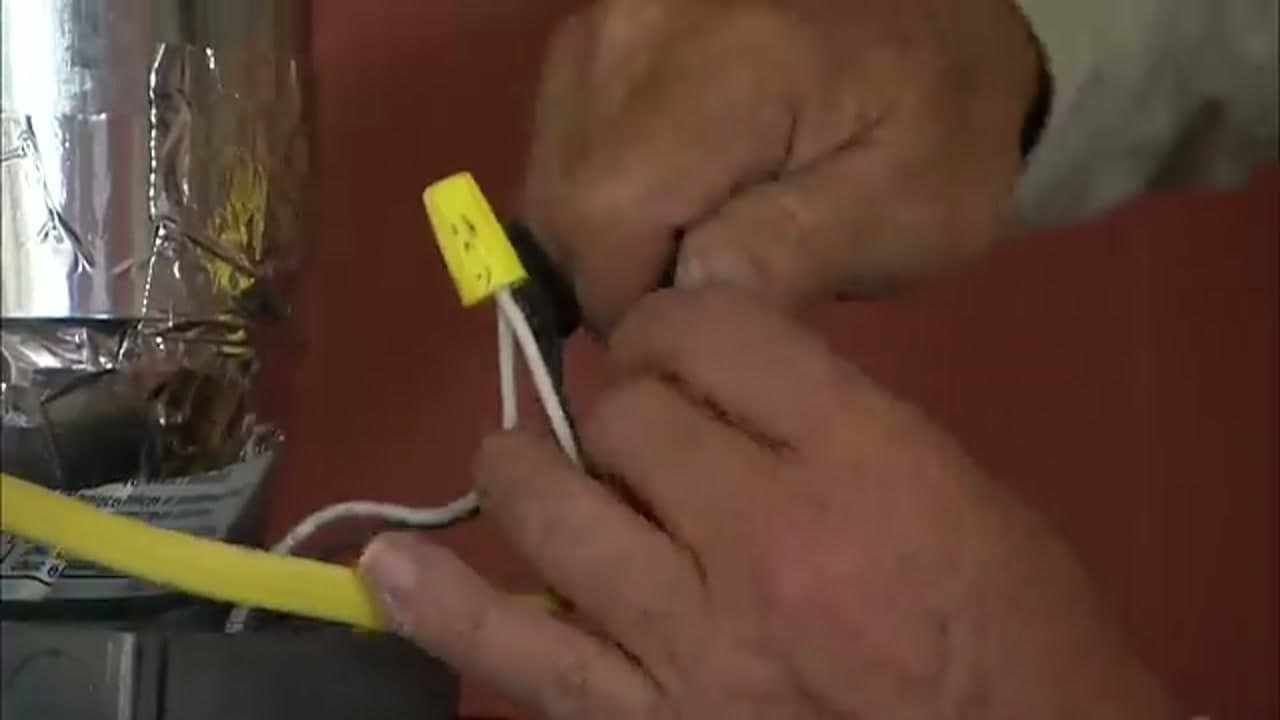
Match the house wires to the hood leads, black to black and white to white, then twist a wire connector onto each pair until it is tight. Give every connection a gentle pull to be sure nothing slips out. Tuck the wires neatly into the junction box so nothing gets pinched. Add the trim piece over the duct once the power is on and the hood is complete.

Tip

Have a licensed electrician make or inspect the power connection, and cut the breaker before you touch any wires.

Products used in this step

9

Step 9: Your Finished Range Hood

4:12
Step 9: Step 9: Your Finished Range Hood

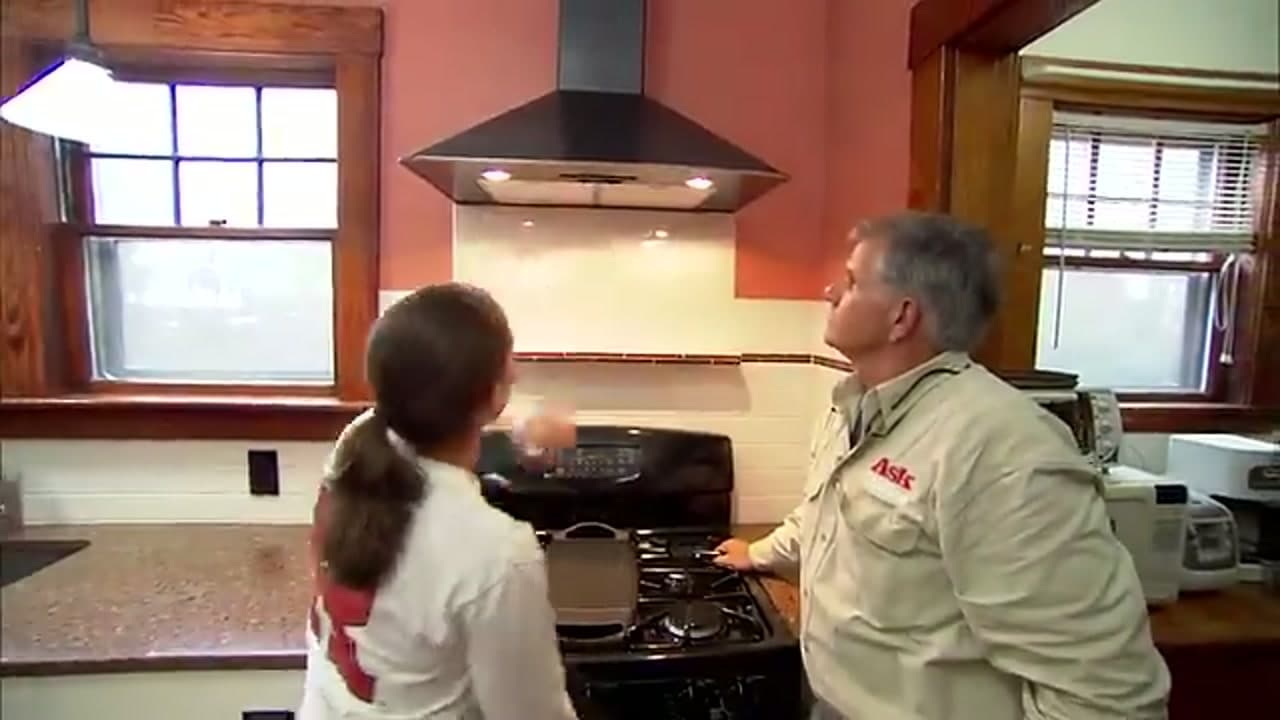
Flip on the light and the fan to test your work. The hood sits level over the stove, the duct is sealed, and the wiring is done. From here it pulls steam and smoke straight outside every time you cook. Give the stainless a quick wipe and step back. That is a full range hood install, vent to wiring, handled start to finish.

Products used in this step

Products Used

☐ The Checklist

How to Install a Range Hood

Tools
7
Materials
7
Steps
9
Video
5 min

Your Guide

The Home Depot

As an Amazon Associate we earn from qualifying purchases. Links on this page may be affiliate links - clicking them and buying doesn't change your price, but helps support ShowMeStepByStep.

Tags

Sunday How-To

New home improvement tutorials, every Sunday

One short email with the week's best step-by-step guides. Free, no spam, unsubscribe anytime.

Did this work for you?

What's next

Related collections

Curated theme pages that include this tutorial.

Weekly Digest

Liked this home improvement tutorial?

Pick the categories you want to hear about. Weekly digest of new step-by-step tutorials. No spam, easy unsubscribe.

Send me tutorials about

We only email about new tutorials. Easy unsubscribe anytime.