How to Crochet a Coaster

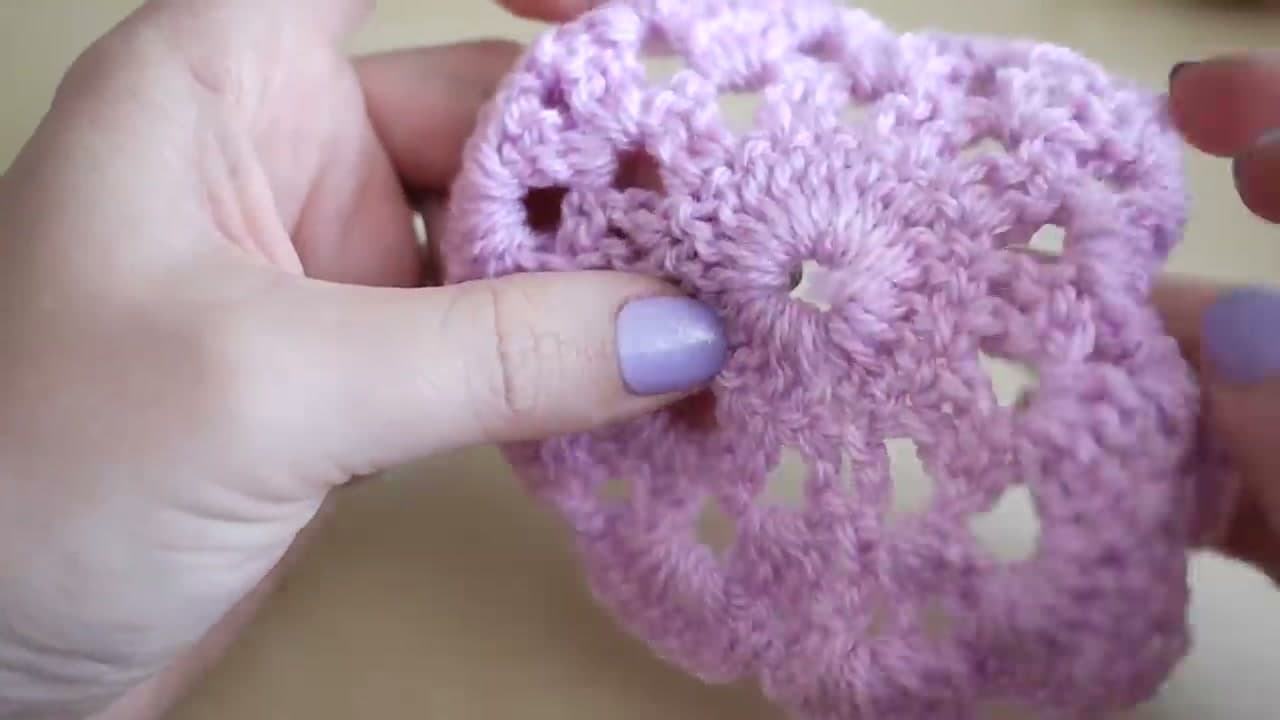
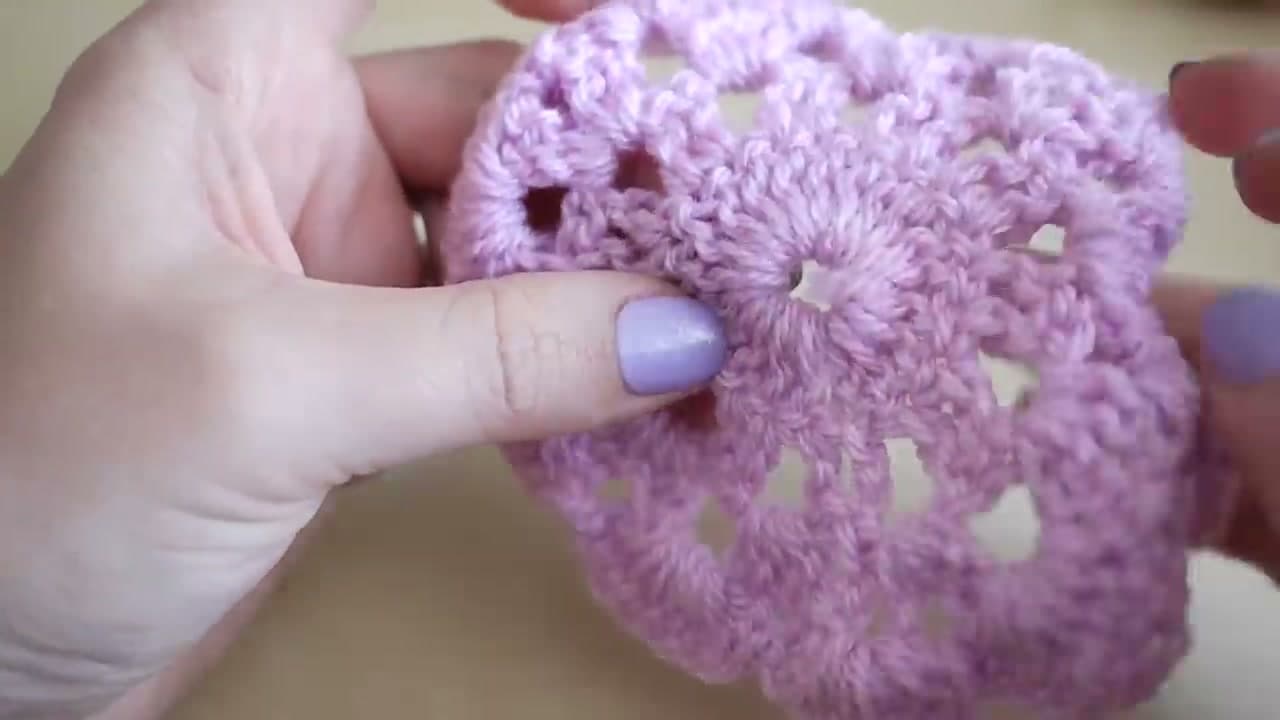
The finished result: How to Crochet a Coaster

By ShowMeStepByStepPublished Updated

Based on a video by Bella Coco.

A crochet coaster is one of those tiny projects that punches above its weight. It works up in under an hour, uses scraps of yarn you probably already have, and teaches three skills at once - working into a ring, building trebles, and shaping a scalloped edge. That last one is the part beginners think they cannot do yet.

This walkthrough from Bella Coco breaks it into four rounds plus a ring, using UK terminology. If you have already worked through the double crochet tutorial, this is the project to put it to use. Pick a cotton DK yarn so the coaster lies flat and soaks up the drips.

What you need

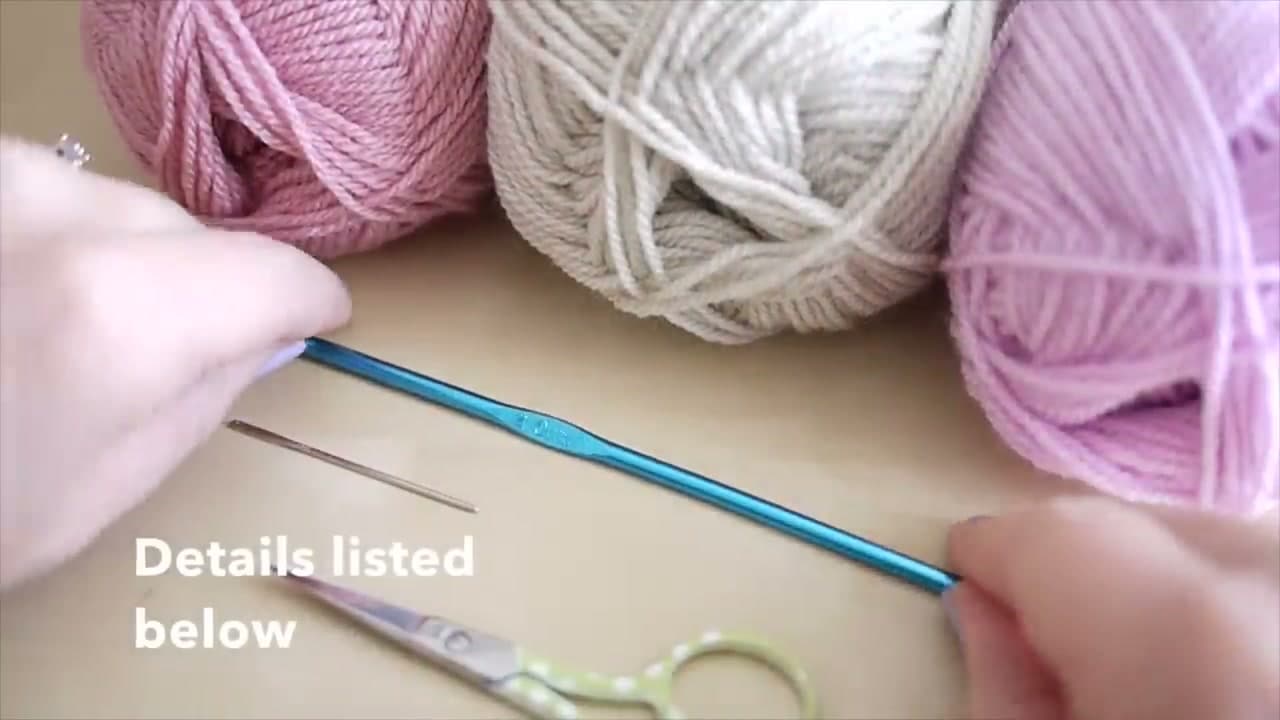
  • 100% cotton yarn, DK or worsted weight
  • A 4mm hook for DK, or an H/5mm hook for worsted
  • A yarn needle and scissors

Why cotton, and which hook

Acrylic is cheap and comes in every colour, but it is the wrong fiber for a coaster. It does not absorb a sweating glass, and a hot mug can leave it shiny and stiff where the fibers softened. Cotton drinks up condensation, dries out, and goes through the wash without complaint.

Go for a hook that gives you a firm, slightly dense fabric. If you can see the table through the stitches, drop a hook size.

US vs UK crochet terms

The video uses UK names. The stitches are the same; only the labels change.

UK termUS term
double crochet (dc)single crochet (sc)
treble (tr)double crochet (dc)
double treble (dtr)treble (tr)

So every "treble" in this pattern is a US double crochet. Do not swap in a US treble crochet - the stitches would be too tall and the scallops would flop.

Keeping the circle flat

Flat circles are a balance between stitch count and tension. Lay the coaster down after every round and look at it.

  • Ruffling (wavy edge): too many stitches for the size, or loose tension. Tighten up, or go down a hook size.
  • Cupping (edges curl up like a bowl): too few stitches, or chain spaces pulled tight. Relax your chain-2s and check your count.

Count your posts at the end of round 1. Twenty is the number. Almost every wonky coaster starts with 18 or 21 posts there. The same counting habit is what makes crochet in the round work on bigger pieces too.

Blocking for a crisp scallop

Pin the damp coaster out on a towel or foam mat, nudge each of the eight scallops into the same shape, and let it dry overnight. Cotton holds the shape well. A short guide to blocking crochet covers the wet and steam methods.

Common mistakes

  • Forgetting that the starting chain 3 counts as a stitch, so the round ends up one stitch fat.
  • Working round 3 into the stitches instead of the chain-2 spaces.
  • A visible hole in the middle. Use a magic ring in place of the chain-6 ring if that bothers you.
  • Weaving ends in one direction only. Coasters get washed a lot, and the tails work loose.

Make a set to give

One coaster is a test. Four is a gift. Make a set in two or three colours, stack them, and tie them with ribbon. Add a matching mug cozy if you want the gift to feel finished.
What you'll need

Step-by-Step Guide

8 steps · about 15 minutes.Check off each step as you go and your progress saves automatically.

1

Gather Your Yarn, Hook, and Notions

0:10
Step 1: Gather Your Yarn, Hook, and Notions - How to Crochet a Coaster

Grab your yarn, a crochet hook, scissors, and a yarn needle. Bella uses Stylecraft Special DK with a 4mm hook. Any DK or worsted cotton yarn will work - cotton sits flatter than acrylic and grips the table better, which is what you want for a coaster.

If you're using worsted weight instead of DK, jump up to an H/5mm hook so the fabric stays soft. The coaster needs enough density to handle a hot mug without slumping but not so much that it curls.

Tip

Cotton beats acrylic for coasters every time. Acrylic melts under a hot mug. Cotton just absorbs the condensation and dries out again.

2

Make a Slip Knot and Chain 6

0:32
Step 2: Make a Slip Knot and Chain 6 - How to Crochet a Coaster

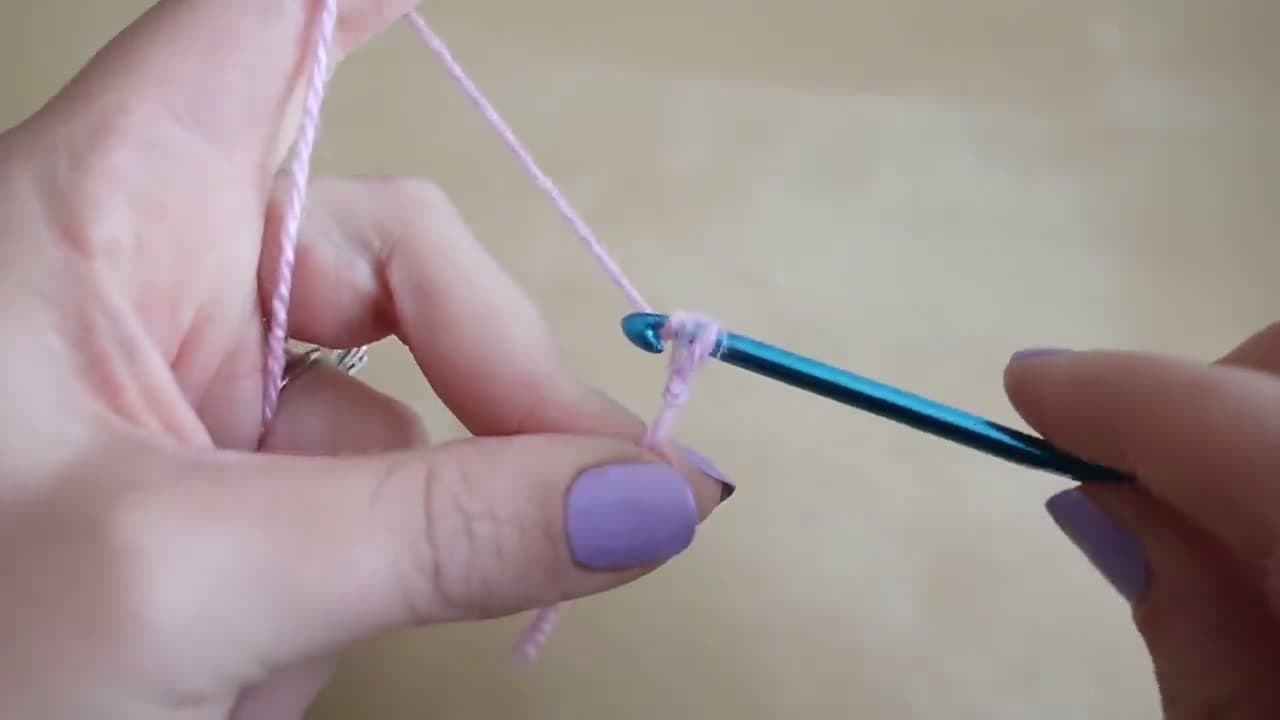
Start with a slip knot however you prefer, then slide it onto your hook. Wrap the yarn over the hook and pull it through the loop. That's one chain. Repeat five more times for a total of six chains.

Keep the chains loose enough that your hook can slide back through them in the next step. Tight chains are the most common beginner snag - if you can't fit the hook through, undo and redo with looser tension.

3

Join the Chain into a Ring

0:56
Step 3: Join the Chain into a Ring - How to Crochet a Coaster

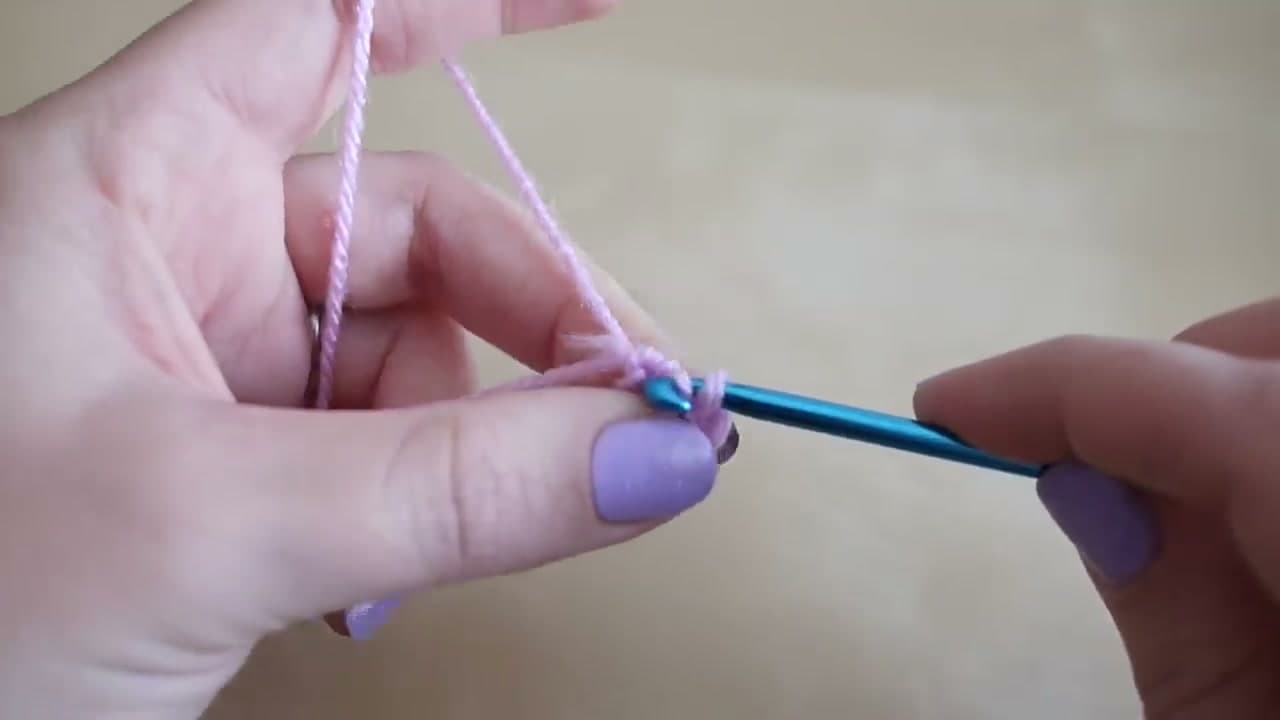
Insert your hook into the very first chain you made (the one closest to the slip knot). Yarn over and pull through both loops on the hook. That's a slip stitch, and it closes your six chains into a small ring.

This is the center your whole coaster grows from. If you prefer the magic ring method instead, you can swap it in here - it leaves a tighter, smaller center hole. The rest of the rounds work identically either way.

Tip

Prefer a tighter center? Use a magic ring instead. It closes flush instead of leaving the chain hole visible.

4

Round 1 - 19 Trebles into the Ring

2:30
Step 4: Round 1 - 19 Trebles into the Ring - How to Crochet a Coaster

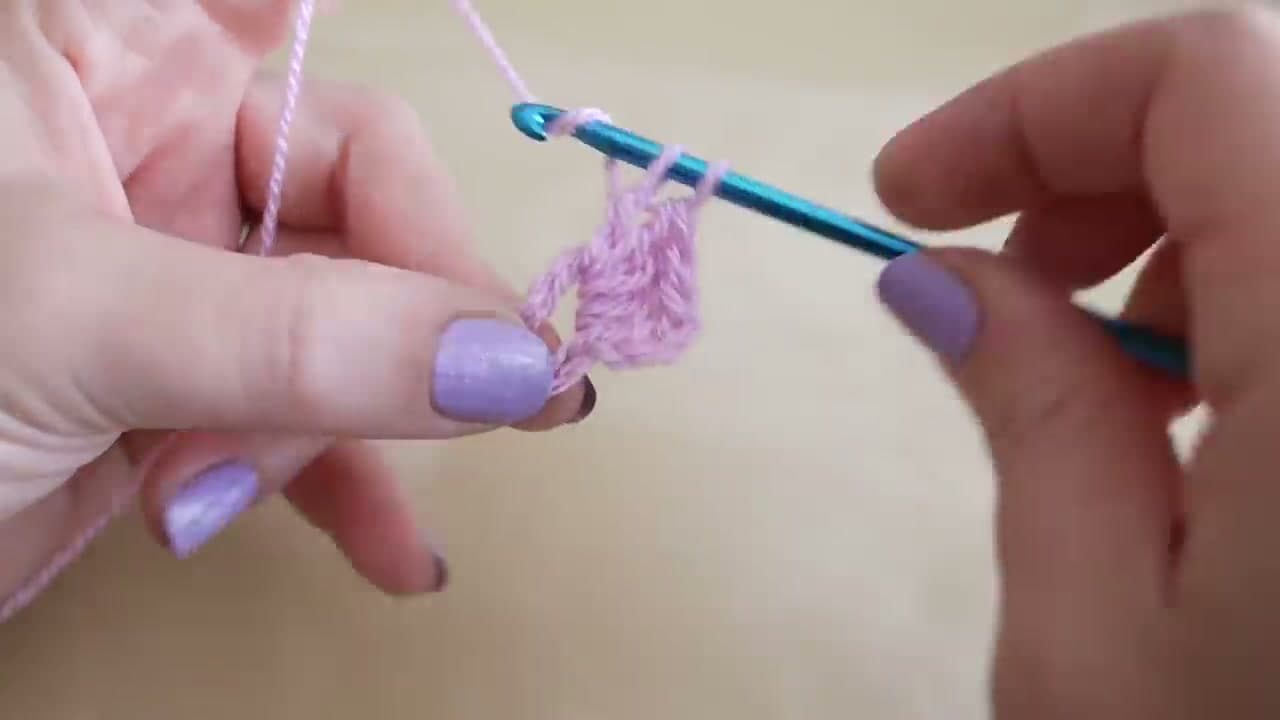
Chain 3 to count as your first treble (this is the UK treble, equivalent to a US double crochet). Then work 19 more trebles directly into the center of the ring. The full sequence per stitch: yarn over, insert hook into the ring, yarn over and pull through, yarn over and pull through two loops, yarn over and pull through the last two loops.

Lay the starting yarn tail against the top of the ring as you work and trap it inside each stitch. That hides the tail and saves you weaving it in later. When you've placed all 19 trebles, slip stitch into the top of your starting chain 3 to close the round. You should have 20 posts around the ring.

Tip

UK treble crochet = US double crochet. If you're following a US pattern instead, watch for this - the same stitch name means a different stitch in each country.

5

Round 2 - Treble Pairs with Chain 2 Spaces

4:50
Step 5: Round 2 - Treble Pairs with Chain 2 Spaces - How to Crochet a Coaster

Chain 3 to start the next round (counts as a treble). Work one more treble into the very next stitch. Now chain 2, skip a stitch, then work 2 trebles into the next stitch. That pair-of-trebles + chain-2 pattern is the whole round.

Repeat all the way around. You should land on your last 2 trebles, chain 2, then slip stitch into the top of your starting chain 3 to close. Those chain 2 spaces are what give the coaster its open, flower-like shape - don't pull them tight.

6

Round 3 - Cluster of 4 in Each Chain Space

7:50
Step 6: Round 3 - Cluster of 4 in Each Chain Space - How to Crochet a Coaster

Chain 3 to start. Skip the first stitch and work directly into the first chain 2 space from round 2. Drop 2 trebles into that space, chain 2, then 2 more trebles into the same space. That cluster of 4 trebles with a chain 2 in the middle is the new shape.

Move to the next chain 2 space and repeat the cluster. Don't chain between clusters - go straight from the end of one cluster into the next space. Slip stitch into the top of your chain 3 to close.

Tip

The chain 2 in the middle of each cluster is what creates the points of the flower in round 4. Keep your tension consistent or one point will pull tighter than the others.

7

Round 4 - Scalloped Edge with 6 Trebles per Space

11:40
Step 7: Round 4 - Scalloped Edge with 6 Trebles per Space - How to Crochet a Coaster

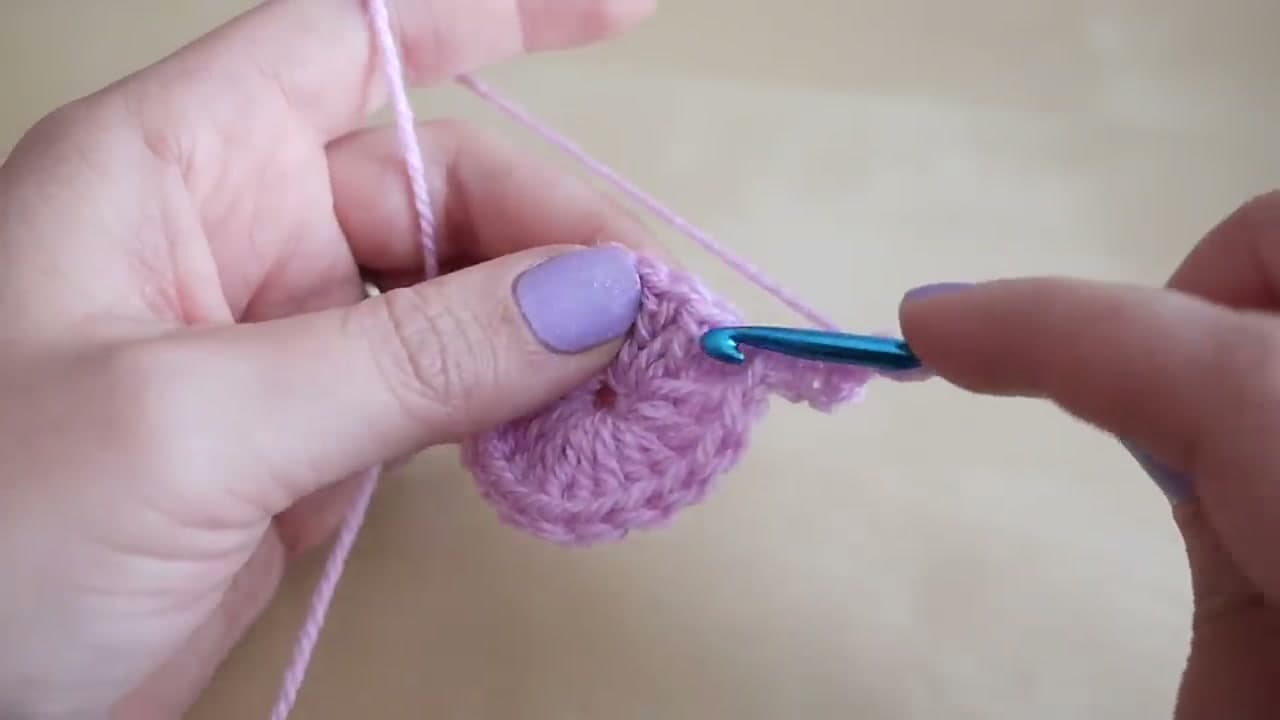
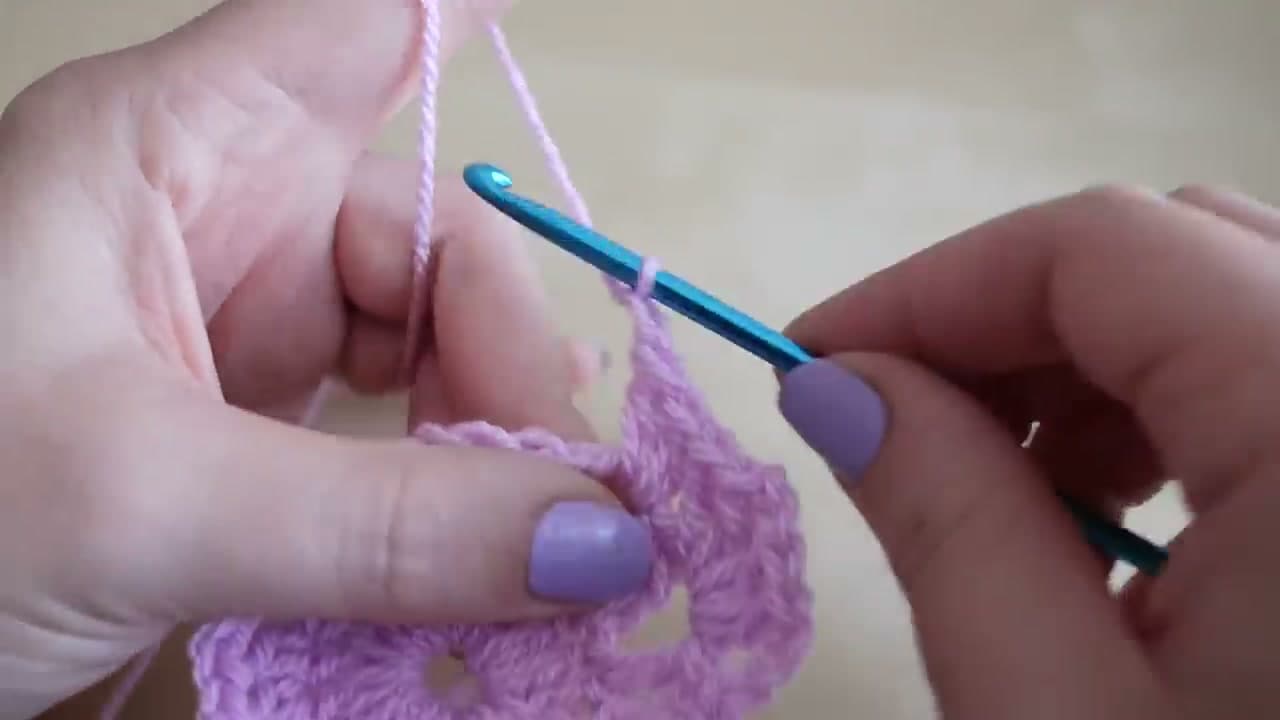
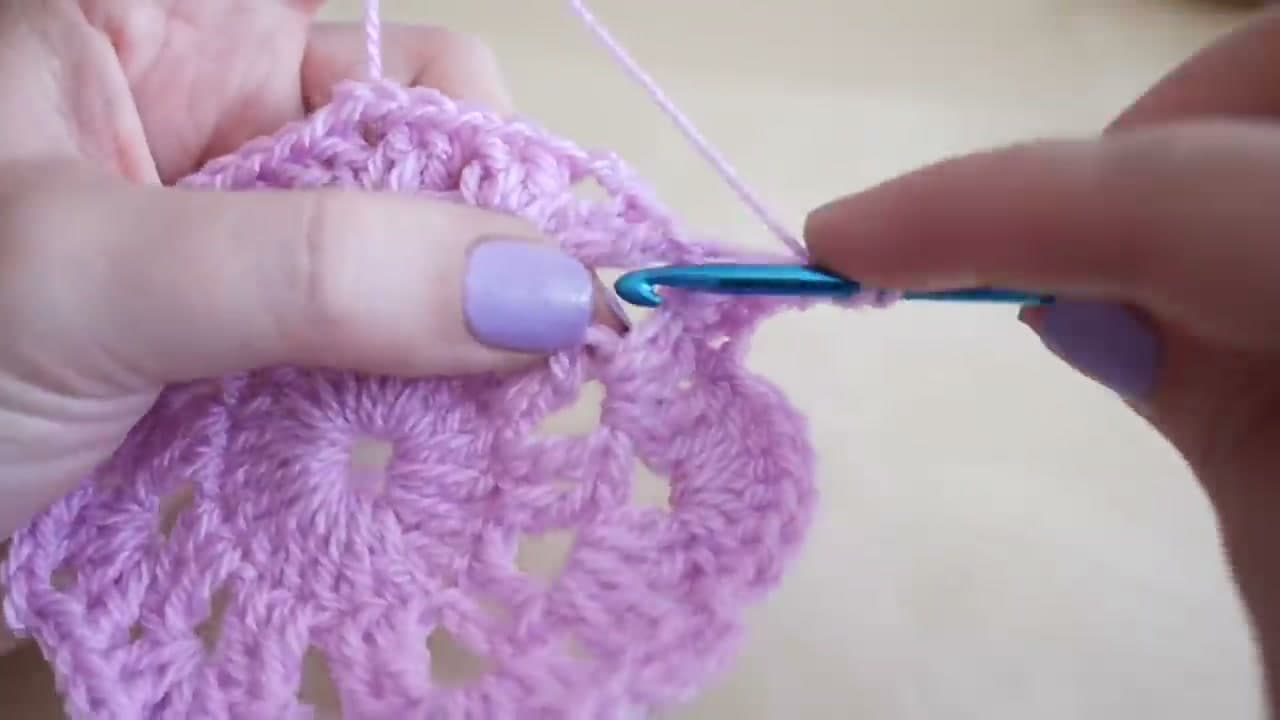
Chain 3, then slip stitch into the next chain 2 space to anchor the chain 3 down. Work 6 trebles into that same space - this is what creates the rounded scallop. Slip stitch into the next chain 2 space, then 6 trebles into that one. Repeat all the way around.

On the last space, work only 5 trebles. Your starting chain 3 counts as the 6th stitch of that final scallop. Slip stitch into the top of that chain 3 to close the round. The whole edge should now have eight visible scallops.

Tip

If your scallops bunch up too tight, your trebles are pulling in. Loosen your tension on the yarn-over pulls so each treble has room to sit next to its neighbor.

8

Fasten Off and Weave in the Ends

13:45
Step 8: Fasten Off and Weave in the Ends - How to Crochet a Coaster

Yarn over one last time and pull through the loop on your hook to lock the final stitch. Snip the yarn about 6 inches from the work, then pull the tail all the way out. That creates a small knot.

Thread the tail onto a yarn needle and weave it back and forth through the back of a few stitches. Snip the tail close to the work. Check the starting tail too - if it didn't get caught inside round 1, weave it in the same way. You're done.

Tip

Weave each tail in two directions before snipping - up one row, then back across another. Single-direction weaving lets the tail pop back out after the first wash. Coasters get washed often.

Keep going

How to Crochet a Panda Plushie

Products Used

The Checklist

How to Crochet a Coaster

Tools
3
Materials
1
Steps
8
Video
15 min

Tools we recommend

Your Guide

Bella Coco

As an Amazon Associate we earn from qualifying purchases. Links on this page may be affiliate links - clicking them and buying doesn't change your price, but helps support ShowMeStepByStep.

Tags

Free printable

Get the Crochet Cheat Sheet

Every basic stitch on one printable page. No spam, one-click unsubscribe.

Test your knowledge

Did the lesson stick? Start with this one.

5 questions covering what you just read. No signup, no score saved, and you can stop after this one.

Question 1 of 5

Why use cotton yarn for a coaster (not acrylic)?

Quick reference

Key takeaways from How to Crochet a Coaster

5 questions, answers, and one-line explanations. Tap to expand.

  1. 1.Why use cotton yarn for a coaster (not acrylic)?

    Answer: Cotton sits flatter than acrylic and grips the table better

    Flatness + grip = a coaster that doesn't slide; acrylic curls more.

  2. 2.After chain 6, how do you turn it into the starting ring?

    Answer: Slip stitch into the first chain to close the chain into a small ring

    Slip-stitch into chain 1 closes the ring; magic ring also works if you prefer.

  3. 3.Round 1: how many trebles do you work into the ring?

    Answer: 19 (chain-3 counts as the first treble, then 19 more = 20 total)

    Chain-3 counts as the first stitch; 19 more trebles fills the ring.

  4. 4.Why trap the starting yarn TAIL inside the stitches of Round 1?

    Answer: Hides the tail so you don't have to weave it in later

    Crochet over the tail in Round 1 to invisibly weave it in as you go.

  5. 5.What stitch count gives the SCALLOP on Round 4?

    Answer: 6 trebles in each chain-2 space (with a slip-stitch anchor between)

    6 trebles in each chain-2 space creates the rounded scallop edge.

Did this work for you?

What's next

Weekly Digest

Liked this crochet tutorial?

Pick the categories you want to hear about. Weekly digest of new step-by-step tutorials. No spam, easy unsubscribe.

Send me tutorials about

We only email about new tutorials. Easy unsubscribe anytime.