Salt dough is one of those crafts that feels like cheating. Three pantry ingredients - flour, salt, water - and a couple of hours in the oven turn into a tray of homemade Christmas ornaments that look like you bought them at a craft fair. No special supplies, no shopping list, no excuses.
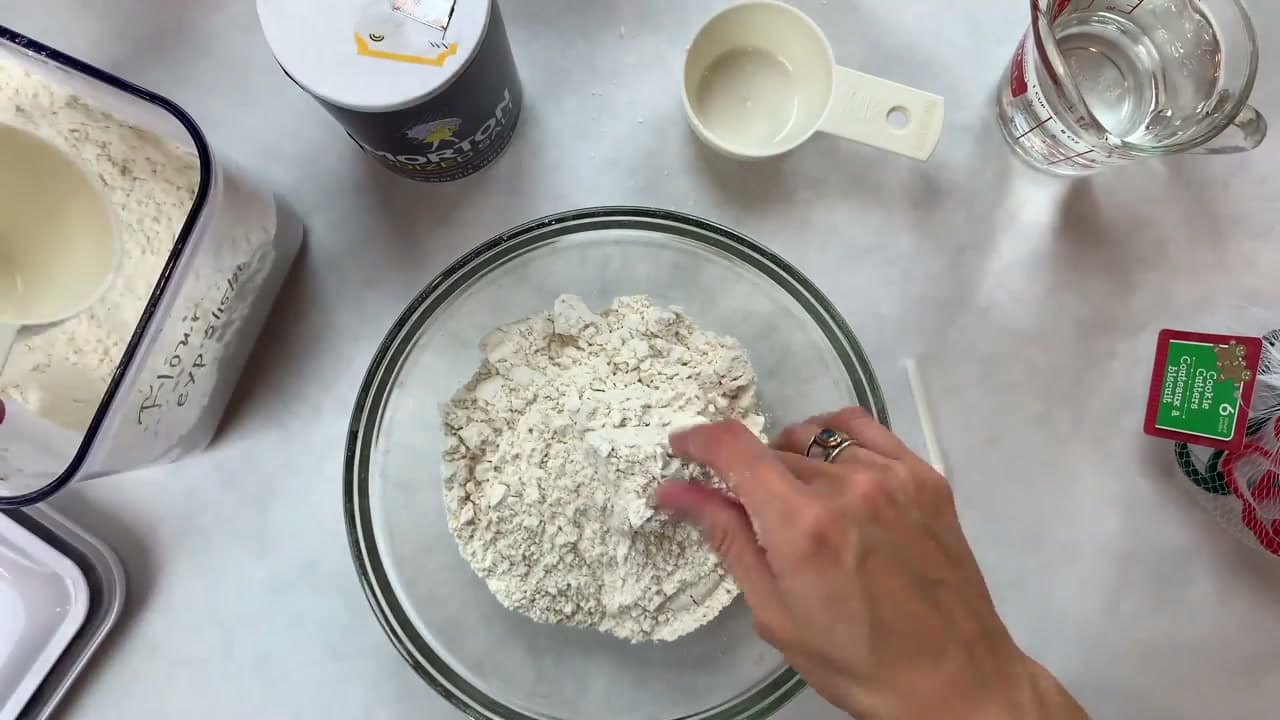
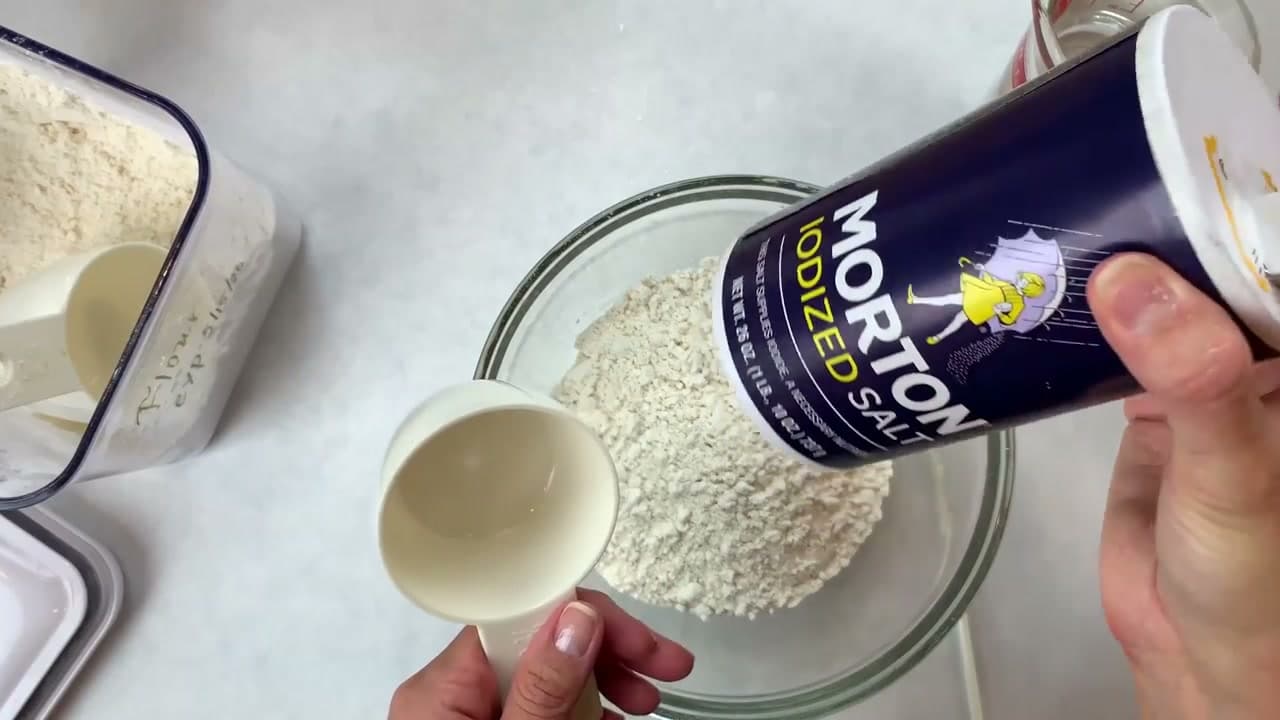
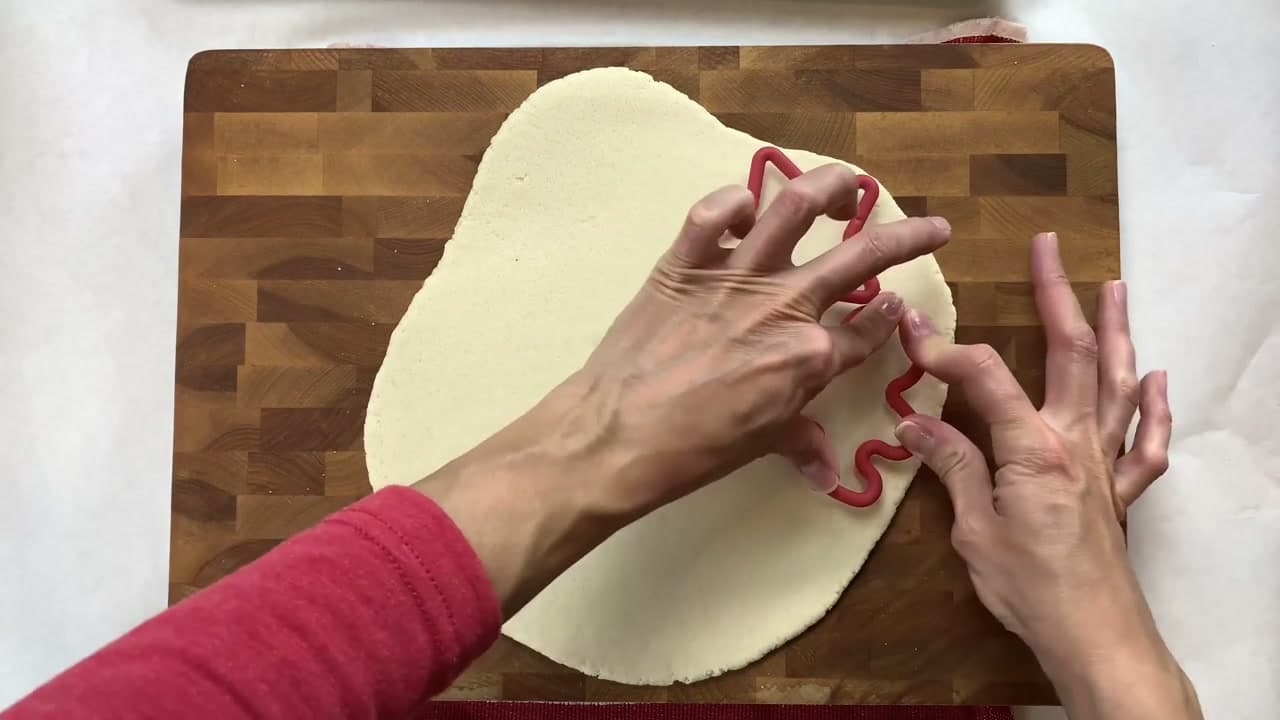
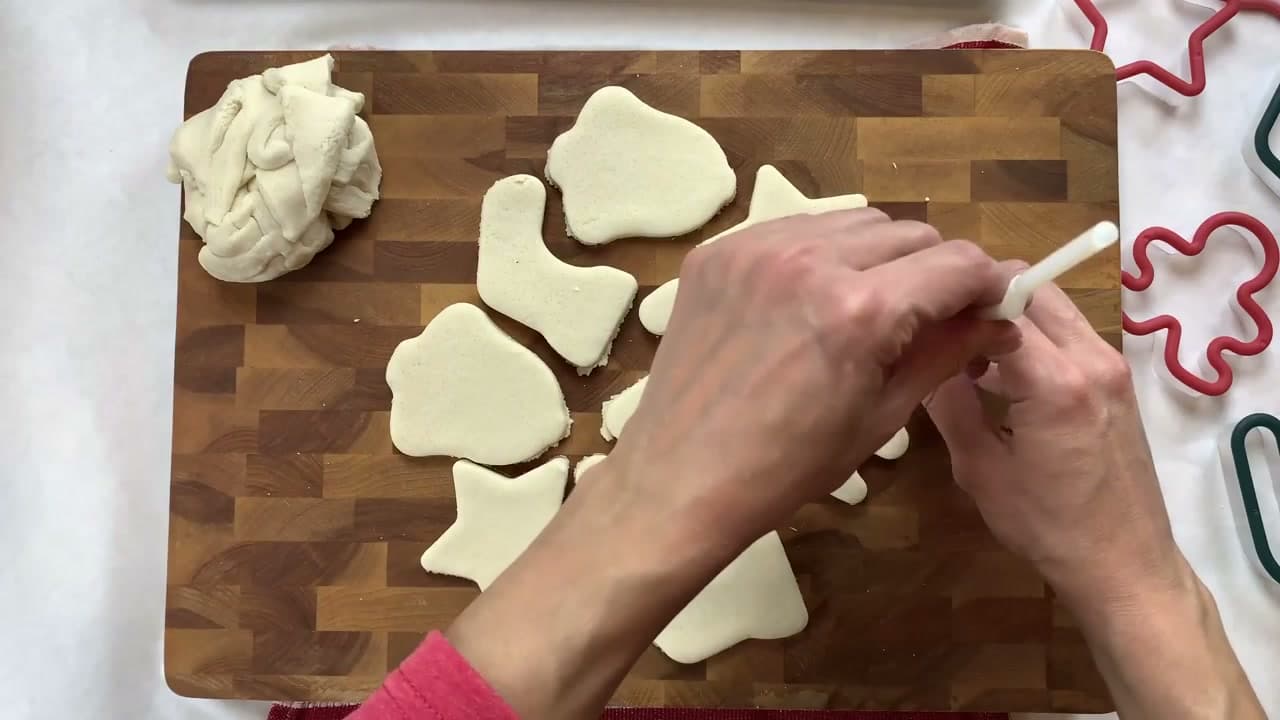
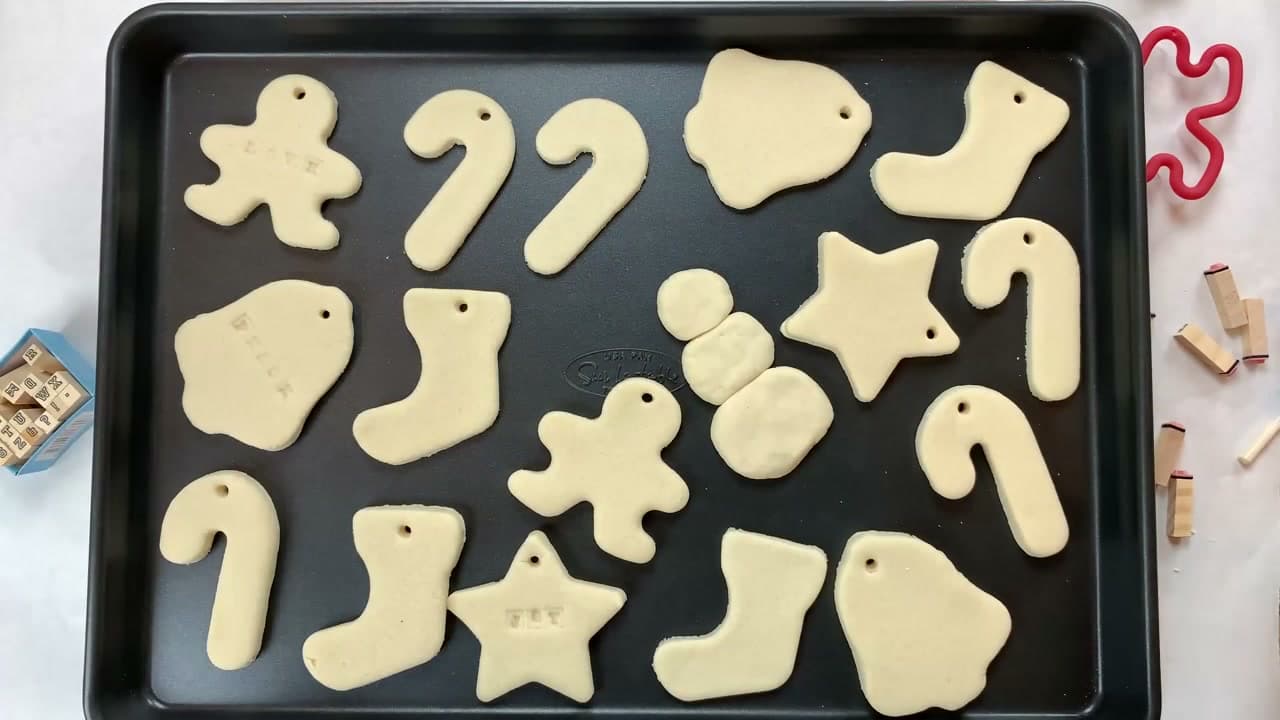
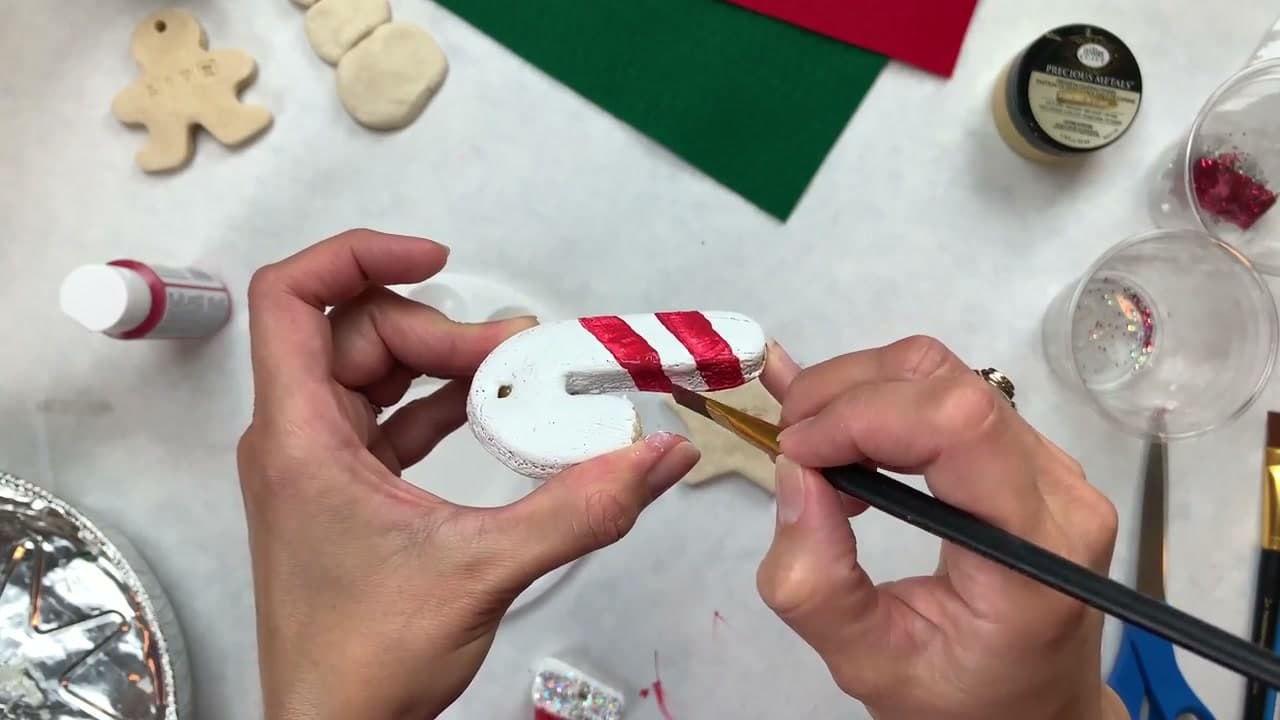
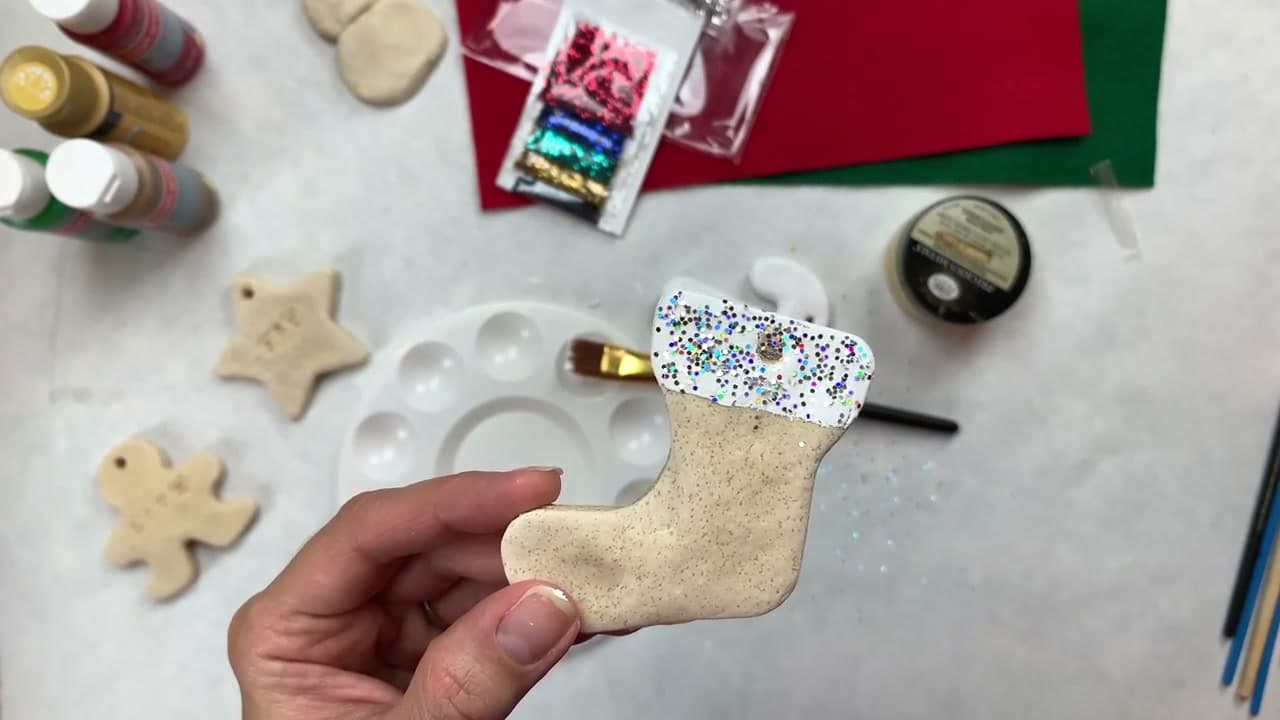
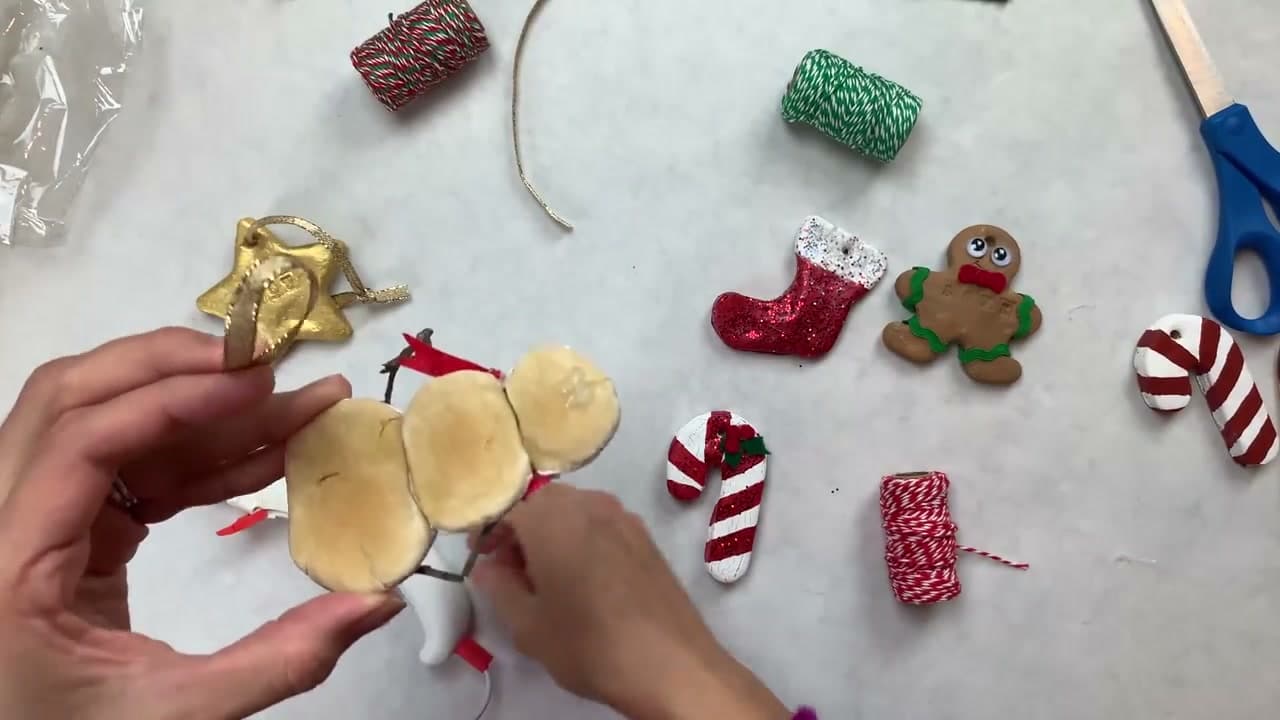
Crissy from First Day of Home walks through her family-favorite recipe in this tutorial: two cups of all-purpose flour, half a cup of salt, three-quarters of a cup of warm water. Mix, roll, cut shapes with Dollar Tree cookie cutters, poke a hole for the ribbon, bake at 250 degrees for two hours, then go wild with paint, glitter, and felt. Her boys love this so much they asked to do it for their birthday party.
If you want a no-bake variation with a Christmas-spice smell, try how to make cinnamon ornaments - same shaping idea, applesauce and cinnamon instead of flour and salt. For another easy holiday craft kids can knock out in an afternoon, see how to make a paper snowflake.
The Salt Dough Ornament Recipe
Two cups all-purpose flour, half a cup of table salt, three-quarters of a cup of warm water. That is the entire recipe, and the ratio matters more than the exact amounts - four parts flour to one part salt to one and a half parts water, by volume.
Add the water slowly. Dough that has taken too much water goes sticky and will not hold a cookie-cutter edge, and the fix is more flour, which throws the ratio off. Dough that is slightly too dry is easy to rescue with a teaspoon of water at a time.
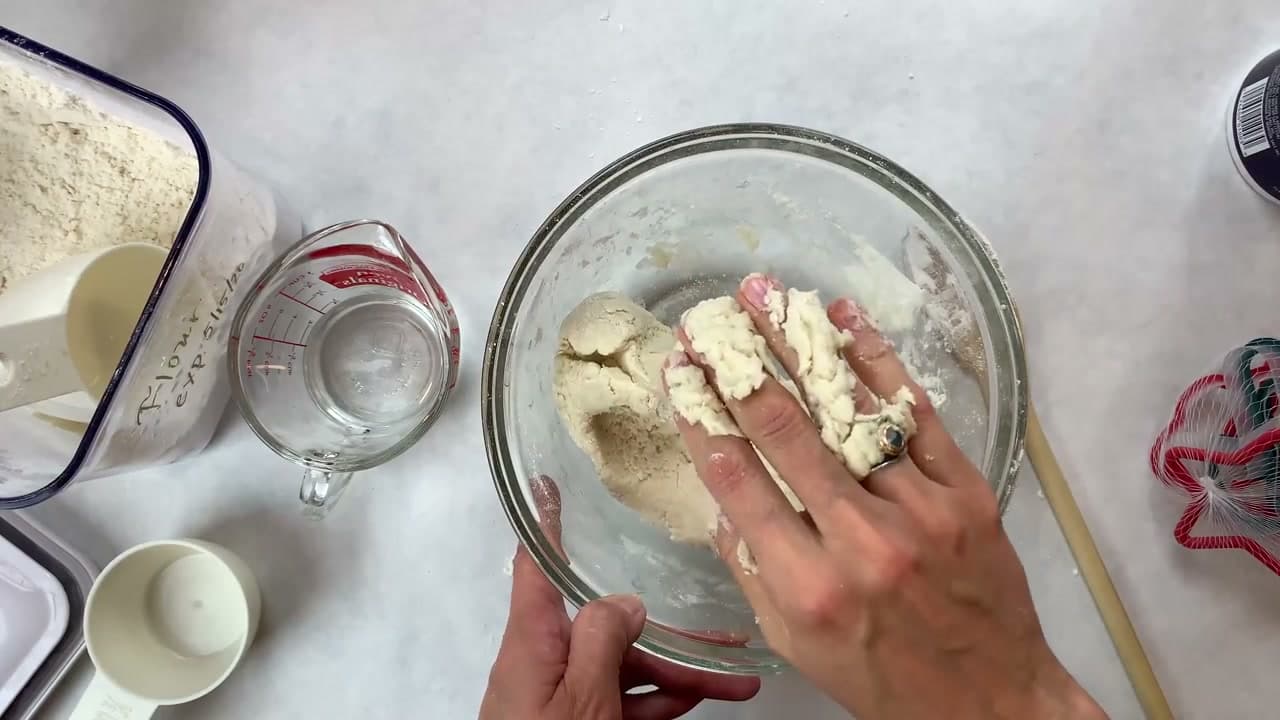
Knead it for a good five minutes. Under-kneaded dough has grains of undissolved salt in it that leave rough patches on the surface and soak up paint unevenly.
Use table salt rather than coarse or kosher salt. The fine grains dissolve during kneading; coarse crystals stay whole and pit the surface as they bake.
How to Make Ornament Dough Without a Recipe Card
People search for flour ornaments, salt ornaments and ornament dough, and they all land on the same three ingredients. There is no separate recipe hiding behind any of those names.
What does vary is what people add. A tablespoon of cornstarch makes a smoother, whiter dough that takes fine detail better. A teaspoon of cinnamon or nutmeg in the mix gives a faint spice smell without changing how it bakes, though it does turn the dough tan. Skip food colouring - it fades to a muddy version of itself in the oven, and painting after baking gives far better colour.
Baking Salt Dough Ornaments
Low and slow. 250 degrees Fahrenheit for roughly two hours, flipping the ornaments halfway so both sides dry at the same rate.
Baking hot is the single most common mistake. At 350 the outside sets before the inside has dried, steam builds up underneath, and the ornaments puff into pillows or crack across the middle. If yours have puffed, the oven was too hot, not the dough.
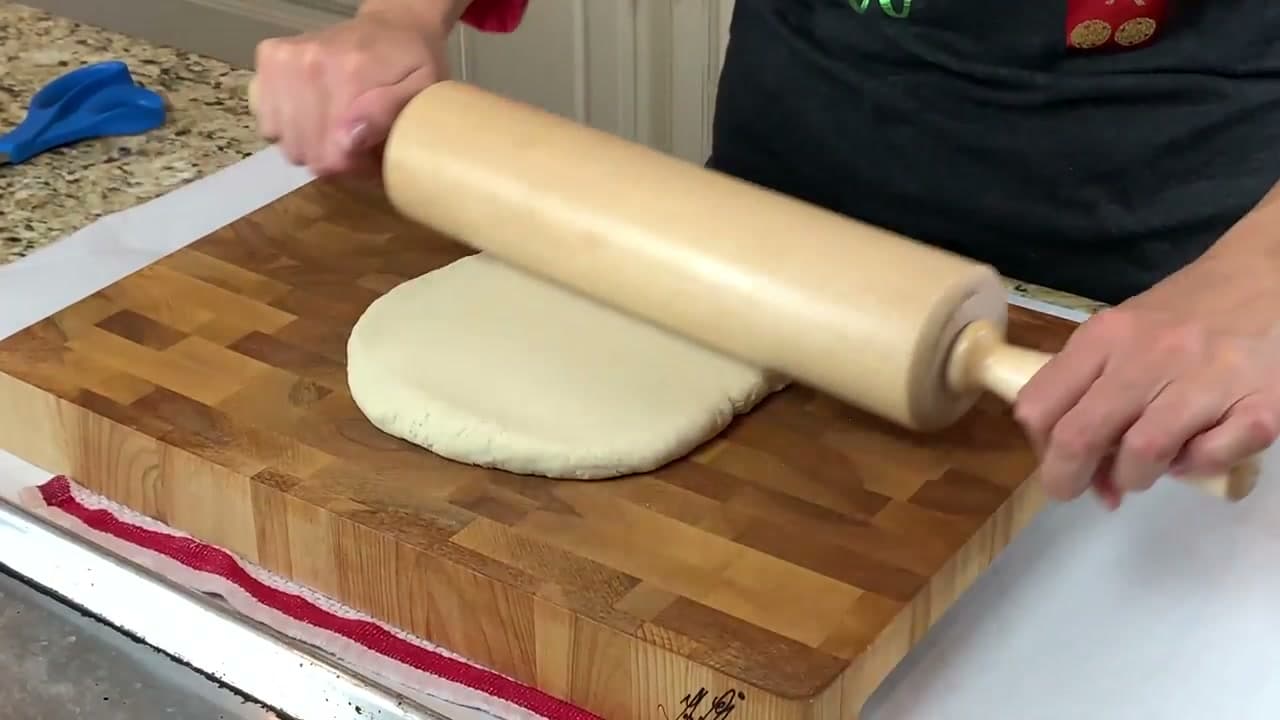
Thickness drives the time. A quarter inch is the sweet spot: thin enough to dry through in two hours, thick enough not to snap when you tie a ribbon on it. Roll thicker than that and add an hour.
They are done when the back sounds hard and hollow under a fingernail and there is no give anywhere. A cool ornament that still bends in the middle goes back in.
The No-Bake Version
Air-drying works and costs nothing but patience. Lay the cut shapes on a wire rack so air reaches both sides and leave them somewhere dry for two to four days, turning them once a day.
Air-dried ornaments stay slightly more brittle than baked ones and they are more vulnerable to humidity, so seal them well. This is the right choice if you are making these with small children and do not want a hot oven in the mix.
Cookie Cutters and Getting Clean Shapes
Any metal or plastic cookie cutter works. Simple outlines hold up best - stars, circles, hearts, plain trees. Cutters with thin protruding details give you ornaments that snap at exactly those points.
Flour the cutter, not the dough, and press straight down without twisting. Twisting drags the edge and leaves a rough lip you then have to smooth by hand.
No cutters? A drinking glass makes circles, and a knife against a paper template cuts anything you can draw. Freehand shapes look handmade in a good way.
Punch the hanging hole with a drinking straw rather than a skewer. The straw removes a clean plug of dough; a skewer pushes dough aside and the hole closes up as it bakes. Set the hole further from the edge than feels necessary, because that thin bridge of dough is where ornaments break.
Painting, Sealing and Storing
Let them cool completely. Paint on a warm ornament beads and streaks.
Acrylic and chalk paint both work. Chalk paint gives a matte finish that hides fingerprints; acrylic gives brighter colour. Two thin coats beat one thick one, which cracks as it dries.
Sealing is not optional. Salt dough is hygroscopic - it pulls moisture out of the air, and an unsealed ornament will soften, spot and eventually crumble over a damp summer in the loft. Two coats of Mod Podge or a clear acrylic spray on both sides and around the edges is what makes these last for years instead of one season.
Store them in a box with tissue between layers, somewhere dry. Not the garage, not the basement.
Homemade Christmas Ornaments Beyond Salt Dough
Salt dough is the cheapest way into homemade ornaments, and it is not the only one.
- Cinnamon ornaments use applesauce and cinnamon instead of flour and salt. No baking, and the whole house smells like Christmas for weeks.
- Pinecone ornaments need nothing but a walk outside and some ribbon.
- Paper snowflakes cost a sheet of paper and go up on windows rather than the tree.
Date the back of each one in pencil before you seal it. Ten years on, that is the part people care about.
Salt dough is the one that takes an afternoon. For five that do not need baking at all, see how to make Christmas ornaments.