How to Smoke Ribs: A Beginner's Guide to Tender BBQ Ribs

CookingMedium6:107 stepsBrowse more →

By ShowMeStepByStepPublished

Based on a video by Camp Chef.

Smoked ribs look like a job for a pitmaster, but the steps are simple once you see them laid out. This walkthrough comes from Camp Chef, who takes a rack from raw and cold all the way to sliced and glossy on the smoker.

You will trim the ribs, hit them with a binder and a heavy dry rub, then let the smoke do the slow work. A quick stovetop sauce and a foil wrap take them from good to fall-apart tender. If you want to compare methods, we also cover how to use a smoker and how to make ribs in the oven when the weather won't cooperate.

Give yourself most of a day. The hands-on time is short, but the payoff is in the hours of patient smoke.

Step-by-Step Guide

1

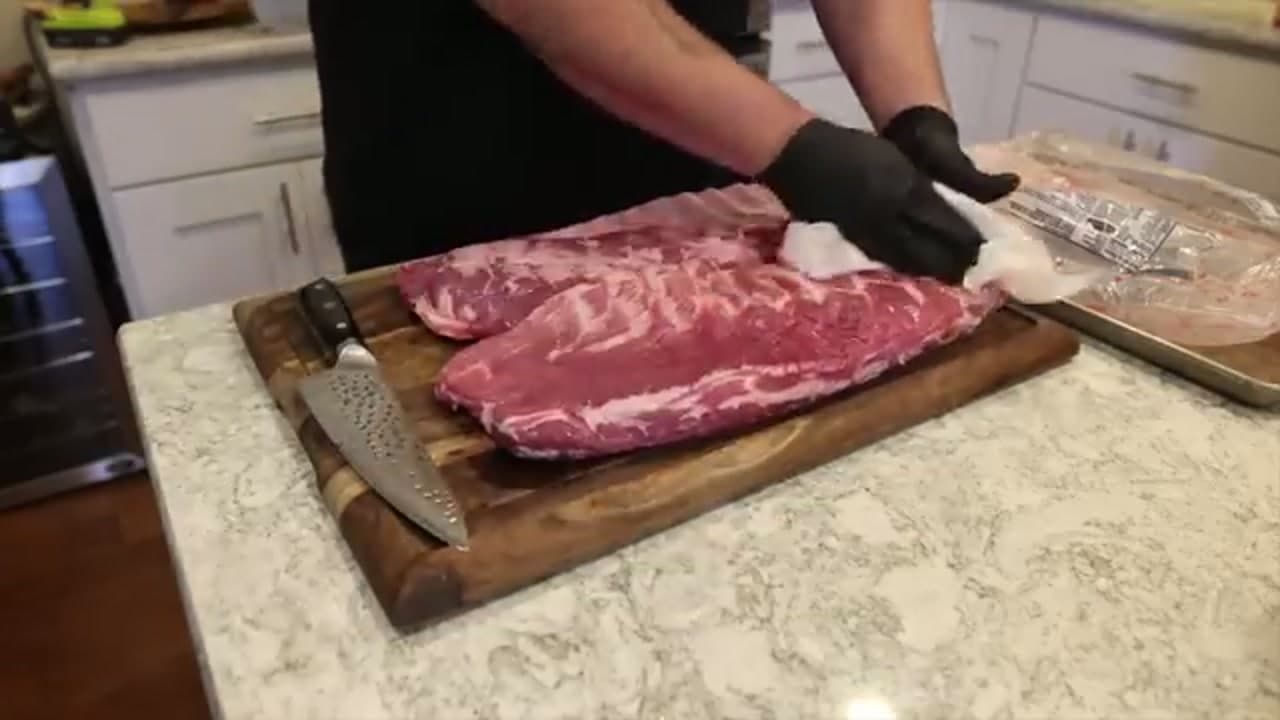
Step 1: Trim and Prep the Ribs

0:48
Step 1: Step 1: Trim and Prep the Ribs

Start with the ribs on a clean board. Peel the thin membrane off the bone side so smoke and seasoning can get in, and trim any loose flaps of fat or meat that would just burn. Pat both racks dry with a paper towel. A dry surface is what lets the rub grip instead of sliding off. Take your time here. Good prep is what separates ribs that taste smoked all the way through from ribs that only taste of the surface.

Tip

If the membrane keeps slipping, grab it with the paper towel for extra grip.
2

Step 2: Add a Binder and Dry Rub

1:40
Step 2: Step 2: Add a Binder and Dry Rub

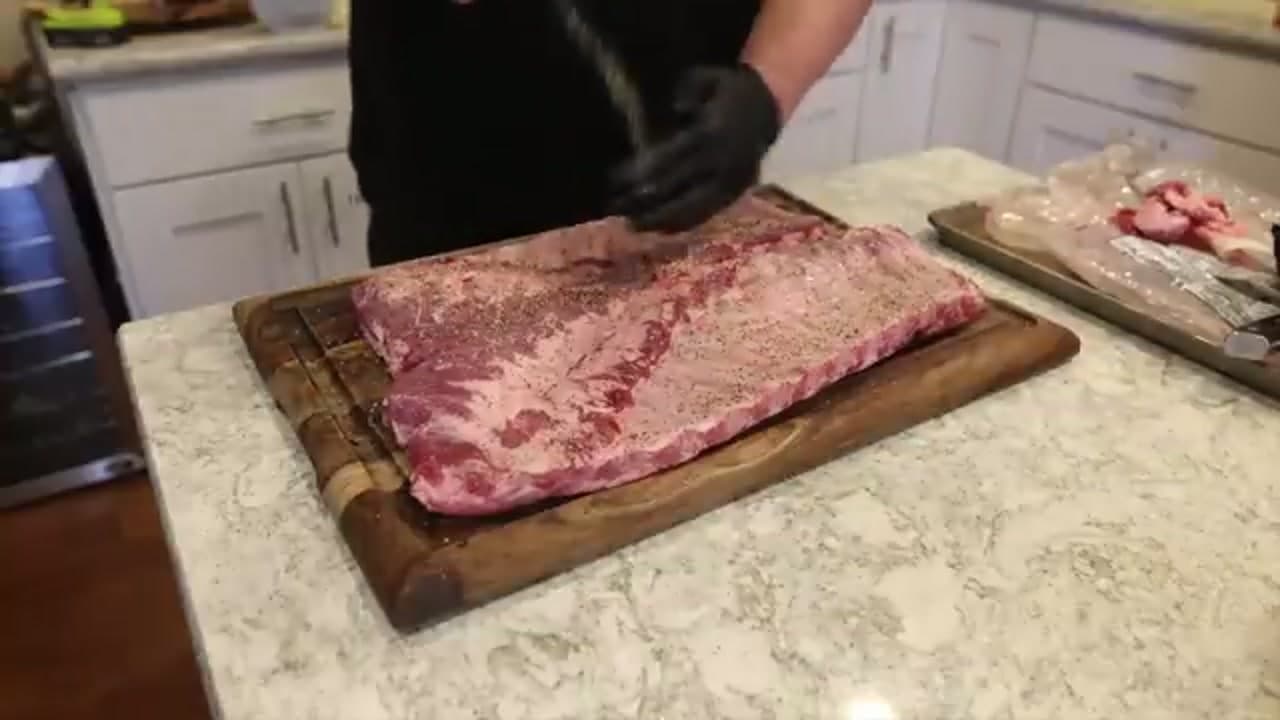
Smear a thin coat of yellow mustard over the meat. You won't taste it later. It just gives the rub something to hold onto. Then shake your BBQ dry rub over both racks in an even layer, front and back. Don't be shy. The rub is where most of the flavor and the bark come from. Let the seasoned ribs sit while the smoker comes up to temperature so the salt in the rub starts to work into the meat.

Tip

A shaker or fine-mesh sieve gives you a more even coat than dumping the rub straight from the jar.

3

Step 3: Load the Ribs onto the Smoker

2:28
Step 3: Step 3: Load the Ribs onto the Smoker

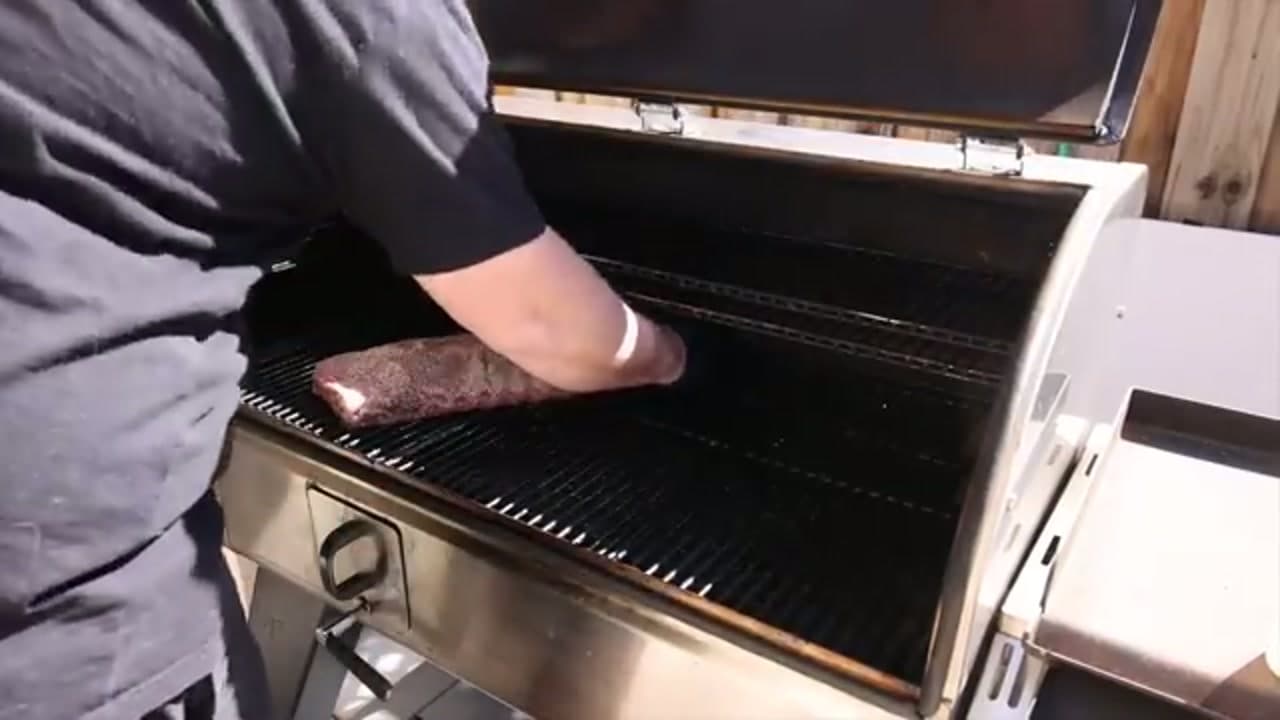
Get the smoker running steady around 225 to 250 degrees with your wood pellets or chips loaded. Lay the seasoned racks bone-side down on the grates, giving each one room so smoke can wrap all the way around. Close the lid and resist the urge to keep peeking. Every time you open it, you lose heat and smoke and add time. A rib rack helps if your grill is short on space.

Tip

Spritz the racks with apple juice every 45 minutes or so to keep the surface from drying out.

4

Step 4: Smoke Low and Slow

3:40
Step 4: Step 4: Smoke Low and Slow

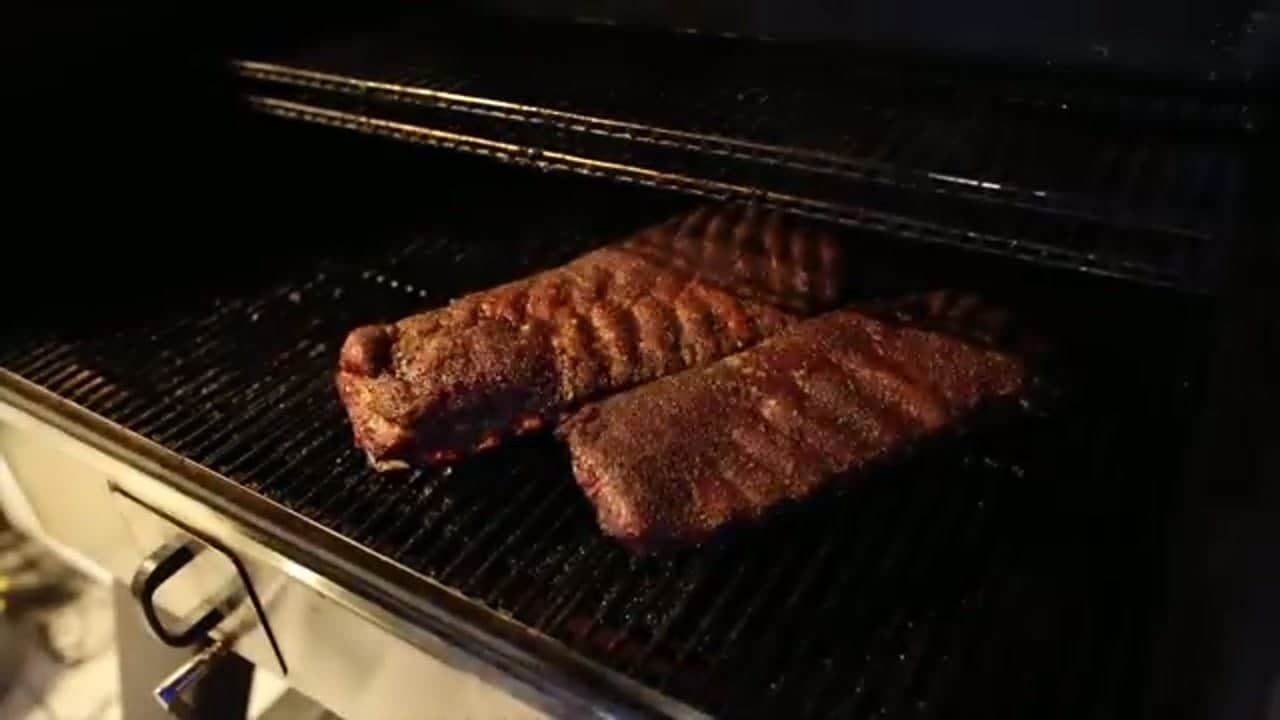
This is the patient part. Over the next few hours the rub tightens into a dark bark and a pink smoke ring forms just under the surface. Keep the temperature steady and let the ribs ride. An instant-read thermometer is your friend here. You are looking for the meat to pull back from the bone tips and reach the tender zone, roughly 195 to 203 degrees, before you move on.

Tip

Bark set but not tender yet? That's normal. Ribs finish on time, not on the clock.

5

Step 5: Simmer a Quick BBQ Glaze

3:12
Step 5: Step 5: Simmer a Quick BBQ Glaze

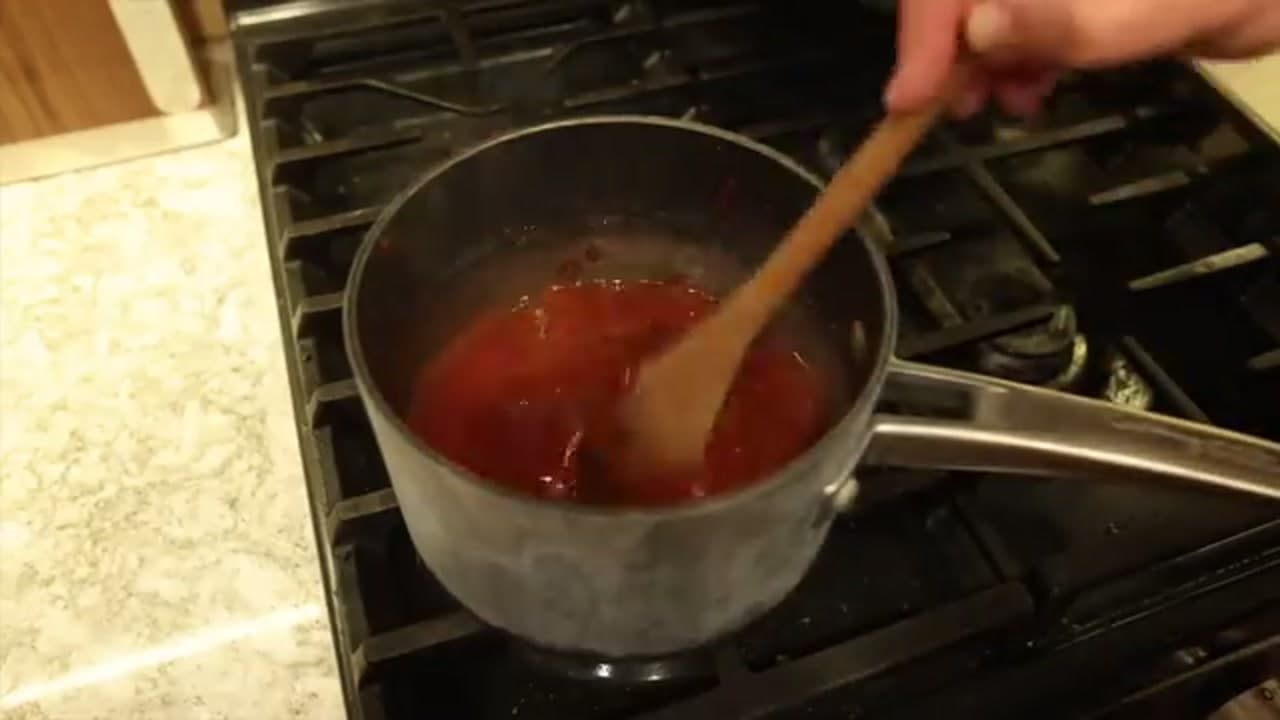
While the ribs smoke, warm your BBQ sauce in a small saucepan over low heat. Stir it now and then until it loosens into a smooth, pourable glaze. Warming the sauce helps it spread thin and cling to the meat instead of sitting in a thick blob. Keep the heat gentle so the sugars in the sauce don't scorch. If you like a little tang, a splash of the apple juice thins it nicely.

Tip

Taste and adjust before it touches the ribs. A pinch of the dry rub stirred in ties the flavors together.

6

Step 6: Sauce and Wrap the Ribs

4:10
Step 6: Step 6: Sauce and Wrap the Ribs

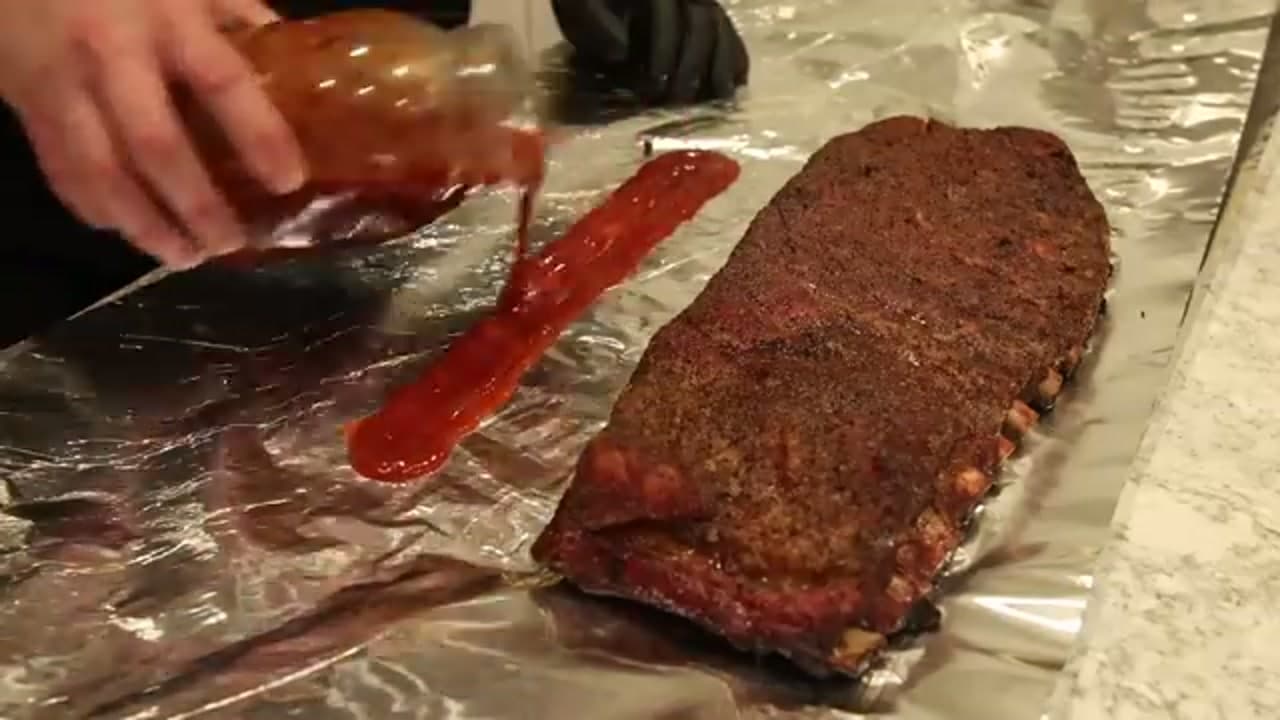
Lay out a long sheet of foil and set a rack on it. Drizzle the warm glaze over the top, add a little brown sugar and a few pats of butter, then fold the foil into a tight sealed packet. Back on the smoker, the wrap traps steam and pushes the ribs over the edge into fall-apart tender. This is the stage that turns good ribs into the ones people fight over.

Tip

Wrap seam-side up so the juices pool around the meat instead of leaking out.

7

Step 7: Slice and Serve

5:45
Step 7: Step 7: Slice and Serve

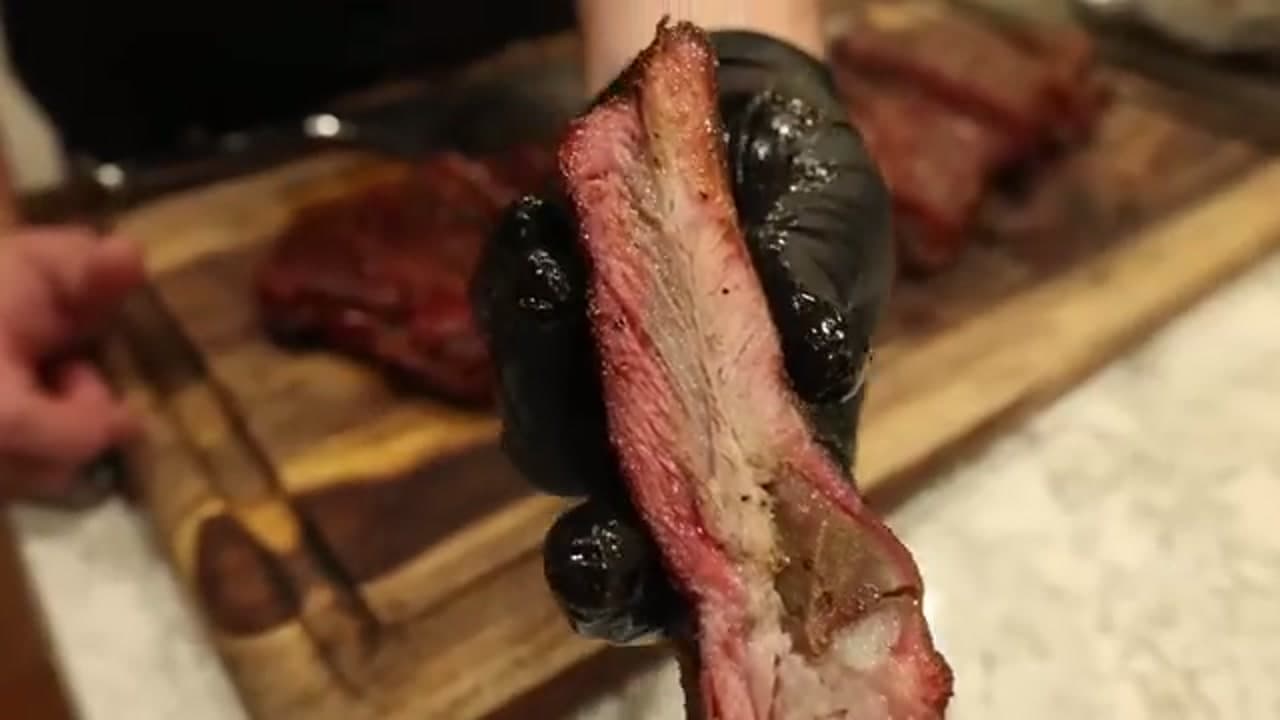
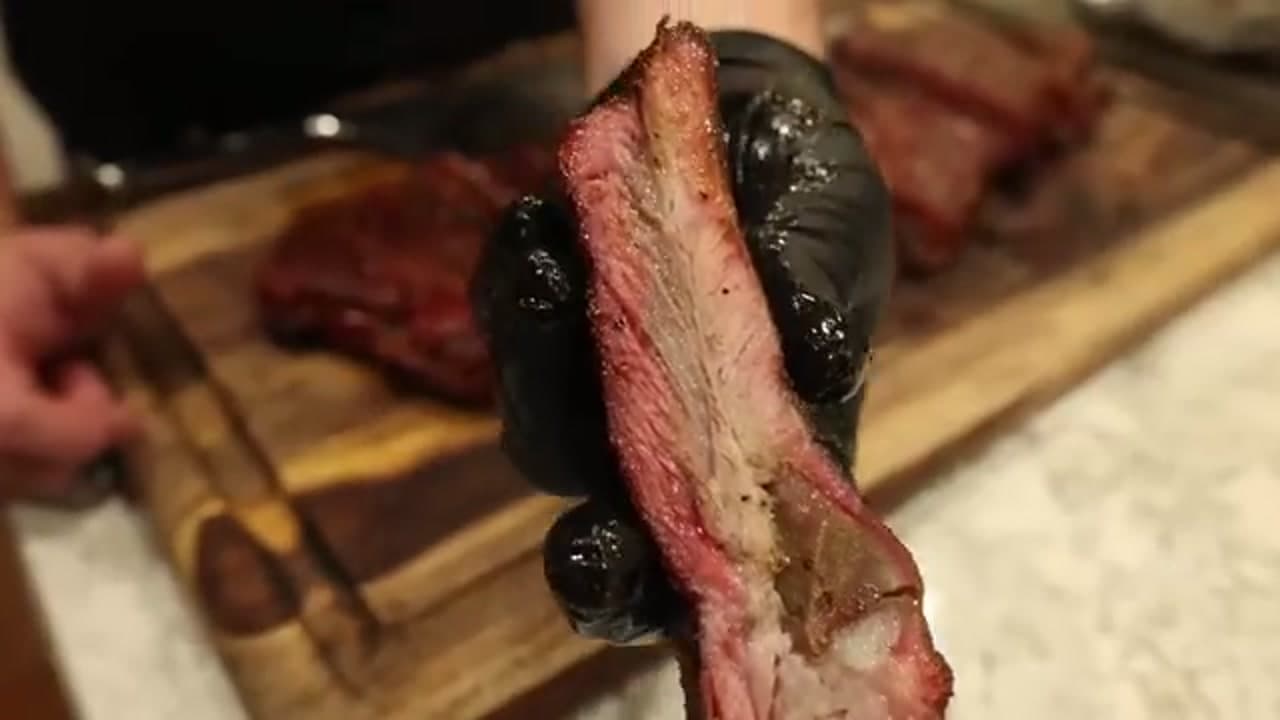
Let the ribs rest a few minutes out of the foil so the juices settle. Flip the rack meat-side up and slice straight down between the bones with a sharp knife. Each rib should show a pink smoke ring under the bark and pull clean off the bone with a little tug. Fan them out on the board and dig in. This is the moment all that patient smoke was for.

Tip

Cut between the bones, not through them. Feel for the gap and let the knife glide.

Products Used

❖ The Recipe

How to Smoke Ribs: A Beginner's Guide to Tender BBQ Ribs

Southern US
Serves
Serves 4
Prep
20 min
Cook
5 hr
Total
5 hr 20 min

Ingredients

7 items
  • 2 rackspork ribs (baby back or St. Louis cut)
  • 2 tbspyellow mustardbinder to help the rub stick
  • 1/2 cupBBQ dry rubyour favorite blend
  • 1 cupBBQ sauce
  • 1/2 cupapple juicefor spritzing during the smoke
  • 1/4 cupbrown sugarfor the foil wrap
  • 4 tbspunsalted buttersliced, for the foil wrap

Method

  1. 1
    Step 1: Trim and Prep the Ribs. Start with the ribs on a clean board.
  2. 2
    Step 2: Add a Binder and Dry Rub. Smear a thin coat of yellow mustard over the meat.
  3. 3
    Step 3: Load the Ribs onto the Smoker. Get the smoker running steady around 225 to 250 degrees with your wood pellets or chips loaded.
  4. 4
    Step 4: Smoke Low and Slow. This is the patient part.
  5. 5
    Step 5: Simmer a Quick BBQ Glaze. While the ribs smoke, warm your BBQ sauce in a small saucepan over low heat.
  6. 6
    Step 6: Sauce and Wrap the Ribs. Lay out a long sheet of foil and set a rack on it.
  7. 7
    Step 7: Slice and Serve. Let the ribs rest a few minutes out of the foil so the juices settle.
☐ The Checklist

How to Smoke Ribs: A Beginner's Guide to Tender BBQ Ribs

Tools
8
Materials
9
Steps
7
Video
6 min

Your Guide

Camp Chef

As an Amazon Associate we earn from qualifying purchases. Links on this page may be affiliate links - clicking them and buying doesn't change your price, but helps support ShowMeStepByStep.

Tags

Sunday How-To

New cooking tutorials, every Sunday

One short email with the week's best step-by-step guides. Free, no spam, unsubscribe anytime.

Did this work for you?

What's next

Related collections

Curated theme pages that include this tutorial.

Weekly Digest

Liked this cooking tutorial?

Pick the categories you want to hear about. Weekly digest of new step-by-step tutorials. No spam, easy unsubscribe.

Send me tutorials about

We only email about new tutorials. Easy unsubscribe anytime.