How to Season a Blackstone Griddle

CookingEasy7:307 stepsBrowse more →

By ShowMeStepByStepPublished

Based on a video by Mad Backyard.

A brand-new Blackstone comes with a shiny factory coating that you have to burn off before you cook. Seasoning is what turns that raw steel into a slick, dark surface that food slides right off of. Get it right once and the griddle only gets better every time you use it.

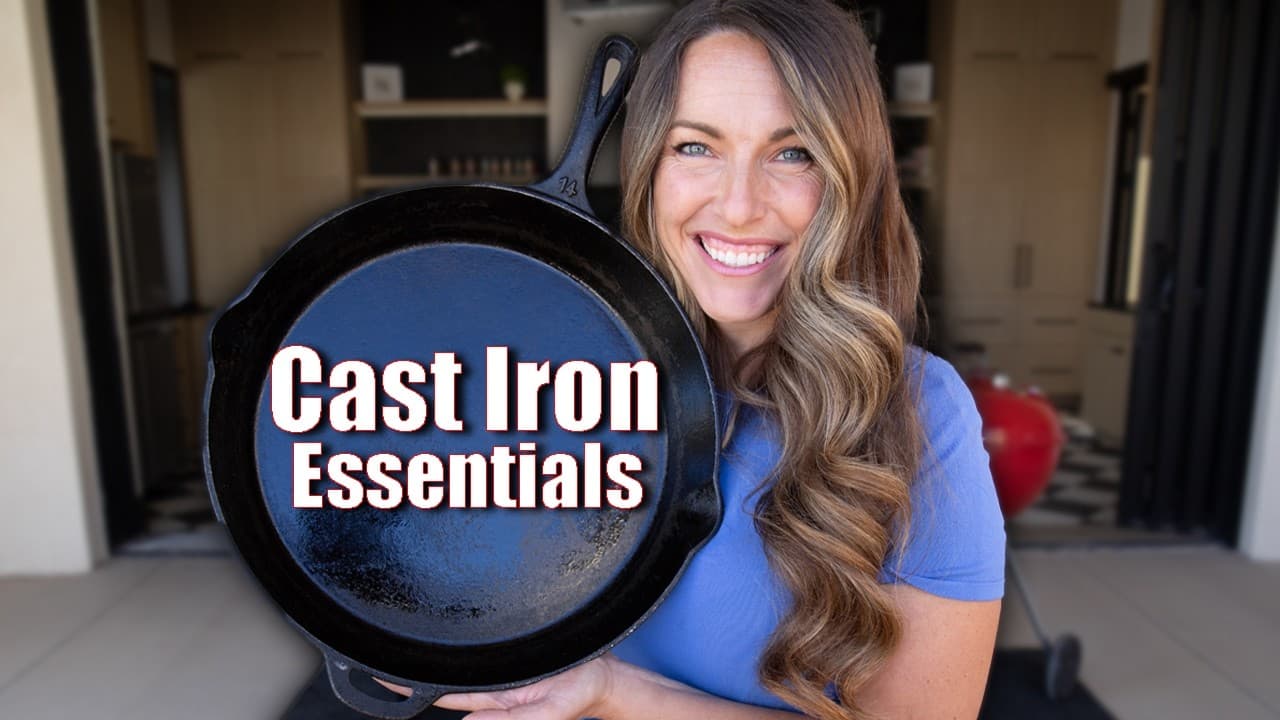
This guide follows the method from Mad Backyard, who walks through the whole process on a new two-burner unit. You wash the top, fire the burners, then bake on thin coats of high-smoke-point oil until the surface goes dark. The same layering idea powers our cast iron skillet seasoning guide, so if you have done that, this will feel familiar.

Once it is seasoned, you are ready for the fun part. Head over to how to use a Blackstone griddle to start cooking smash burgers, breakfast, and stir-fry on your new flat top.

Step-by-Step Guide

1

Step 1: Wash the New Surface

1:40
Step 1: Step 1: Wash the New Surface

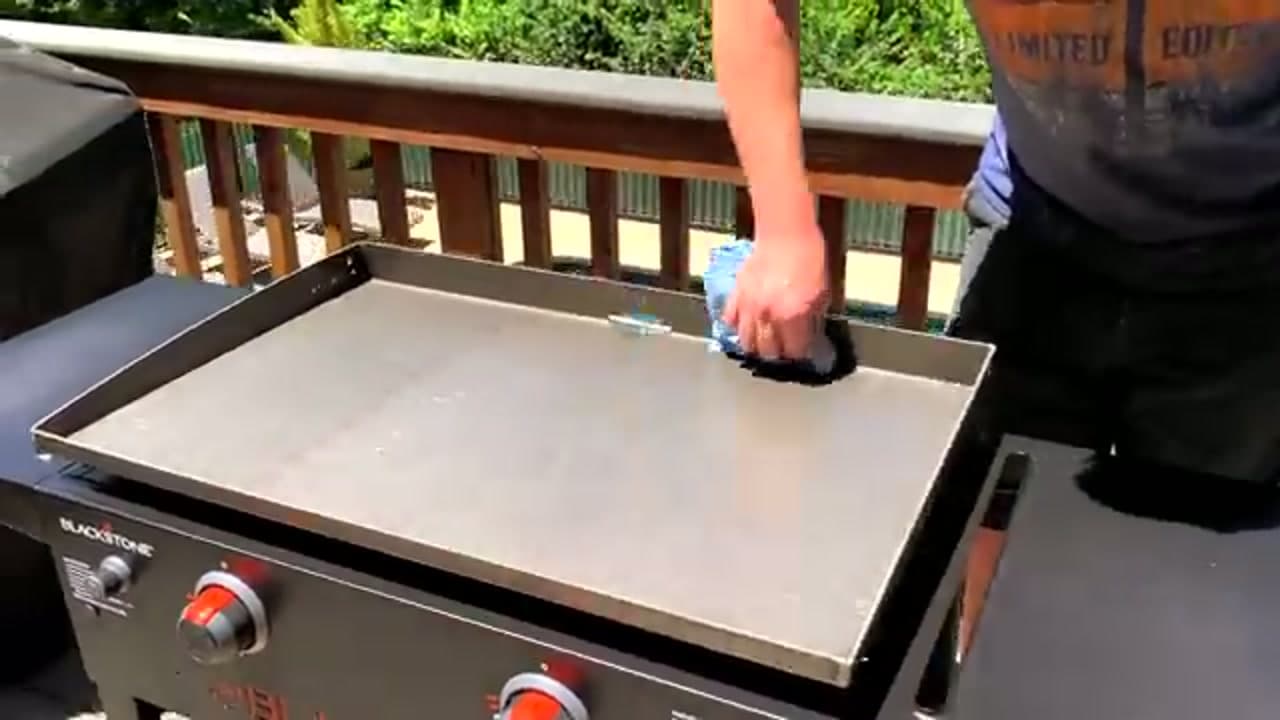
Before you cook anything, that new griddle needs a bath. Mix warm water with a little dish soap, grab a cloth, and scrub the whole top. This is the only time soap touches the surface, since it strips off the protective coating the factory sprayed on for shipping. Rinse it, dry it fully with a towel, and check that the steel feels clean. Any leftover coating will smell off when you fire it up, so take your time here.

Tip

A pinch of kosher salt on the cloth adds grit that helps lift stubborn spots off the raw steel.
2

Step 2: Connect the Propane and Light the Burners

3:00
Step 2: Step 2: Connect the Propane and Light the Burners

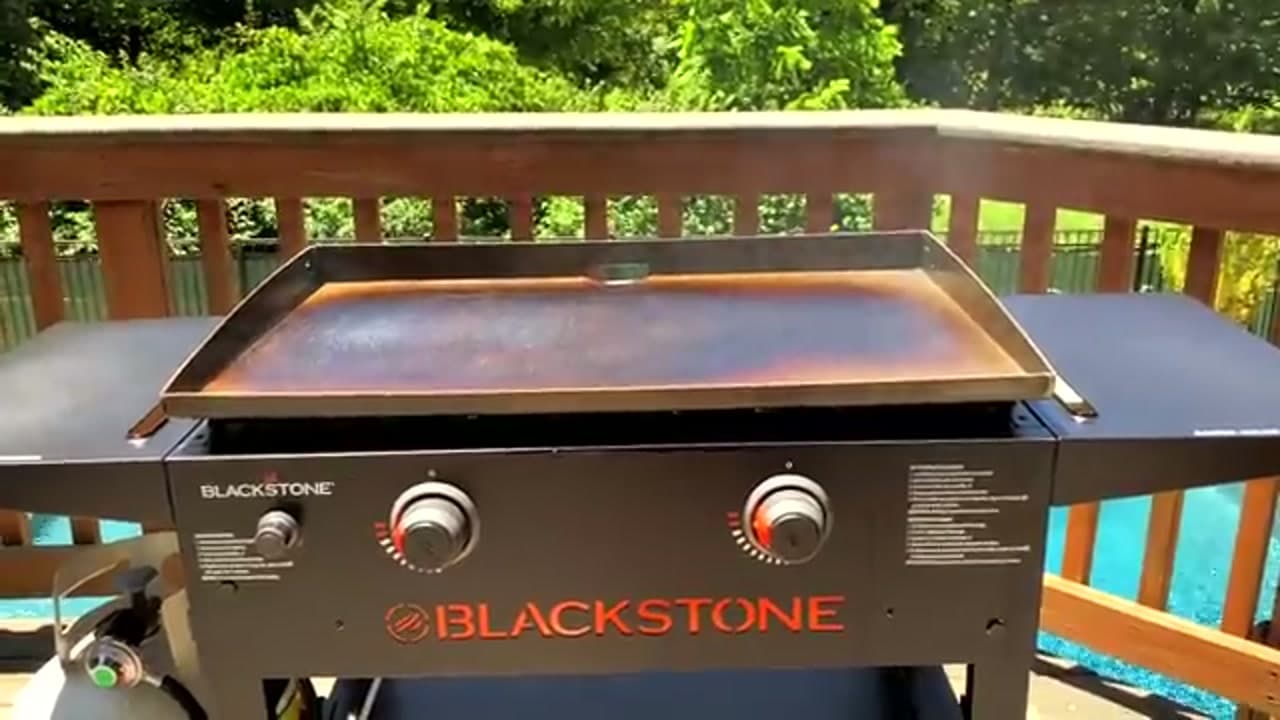
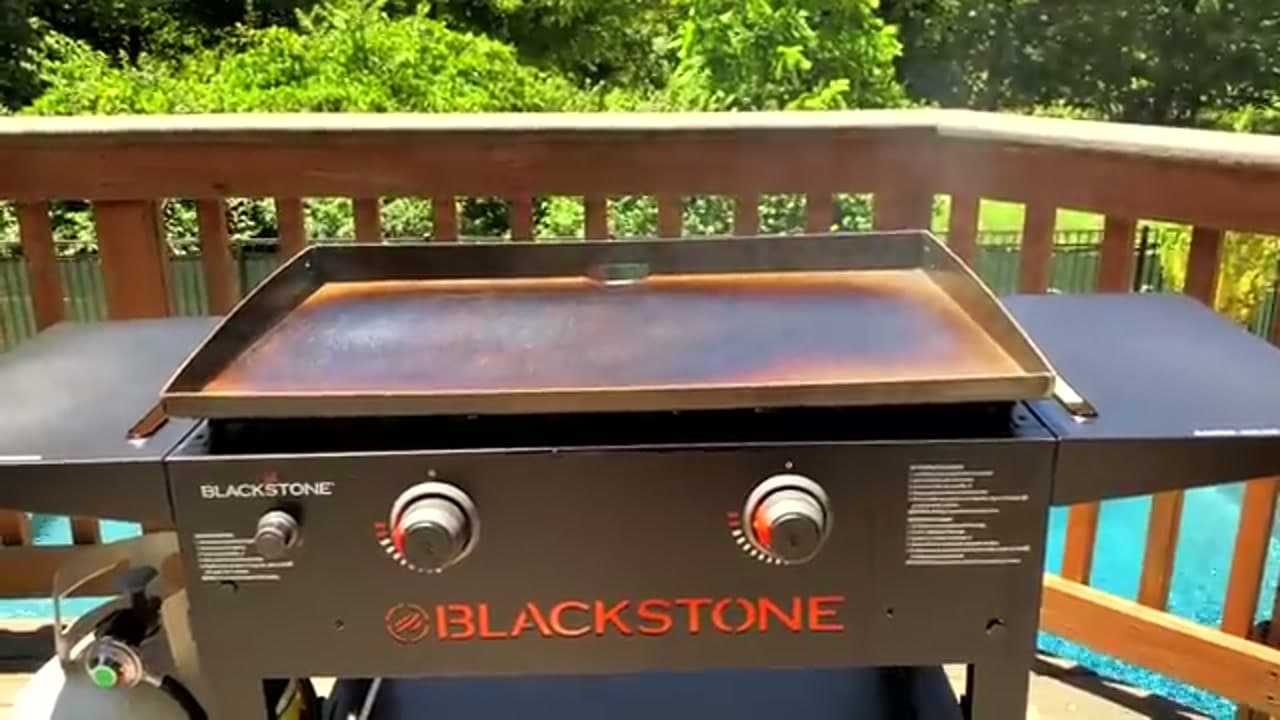
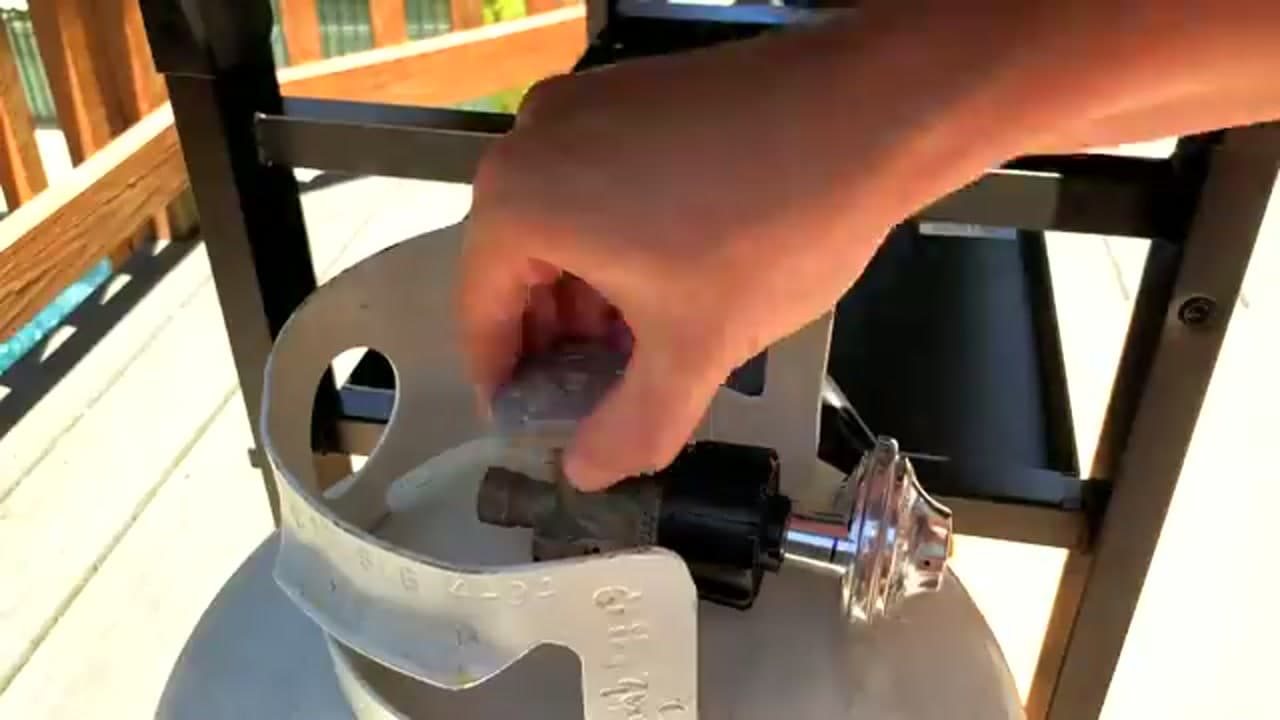
Hook the propane hose up to the tank and hand-tighten the fitting until it is snug. Open the tank valve all the way, then turn each burner knob to high and hit the igniter. You want the whole flat top screaming hot, because heat is what bonds the oil to the steel. Give it ten to fifteen minutes and watch for the surface to change color as it heats up. That color shift tells you it is ready for the first coat of oil.

Tip

If a burner will not catch on the igniter, use a long lighter at the burner hole while the gas is flowing.

3

Step 3: Spread a Thin Coat of Oil

3:50
Step 3: Step 3: Spread a Thin Coat of Oil

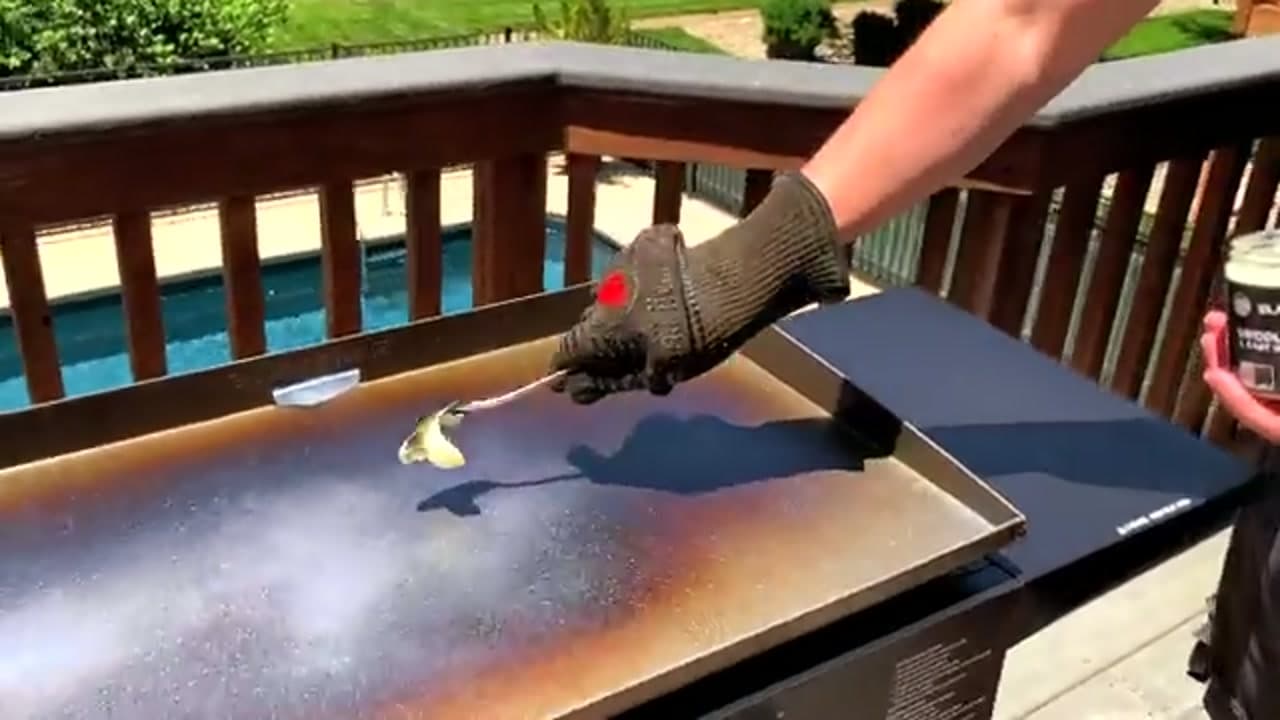
Pour a small amount of high-smoke-point oil onto the hot surface. Avocado, flaxseed, and canola all work because they can take the heat without going gummy. Bunch up a paper towel, grip it with tongs so you do not burn your hand, and push the oil edge to edge. You want the thinnest film possible. Too much oil pools and turns sticky instead of hard. If it looks wet, wipe more off.

Tip

Thin is the whole game. A puddle of oil bakes into a tacky mess, so err on the side of too little.

4

Step 4: Let the Oil Smoke and Burn In

4:30
Step 4: Step 4: Let the Oil Smoke and Burn In

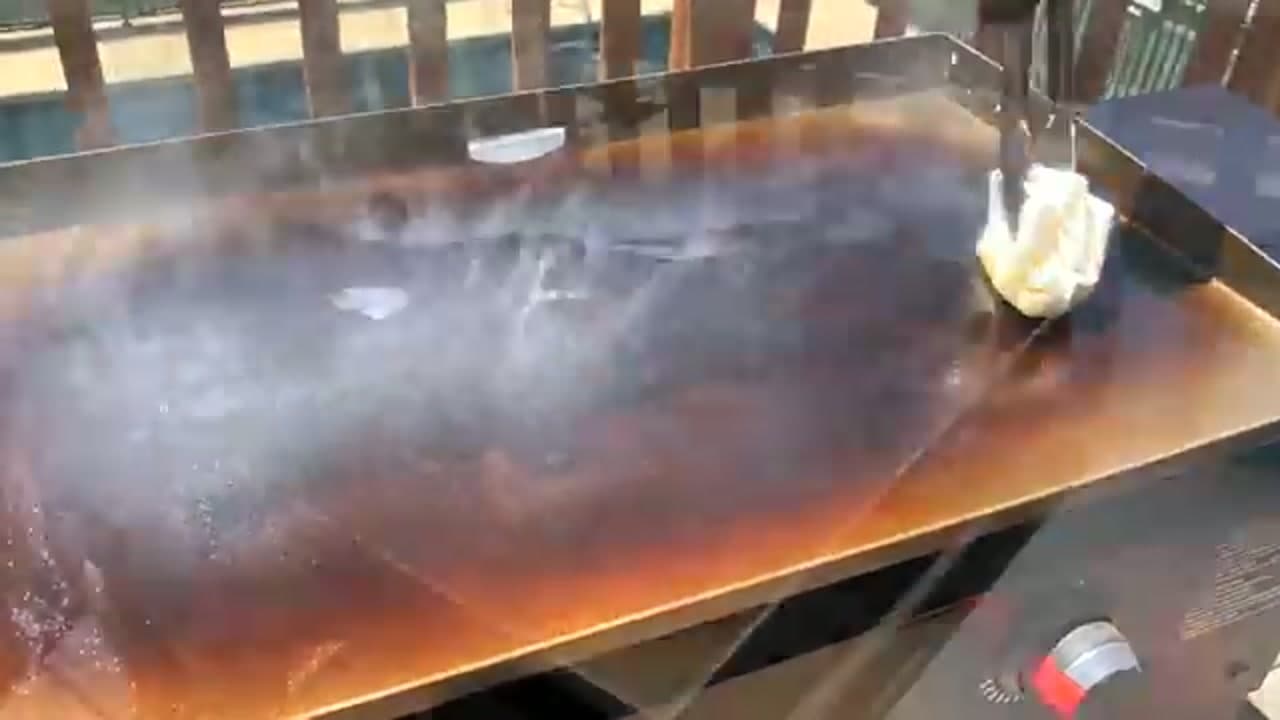
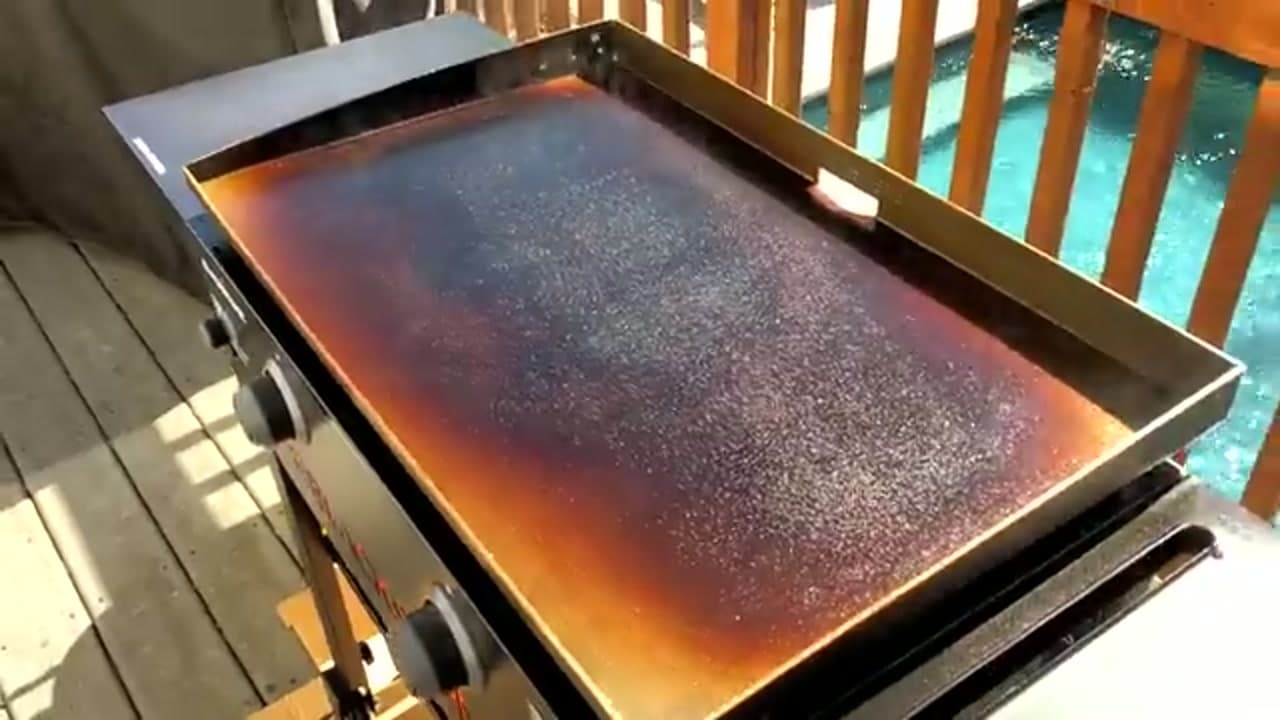
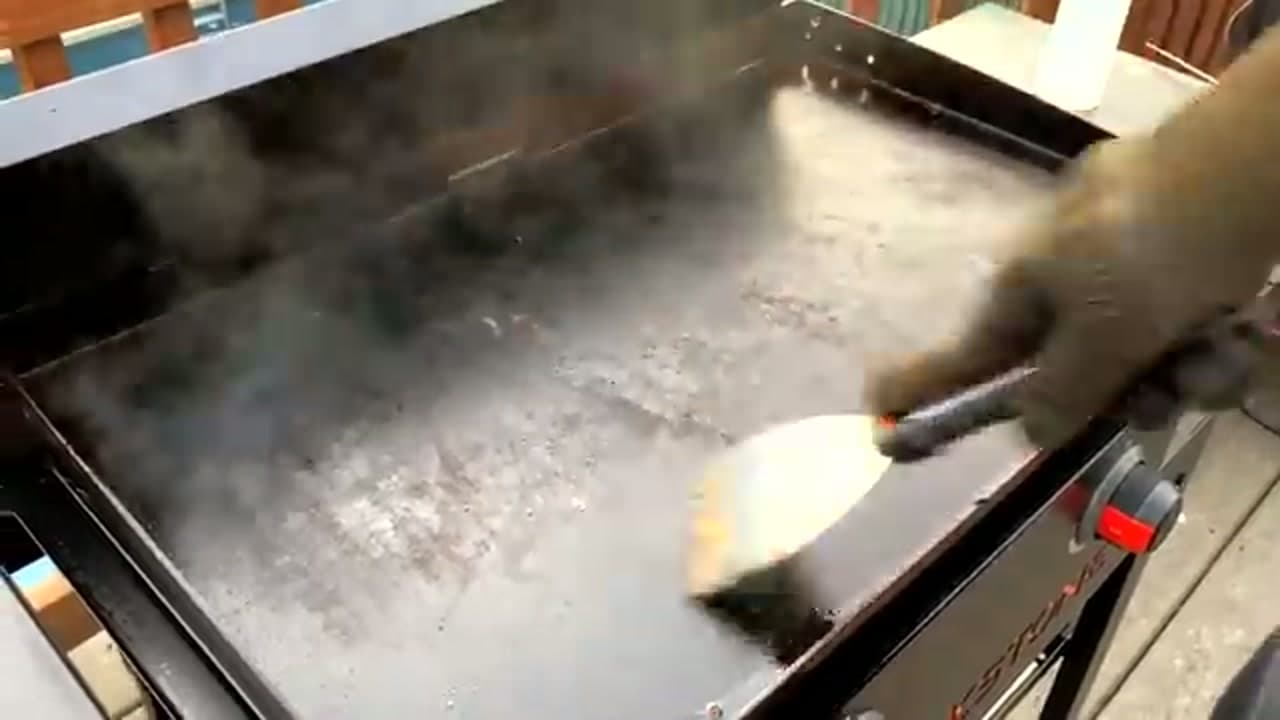
Now step back and let the heat work. The oil will start smoking hard, and that is exactly what you want. As it smokes, the surface shifts from silver to bronze to brown. Do not touch it or wipe it while it smokes. Wait until the smoke dies down and the color has set, which usually takes a few minutes. That first dark layer is the foundation for everything that follows.

Tip

Keep the fan off and the lid open. You need airflow so the smoke clears and you can see the color change.

Products used in this step

5

Step 5: Repeat the Coats to Build Layers

4:50
Step 5: Step 5: Repeat the Coats to Build Layers

One coat is not enough. Add another thin layer of oil, spread it out, and let it smoke and set again. Do this three or four more times. Each round deepens the color and stacks another layer of protection onto the steel. By the last coat the surface should look dark and even, with a faint sheen. This is where patience pays off, because the layers you build now are what make the griddle nonstick later.

Tip

Rotate where you start each coat so the edges and corners get as much oil as the center.

6

Step 6: Scrape, Clean, and Protect After Use

5:30
Step 6: Step 6: Scrape, Clean, and Protect After Use

After you cook, scrape the cooled-down surface with a metal scraper to clear off bits and grease. Wipe it with a damp towel if you need to, then dry it right away so it does not flash-rust. Finish with a very thin coat of oil to seal the surface until next time. This quick routine keeps the seasoning you just built and stops rust from ever getting a foothold.

Tip

Store the griddle covered. Moisture is the enemy, so a silicone or canvas cover keeps the top dry between cooks.

7

Step 7: Your Griddle Is Seasoned and Ready

7:00
Step 7: Step 7: Your Griddle Is Seasoned and Ready

Here is the payoff. The top is a smooth, dark surface with a glossy finish, and it is ready to cook on. Eggs, pancakes, and burgers will release cleanly instead of sticking. The seasoning only gets better the more you use it, so cook often. Keep up the wipe-and-oil habit after every session and this flat top will stay in great shape for years.

Tip

Break it in with something fatty like bacon or smash burgers. The extra fat adds another layer of seasoning while you eat.

Products Used

❖ The Recipe

How to Season a Blackstone Griddle

American
Serves
Seasons 1 griddle
Prep
10 min
Cook
40 min
Total
50 min

Ingredients

4 items
  • 1, clean and dryBlackstone griddle
  • thin coatshigh-smoke-point oil (avocado, flaxseed, or canola)
  • as neededpaper towels or lint-free cloth
  • for the initial cleankosher salt

Method

  1. 1
    Step 1: Wash the New Surface. Before you cook anything, that new griddle needs a bath.
  2. 2
    Step 2: Connect the Propane and Light the Burners. Hook the propane hose up to the tank and hand-tighten the fitting until it is snug.
  3. 3
    Step 3: Spread a Thin Coat of Oil. Pour a small amount of high-smoke-point oil onto the hot surface.
  4. 4
    Step 4: Let the Oil Smoke and Burn In. Now step back and let the heat work.
  5. 5
    Step 5: Repeat the Coats to Build Layers. One coat is not enough.
  6. 6
    Step 6: Scrape, Clean, and Protect After Use. After you cook, scrape the cooled-down surface with a metal scraper to clear off bits and grease.
  7. 7
    Step 7: Your Griddle Is Seasoned and Ready. Here is the payoff.
☐ The Checklist

How to Season a Blackstone Griddle

Tools
7
Materials
5
Steps
7
Video
8 min

Your Guide

Mad Backyard

As an Amazon Associate we earn from qualifying purchases. Links on this page may be affiliate links - clicking them and buying doesn't change your price, but helps support ShowMeStepByStep.

Tags

Sunday How-To

New cooking tutorials, every Sunday

One short email with the week's best step-by-step guides. Free, no spam, unsubscribe anytime.

Did this work for you?

What's next

Related collections

Curated theme pages that include this tutorial.

Weekly Digest

Liked this cooking tutorial?

Pick the categories you want to hear about. Weekly digest of new step-by-step tutorials. No spam, easy unsubscribe.

Send me tutorials about

We only email about new tutorials. Easy unsubscribe anytime.