How to Restore Cast Iron: 3 Methods That Actually Work

CookingMedium9:367 stepsBrowse more →

By ShowMeStepByStepPublished

Based on a video by Cowboy Kent Rollins.

That old cast iron skillet from a garage sale or grandma's attic isn't ruined. The crud and rust sit on the surface, and the iron underneath is still solid. Cowboy Kent Rollins walks through three field-tested methods to strip a beat-up pan back to bare metal, then rebuild the seasoning into a smooth black cooking surface.

You don't have to use all three methods. Pick one based on what you have on hand. The stovetop method with a wire brush handles 80% of restoration jobs and is the gentlest on the pan. The self-cleaning oven cycle does the heaviest lifting with no scrubbing required, but it can crack thin antique pieces. The open-fire method is for outdoor cooks with a real bed of coals - if that's not you, skip it.

Re-seasoning is where most people quit too early. One oil-and-bake layer won't give you a glossy black pan. Three flaxseed cycles lay the foundation, then avocado or grapeseed oil builds up over time. Deep frying after the base layers is the secret to locking it in - skip tomato or barbecue sauce on a freshly restored pan or you'll eat through everything you just built.

Step-by-Step Guide

1

Step 1: Heat the rusty skillet on the burner

1:25
Step 1: Step 1: Heat the rusty skillet on the burner

Method 1, the safest of the three, starts with heat. Set the pan on a burner over medium heat and let it warm up until it starts to smoke. Hot cast iron releases old crud, carbon, and surface rust much faster than cold iron does.

This is also the right method for any pan that's thin, antique, or you're not sure about. No risk of cracking, no special equipment needed beyond a stovetop.

Tip

Get a long handle pot holder or oven mitt before you start - the handle will be hot enough to burn skin within a minute or two of heating.
2

Step 2: Scrub with a wire brush on a drill

1:35
Step 2: Step 2: Scrub with a wire brush on a drill

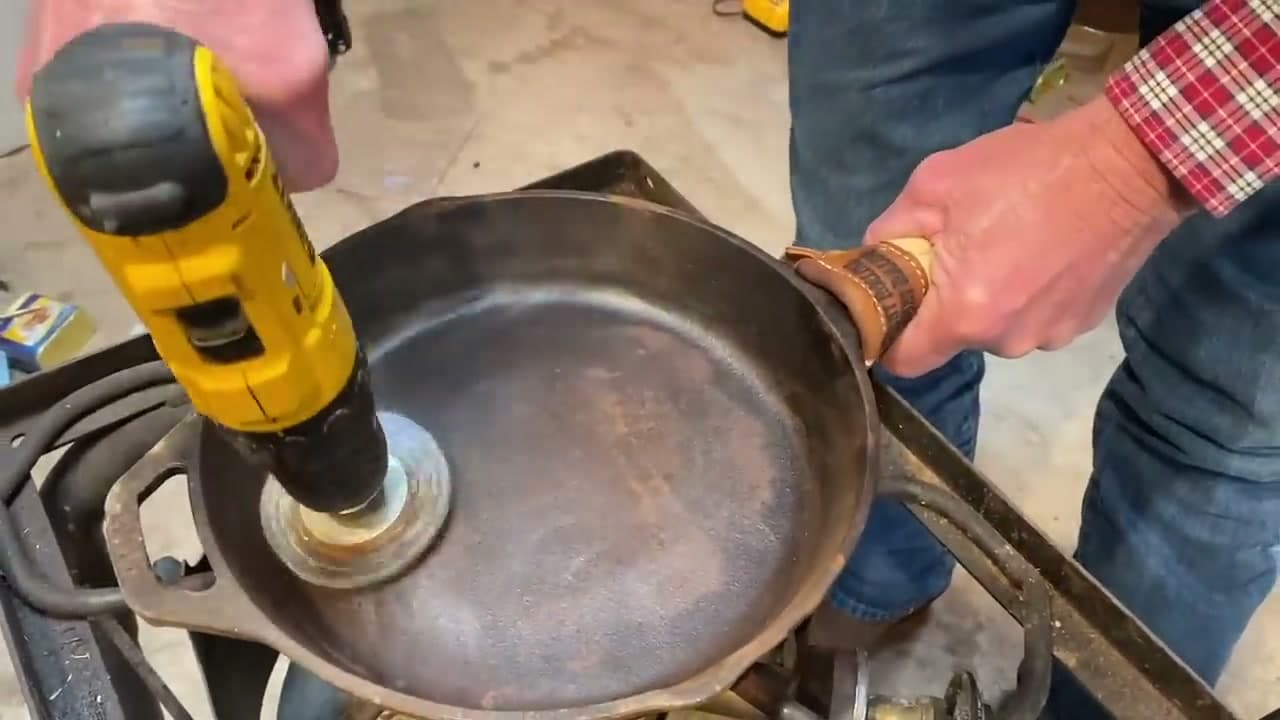
Chuck a wire cup brush into a cordless drill and go after the hot pan. Work the inside, the sides, the bottom, and the handle. The combination of heat plus power gets rid of most surface rust and old burnt seasoning in a single pass.

If the pan looks bad after one round, rinse it with hot water, heat it back up, and brush it again. Heavy build-up may take three or four cycles - it didn't get this way in one day, it won't come off in one pass.

Tip

Wear safety glasses. Wire brush bristles fly off at high RPM and you do not want one in your eye. Old drill batteries work fine for this job since the brush doesn't need much torque.

3

Step 3: Coarse salt scrub if you don't have a drill

1:55
Step 3: Step 3: Coarse salt scrub if you don't have a drill

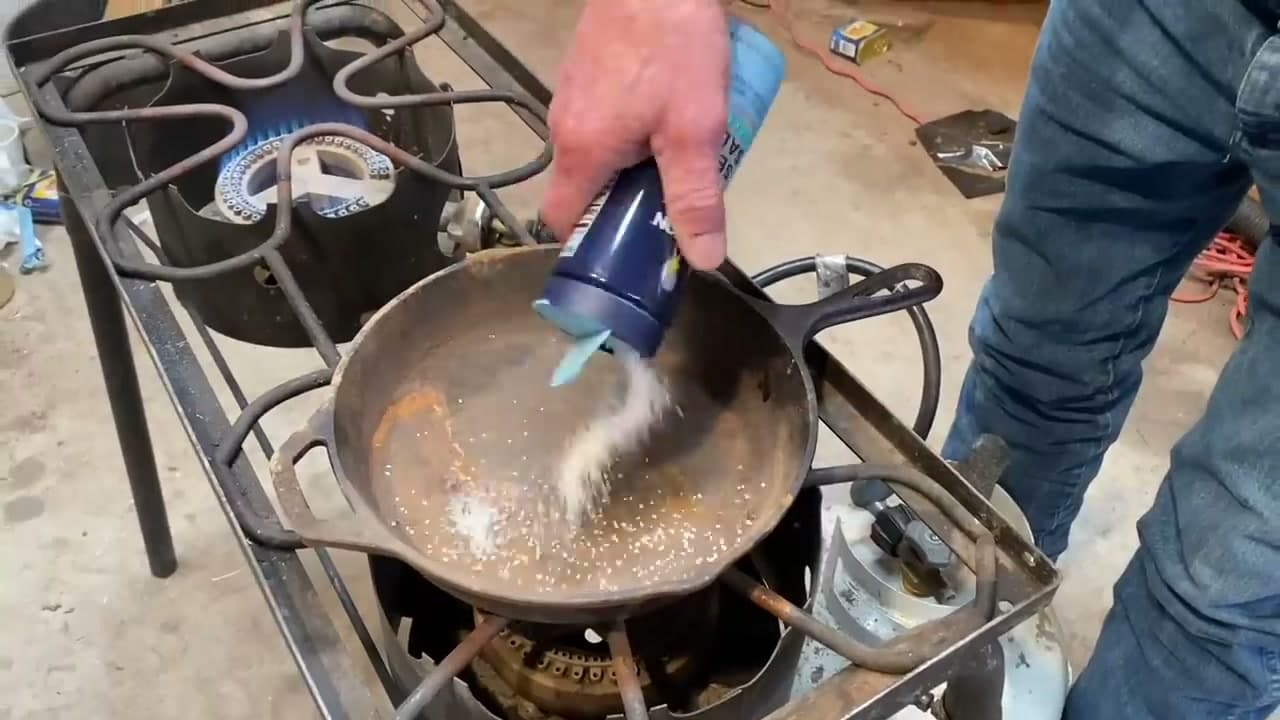
No drill? Pour a generous pile of coarse sea salt or kosher salt onto the hot pan and scrub with a wadded paper towel or rag. The grit bites into pits in the iron and pulls out crud that finer abrasives skate over.

Skip fine table salt - it's too smooth to do anything useful. Some people use 60 or 80 grit sandpaper for this, but coarse salt is cheaper and gets into corners better.

Tip

This is also the maintenance trick for a clean pan that just needs the inside refreshed - hot pan, coarse salt, wad of paper towel, 30 seconds of scrubbing. Don't use soap on cast iron unless you want to strip the seasoning.

4

Step 4: Method 2 - Self-cleaning oven cycle

3:30
Step 4: Step 4: Method 2 - Self-cleaning oven cycle

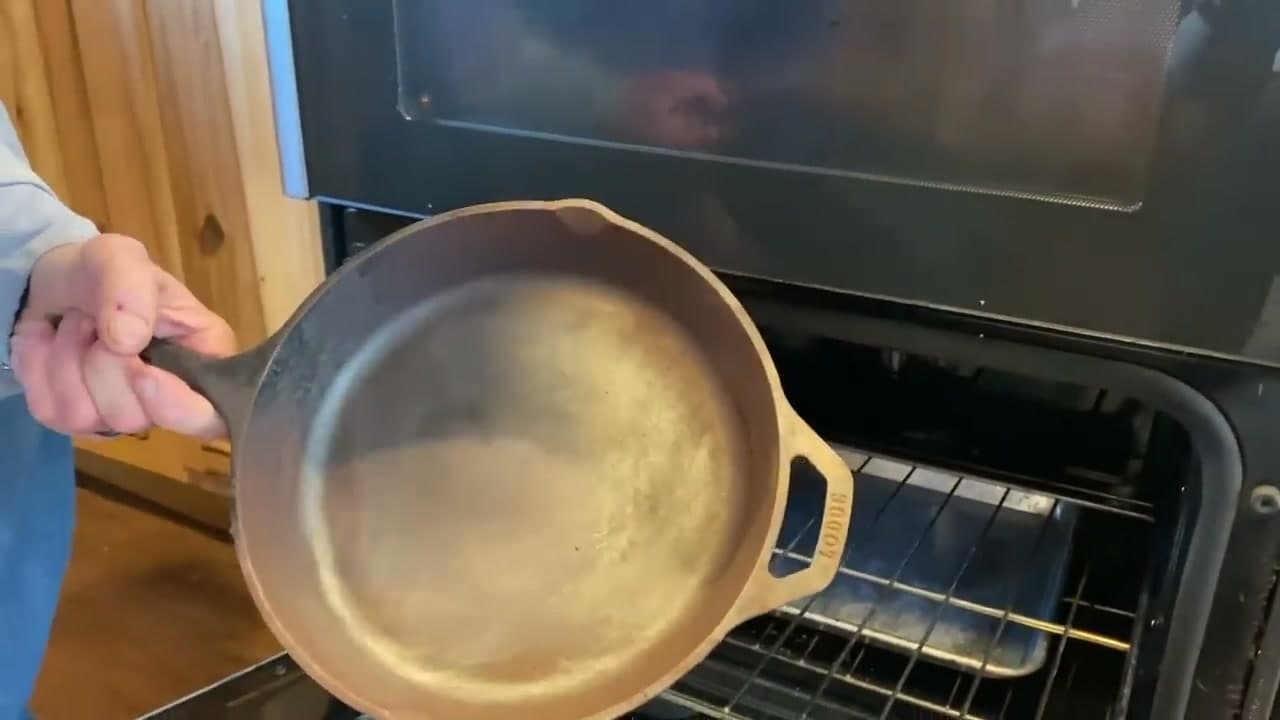
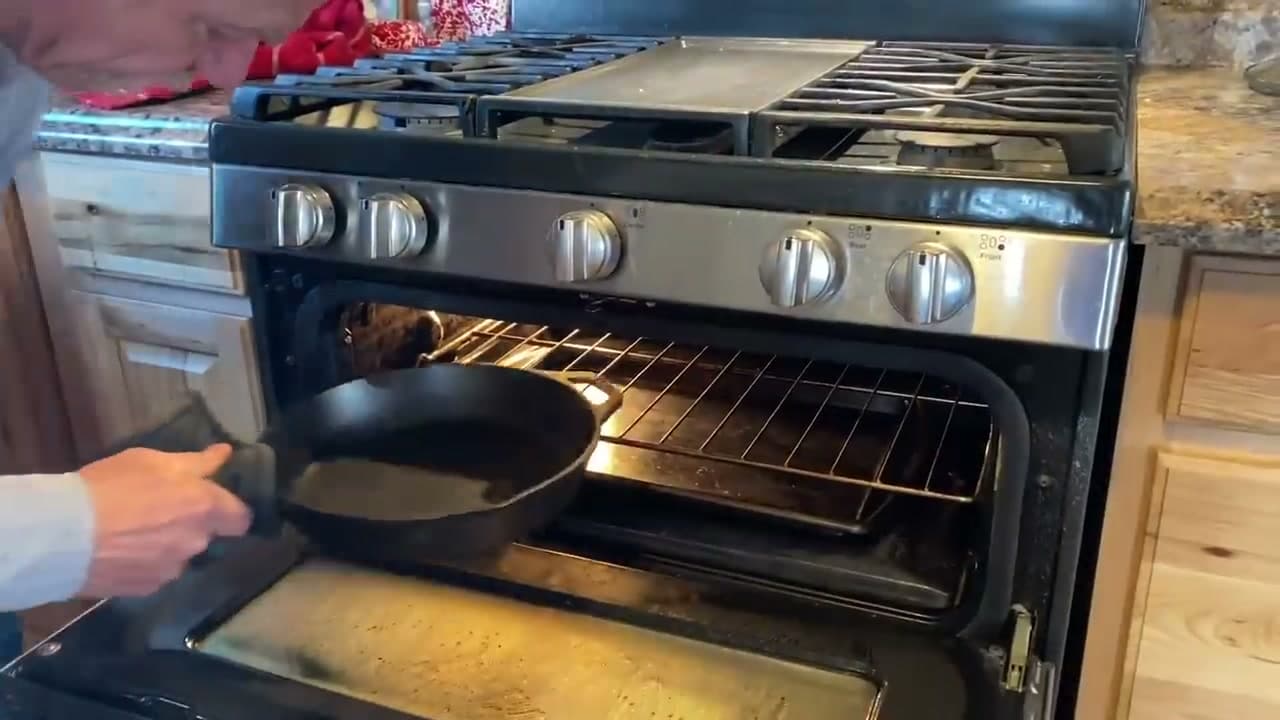
For heavy build-up that the wire brush won't touch, the self-cleaning oven cycle does the work for you. Set a baking sheet on the bottom rack to catch flakes, then place the skillet upside down on the rack above. Lock the door, start the self-cleaning cycle, and walk away.

The oven runs between 450 and 525 degrees during the cycle and burns off everything organic. When the oven cools, the pan will be bare purified iron with most of the old gunk reduced to ash.

Tip

Do not use this method on thin antique pieces, warped pans, or anything you'd cry over if it broke. The thermal shock can crack a delicate pan. If you're not sure how old or thin the pan is, stick with Method 1.

5

Step 5: Brush off the ash and inspect bare iron

5:40
Step 5: Step 5: Brush off the ash and inspect bare iron

Once the oven is cool, drag the skillet out and brush off any remaining ash with the wire brush or a dry rag. What's left is bare cast iron - everything that was living or growing in the pan is gone.

The pan will look grey and matte, almost like raw steel. That's exactly what you want before re-seasoning. Any rust spots that show up at this stage need one more pass with the wire brush before moving on.

6

Step 6: Apply the first flaxseed oil layer

6:10
Step 6: Step 6: Apply the first flaxseed oil layer

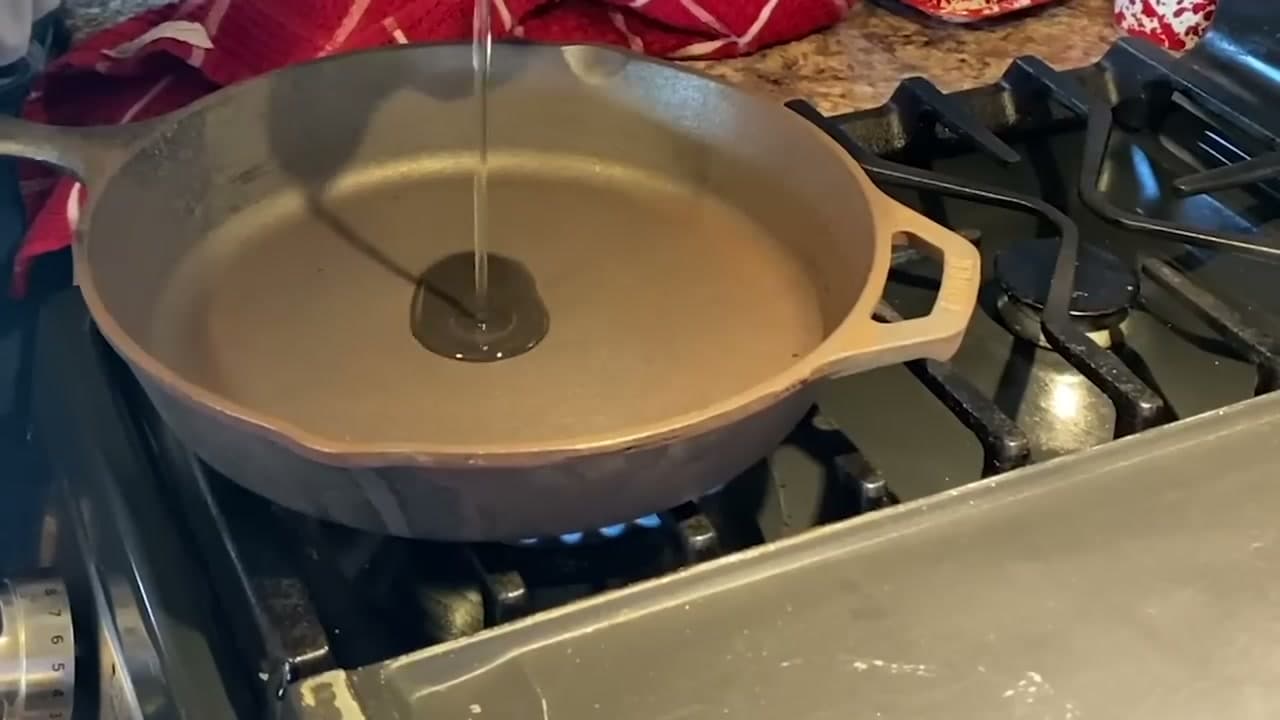
Now rebuild the seasoning. Preheat the oven to 350 degrees. Set the bare pan on a burner over medium-high heat to dry off any moisture - the iron will change color as it dries. Wipe with a lint-free rag until the rim is too hot to lay a finger on.

Turn the burner off and pour a half-dollar sized puddle of flaxseed oil into the warm pan. Rub it everywhere with the rag - inside, outside, sides, handle. Then wipe out the excess so there's no pooling, just a thin film across every surface.

Tip

Flaxseed oil bonds harder to iron than other oils, which is why it's the go-to for the first three base layers. After the base is built, switch to avocado or grapeseed oil for ongoing seasoning.

7

Step 7: Bake upside down for 1 hour, then repeat

6:32
Step 7: Step 7: Bake upside down for 1 hour, then repeat

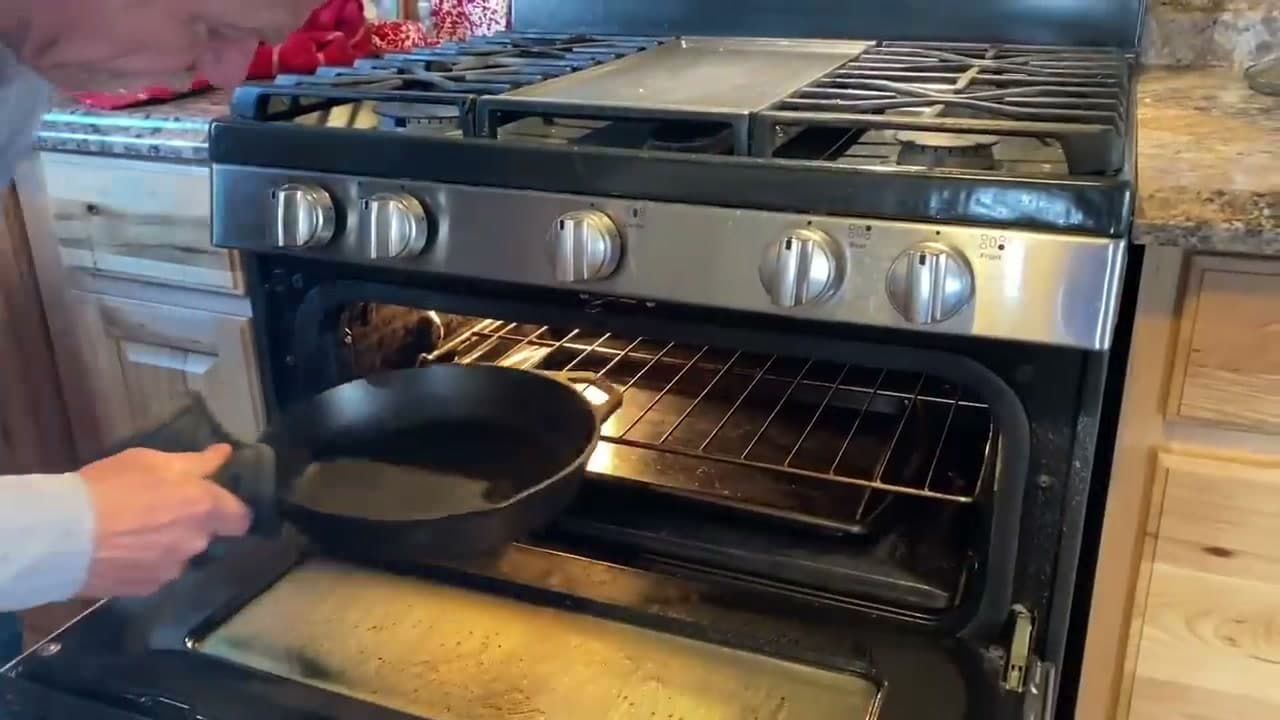
Place the oiled pan upside down in the 350-degree oven for one hour. Put a baking sheet on the lower rack to catch any drips. After an hour, shut the oven off and let the skillet cool inside to room temperature - don't rush this part.

Repeat the oil-and-bake cycle at least three times to build a real foundation. The pan won't be glossy black after three cycles. You'll see bronze, gold, and dark patches - that's normal. After the base is in, switch to avocado or grapeseed oil for follow-up layers, and break the pan in by deep frying first. Avoid tomato or barbecue sauce until the seasoning is well established.

Tip

Deep frying potatoes or chicken wings after the base layers is the single best thing you can do for a freshly seasoned pan. The grease soaks into the new layer and locks it down. Avocado oil works great for this since it has a high smoke point.

Products Used

❖ The Recipe

How to Restore Cast Iron: 3 Methods That Actually Work

American
Serves
Restores 1 cast iron skillet
Prep
15 min
Cook
3 hr
Total
3 hr 15 min

Ingredients

5 items
  • 1rusty cast iron skillet
  • 1 cupcoarse sea salt or kosher saltfor scrubbing - skip fine table salt
  • 2 tbspflaxseed oilfor the base seasoning layers
  • 2 tbspavocado or grapeseed oilfor follow-up seasoning layers
  • as neededpaper towels or lint-free rag

Method

  1. 1
    Step 1: Heat the rusty skillet on the burner. Method 1, the safest of the three, starts with heat.
  2. 2
    Step 2: Scrub with a wire brush on a drill. Chuck a wire cup brush into a cordless drill and go after the hot pan.
  3. 3
    Step 3: Coarse salt scrub if you don't have a drill. No drill?
  4. 4
    Step 4: Method 2 - Self-cleaning oven cycle. For heavy build-up that the wire brush won't touch, the self-cleaning oven cycle does the work for you.
  5. 5
    Step 5: Brush off the ash and inspect bare iron. Once the oven is cool, drag the skillet out and brush off any remaining ash with the wire brush or a dry rag.
  6. 6
    Step 6: Apply the first flaxseed oil layer. Now rebuild the seasoning.
  7. 7
    Step 7: Bake upside down for 1 hour, then repeat. Place the oiled pan upside down in the 350-degree oven for one hour.
☐ The Checklist

How to Restore Cast Iron: 3 Methods That Actually Work

Tools
8
Materials
5
Steps
7
Video
10 min

Your Guide

Cowboy Kent Rollins

As an Amazon Associate we earn from qualifying purchases. Links on this page may be affiliate links - clicking them and buying doesn't change your price, but helps support ShowMeStepByStep.

Tags

What's next

Related collections

Curated theme pages that include this tutorial.

Weekly Digest

Liked this cooking tutorial?

Pick the categories you want to hear about. Weekly digest of new step-by-step tutorials. No spam, easy unsubscribe.

Send me tutorials about

We only email about new tutorials. Easy unsubscribe anytime.