How to Use a Cast Iron Skillet

By ShowMeStepByStepPublished Updated

Based on a video by Hey Grill Hey.

A good cast iron skillet outlives every other pan in your kitchen. It distributes heat evenly, holds it like nothing else, and slides from stovetop to oven to grill without missing a beat. The pan Susie Bulloch shows in this video came from her husband's grandma when they first got married - still going strong years later.

The reputation for being fussy is overblown. Once you know the basics, cast iron is one of the easiest pans to live with. Pre-heat it slowly, pick the right fats, clean it the right way, and re-season once a year. Skip the soap, skip the cold-water dunk, and never store it wet.

If your pan is already in rough shape from years of neglect, work through restoring cast iron or removing rust first. Then come back here for ongoing care. For the deep dive on seasoning specifically, see how to season a cast iron skillet.

Step-by-Step Guide

1

Step 1: Know what cast iron is good for

3:12
Step 1: Step 1: Know what cast iron is good for

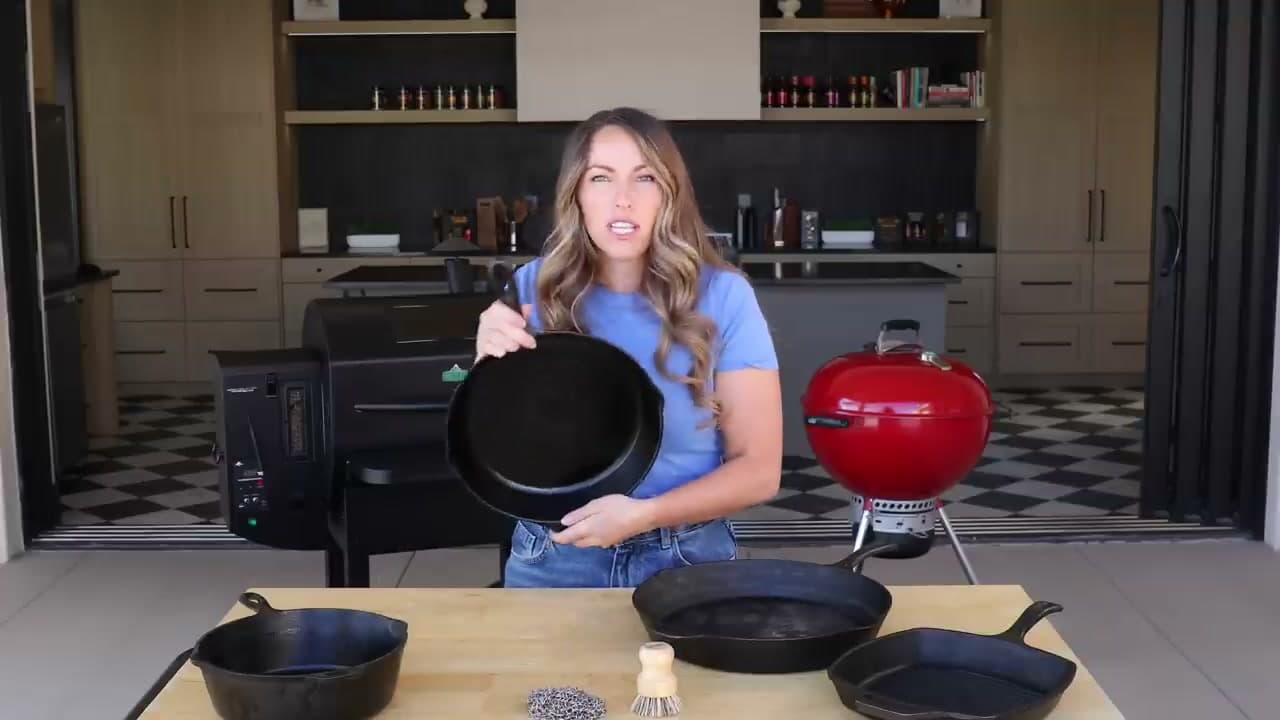
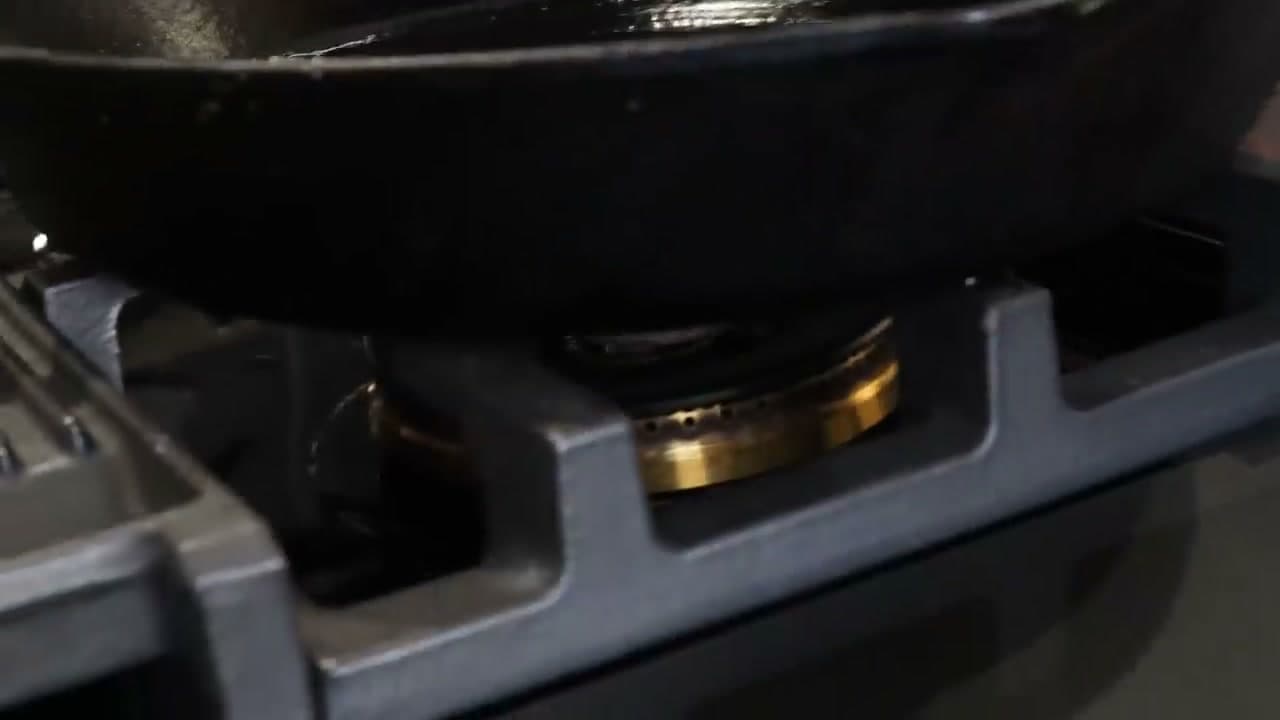
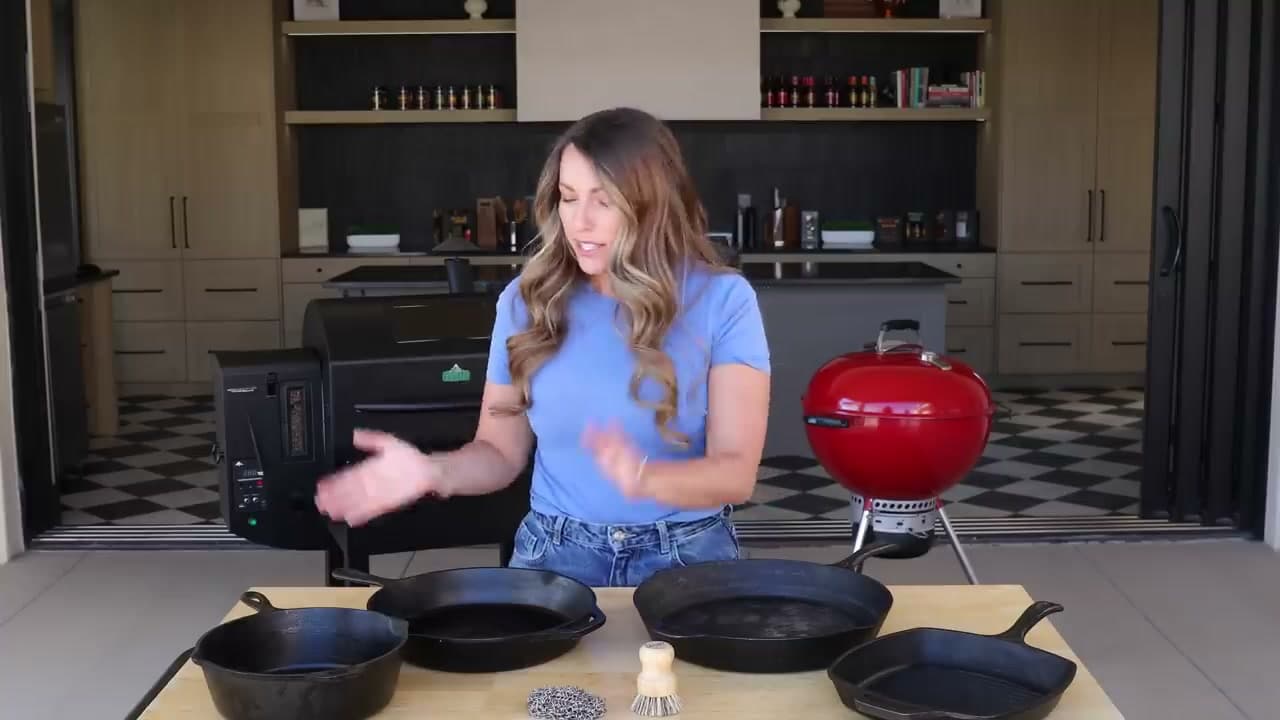
Cast iron is one of the most versatile pieces of cookware you can own. It works on a stove top, in the oven, on a grill, over a campfire, and on induction, gas, or electric cooktops. Sear a steak, bake cornbread, scramble eggs, braise a tomato sauce - the pan handles all of it.

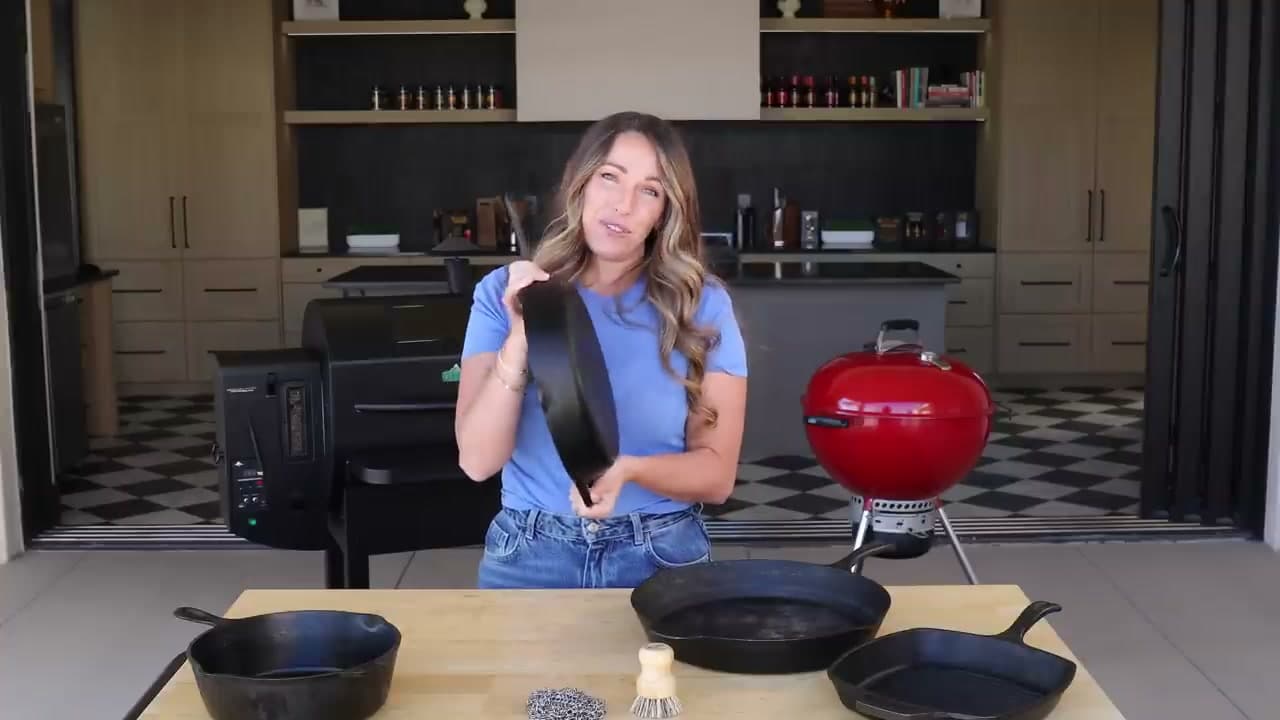
It is heavy and it can be a bit of an investment, but a good cast iron pan lasts generations. The one shown here came from family and still works perfectly. Use it on everything and get your value out of it.

Tip

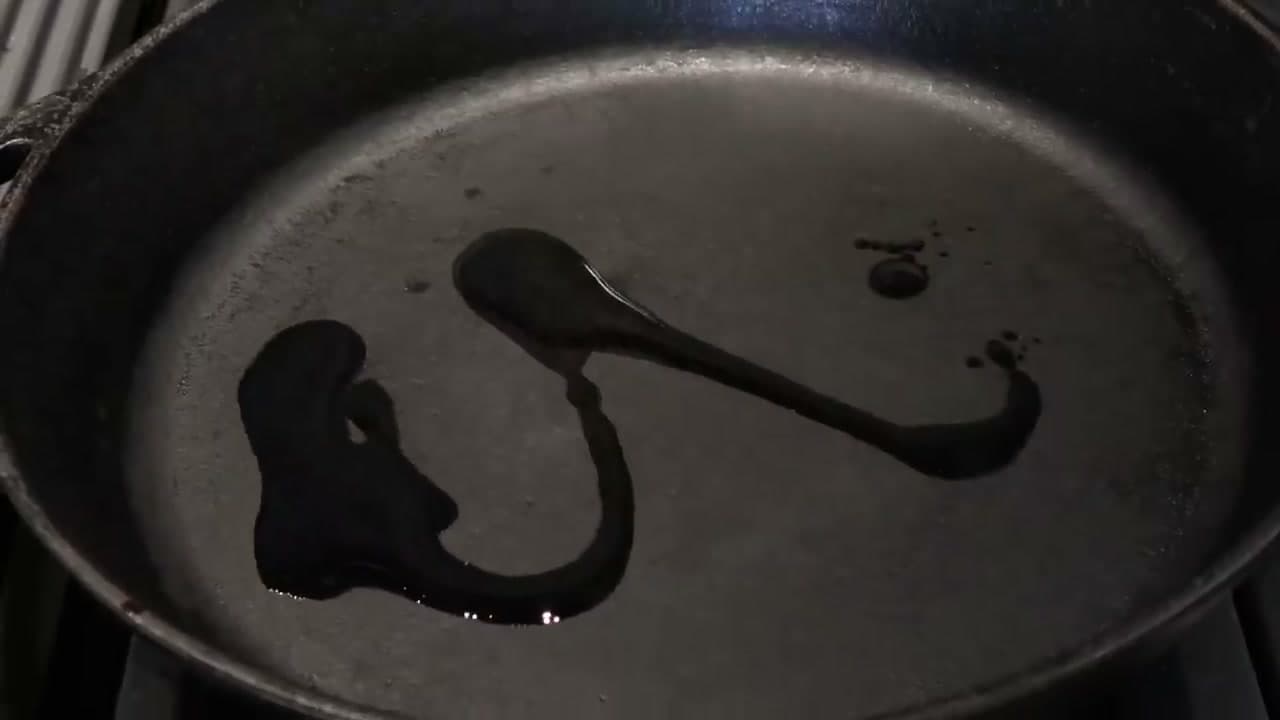
Even acidic foods like tomato sauce and braised dishes are fine in a well-seasoned pan. They may strip a tiny bit of seasoning, but if you do not mind the occasional re-season you can cook anything in cast iron.

2

Step 2: Pre-heat slowly on medium

1:40
Step 2: Step 2: Pre-heat slowly on medium

Set the pan on the burner over medium heat and walk away for a couple of minutes. Cast iron holds heat beautifully but takes time to come up to temperature evenly. Cranking the burner to high right away creates hot spots, can warp the pan over years of use, and burns whatever you add first.

A drop of water on the surface should sizzle and skate before you add oil or food. That is your signal the pan is ready.

Tip

The handle gets dangerously hot in 60 seconds. Keep a folded dish towel or silicone handle cover nearby before you start cooking - skin burns on cast iron handles are the most common mistake new owners make.

3

Step 3: Cook with high-heat oils and fats

1:00
Step 3: Step 3: Cook with high-heat oils and fats

Use avocado oil, rapeseed oil, grapeseed oil, or a dedicated cast iron seasoning blend. These have high smoke points and are the same fats that maintain the seasoning between uses. Every time you cook with them, you reinforce the non-stick surface.

Extra virgin olive oil and butter have low smoke points - they break down at cast iron temperatures and can degrade the seasoning. Save them for finishing a dish off the heat. Bacon fat, lard, and beef tallow are excellent traditional choices.

Tip

Save the fat from cooking bacon in a small jar in the fridge. A spoonful of bacon grease in a hot cast iron skillet is the gold standard for searing eggs, hash browns, and vegetables.

4

Step 4: Avoid thermal shock - never dunk a hot pan in cold water

5:05
Step 4: Step 4: Avoid thermal shock - never dunk a hot pan in cold water

This is the one mistake that genuinely breaks cast iron. Going from 400 degrees in the oven straight into a sink of cold water can warp or crack the pan. Any imperfections in the iron get exploited and the metal splits.

The same applies in reverse - do not put a freezer-cold pan onto a screaming hot burner. Let it warm up on medium first. If your pan is really hot or really cold, give it a few minutes to settle before changing its temperature.

Tip

If you cracked or split a pan from thermal shock, the iron itself is usually salvageable - work through restoring cast iron to bring it back. Handles snap off too if dropped on concrete, so use both hands on heavy pans.

5

Step 5: Clean immediately with hot water and a stiff brush

2:05
Step 5: Step 5: Clean immediately with hot water and a stiff brush

While the pan is still warm, rinse it under hot water and scrub with a stiff bristle brush. The warmth releases stuck-on bits much faster than waiting until the pan is cold. For really stubborn gunk, a chain mail scrubber lifts cooked-on food without stripping the seasoning.

If something is truly burnt on, pour a generous pile of coarse kosher salt into the pan and scrub with a folded paper towel. The grit lifts everything off without damaging the iron. Skip the soap unless you are willing to re-season after.

Tip

For a full deep clean walkthrough, see how to clean a cast iron skillet. The quick rule: never soak the pan in the sink. Water sitting on iron for hours is what causes rust.

6

Step 6: Dry on the stove and add a thin coat of oil

2:40
Step 6: Step 6: Dry on the stove and add a thin coat of oil

After cleaning, set the pan back on the burner over medium heat. Let every drop of moisture evaporate completely - the iron will change color slightly as it dries. This step takes a minute or two but is non-negotiable. Wet cast iron put away wet is what creates rust spots.

Once the pan is bone dry, turn off the heat. Drizzle a few drops of high heat oil onto the cooking surface and wipe it across the entire interior with a folded paper towel. The film should be so thin it almost looks like nothing is there. Done.

Tip

If you see oil pooling or any shine, you used too much. Wipe again with a clean paper towel until the surface looks matte. A thick coat of oil left behind goes sticky and tacky over the next few days.

7

Step 7: Re-season once a year for a near non-stick surface

1:05
Step 7: Step 7: Re-season once a year for a near non-stick surface

Once a year, give the pan a full re-seasoning to maintain that glossy black cooking surface. Coat the entire pan - inside, outside, sides, handle - with a thin layer of high heat oil. Wipe off the excess so there is no pooling, just a film.

Flip the pan upside down on the oven rack with a baking sheet on the rack below to catch drips. Bake at 400 degrees for one hour, then turn the oven off and let the pan cool completely inside. Repeat three or four times to build a smooth, shiny, near non-stick finish.

Tip

For the full deep-dive on seasoning - which oils work best, how many cycles to run, troubleshooting sticky finishes - see how to season a cast iron skillet.

8

Step 8: Store somewhere dry - never wet

2:55
Step 8: Step 8: Store somewhere dry - never wet

Hang cast iron on a wall rack or stack on a shelf. If stacking, put a paper towel or thin dish cloth between each pan. The cloth keeps surfaces dry, prevents dust from settling into the seasoning, and stops the pans from clanging against each other.

Moisture is the enemy. Never leave water sitting in the pan, never store it wet, and never put a wet pan into a cabinet. Even humidity from a basement can cause rust spots over months. A dry, airy shelf above the stove is ideal.

Tip

If you find rust spots later from improper storage, see how to remove rust from cast iron. The iron is fine - the surface just needs to be stripped and re-seasoned.

Products Used

❖ The Recipe

How to Use a Cast Iron Skillet

Serves
Serves 1-2 (one steak in a 10-inch skillet)
Prep
5 min
Cook
8 min
Total
13 min

Ingredients

5 items
  • 1 (1-inch thick)ribeye or sirloin steakto break in or test the pan
  • 1 tspkosher salt
  • 1/2 tspblack pepper
  • 1 tbspavocado oil or high-heat oil
  • 1 tbspunsalted butterfor finishing

Nutrition

estimated · per servingEstimated from the ingredient list, not measured. Actual values vary by brand, preparation, and serving size. Not a substitute for measured nutrition data.
Calories
470kcal
Protein
36g
Fat
33g
Carbs
0g
Sodium
220mg

Method

  1. 1
    Step 1: Know what cast iron is good for. Cast iron is one of the most versatile pieces of cookware you can own.
  2. 2
    Step 2: Pre-heat slowly on medium. Set the pan on the burner over medium heat and walk away for a couple of minutes.
  3. 3
    Step 3: Cook with high-heat oils and fats. Use avocado oil, rapeseed oil, grapeseed oil, or a dedicated cast iron seasoning blend.
  4. 4
    Step 4: Avoid thermal shock - never dunk a hot pan in cold water. This is the one mistake that genuinely breaks cast iron.
  5. 5
    Step 5: Clean immediately with hot water and a stiff brush. While the pan is still warm, rinse it under hot water and scrub with a stiff bristle brush.
  6. 6
    Step 6: Dry on the stove and add a thin coat of oil. After cleaning, set the pan back on the burner over medium heat.
  7. 7
    Step 7: Re-season once a year for a near non-stick surface. Once a year, give the pan a full re-seasoning to maintain that glossy black cooking surface.
  8. 8
    Step 8: Store somewhere dry - never wet. Hang cast iron on a wall rack or stack on a shelf.
☐ The Checklist

How to Use a Cast Iron Skillet

Tools
7
Materials
3
Steps
8
Video
8 min

Your Guide

Hey Grill Hey

As an Amazon Associate we earn from qualifying purchases. Links on this page may be affiliate links - clicking them and buying doesn't change your price, but helps support ShowMeStepByStep.

Tags

Test your knowledge

Did the lesson stick? Find out in 2 minutes.

5 quick questions covering what you just read. No signup, no score saved — just a gut check.

Quick reference

Key takeaways from How to Use a Cast Iron Skillet

5 questions, answers, and one-line explanations. Tap to expand.

  1. 1.Right preheat temperature?

    Answer: Medium, slow up

    Medium for a couple minutes. High right away creates hot spots, warps the pan over years, burns first additions.

  2. 2.Which oil should you AVOID for cooking?

    Answer: Extra virgin olive

    EVOO and butter have low smoke points - break down at cast iron temps and degrade seasoning. Save for finishing off heat.

  3. 3.Single biggest mistake that BREAKS cast iron?

    Answer: Cold water + hot pan

    Thermal shock. 400°F oven straight into cold water sink can warp or crack. Same in reverse - freezer-cold to hot burner.

  4. 4.Right way to dry the pan after cleaning?

    Answer: Heat on stove until dry

    Put on burner over medium heat. Let every drop evaporate. Wet storage = rust. Drizzle thin oil layer after.

  5. 5.How often to do a full re-seasoning?

    Answer: Once a year

    Once yearly. Thin oil coat, wipe excess, upside down on rack, 400°F for 1 hour. Repeat 3-4 times for glassy black surface.

What's next

Related collections

Curated theme pages that include this tutorial.

Weekly Digest

Liked this cooking tutorial?

Pick the categories you want to hear about. Weekly digest of new step-by-step tutorials. No spam, easy unsubscribe.

Send me tutorials about

We only email about new tutorials. Easy unsubscribe anytime.