1
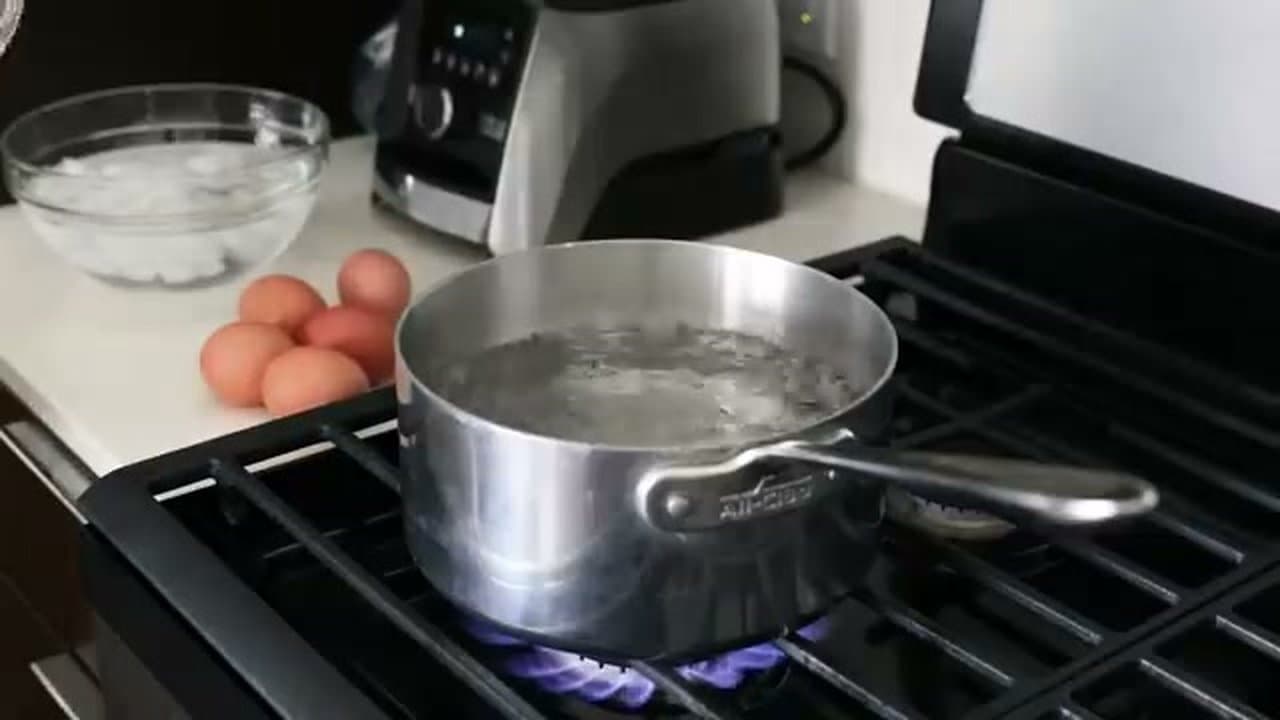
Fill the Pot and Bring Water to a Boil
1:20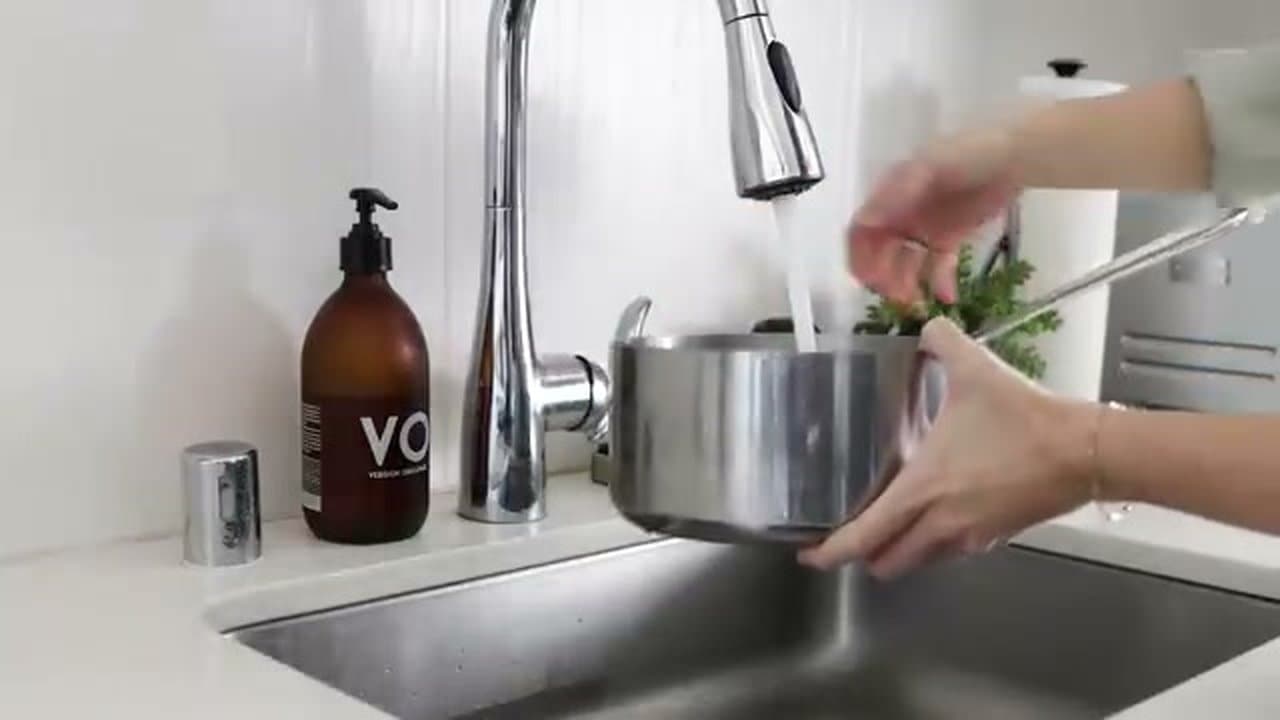
Fill a pot with enough water to cover the eggs by about an inch. Bring it to a full rolling boil before adding anything. Starting with boiling water instead of cold gives you consistent results no matter what kind of pot you use.
Aluminum, stainless steel, and cast iron all heat differently. Boiling first removes that variable.