How to Make Miso Soup

CookingEasy6:478 stepsBrowse more →

By ShowMeStepByStepPublished

Based on a video by Downshiftology.

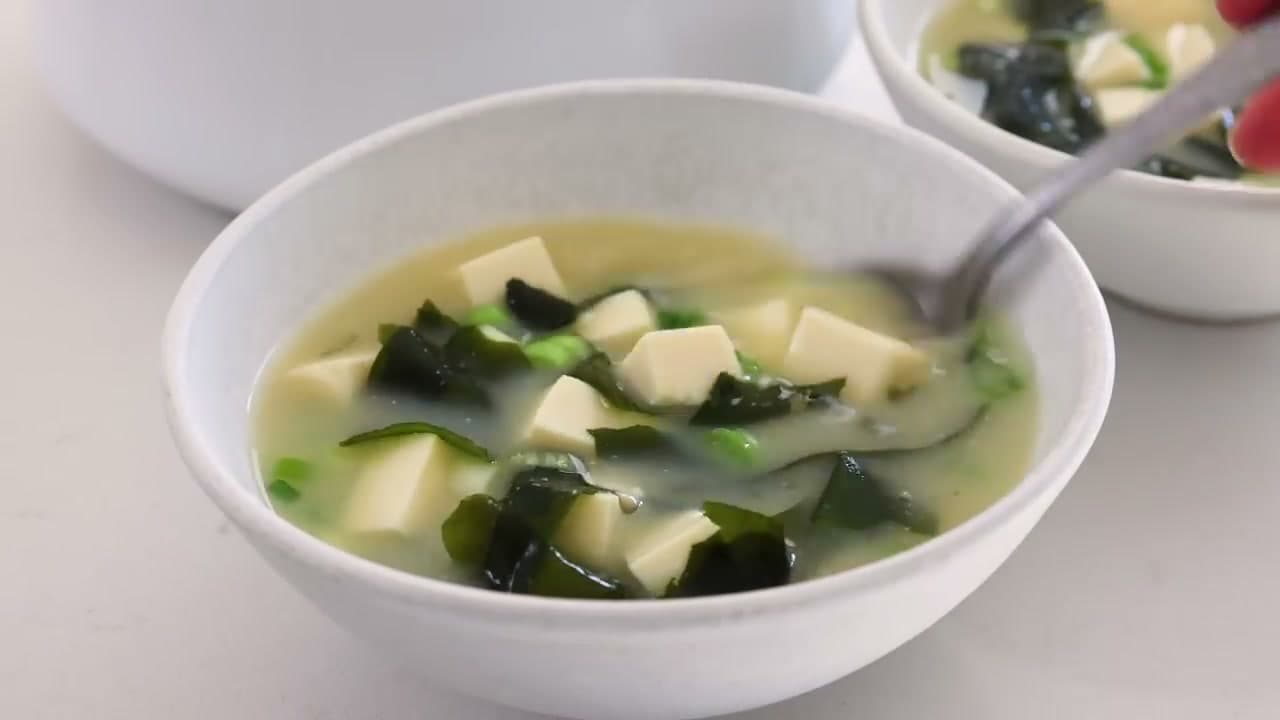
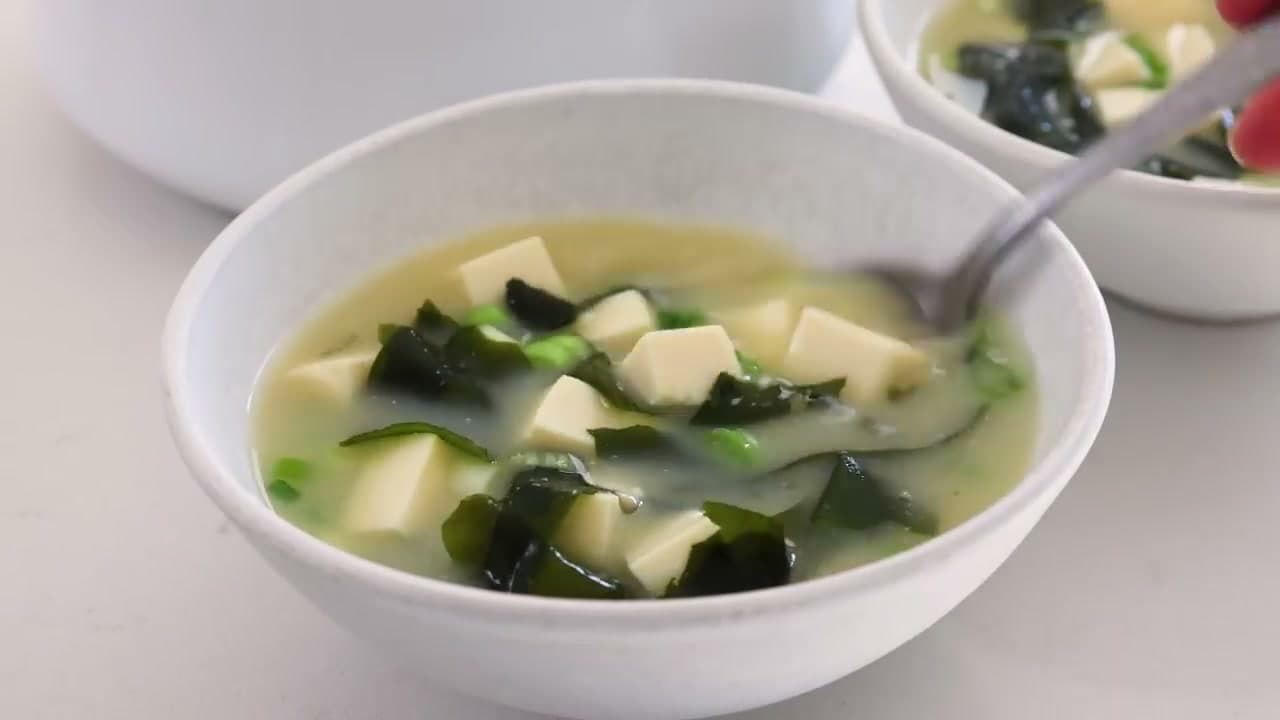
Miso soup is one of those bowls that tastes like restaurant magic but takes about 15 minutes once you know what you're doing. Alyssa from Downshiftology builds the whole thing from scratch, starting with a homemade dashi that comes together with nothing more than water, a piece of kombu, and a handful of bonito flakes.

The big payoff is the dashi. That kelp-and-tuna broth is the spine of every good Japanese soup, and it has a depth of flavor that no powdered version can match. Once the dashi is strained, the rest is fast: tofu in, miso tempered in a small bowl of warm broth so it dissolves smooth, then wakame and green onions for the finish. The whole pot stays just under a simmer so the miso keeps its live cultures and the tofu warms through without breaking.

This recipe is light, savory, gluten-free, and rich in plant protein and minerals. Serve it on its own when you want something warm and grounding, or alongside grilled fish, salmon, or a bowl of rice for a real Japanese-style meal.

Step-by-Step Guide

1

Step 1: Start the Dashi with Kombu

0:36
Step 1: Step 1: Start the Dashi with Kombu

Pour 4 cups of water into a medium saucepan and drop in a 4 to 6 inch piece of dried kombu. Turn the heat to medium and bring it up to a gentle simmer, no hotter. The kombu starts to expand and rehydrate as the water warms, releasing the umami compounds that give miso soup its savory backbone.

Kombu is dried kelp, thick and leathery, and it does a lot of quiet work here. You'll find it at most Asian grocery stores or in the international aisle of bigger supermarkets. One piece is enough for the whole pot.

Tip

Don't rinse the kombu before using it. The white film on the surface is natural and it's part of what makes the broth flavorful.
2

Step 2: Rehydrate the Wakame Seaweed

0:50
Step 2: Step 2: Rehydrate the Wakame Seaweed

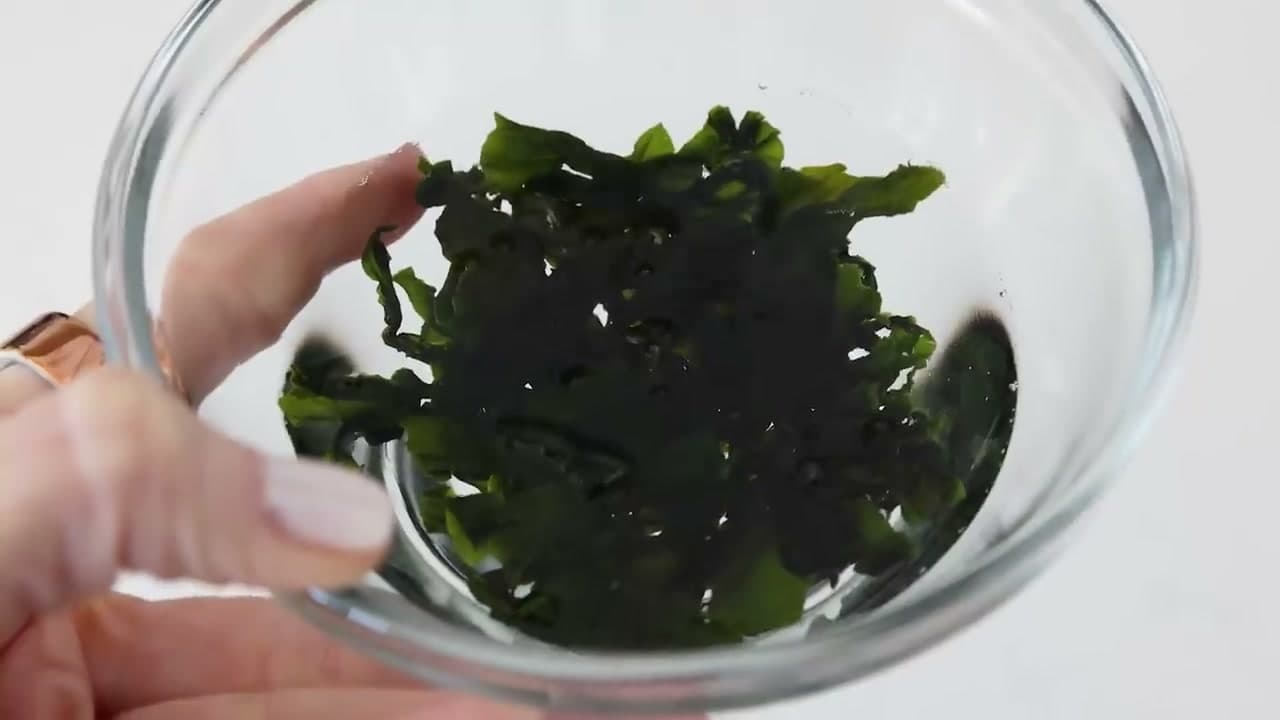
While the kombu warms up, put 1 tablespoon of dried wakame into a small bowl and cover it with warm water. Let it sit for about 30 seconds. The dry shreds plump up almost instantly into soft, silky green ribbons.

Drain the wakame in a fine-mesh strainer and set it aside. You'll add it at the very end, after the miso, so it stays tender and doesn't get waterlogged.

Tip

Wakame is different from kombu. Kombu is thick and meant to be discarded after it flavors the broth. Wakame stays in the bowl and you eat it.

3

Step 3: Remove the Kombu and Steep the Bonito Flakes

1:30
Step 3: Step 3: Remove the Kombu and Steep the Bonito Flakes

As soon as the water reaches a gentle simmer, fish out the kombu with tongs and discard it. Don't let it boil. If kombu goes past a simmer, the broth can turn slimy and a little bitter.

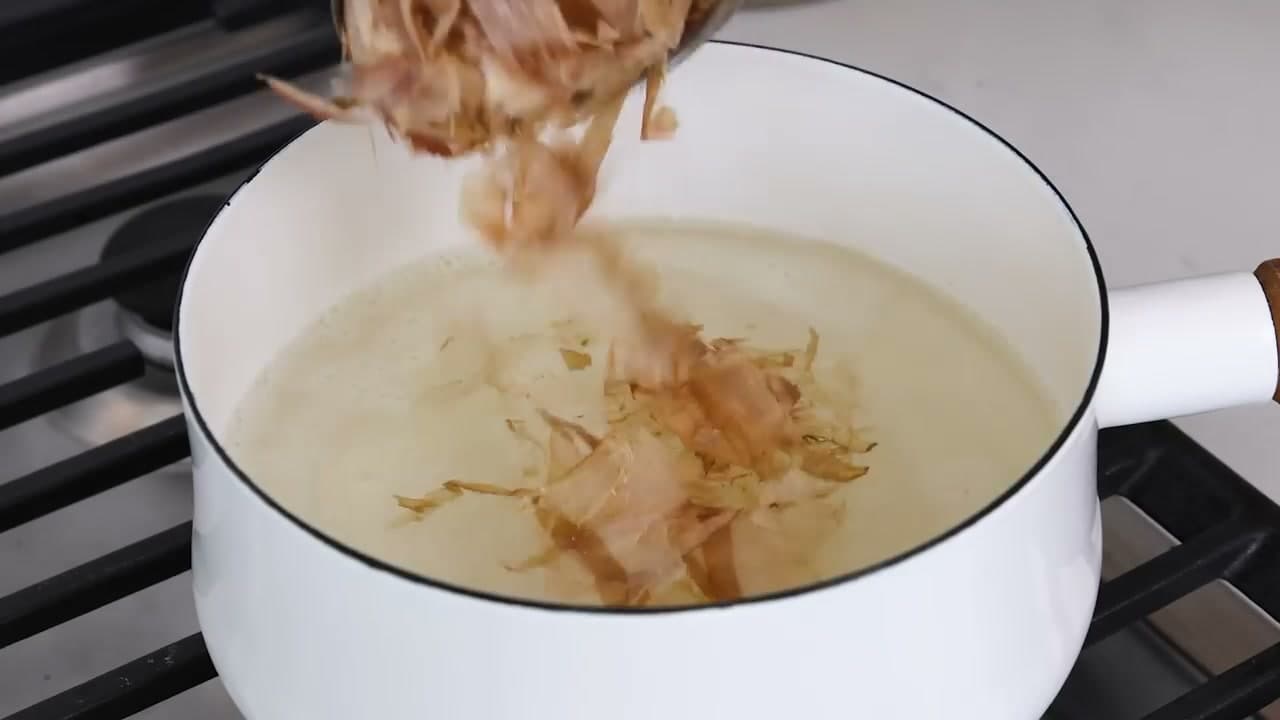
Turn off the heat. Add 1 cup of bonito flakes (also called katsuobushi) to the pot and give them one gentle stir to submerge them. Let them steep off the heat for 3 to 5 minutes. The flakes are thin shavings of dried smoked tuna and they add a gentle smokiness that pulls the whole broth together.

Tip

Want a vegan dashi? Skip the bonito flakes and use a kombu-only broth. The flavor is lighter but still deeply savory.

4

Step 4: Strain the Dashi

1:45
Step 4: Step 4: Strain the Dashi

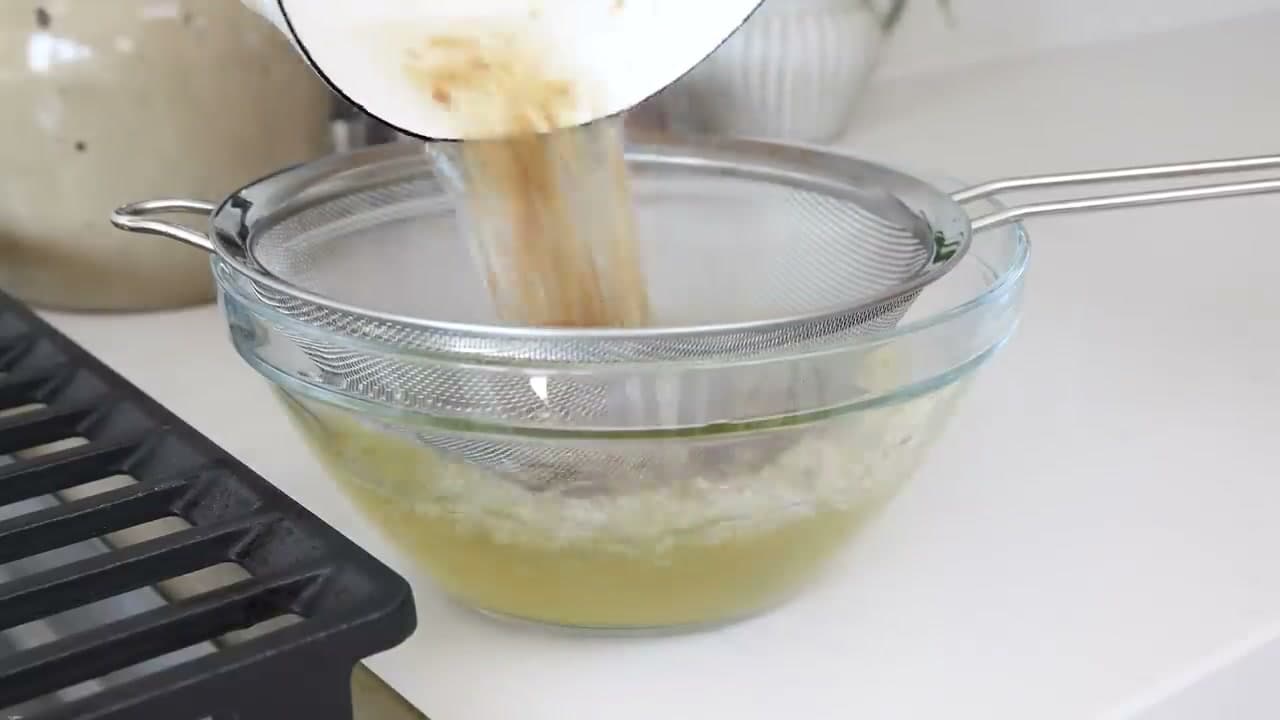
Pour the broth through a fine-mesh strainer set over a clean bowl. The dashi runs through golden and silky while the bonito flakes catch in the mesh. Don't press on the flakes, you'll cloud the broth. Just let it drip.

That clear, light golden liquid is your homemade dashi. Discard the flakes and return the strained dashi to the pot. Set it back over medium heat to keep it warm for the next steps.

Tip

Save the spent kombu and bonito flakes if you want. Some cooks reuse them for a second, lighter dashi or chop them into rice for a frugal side dish.

5

Step 5: Cube the Silken Tofu

2:10
Step 5: Step 5: Cube the Silken Tofu

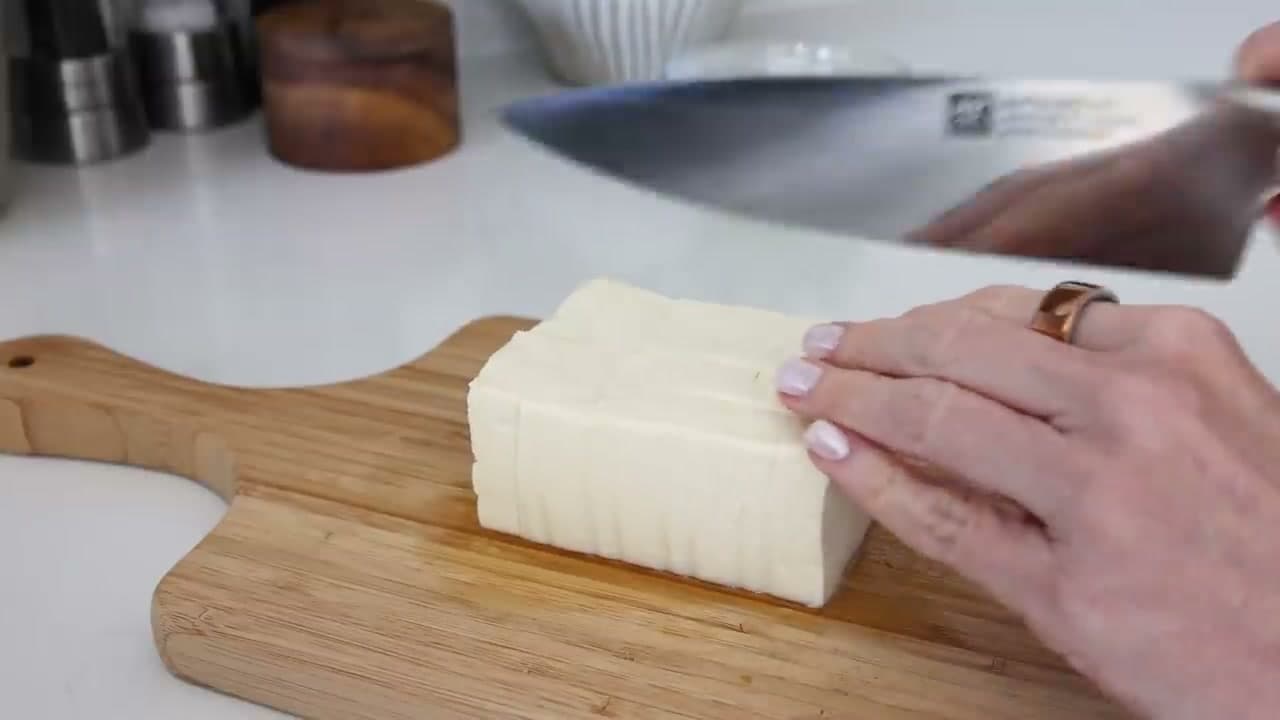
Slice about 7 ounces of silken tofu (a little over half a standard block) into bite-sized cubes, around half an inch each. Use a sharp knife and keep the cuts clean. Silken tofu is delicate and will crumble if you push it around too much.

Slide the cubes gently into the warm dashi. Let them sit and warm through for 2 to 3 minutes. You're not cooking the tofu, just getting it hot. Avoid stirring so they don't fall apart.

Tip

If you can't find silken tofu, soft tofu is the next best thing. Skip firm or extra-firm tofu for this soup. They're too dense for the texture you want.

6

Step 6: Temper the Miso Paste in Warm Dashi

2:38
Step 6: Step 6: Temper the Miso Paste in Warm Dashi

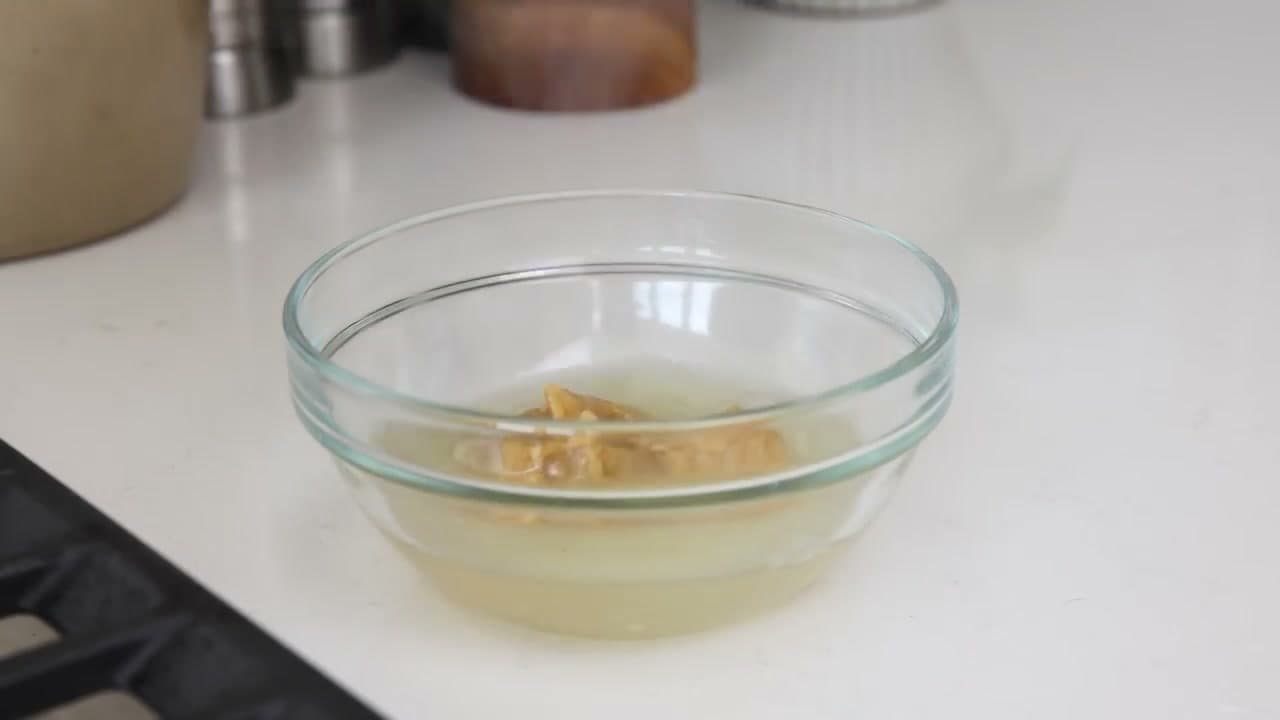
Scoop 3 to 4 tablespoons of white miso paste into a small bowl. Ladle a bit of the warm dashi from the pot into the bowl and whisk until the miso fully dissolves. You're looking for a smooth, silky slurry without any lumps.

Pour the dissolved miso back into the pot and stir gently to combine. Keep the heat low. Never let miso soup boil after this point. High heat kills the live probiotic cultures in the miso and dulls the flavor.

Tip

Use more miso for a deeper, richer flavor or less for a lighter broth-forward bowl. Tweak the ratio to taste after the first batch.

7

Step 7: Add Wakame and Green Onions

3:20
Step 7: Step 7: Add Wakame and Green Onions

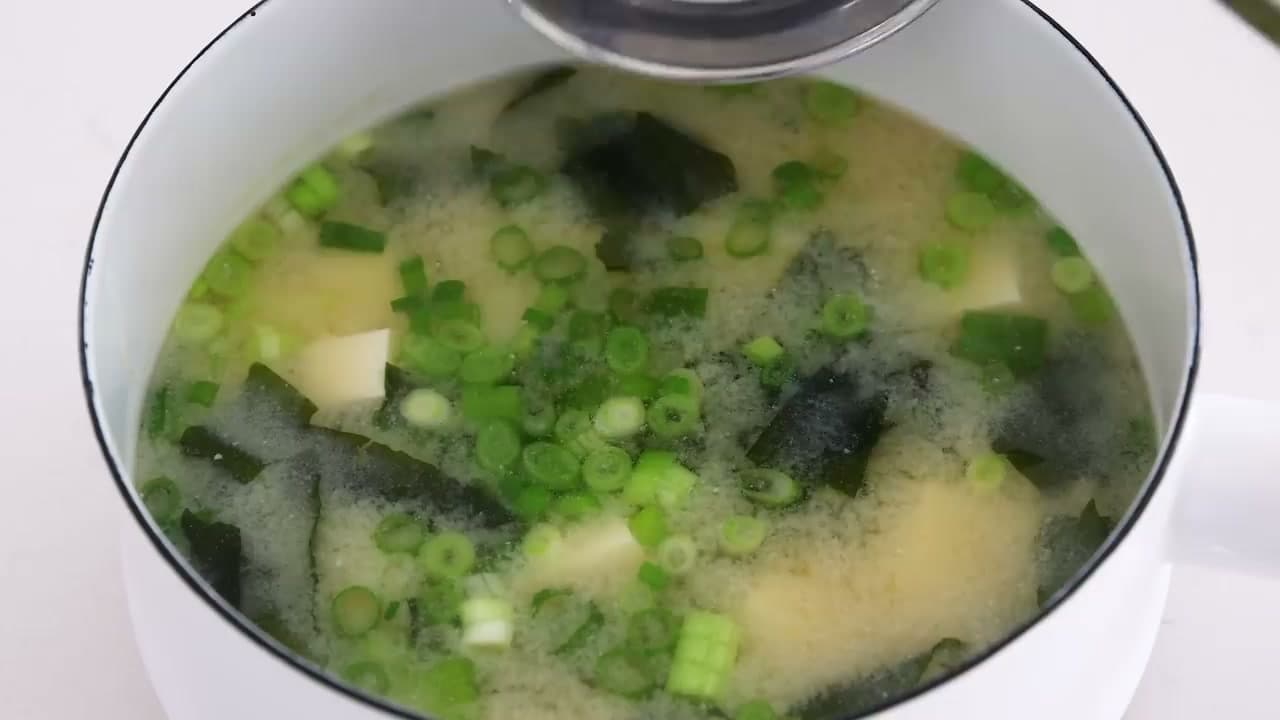
Add the rehydrated wakame and 2 thinly sliced green onions to the pot. Give it one gentle stir. The wakame plumps a little more in the warm broth and the green onions wake up the bowl with a fresh, slightly oniony bite.

That's the soup. Don't keep it on the heat any longer than needed once the greens are in. Wakame can turn rubbery if it sits too long, and the green onions are best when they keep a little snap.

Tip

For extra warmth and depth, add a splash of tamari soy sauce or a teaspoon of freshly grated ginger at this stage. Both are non-traditional but delicious.

8

Step 8: Ladle into Bowls and Serve Right Away

3:40
Step 8: Step 8: Ladle into Bowls and Serve Right Away

Ladle the miso soup into bowls and serve it immediately. It's at its best while the broth is hot, the tofu is silky, and the green onions are still bright. Miso soup doesn't sit well, so make it when you're ready to eat.

Serve it on its own as a light meal or starter, alongside a bowl of steamed rice and grilled fish, or with miso salmon for a classic Japanese pairing. Leftovers reheat gently over low heat the next day, but never bring it back to a boil.

Tip

Want to meal prep? Store the dashi, tofu, and miso paste separately and assemble fresh bowls each day. The cultures in miso are happiest unheated until serving.

Products Used

❖ The Recipe

How to Make Miso Soup

Japanese
Serves
Serves 2 to 4
Prep
5 min
Cook
10 min
Total
15 min

Ingredients

7 items
  • 4 cupswater
  • 1 piece (4-6 inches)dried kombuthick, leathery dried kelp
  • 1 cupdried bonito flakeskatsuobushi; leave out for vegan
  • 1 tbspdried wakame seaweed
  • 7 ozsilken tofucut into half-inch cubes
  • 3 to 4 tbspwhite miso pasteuse more for a richer soup
  • 2green onionsthinly sliced

Method

  1. 1
    Step 1: Start the Dashi with Kombu. Pour 4 cups of water into a medium saucepan and drop in a 4 to 6 inch piece of dried kombu.
  2. 2
    Step 2: Rehydrate the Wakame Seaweed. While the kombu warms up, put 1 tablespoon of dried wakame into a small bowl and cover it with warm water.
  3. 3
    Step 3: Remove the Kombu and Steep the Bonito Flakes. As soon as the water reaches a gentle simmer, fish out the kombu with tongs and discard it.
  4. 4
    Step 4: Strain the Dashi. Pour the broth through a fine-mesh strainer set over a clean bowl.
  5. 5
    Step 5: Cube the Silken Tofu. Slice about 7 ounces of silken tofu (a little over half a standard block) into bite-sized cubes, around half an inch each.
  6. 6
    Step 6: Temper the Miso Paste in Warm Dashi. Scoop 3 to 4 tablespoons of white miso paste into a small bowl.
  7. 7
    Step 7: Add Wakame and Green Onions. Add the rehydrated wakame and 2 thinly sliced green onions to the pot.
  8. 8
    Step 8: Ladle into Bowls and Serve Right Away. Ladle the miso soup into bowls and serve it immediately.

Your Guide

Downshiftology

As an Amazon Associate we earn from qualifying purchases. Links on this page may be affiliate links - clicking them and buying doesn't change your price, but helps support ShowMeStepByStep.

Tags

What's next

Weekly Digest

Liked this cooking tutorial?

Pick the categories you want to hear about. Weekly digest of new step-by-step tutorials. No spam, easy unsubscribe.

Send me tutorials about

We only email about new tutorials. Easy unsubscribe anytime.