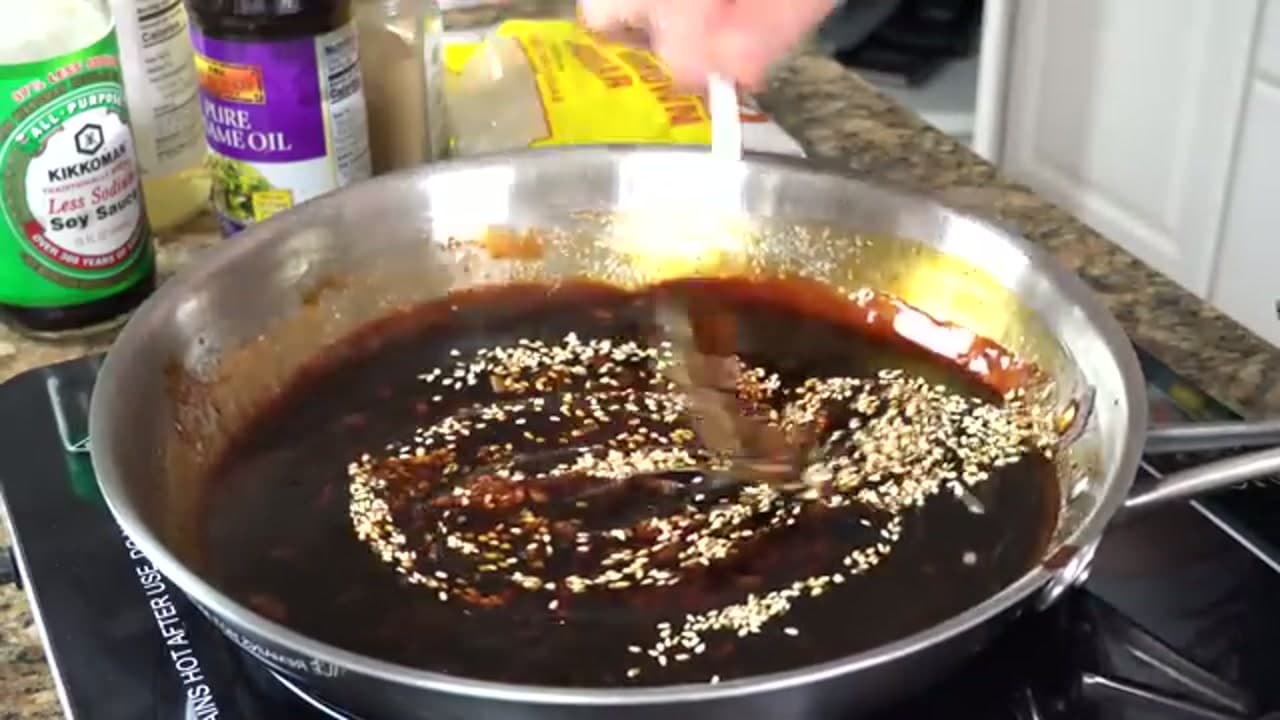
How to Make Teriyaki Sauce

CookingEasy6:438 steps5-question quiz at endBrowse more →

By ShowMeStepByStepPublished Updated

Based on a video by The Sauce and Gravy Channel.

Store-bought teriyaki is easy to beat. This version comes together in about 15 minutes from things you probably already have: soy sauce, brown sugar, a little vinegar, garlic, and ginger. It follows The Sauce and Gravy Channel's pantry-style method, which keeps everything simple and skips the hard-to-find bottles.

The result is thick and glossy, the kind that clings to chicken, beef, salmon, or a pile of roasted vegetables. Use it as a marinade, brush it on as a glaze, or set it out as a dipping sauce.

Quick answer

Simmer 1 cup low-sodium soy sauce, 1/2 cup brown sugar, 2 tablespoons rice vinegar, 1/2 teaspoon ground ginger, and 4 cloves of minced garlic. Stir a slurry of 3 tablespoons cornstarch and 4 tablespoons water into the boiling sauce and let it thicken for about a minute. Finish with a splash of sesame oil and toasted sesame seeds.

Step-by-Step Guide

1

Prep the Garlic

1:10
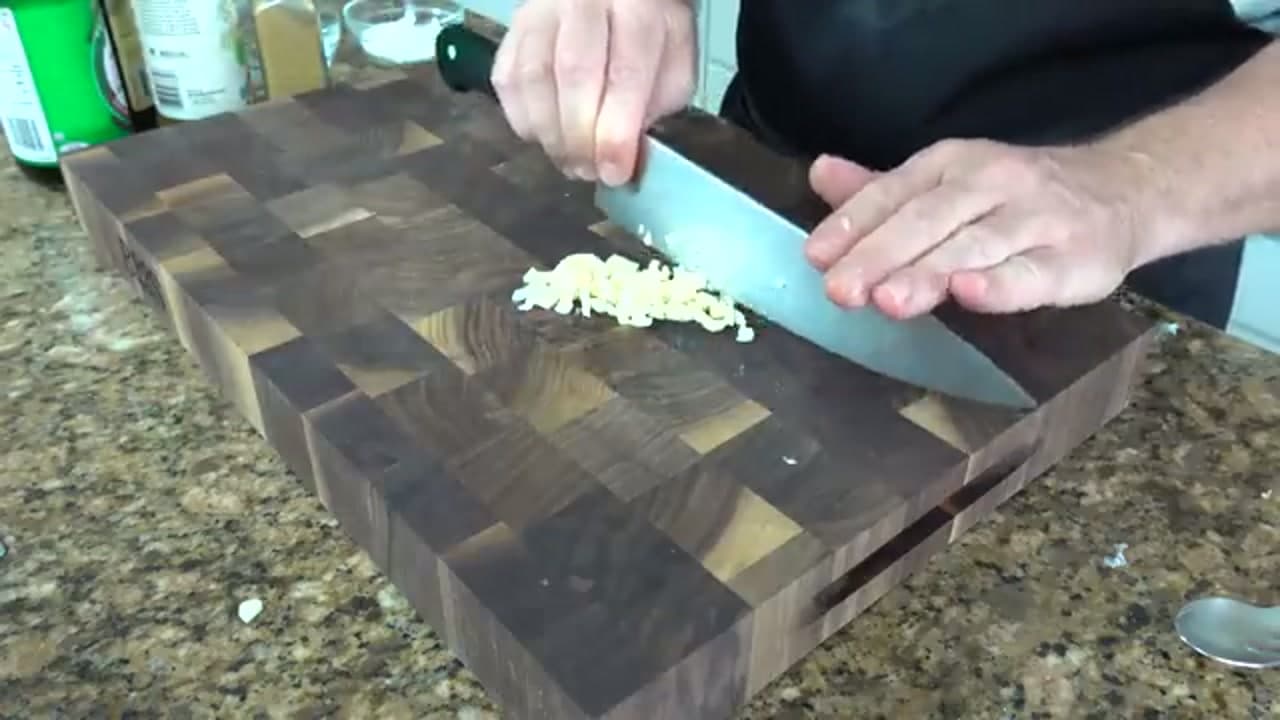
Step 1: Prep the Garlic

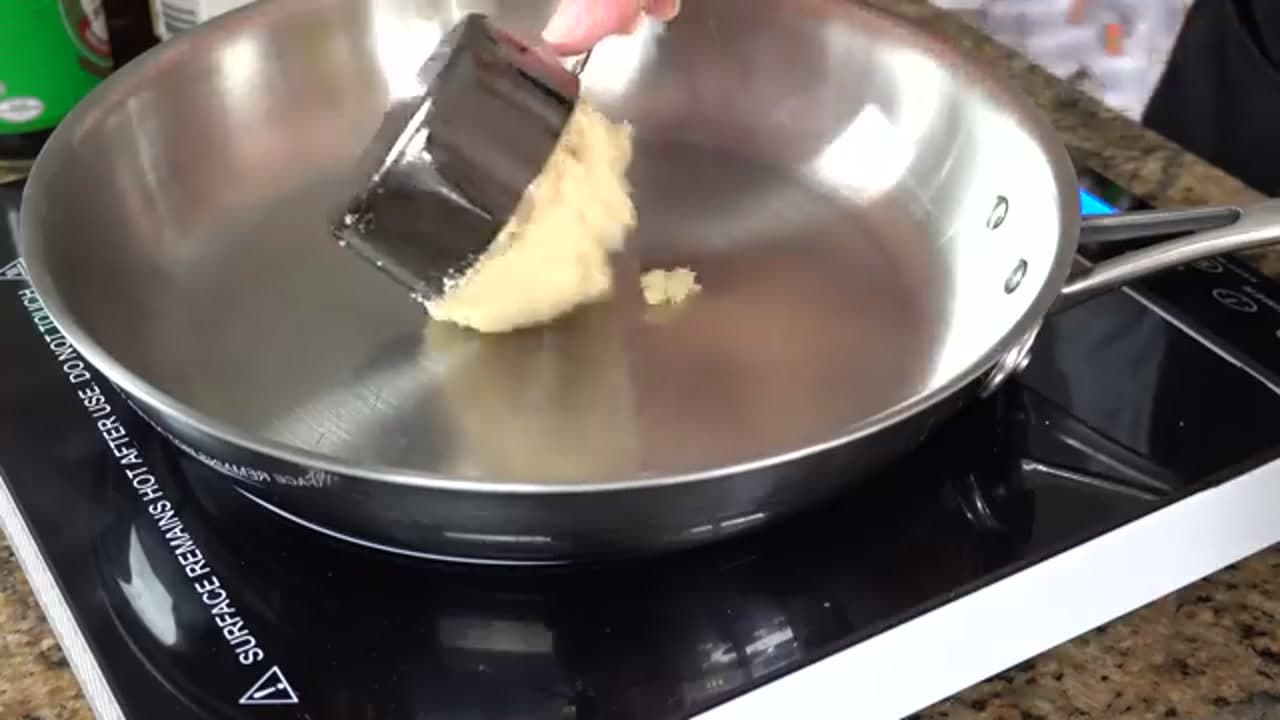
Smash 4 cloves of garlic with the flat of your knife so the skins slip off, then mince them fine. Once they are minced, drag the flat of the blade across the pile a few times to work them into a rough paste. The garlic stays in the sauce rather than getting strained out, so you want the pieces small. Working it into a paste also smooths out that raw, sharp bite.

Tip

A quick smash before mincing makes the garlic easier to peel and faster to break down.

Products used in this step

2

Start the Base

1:55
Step 2: Start the Base

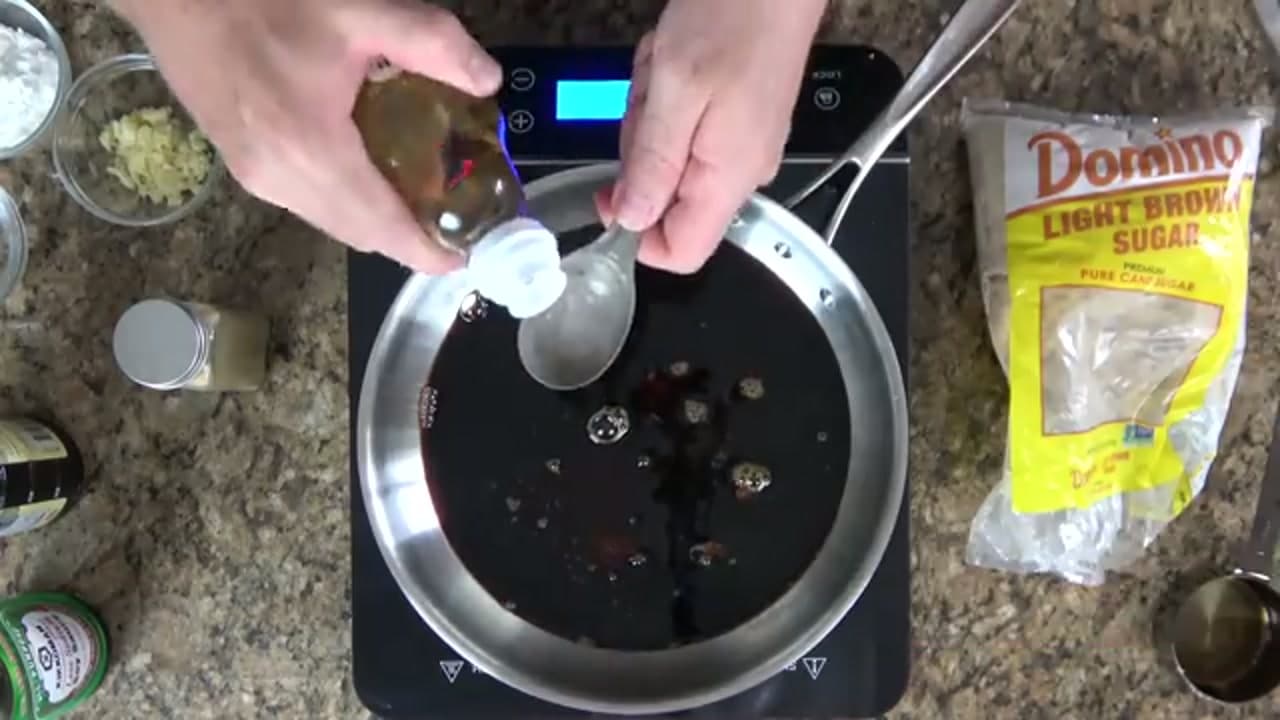
Set a saucepan over medium to medium-high heat. Add 1/2 cup brown sugar and 1 cup of low-sodium soy sauce. Low-sodium matters here, because a full cup of regular soy sauce makes the finished sauce too salty once it reduces. Give it a stir to start dissolving the sugar.

Tip

Brown sugar brings a little molasses depth that white sugar misses. Either works, but brown is better.

3

Add Rice Vinegar and Ginger

2:18
Step 3: Add Rice Vinegar and Ginger

Splash in 2 tablespoons of rice vinegar and 1/2 teaspoon of ground ginger. The vinegar adds a little tang that balances all that sugar and salt, and the ginger gives it that familiar teriyaki warmth. Stir it together and let it keep warming.

Tip

No ground ginger? A teaspoon of freshly grated ginger works and tastes even brighter.

Products used in this step

4

Stir In the Garlic and Sesame Oil

3:02
Step 4: Stir In the Garlic and Sesame Oil

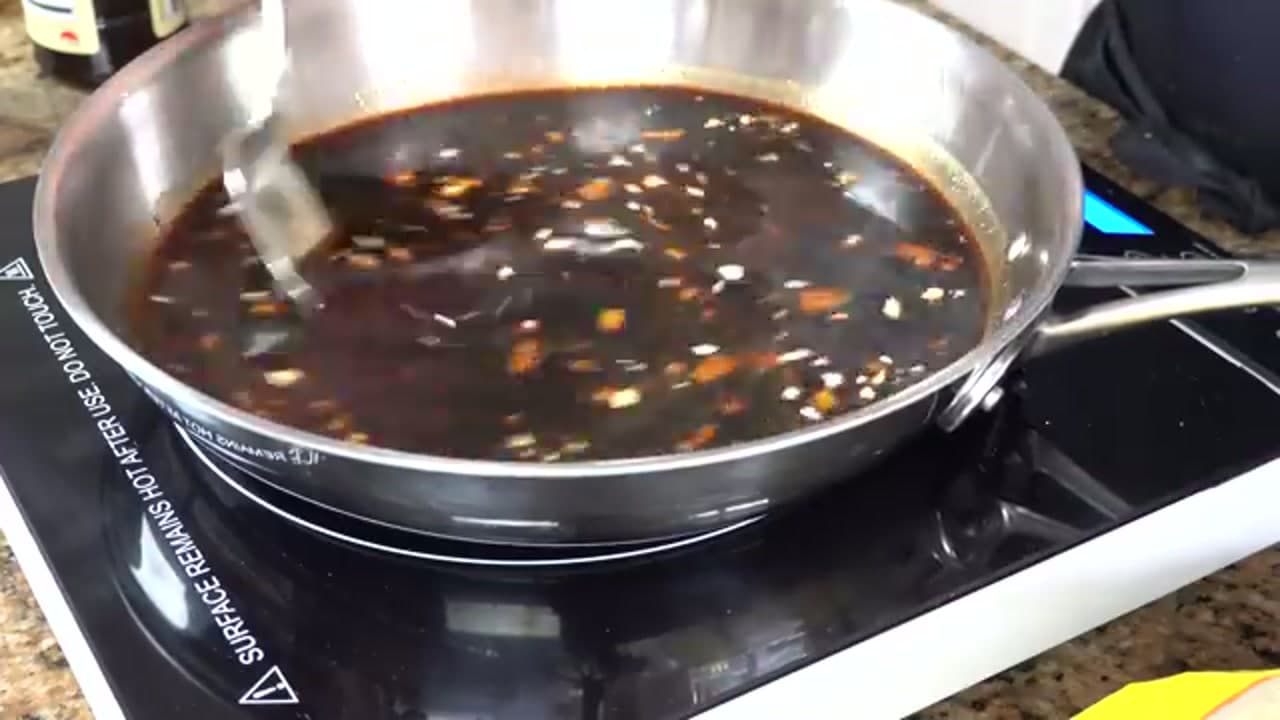
Add the garlic paste to the pan along with 2 teaspoons of sesame oil. Go easy on the sesame oil. It is strong, and a little brings a nutty richness while too much takes over the whole sauce. Stir everything together and let it come up to a boil.

Tip

Add the sesame oil now rather than at the very end so its flavor cooks into the sauce.

Products used in this step

5

Mix the Cornstarch Slurry

3:25
Step 5: Mix the Cornstarch Slurry

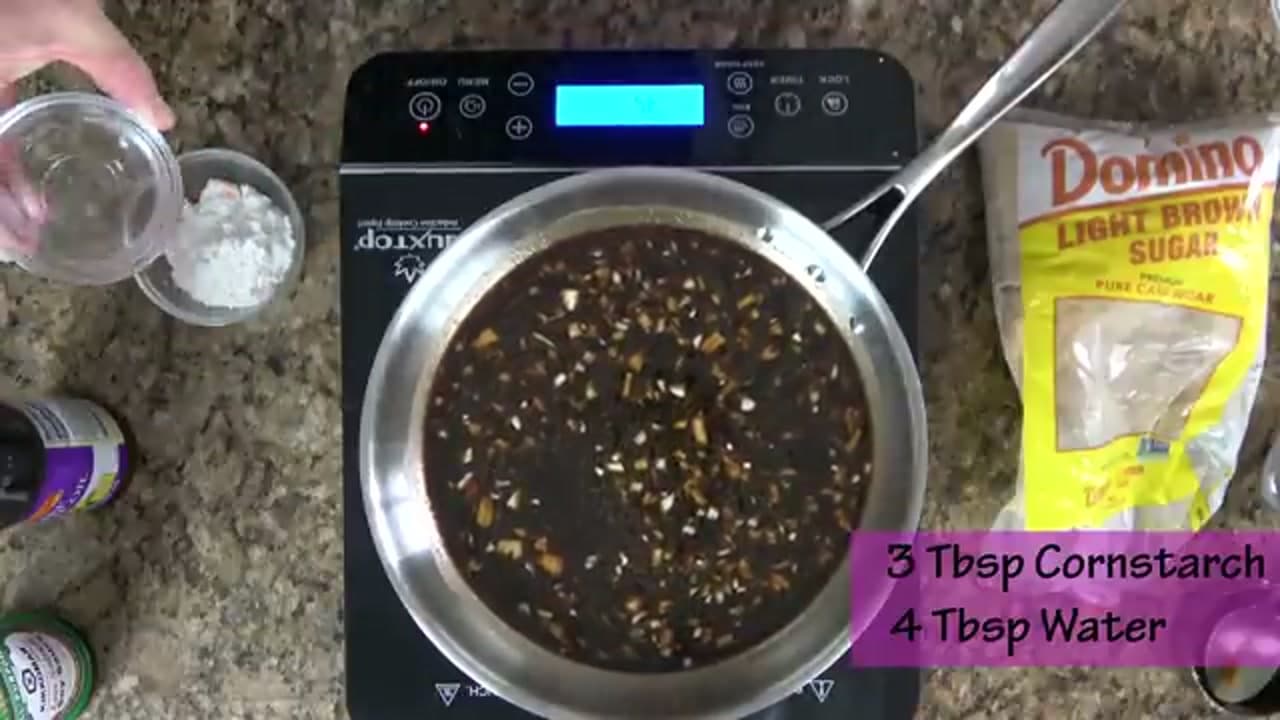
While the sauce heats, stir together 3 tablespoons of cornstarch and 4 tablespoons of water in a small bowl until it is smooth with no lumps. This slurry is what turns a thin, watery sauce into a thick glaze that actually sticks to food. Set it aside until the sauce is boiling.

Tip

Mix the slurry cold and right before you need it. Cornstarch settles fast, so give it one more stir before it goes in.

Products used in this step

6

Thicken the Sauce

4:10
Step 6: Thicken the Sauce

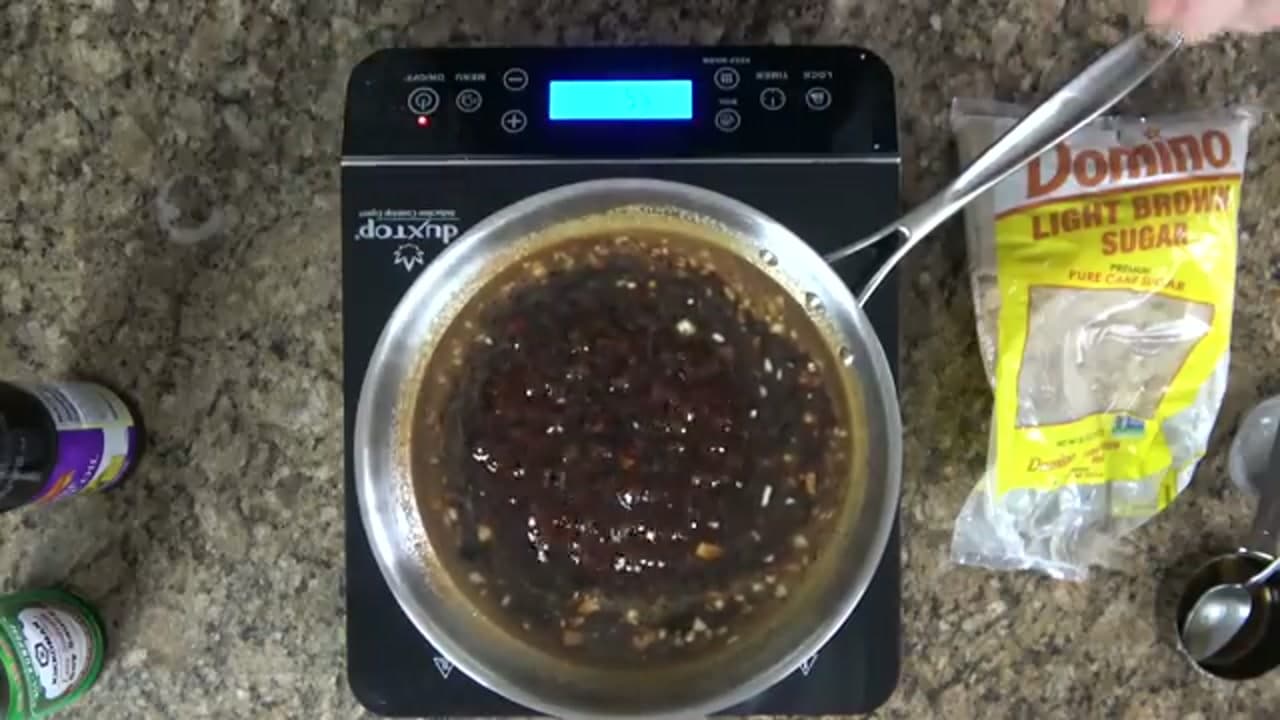
Once the sauce is at a boil, pour in the cornstarch slurry while stirring. It thickens almost right away. Let it boil for about a minute until it turns glossy and coats the back of a spoon, then take it off the heat. Do not boil it much longer than that or it can turn gummy.

Tip

If it comes out thicker than you want, stir in a spoonful of water. Too thin? A little more slurry fixes it.

7

Toast the Sesame Seeds

5:20
Step 7: Toast the Sesame Seeds

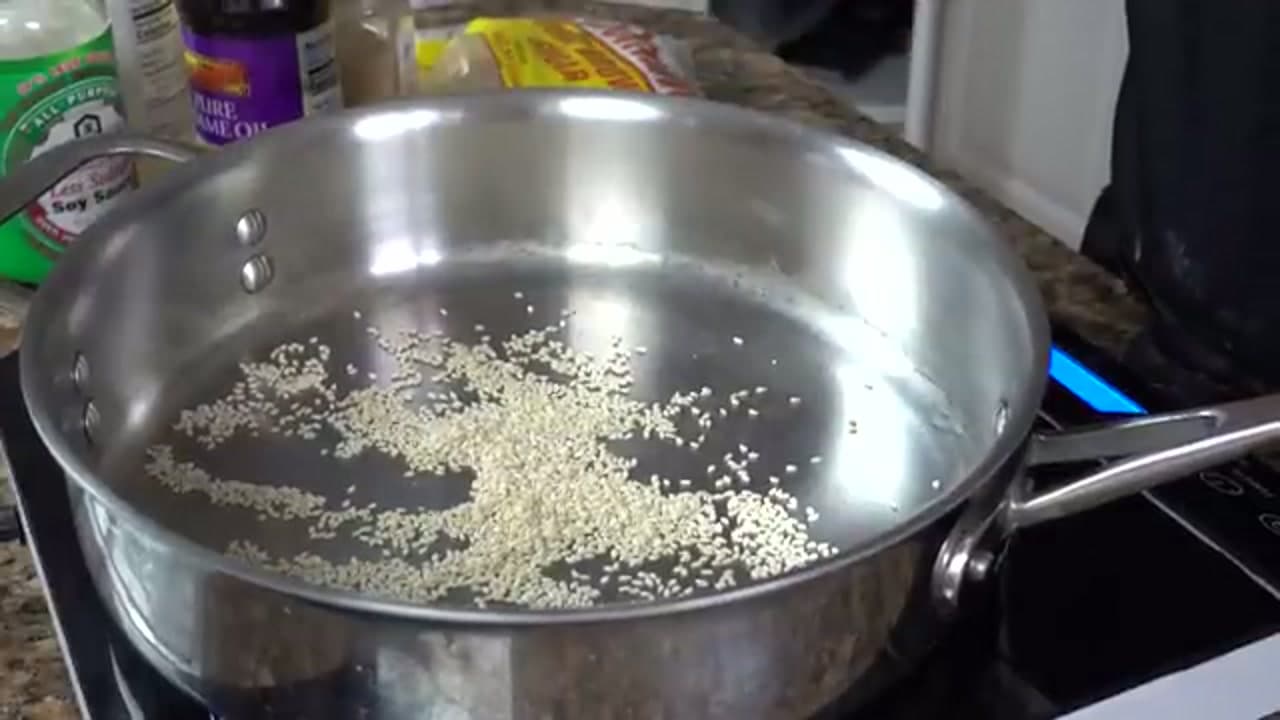
This part is optional but worth it. Put a spoonful of sesame seeds in a dry pan over medium heat and shake it now and then until they turn light golden. Do not walk away, because they go from golden to burnt fast. Toasting wakes up a nutty flavor and adds a little crunch.

Tip

No oil needed for toasting. The dry pan is all it takes, and it keeps the seeds from clumping.

Products used in this step

8

Finish and Serve

5:58
Step 8: Finish and Serve

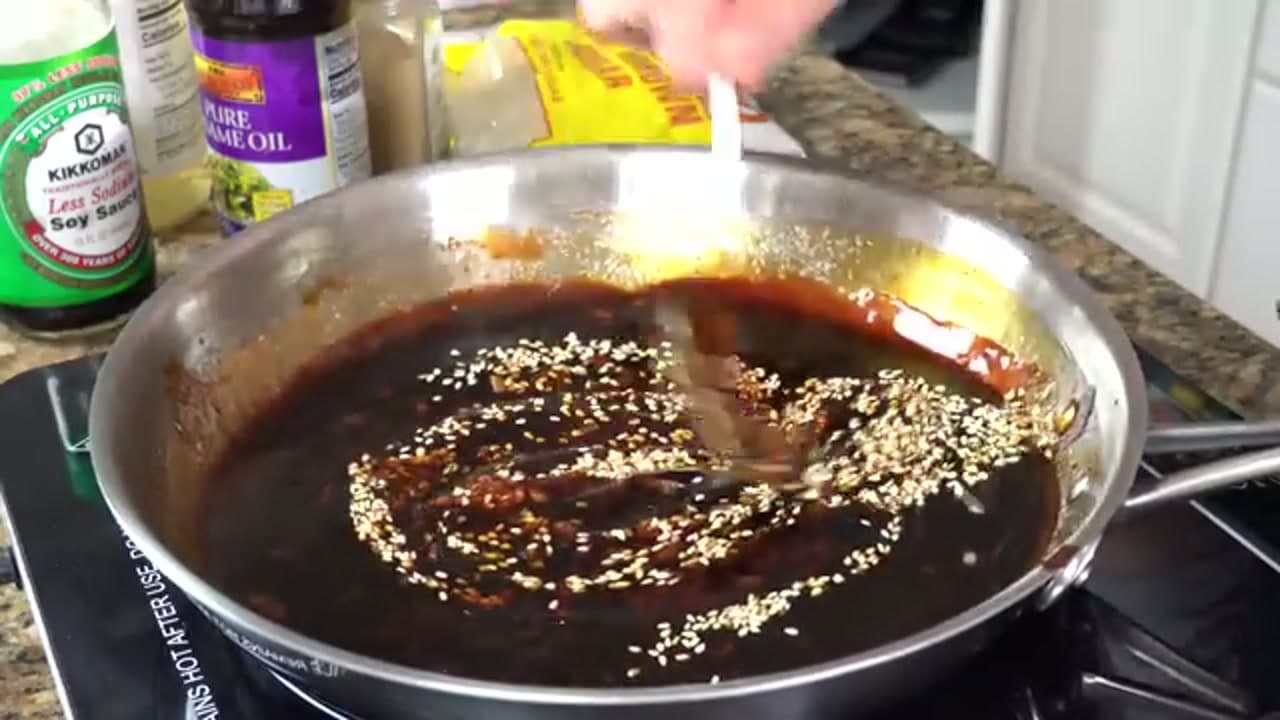
Stir the toasted sesame seeds into the finished sauce. That is it. You have a thick, glossy teriyaki ready to brush on grilled chicken, toss with beef and vegetables, or pour over rice. It keeps in a jar in the fridge for a week or so, and it only gets more useful the more you reach for it.

Tip

Let it cool before storing. It thickens a bit more as it sits, which is perfect for a glaze.

Products used in this step

Products Used

❖ The Recipe

How to Make Teriyaki Sauce

Japanese
Serves
Makes about 1 1/2 cups
Prep
5 min
Cook
10 min
Total
15 min

Ingredients

9 items
  • 1 cuplow-sodium soy sauce
  • 1/2 cupbrown sugar
  • 4 clovesgarlicminced
  • 2 tbsprice vinegar
  • 1/2 tspground ginger
  • 2 tspsesame oil
  • 3 tbspcornstarch
  • 4 tbspwater
  • 1 tbspsesame seedstoasted, optional

Nutrition

estimated · per servingEstimated from the ingredient list, not measured. Actual values vary by brand, preparation, and serving size. Not a substitute for measured nutrition data.
Calories
100kcal
Protein
3g
Fat
2g
Carbs
18g
Sugar
14g
Sodium
950mg

Method

  1. 1
    Prep the Garlic. Smash 4 cloves of garlic with the flat of your knife so the skins slip off, then mince them fine.
  2. 2
    Start the Base. Set a saucepan over medium to medium-high heat.
  3. 3
    Add Rice Vinegar and Ginger. Splash in 2 tablespoons of rice vinegar and 1/2 teaspoon of ground ginger.
  4. 4
    Stir In the Garlic and Sesame Oil. Add the garlic paste to the pan along with 2 teaspoons of sesame oil.
  5. 5
    Mix the Cornstarch Slurry. While the sauce heats, stir together 3 tablespoons of cornstarch and 4 tablespoons of water in a small bowl until it is smooth with no lumps.
  6. 6
    Thicken the Sauce. Once the sauce is at a boil, pour in the cornstarch slurry while stirring.
  7. 7
    Toast the Sesame Seeds. This part is optional but worth it.
  8. 8
    Finish and Serve. Stir the toasted sesame seeds into the finished sauce.

Your Guide

The Sauce and Gravy Channel

As an Amazon Associate we earn from qualifying purchases. Links on this page may be affiliate links - clicking them and buying doesn't change your price, but helps support ShowMeStepByStep.

Tags

Test your knowledge

Did the lesson stick? Find out in 2 minutes.

5 quick questions covering what you just read. No signup, no score saved — just a gut check.

Quick reference

Key takeaways from How to Make Teriyaki Sauce

5 questions, answers, and one-line explanations. Tap to expand.

  1. 1.Why does the recipe call for low-sodium soy sauce instead of regular?

    Answer: Regular soy makes the sauce too salty once it reduces

    A full cup of regular soy concentrates as the sauce cooks down, so low-sodium keeps it balanced.

  2. 2.What job does the cornstarch slurry do in this sauce?

    Answer: It turns the thin, watery sauce into a glaze that clings

    Cornstarch mixed with water thickens the sauce into a glossy glaze that sticks to food.

  3. 3.How should you mix the cornstarch slurry before it goes in?

    Answer: Mix it with cold water until smooth with no lumps

    Cornstarch clumps in hot liquid, so mix it smooth in cold water and stir again right before using.

  4. 4.Once the slurry is in, how long should the sauce keep boiling?

    Answer: About a minute, just until it turns glossy

    Boiling much past a minute can turn a cornstarch-thickened sauce gummy.

  5. 5.Why add the sesame oil while the sauce cooks rather than at the very end?

    Answer: Its flavor cooks in instead of sitting on top

    Cooking the sesame oil in blends its nutty richness through the sauce instead of leaving a raw slick.

Did this work for you?

What's next

Related collections

Curated theme pages that include this tutorial.

Weekly Digest

Liked this cooking tutorial?

Pick the categories you want to hear about. Weekly digest of new step-by-step tutorials. No spam, easy unsubscribe.

Send me tutorials about

We only email about new tutorials. Easy unsubscribe anytime.