How to Make Pickled Red Onions

CookingEasy5:567 stepsBrowse more →

By ShowMeStepByStepPublished

Based on a video by Jessica Gavin.

Pickled red onions are the easiest condiment you'll ever make. Five pantry ingredients, one small saucepan, and about thirty minutes of mostly hands-off time get you a jar of bright magenta-pink rings that go on top of almost anything. Tacos, pulled-pork sandwiches, avocado toast, grain bowls, Greek salads, charcuterie boards. They keep for two weeks in the fridge.

This walkthrough is adapted from food scientist Jessica Gavin's quick-pickle recipe. She uses equal parts white and apple cider vinegar to balance the tartness, honey instead of plain sugar for a rounder sweet, and a hot brine to make the onions turn that signature pop of pink in seconds. Once you've made these, you'll want to pair them with our homemade tzatziki, pile them onto grilled corn, or set them out alongside the rest of your cookout side dishes.

Step-by-Step Guide

1

Step 1: Trim and Peel the Onion

0:40
Step 1: Step 1: Trim and Peel the Onion

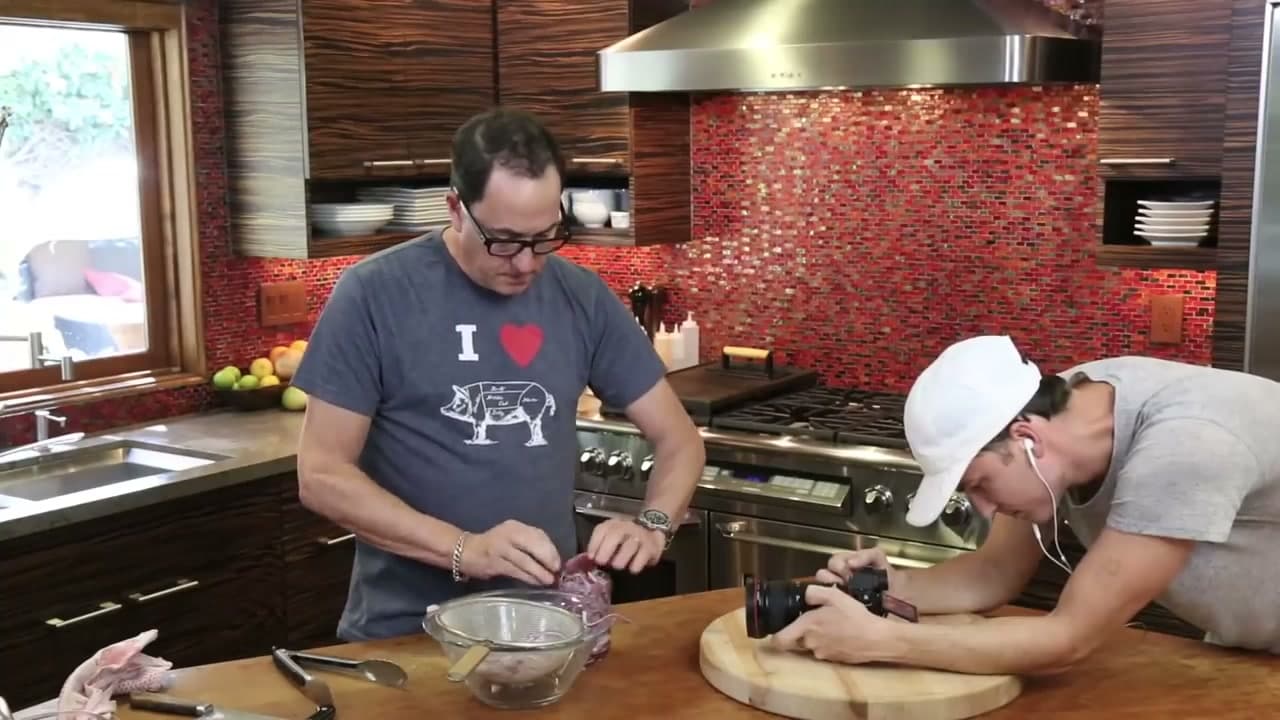
Pick a medium red onion - around six ounces, three inches across. That size gives you nice rings that fit a pint jar with room to spare. Slice off both ends and peel away the papery outer skin. If your onion is bigger, slice it in half so it sits in the jar later. Smaller onions pickle faster, so if you're in a rush, grab a couple of small ones instead.

Tip

Save the papery skins. Toss them into the jar with the rings and the brine. The pigment in the skins deepens the magenta color of the finished pickle.

2

Step 2: Slice Thin Rings

1:15
Step 2: Step 2: Slice Thin Rings

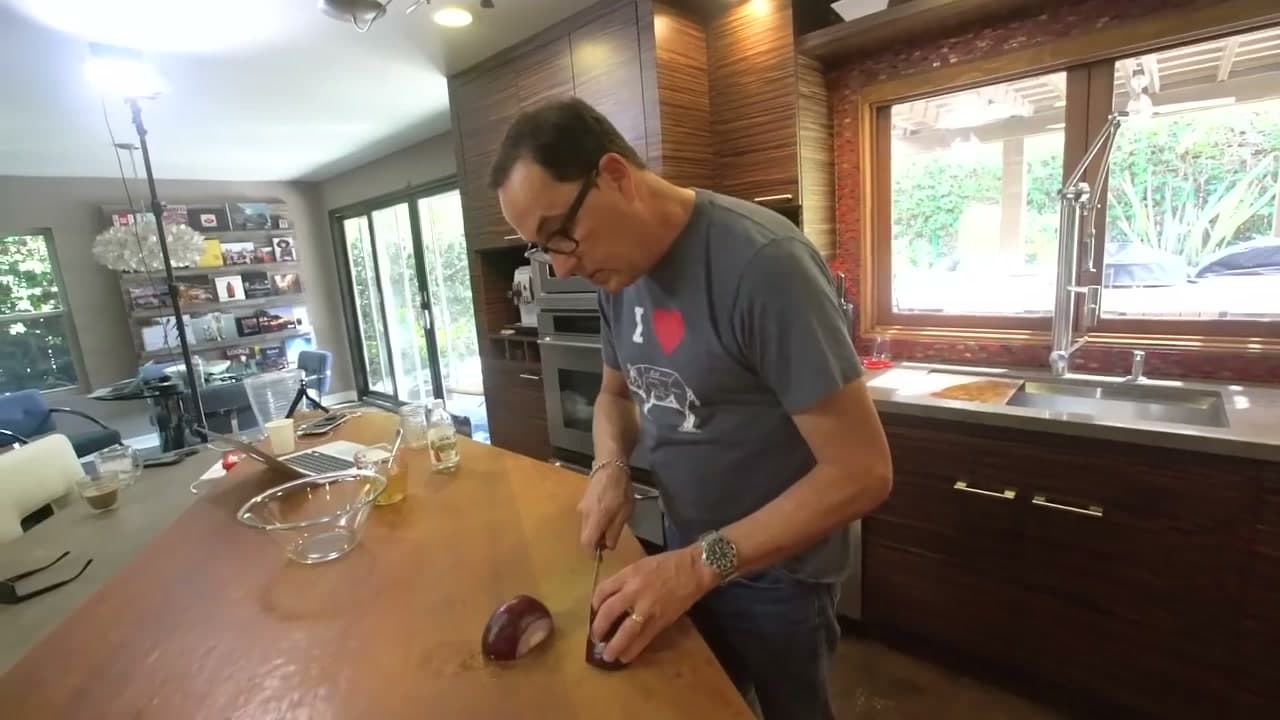
Cut a small notch on one side so the onion sits flat on the board without rolling. Slice crosswise into eighth-inch rings. Thin slices pickle faster and stay tender. A mandoline makes the cuts even if you want a clean uniform look in the jar. For a milder, crisper bite, slice from root to stem instead - that direction breaks fewer cells and keeps the sulfur down.

Tip

Soak the sliced rings in cold water for 15 minutes if you want to dial back the raw onion bite even further. Drain well before adding to the brine.

3

Step 3: Build the Pickling Liquid

2:35
Step 3: Step 3: Build the Pickling Liquid

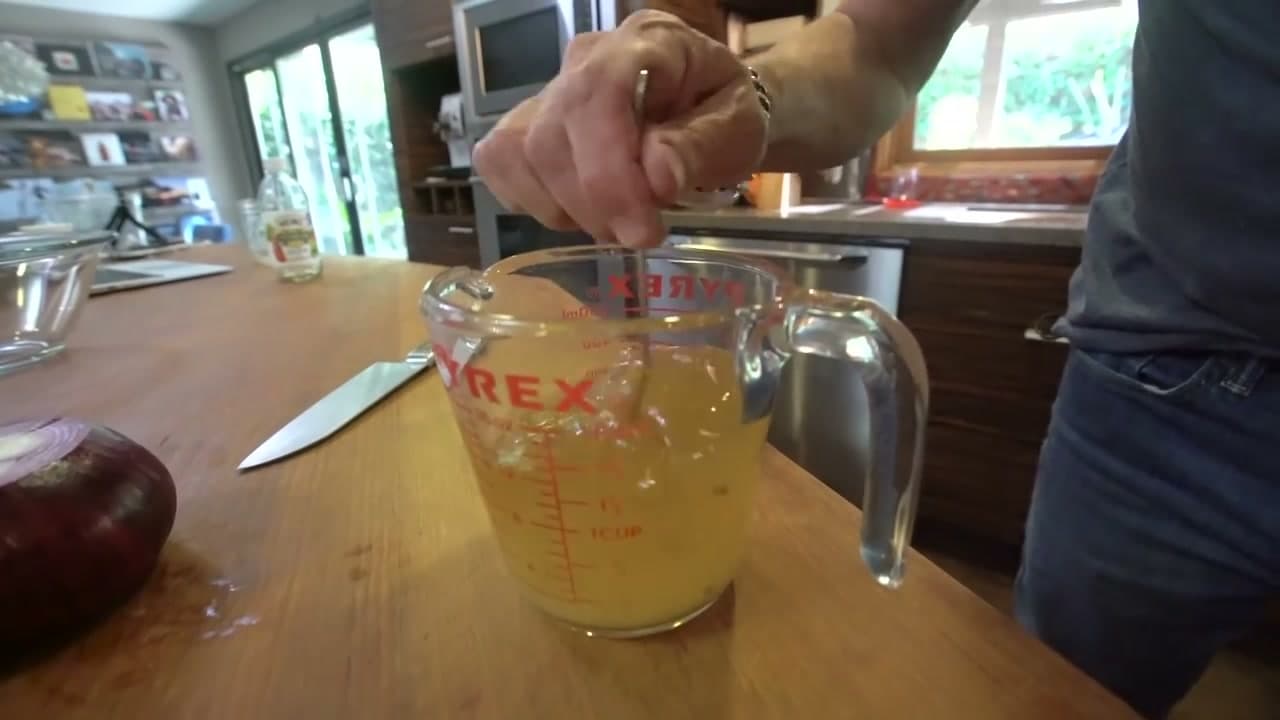
Grab a small saucepan and add a half cup of white vinegar, a half cup of apple cider vinegar, a quarter cup of honey, and a half teaspoon of kosher salt. Equal parts of the two vinegars balance the white's sharp punch with apple cider's fruity mellow. Honey rounds out the sweet better than plain sugar. If you're using granulated sugar instead, bump it to a third of a cup.

Tip

Skip balsamic vinegar. The dark color will tint the onions an unappealing muddy brown instead of bright magenta.

4

Step 4: Boil the Brine

2:55
Step 4: Step 4: Boil the Brine

Set the pan over medium-high heat and bring the mixture to a boil. Stir as it heats so the salt dissolves and the honey melts cleanly into the vinegar. Let it bubble for about two minutes. The whole kitchen will smell sharp - that's normal. The heat both melts the sweeteners and primes the brine to do its color-change magic the moment it hits the onions.

Tip

Want extra-crisp pickles instead of soft ones? Let the brine cool to room temperature before pouring it over the onions. They'll take longer to soften but keep more snap.

5

Step 5: Pour the Hot Brine Over the Onions

3:08
Step 5: Step 5: Pour the Hot Brine Over the Onions

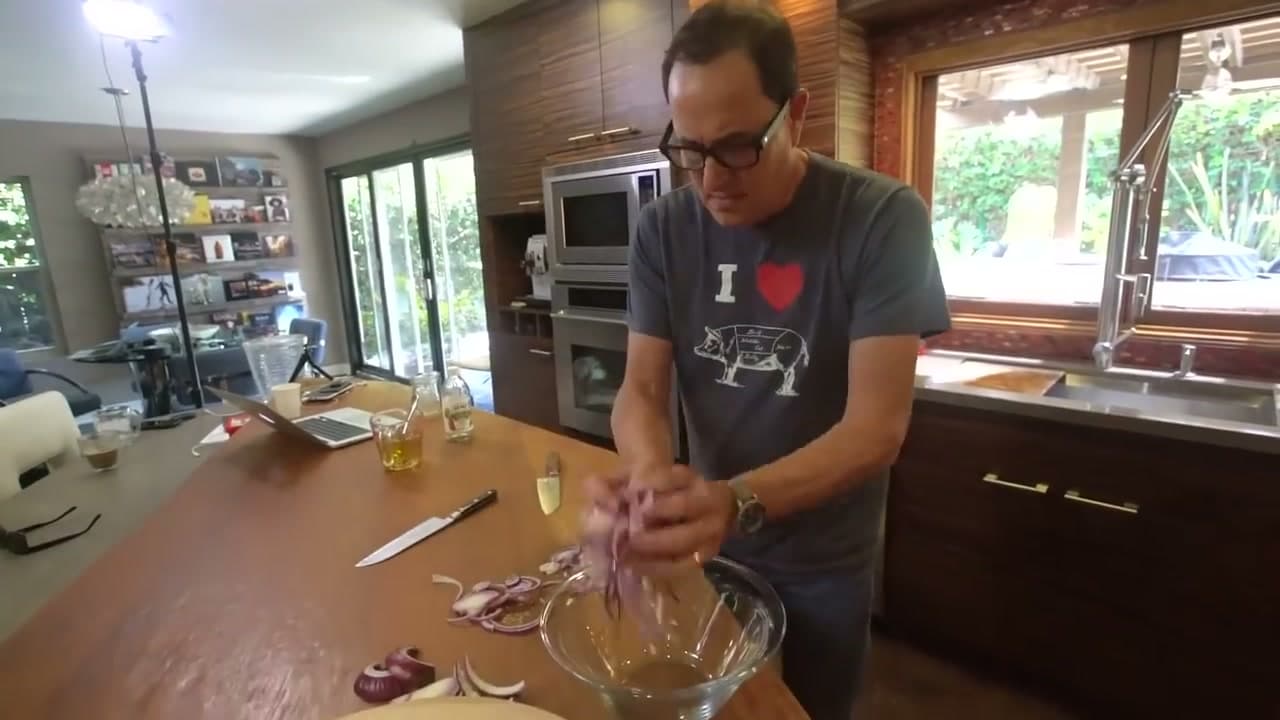
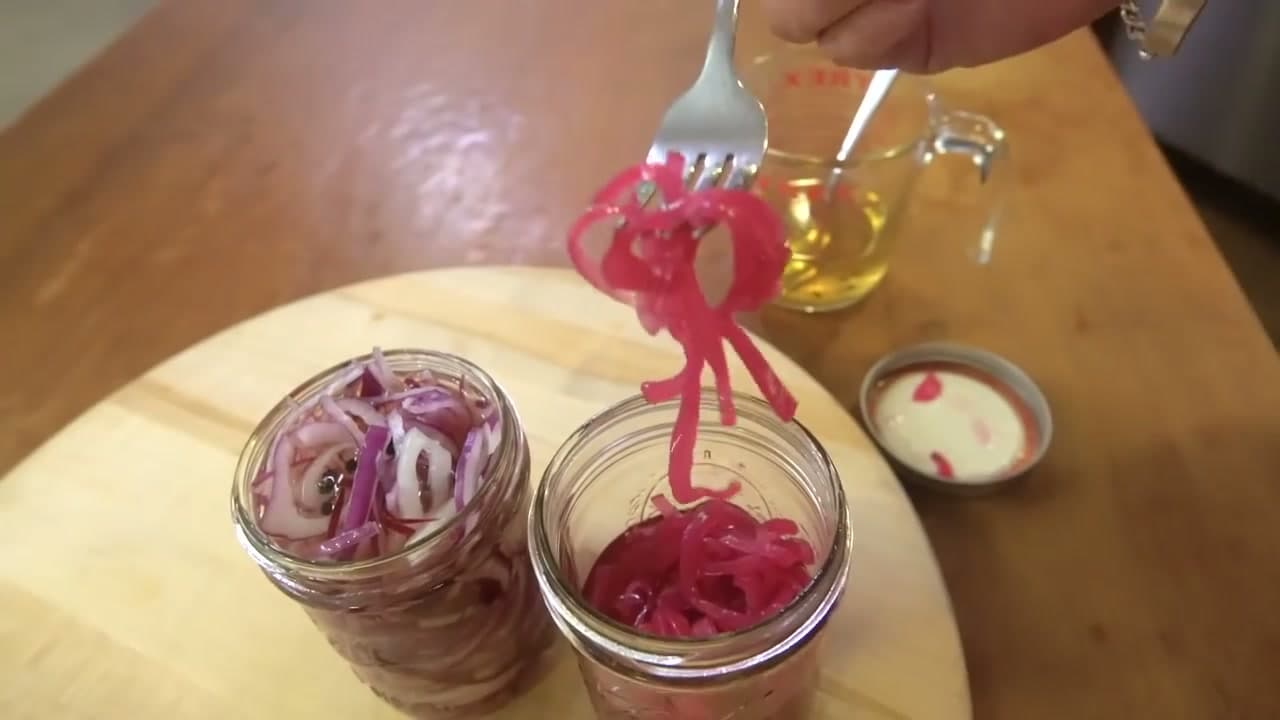
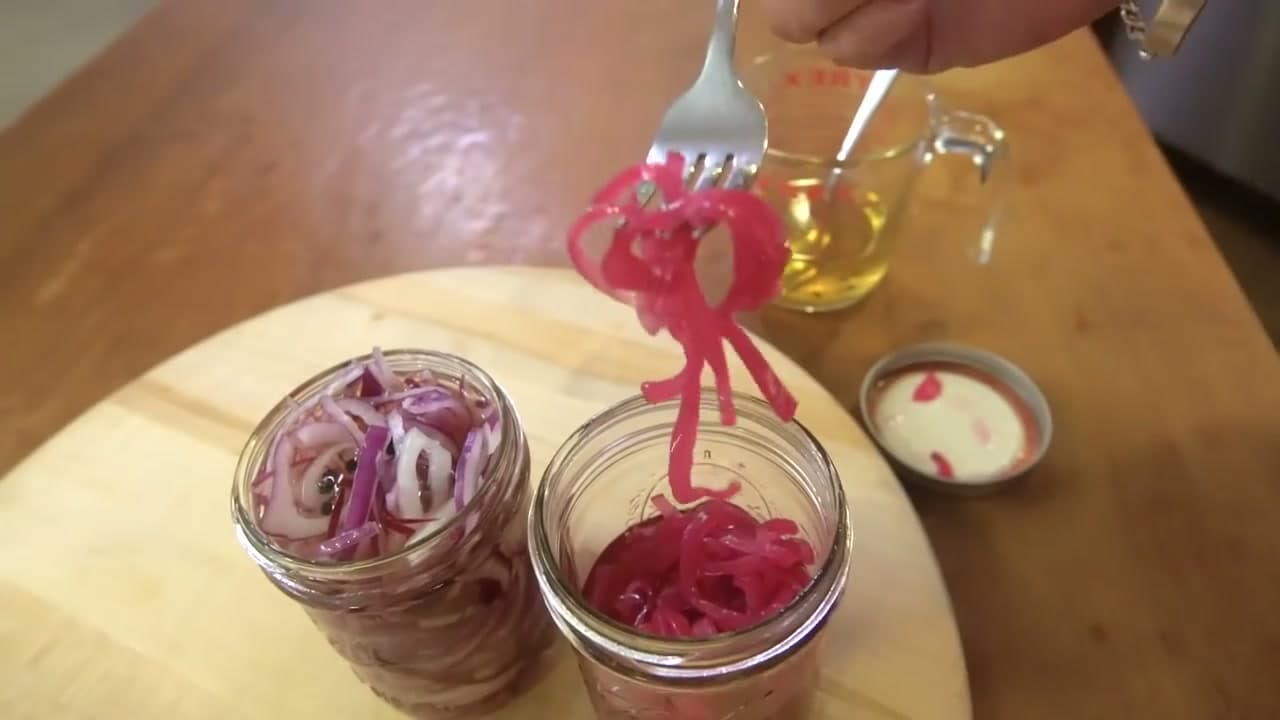
Pile the sliced rings into a heatproof bowl or a pint mason jar. Slowly pour the hot brine over the top, covering every slice. Watch what happens - the onions start turning pink the second the vinegar touches them. The acidic environment reacts with the anthocyanins in the red onion skin and shifts the color from deep purple to bright magenta. It's the most satisfying part of the whole recipe.

Tip

Drop in extras now if you want flavored pickles. A smashed garlic clove, a teaspoon of whole peppercorns, a bay leaf, or a few red pepper flakes all play nicely with red onion.

6

Step 6: Press Down and Rest

3:12
Step 6: Step 6: Press Down and Rest

Use a spoon to press the rings down so every slice is submerged in the brine. Let the bowl sit at room temperature for about thirty minutes. Check it every ten minutes and press the onions back under - they want to float to the top as they wilt, and only the submerged slices pick up the full flavor. They're ready when the rings bend without snapping and the color is bright magenta from edge to edge.

Tip

If you forget about them and they sit longer, no harm done. The flavor just keeps developing. Even after a full day in the fridge, they only get better.

7

Step 7: Transfer to a Jar and Serve

4:12
Step 7: Step 7: Transfer to a Jar and Serve

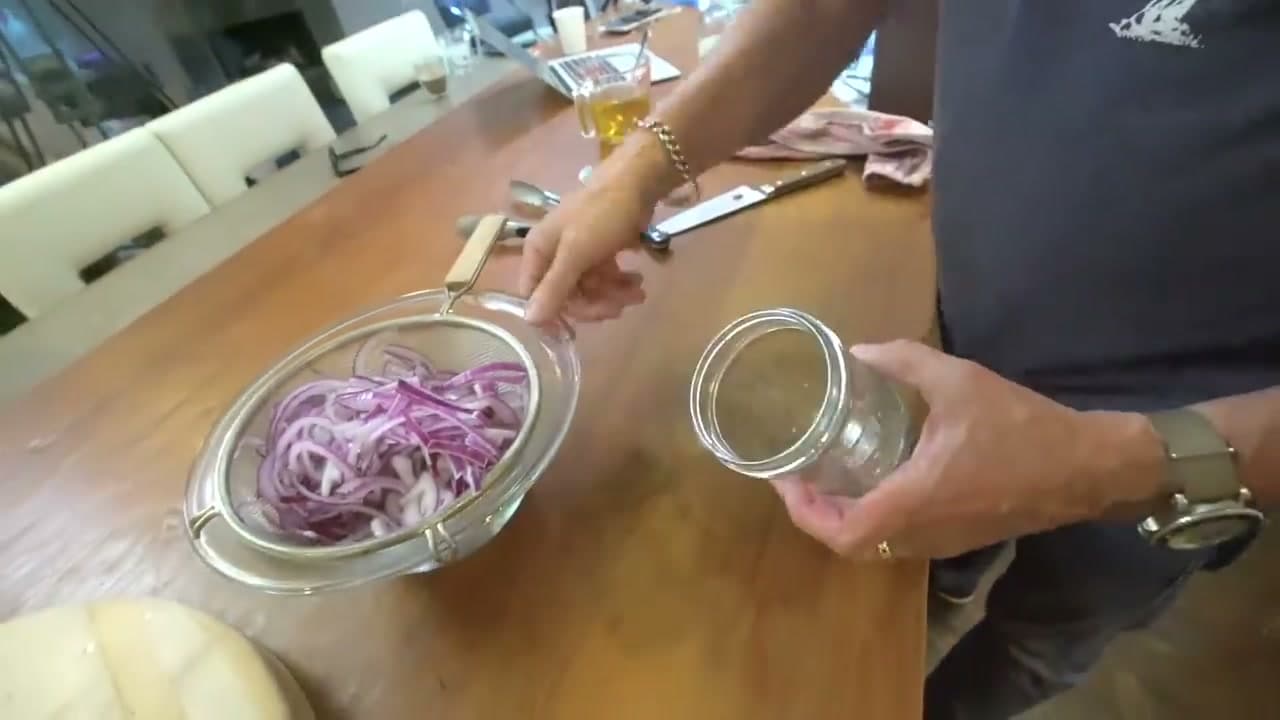
Scoop the rings and brine into a clean pint mason jar, cap it, and pop it in the fridge. They're ready to eat right away but taste their best after an hour cold. They'll keep for two weeks. Pile them on tacos, layer them onto a burger, scatter them over avocado toast, toss them into a Greek salad, or set them out as a magenta-pink centerpiece on a charcuterie board. The leftover brine makes a great salad-dressing base too.

Tip

The same brine works again. Slice another onion when the jar is half empty, pour it in, and you've got a second batch with no extra effort.

Products Used

❖ The Recipe

How to Make Pickled Red Onions

American
Serves
Makes about 1 pint jar (8 servings)
Prep
10 min
Cook
5 min
Total
15 min

Ingredients

8 items
  • 1 mediumred onionabout 6 oz, 3 inches wide
  • 1/2 cupwhite vinegar5% acidity
  • 1/2 cupapple cider vinegar5% acidity
  • 1/4 cuphoneyor substitute 1/3 cup granulated sugar
  • 1/2 tspkosher salt
  • 1, smashedgarlic cloveoptional, for extra allium flavor
  • 1/2 tspwhole black peppercornsoptional, for warmth
  • 1bay leafoptional, for herbaceous note

Method

  1. 1
    Step 1: Trim and Peel the Onion. Pick a medium red onion - around six ounces, three inches across.
  2. 2
    Step 2: Slice Thin Rings. Cut a small notch on one side so the onion sits flat on the board without rolling.
  3. 3
    Step 3: Build the Pickling Liquid. Grab a small saucepan and add a half cup of white vinegar, a half cup of apple cider vinegar, a quarter cup of honey, and a half teaspoon of kosher salt.
  4. 4
    Step 4: Boil the Brine. Set the pan over medium-high heat and bring the mixture to a boil.
  5. 5
    Step 5: Pour the Hot Brine Over the Onions. Pile the sliced rings into a heatproof bowl or a pint mason jar.
  6. 6
    Step 6: Press Down and Rest. Use a spoon to press the rings down so every slice is submerged in the brine.
  7. 7
    Step 7: Transfer to a Jar and Serve. Scoop the rings and brine into a clean pint mason jar, cap it, and pop it in the fridge.
☐ The Checklist

How to Make Pickled Red Onions

Tools
7
Materials
8
Steps
7
Video
6 min

Your Guide

Jessica Gavin

As an Amazon Associate we earn from qualifying purchases. Links on this page may be affiliate links - clicking them and buying doesn't change your price, but helps support ShowMeStepByStep.

Tags

What's next

Related collections

Curated theme pages that include this tutorial.

Weekly Digest

Liked this cooking tutorial?

Pick the categories you want to hear about. Weekly digest of new step-by-step tutorials. No spam, easy unsubscribe.

Send me tutorials about

We only email about new tutorials. Easy unsubscribe anytime.