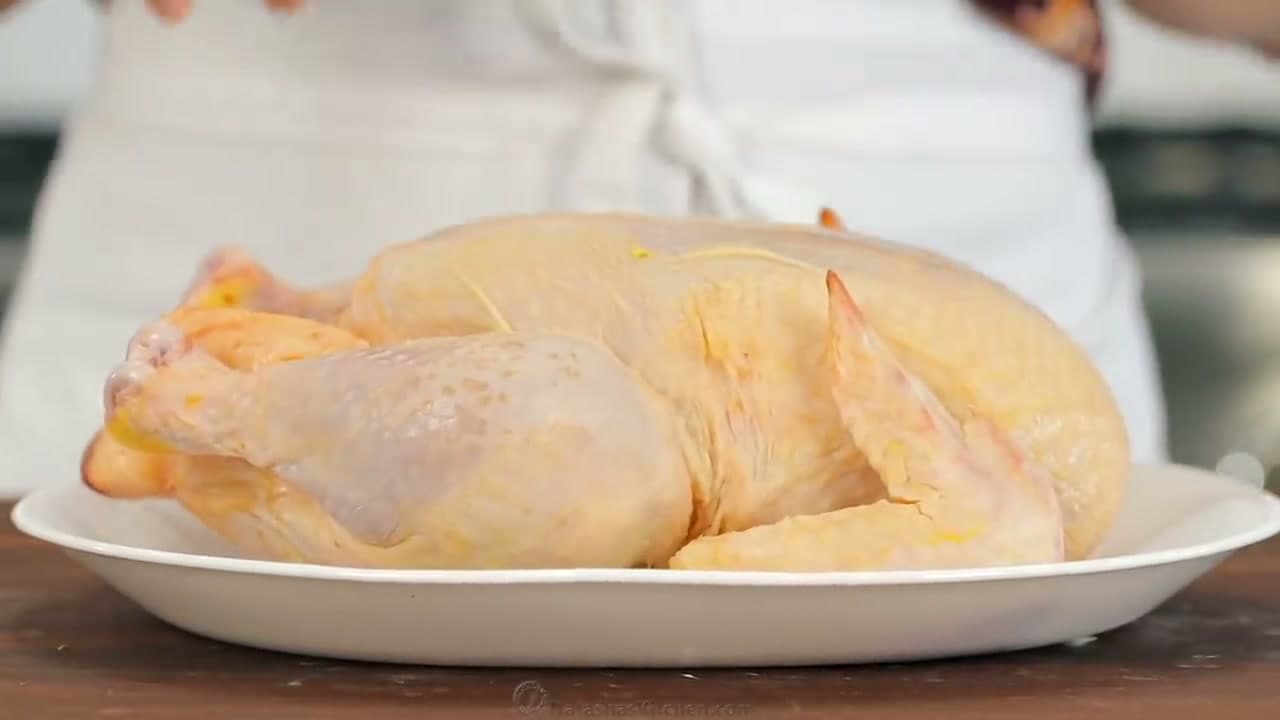
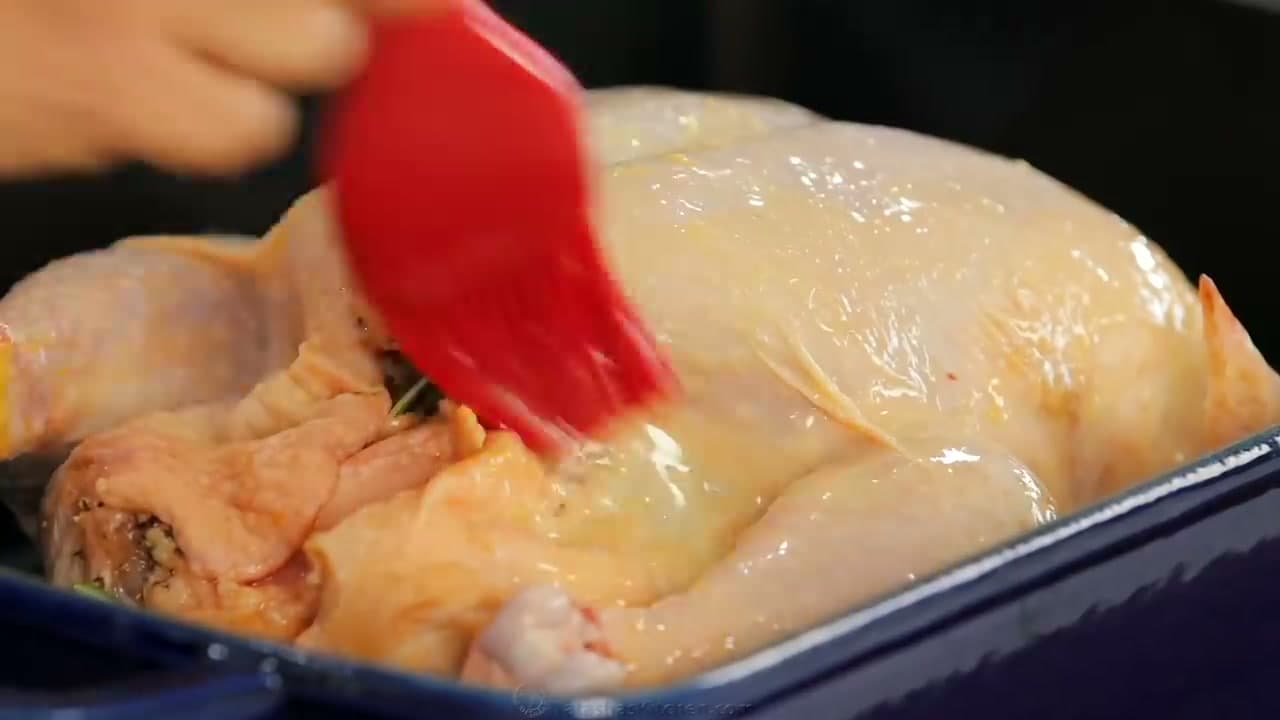
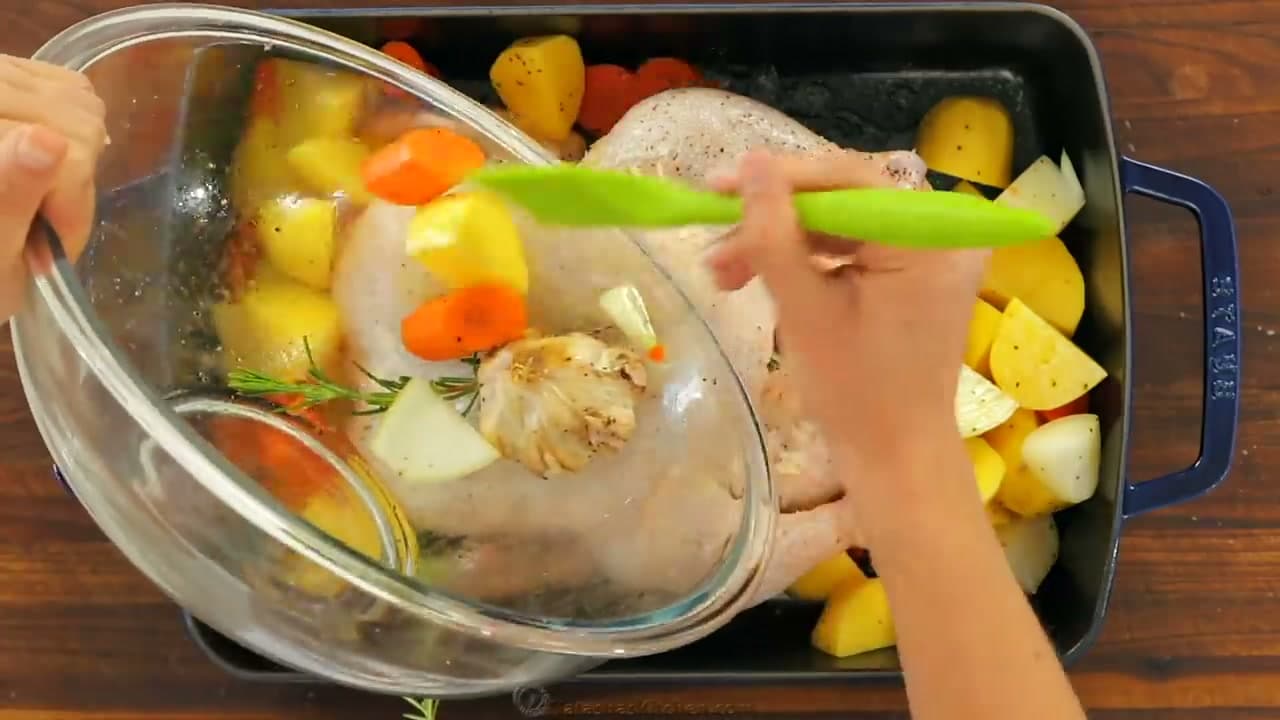
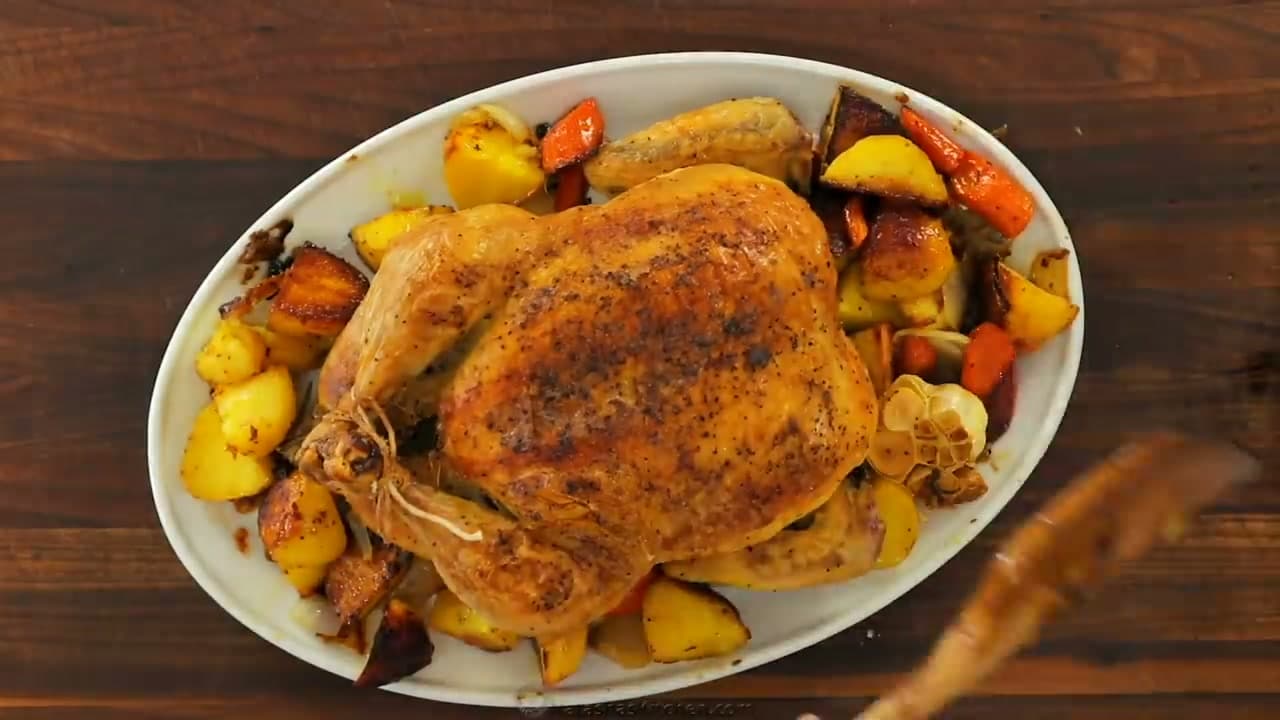
A whole chicken is cheap, feeds a family, and hands you a second dinner as stock. It has one real difficulty: the breast finishes before the thigh does, so the same bird can be dry in one place and underdone in another. The video below is Natasha of Natashas Kitchen, and the method is the classic one - dry skin, melted butter, a heavy hand with the salt, one hot oven.
Most of what goes wrong happens at the end, not the start. People pull the pan by the clock, and the clock lies - it depends on the bird, the pan and how cold the chicken went in. A cheap probe thermometer takes the guessing out.
Where to Put the Meat Thermometer, and the Number to Trust
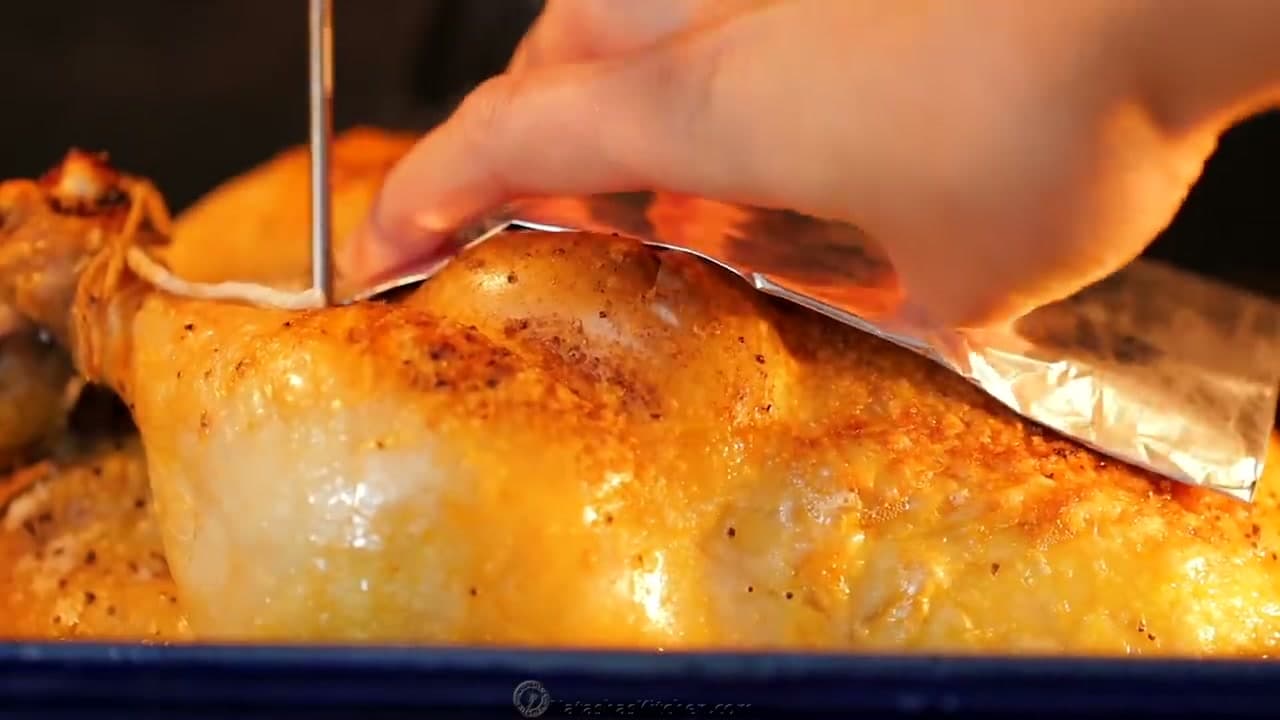
165F in the thickest part of the thigh. That is 75C if your thermometer reads in Celsius. The thigh is the last part to come up, so once it is safe, the rest of the bird already is.
Placement matters. Go in from the side, into the meat between the drumstick and the body, angled toward the middle and away from bone. Bone carries heat faster than meat, so a probe resting on the thigh bone reads high and you pull the chicken early. Push too far and it reads cavity air instead of meat.
- Thigh, thickest part, not touching bone: pull at 165F / 75C
- Breast, deepest point: 155F to 160F is fine, carryover finishes it
- Probe on bone or in the cavity: the number is junk, move the probe
Clear Juices Are Not Proof of Anything
The old test says pierce between the leg and the body and check the juice: clear means cooked, pink means keep going. It is rough at best. Juices run clear well below 165F in some birds and stay faintly pink past 170F in others, because that color comes from myoglobin in the muscle, not from doneness.
Use it as a fallback when your batteries die. The same logic carries to boneless cuts, where a deep reading is harder to get - see our guide to cooking chicken breast.
Dry Brine the Night Before for Crisp Skin
Salting ahead of time does two jobs. Salt pulls moisture out of the skin, then fridge air dries that surface - drier than paper towels can get it. It also seasons the meat below the surface, which a sprinkle five minutes before roasting never does.
Salt the bird all over, about 1 teaspoon of kosher salt per pound, set it on a rack over a plate, and leave it uncovered in the fridge for 12 to 24 hours. Do not rinse it after, and skip the salt in the steps below or it will be too salty. No time? An hour uncovered on the counter still helps.
Roasting Temperature, and Whether to Start High
One temperature the whole way through is the easiest route and it works: 425F for 80 to 90 minutes on a 5 pound bird, rack in the lower third so it sits in the middle of the heat.
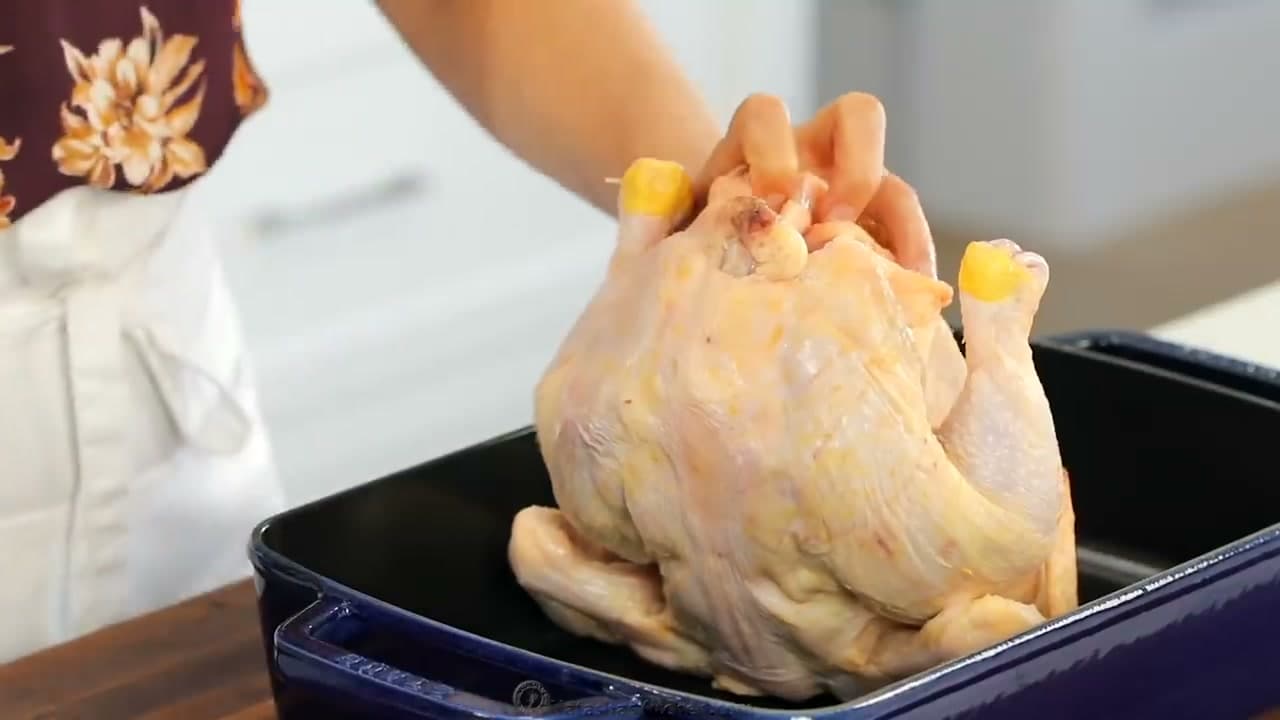
The high-then-low approach - 450F for 20 minutes, then down to 350F - browns the skin before the inside catches up. You get a shade more color and an open oven door mid-roast. If the breast is browning ahead of the legs, a folded square of foil laid over it fixes that with less fuss. Either way, keep the bird off the bare pan, on a rack or on the vegetables, or the underside steams.
Rest It, Then Keep the Carcass
Heat keeps moving after the pan leaves the oven. A whole chicken gains another 5 to 10 degrees while it stands, which is why you pull at 165F in the thigh and rest it 15 minutes instead of holding out for a higher number. Rest it uncovered - foil traps steam and softens the skin you just worked for.
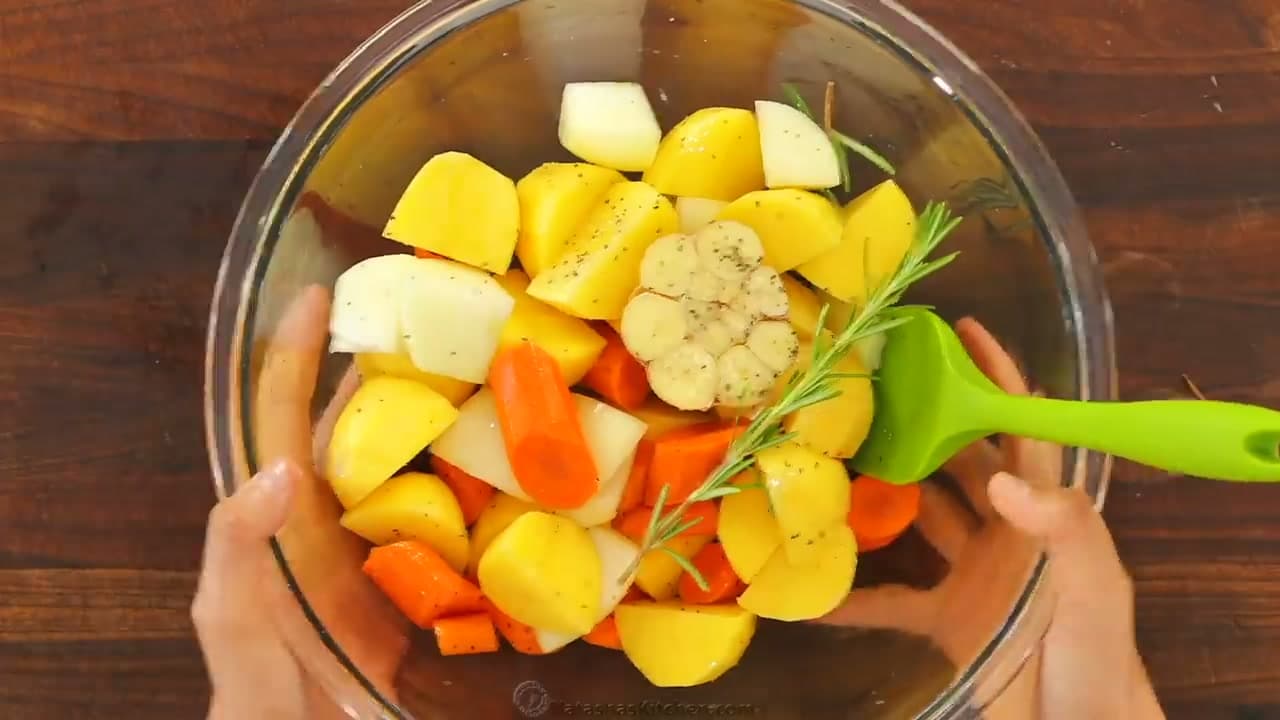
The drippings are the best gravy you will make all year. Loosen them with water or wine and follow our gravy method, with mashed potatoes if the pan vegetables do not stretch far enough. Simmer the stripped bones with an onion, a carrot and a bay leaf for two hours and that stock is the start of real chicken noodle soup. Cooking for a crowd? The same rules apply to a whole turkey, on a longer clock.