How to Bake Sourdough Bread from Scratch

CookingMedium11:538 steps

Sourdough is one of those things that looks harder than it is. There's a lot of waiting around, but the hands-on work is pretty minimal. Natasha from Natasha's Kitchen breaks down her go-to recipe into clear steps that are easy to follow, even if this is your first loaf. The whole process takes about two days (mostly waiting), but the active time is under an hour.

Step-by-Step Guide

1

Feed Your Sourdough Starter

0:32
Step 1: Feed Your Sourdough Starter

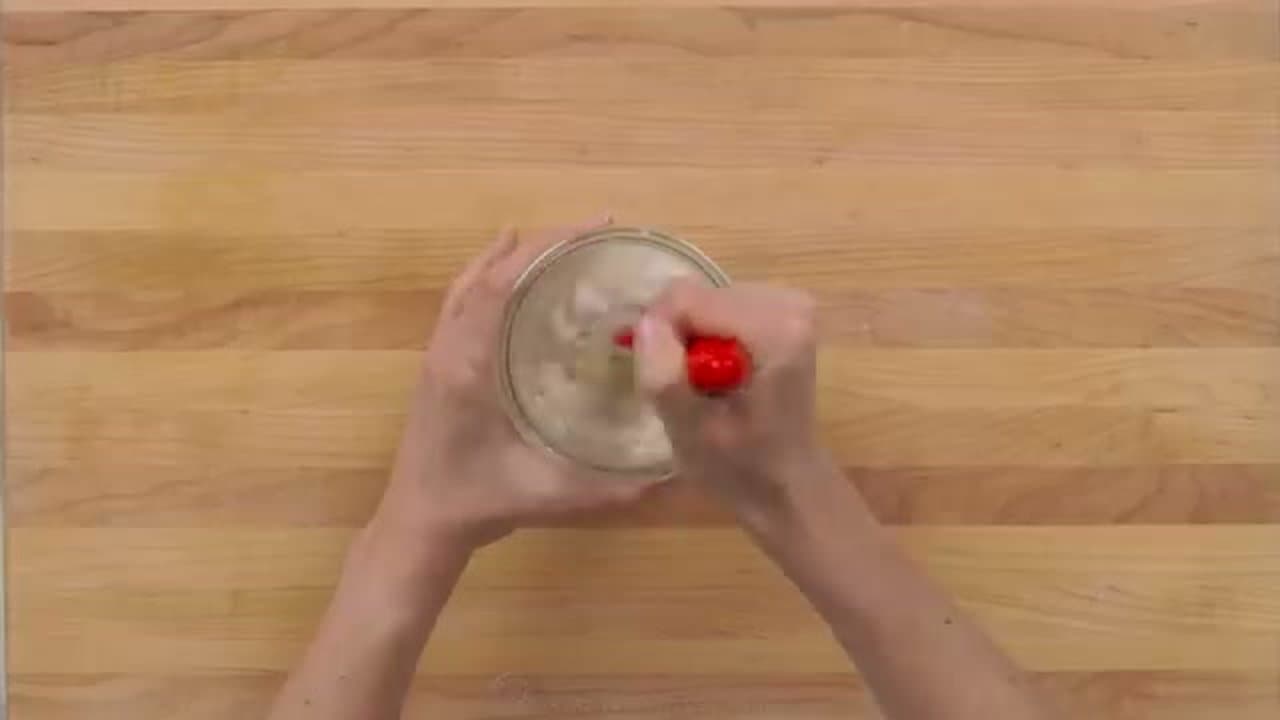
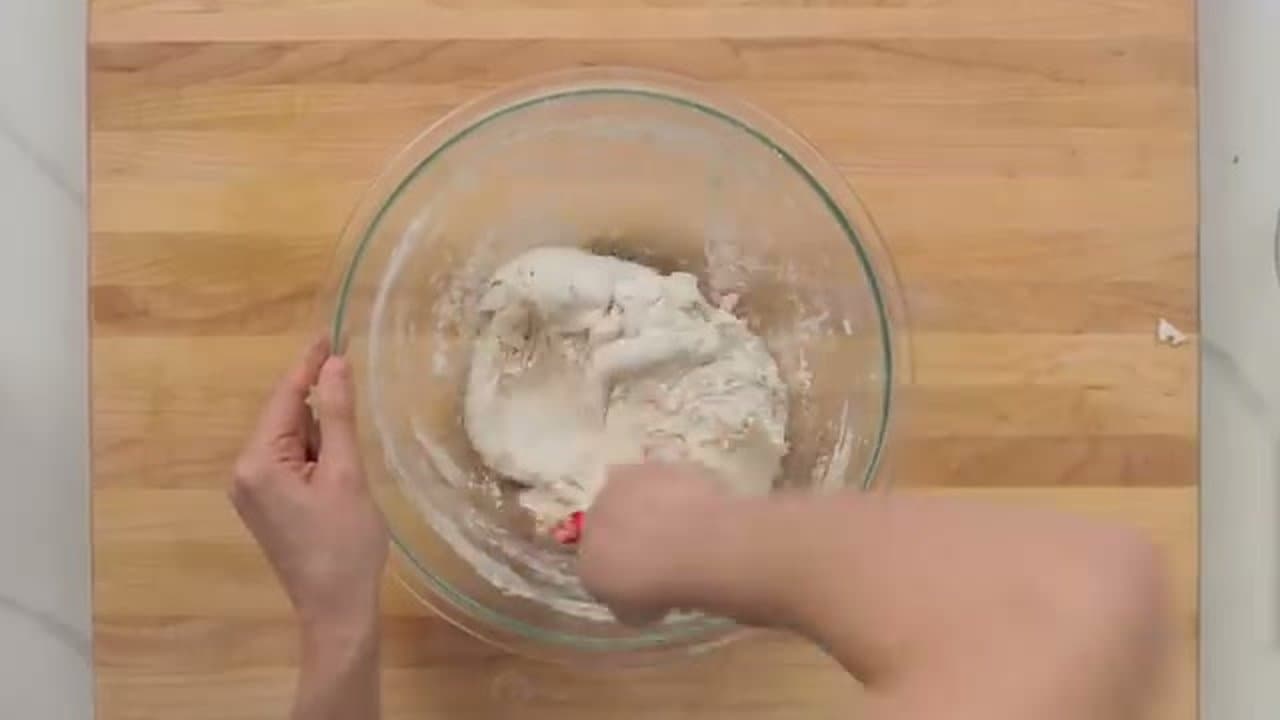
Do this early in the morning. In a jar, combine 50 grams each of sourdough starter, flour, and lukewarm water. Stir it up, scrape down the sides, and cover with a loose lid. Put a rubber band around the jar so you can track how much it rises. Let it sit at room temperature for 4-6 hours until it more than doubles.

Tip

If you want two loaves, double everything. Bake once, freeze the second loaf, and you've got bread all week.

Products used in this step

Kitchen Scale
Glass Jar with Loose Lid
2

Mix the Bread Dough

1:55
Step 2: Mix the Bread Dough

In a large bowl, whisk together 400g bread flour, 55g rye or whole wheat flour, and 10g salt. Add 345g lukewarm water (no hotter than 85F - use filtered, not tap) and 100g of your active starter. Stir with a spatula until it comes together, then get your hands in there and mix until the flour is fully worked in. It'll be sticky. That's normal.

Tip

Don't forget the salt. Seriously. Bread without salt tastes like cardboard.

Products used in this step

Bread Flour
Large Mixing Bowl
Flexible Food Scraper
3

Bulk Ferment with Stretch and Folds

2:32
Step 3: Bulk Ferment with Stretch and Folds

Cover the dough with a towel and let it sit at room temperature for 4 hours. Every hour, wet your hands, grab one side of the dough, stretch it up without tearing, and fold it over. Rotate the bowl a quarter turn and repeat 3-4 more times. This builds the gluten structure that gives sourdough its chew. Keep the dough somewhere warm, around 70-75F.

Tip

If your kitchen runs cool, stick the bowl in the oven with just the light on.

4

Shape the Loaf

4:00
Step 4: Shape the Loaf

Turn the dough out onto a lightly floured surface. Be gentle - you don't want to pop the air bubbles. Stretch each side out and fold it toward the center, pressing down lightly. Flip it seam-side down and cup your hands around it, tucking the edges underneath to build tension on the surface. Cover and let it rest for 20 minutes, then tighten it up again if it's spread out too much.

5

Cold Proof in the Banneton

4:28
Step 5: Cold Proof in the Banneton

Dust a banneton basket with flour (rice flour works best for the crust, but regular bread flour is fine). Place your shaped dough in the basket seam-side up. Cover it and put it in the fridge for at least 8 hours, up to 48. The longer it sits, the more flavor develops. This is the cold fermentation stage and it's what gives sourdough that tangy taste.

Tip

For proofs longer than 24 hours, put the whole basket in a jumbo zip bag to keep it from drying out.

Products used in this step

Banneton Bread Basket
Rice Flour
6

Score and Bake

5:55
Step 6: Score and Bake

About 30 minutes before baking, put your Dutch oven (or cast iron combo cooker) in the oven and preheat to 500F. When it's hot, carefully pull it out, line with parchment, and flip the dough in. Score the top with a bread lame or sharp knife - one confident cut end to end, about a quarter inch deep. Cover with the lid, put it back in, drop the temp to 450F, and bake 20 minutes covered. Then take the lid off and go another 20-25 minutes until it's the color you want.

Tip

Put a pizza stone on the rack below to keep the bottom from getting too dark.

Products used in this step

Dutch Oven
Bread Lame
Oven Thermometer
Pizza Stone
7

Let It Cool (Really)

6:38
Step 7: Let It Cool (Really)

Pull the bread out and move it to a cooling rack. Here's the hard part: don't cut it yet. Let it cool all the way to room temperature. The inside is still setting up with steam, and if you cut in too early the crumb will be gummy. Give it at least an hour.

Products used in this step

Cooling Rack
8

Slice and Enjoy

8:17
Step 8: Slice and Enjoy

Once it's fully cooled, grab a bread knife and slice in. You should hear the crust crunch. The inside should be soft with good-sized air pockets throughout. Slather some salted butter on there. If you baked two loaves, cut the second one in half and freeze - thawed same-day bread tastes just as good as fresh.

Products Used

Kitchen ScaleGlass Jar with Loose LidBread FlourLarge Mixing BowlFlexible Food ScraperBanneton Bread BasketRice FlourDutch OvenBread LameOven ThermometerPizza StoneCooling Rack

Your Guide

Natashas Kitchen

Tags